Transcripts
1. Introduction : Hi guys, my name is Kate, and I really love to
paint with watercolor. If you would like to learn
more about my creativity, about my daily
life as an artist, you can check my Instagram page. I post my daily inspiration and make small video tutorials,
watercolor painting. I would be really glad
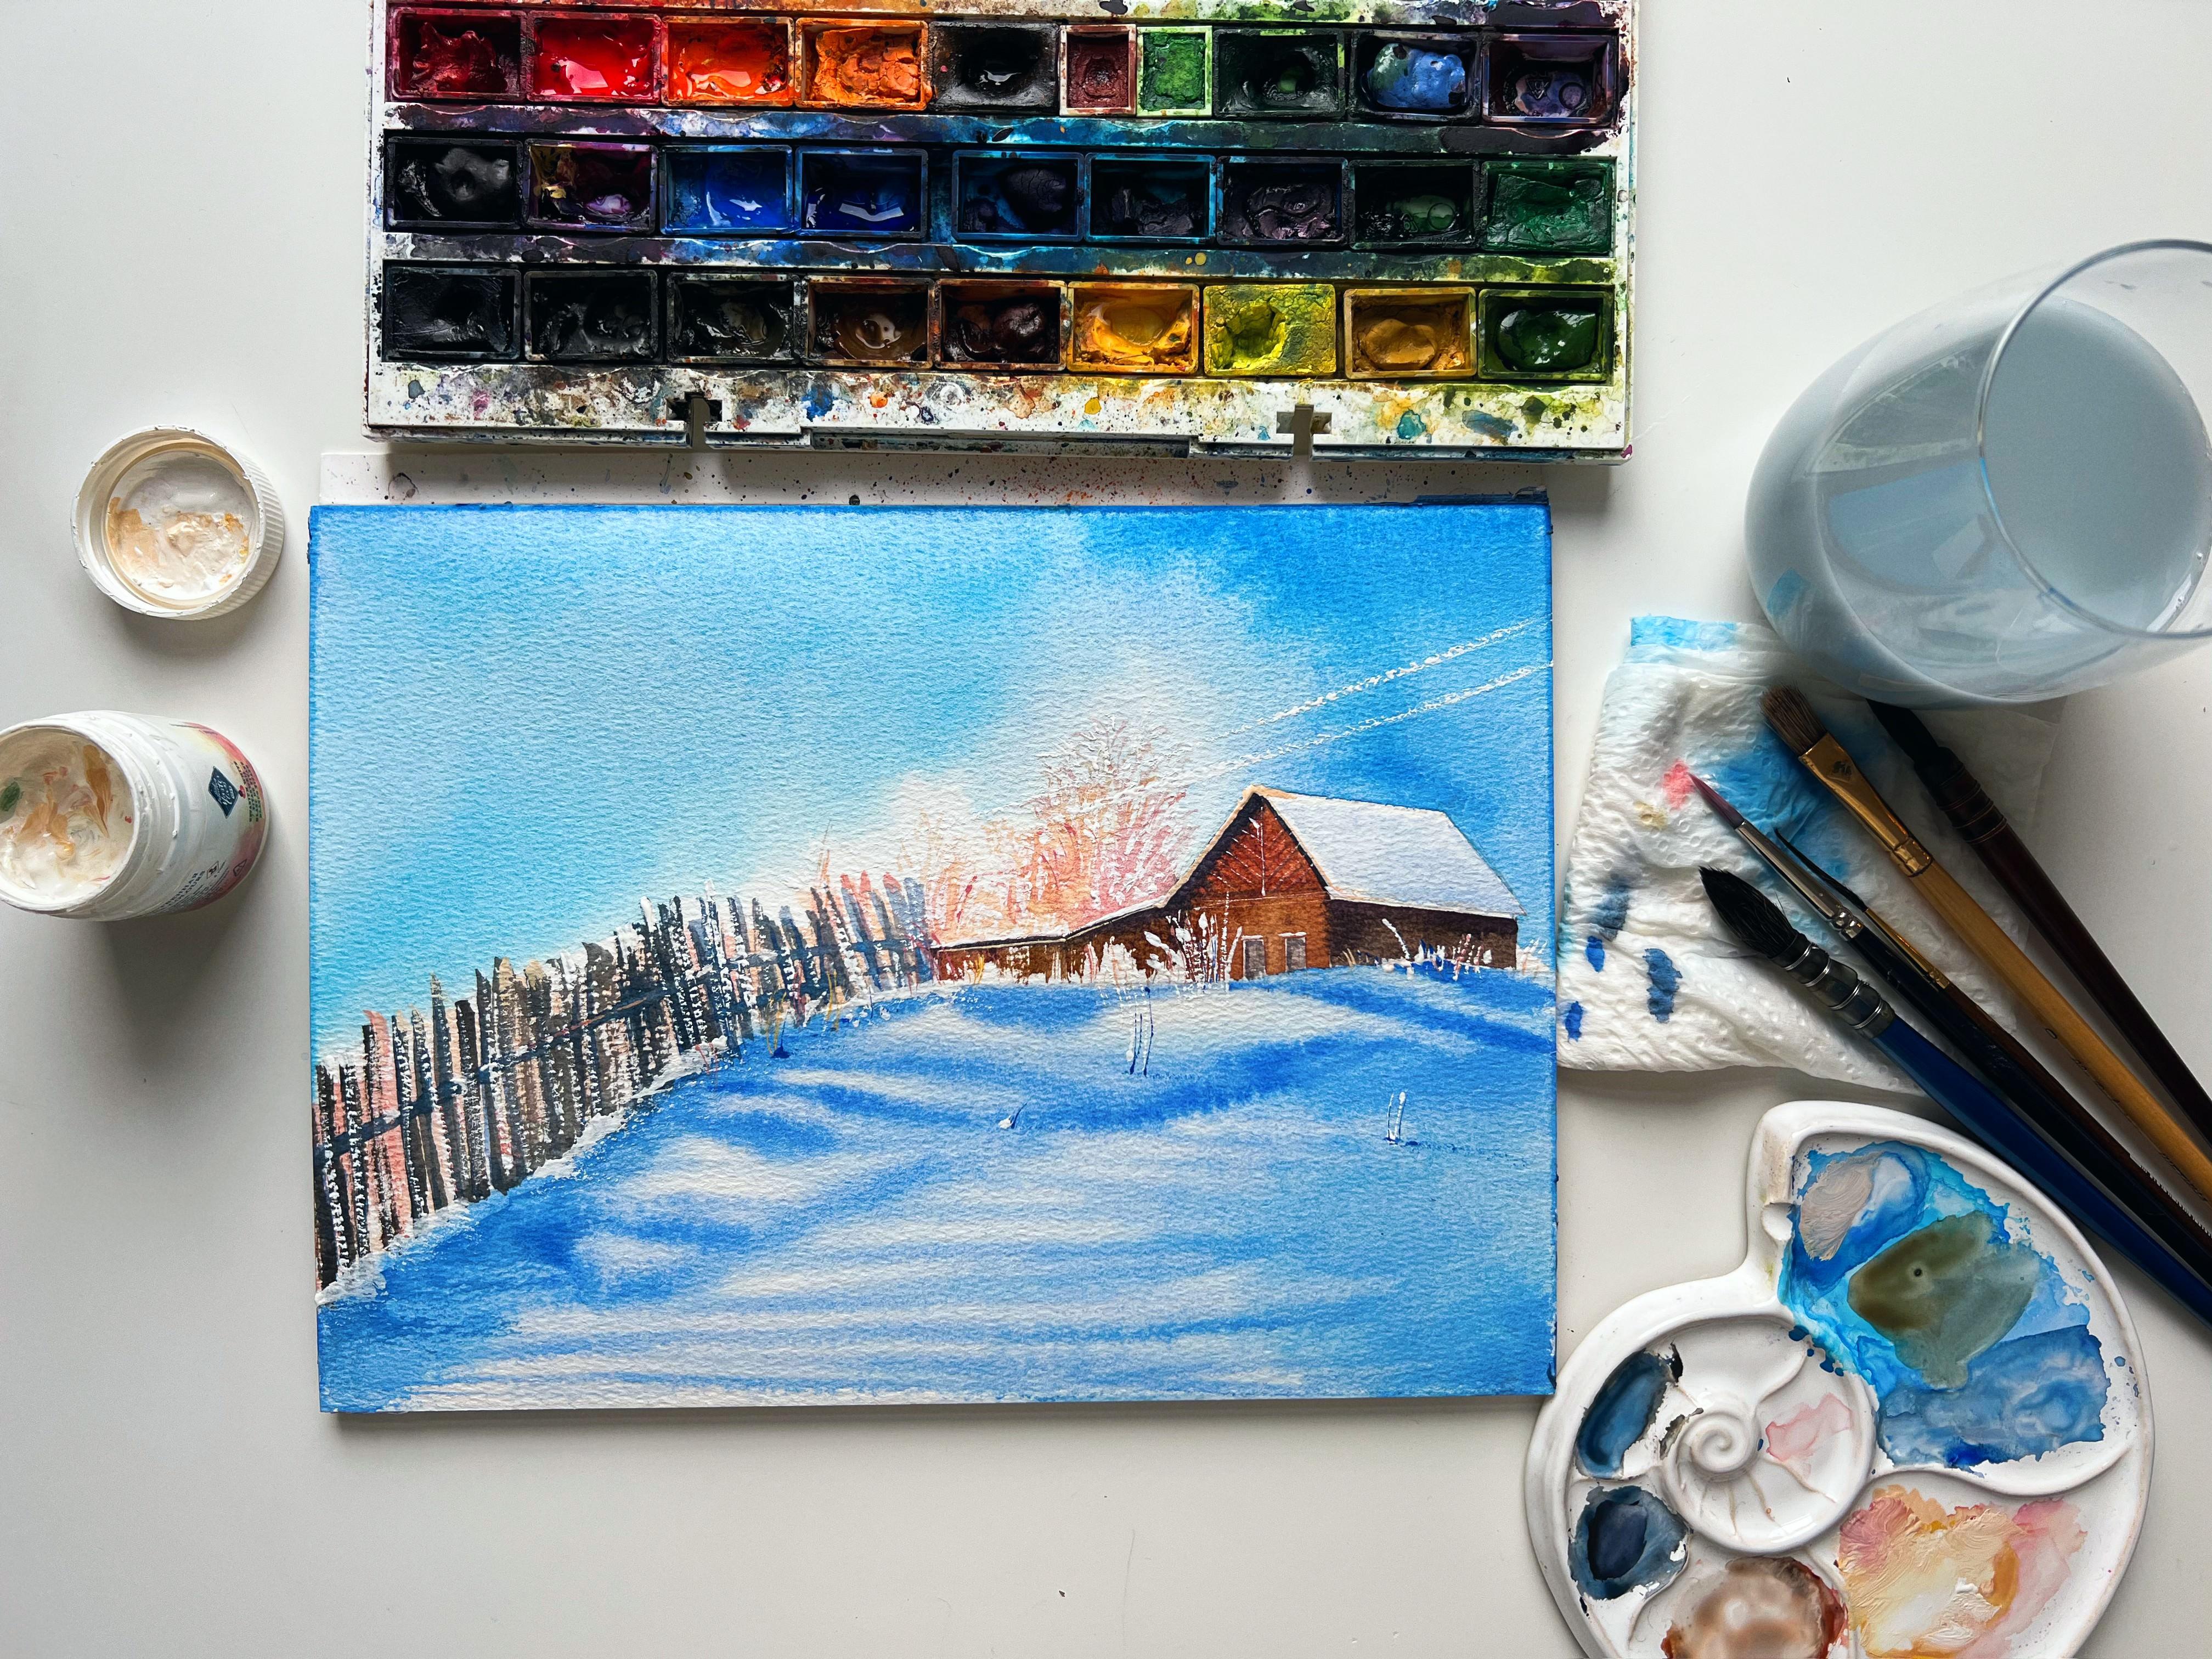
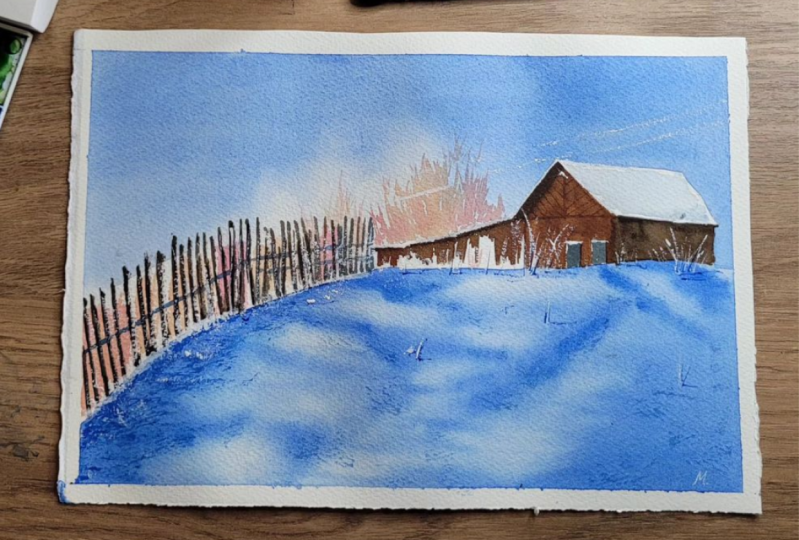
if you subscribe today, I would like to paint
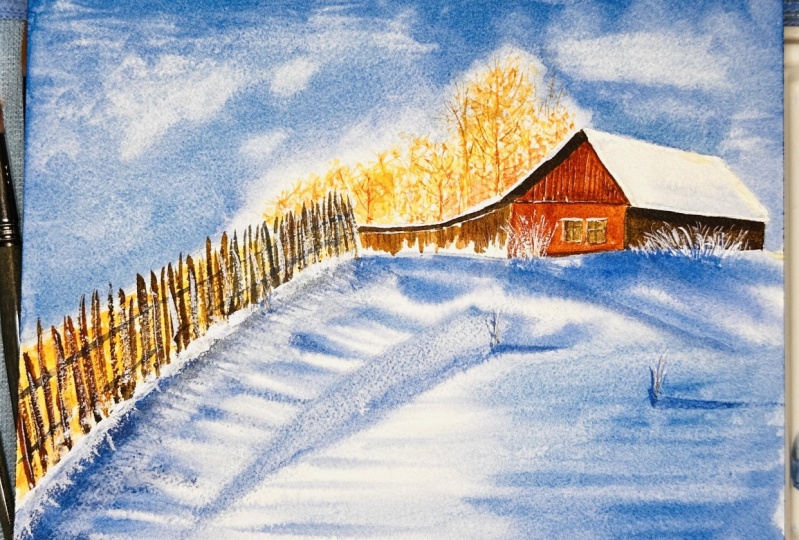
winter landscape with you. Yes, I know it's
already January, but I want to manage to paint this winter mood at least
once in this season with you. In this lesson, you
will learn how to prepare pencil drawing
for watercolor painting. Now on how to use
wet-on-wet technique. How to paint using
only clean water, how to paint snow, and how to paint
for ice to trees. So you will learn how to paint small details with
white gouache. How to use liner brush. So let's get started.
2. Step 1: pencil drawing: I started with the
pencil drawing. First, I draw the horizon line, then I outline the
fence and draw a house. You may find the house
difficult to draw, but try to break it down into simple geometric
shapes and lines. The roof at the front
looks like a triangle. Just remember to give
the roof some thickness. So it doesn't look
like a flat piece of paper vary from the site
is a parallelogram. The walls of the
house or rectangles. Now you can outline
small objects or a pattern on the
roof of the house, but don't go into
too much detail. It's important to keep the
pencil sketch light and clean so that it helps us in the next steps and
not confuse this. I also drove windows. These are two rectangles
slightly shifted the horizon line higher to be closer to the original
photo reference.
3. Step 2: wet on wet technique : I like to paint the first
layer in wet-on-wet technique. To do this, I read the entire space with the
sky, with clean water. While the water is
soaking into the sheet, I mixed the desire to paint
on the palette and mix cobalt and cerulean blue to
achieve a bright blue shade. Due to the fact we apply
paint on wet paper, the paint quickly spreads
over the sheet and doesn't leave streaks or
uneven color spots. In order to mix different
shapes and layers of paint. I tilt this sheet of paper to paint the prostate trees
in the background. I rinse my brush out and drop drops of clean water into
the necessary areas, then a tilt to the
clipboard again. Like the clean water, push the pigment out of the
paper and leave a white spot. You can form white spots as long as the paper remains wet. You can add more drops of
clean water as I did to increase the area of
frosted trees or not. If you're happy with
the current shape, to make the trees even whiter and to fix
the current shape, I collect excess
water with a napkin. Watercolor paint spreads
only on wet paper. The paper is dry, then the paint will not
flow them. This way. You can manage and
control the watercolor on the sheet of paper
while the sky dries up, I will move on to painting
the shadow in the foreground. I'm again working in
wet-on-wet technique. So first, I wet the entire area with the
snow with clean water. Then I take the same colors that I used during
painting the sky, but dilute it a little
more with water. Snow itself has no color, but it perfectly reflects
the light of objects around. In our case, the snow
reflects the color sky, only making it less saturated. When depicting snow, it's
important to look at the reference and add
blue paint on your way. You see it in the
reference photo. I think you noticed what
an interesting shadow in the form of horizontal lines
costs offense on the snow. Therefore, appendix
lines to depict snow. Thanks to the wet paper, this lines will blur
a little and we can get a more natural
shadow on the snow. Yeah, the fence, the shadows in the snow is more saturated, so don't be afraid to add
more blue paint here. Now, I take a small
synthetic brush to paint the shadows on
this no more accurately. I carefully look at the
reference and repeat the lines of the shadow in
accordance with the water. The shadow from the fence
on the left side of the picture is more curved
due to the snowdrift. So I did start the
horizon lines. In the right part
of the picture, the shadow becomes
more straightforward. At this stage, you can increase the blue color
where you want it. In my opinion, I now don't have enough white spots in the snow to bring
back some whiteness. I will use the same trick
as we the trees in the sky. I rinse the brush out and
bend lines with clean water. Due to the fact that
the paper is still wet. The water pushes
the pigment out of the paper and slightly
rinses the areas we need.
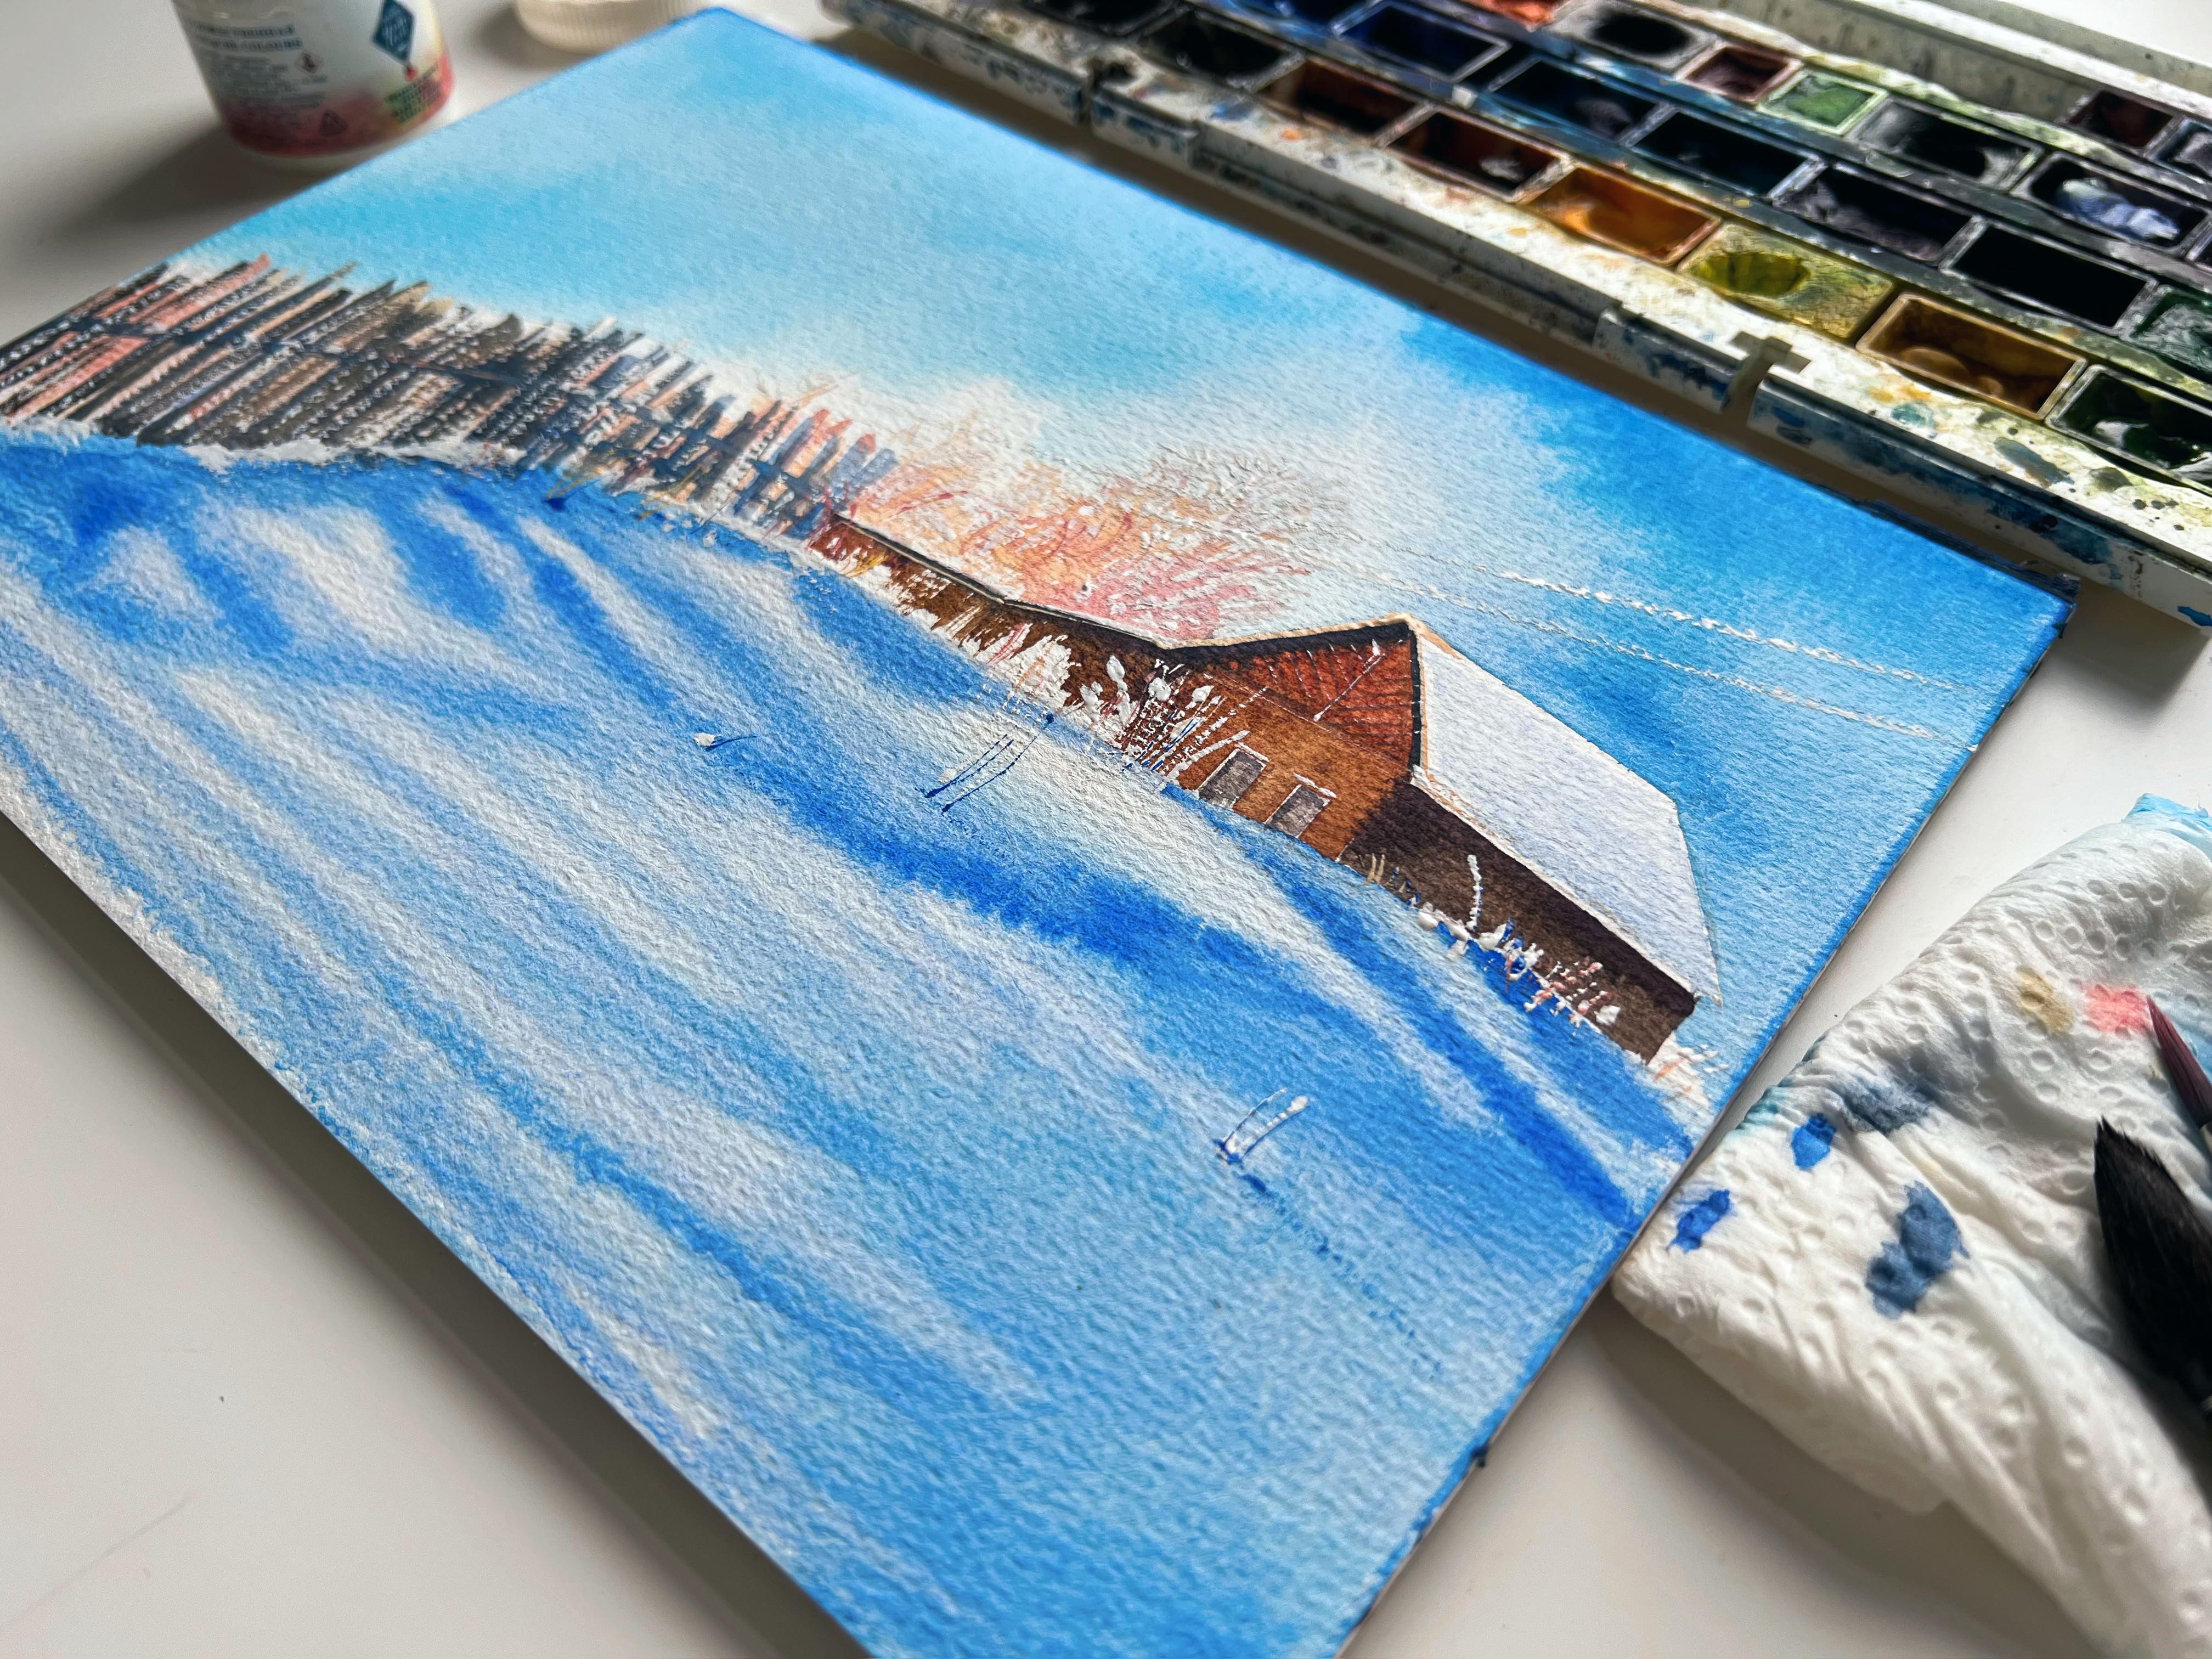
4. Step 3: dry brush technique : Let's continue painting
by going to the fence. I will paint the fence
in a dry technique, since it's important
for me to live a rough glimpses of white paper. This will be frost on the fence. The fence seems to be
illuminated by the sun. I will start painting
with more delicate shades mixed Conakry dawn and yellow
for a warm beach shaped, read this color and make
vertical strokes due to the fact that I paint
on very textured paper, the brush itself
leaves a rough stroke, which helps us to paint frost, remember to slightly
change the shape by adding a little more
yellow ocher, quinacridone, sell your painting will
look more picture sec, I will also pay rent a
house using dry technique. I mixed burnt sienna with
a dark brown and paint over the front side,
except the windows. In dark brown color. I paint the thickness
of the roof. It's important to take a color
darker than the color of the front as the roof is in the shadow with the
same dark brown color. I paint the roof of
other buildings. Next to paint the frost, I take the mix of
burnt sienna with a dark brown color and to
be the cemetery brush, live rough vertical strokes. Such a technique
is possible only with sufficient
roughness of the paper. I paint over the side of the house with a
dark brown color, since it is in the shadow. As you can see, thanks to the correct arrangement of
just two shades of brown, we were able to create volume. Let's get back to
painting the fence with a dark brown color
and the semi dry brush, I paint vertical strokes. These strokes are
the fence boards. Remember to make boards of different length as
shown in the reference. To convert perspective
when painting the fence, you need to make vertical
strokes closer and closer to each other as you
approach the horizon line. Also, the closer the boards
or to the horizon line, the less saturated
the band becomes. More and more called
blue shades appear in the board's Tibet to fit the fence into the
overall landscape? I will in Hayes, the color
of the shadow on the snow. To do this, I take a
rich blue color and paint a shadow in the
first half of the fence, since the rest of the
fence is far away from us, the shadow on the snow
is not seen so clearly. Mixing blue and brown, I bent the horizon
friends board here. I'm looking precisely at
the reference and paint a second horizon line at
the far part of the fence. Also with this blue color, I paint a shadow in the vertical boards of the
fence to give it more volume. Now, I move on to painting
trees covered with frost. I mix yellow and
quinacridone again to get a warm shade and again
with a semi dry brush, I paint rough strokes in the middle of the
white spots that we left under the trees to make the trees
look more elegant, I paint thin branches along
the edge of the trees. Here it is also important
to change the shape of the frost by adding a little
more quinacridone or yellow, don't go over, walk
with the trees. It's important to
keep them soft and translucent to
convey the feeling. Frost sparkling in the sun. Now I paint the shadow on the snow on the roof
with blue paint. The deepest blue shade will
be at the bottom of the roof. This color, I blur upward
with a clean wet brush.
5. Step 4: white gouache : With a mixture of unbind blue, I paint over the windows. And the paint is slightly noticeable pattern from the boards on the
roof of the house. At this stage, the most small elements in the
house you can see, the more interesting
your painting will look. The last step, we will paint small elements using
white gouache. I want to paint some
blades of grass that protrude from
the snowdrift. For this, I use a liner brush
thanks to the long pile, this brush list and
predictable strokes that perfectly depict the
texture of the grass. With the same brush, I add white vertical strokes to the fence represent the pros. I also add some light
highlights to the snow under the fence and they paint frozen wires. Now I've jumped a painting
light highlights on the house. I select the roof and the windows with
white gouache lethal. And again, paint a pattern
on the front of the house. With the same brush. I add a dark blue shadow to the blades of grass to
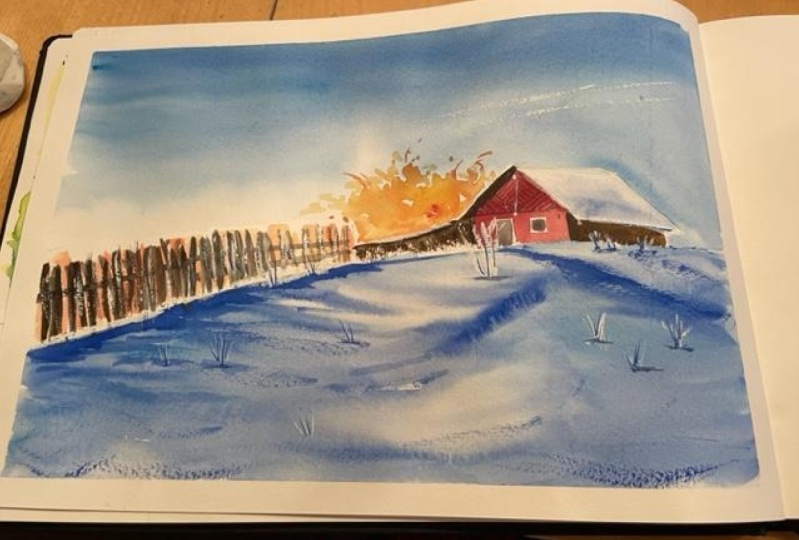
make them water minus. That's all. Thank you for watching my lesson. I really appreciate that
you trust me as a teacher. Don't forget to subscribe to
my Skillshare channel to be the first Kronos about
new watercolor lessons. And also feel free to share your work in students
projects section, I will be very, very glad to see your
progress and your results. Write me about your difficulties and what was easy for you. It is always interesting to get feedback about my
watercolor lesson. So thanks again. And they help to see you soon. Bye.
 Ekaterina Azeeva, watercolor artist