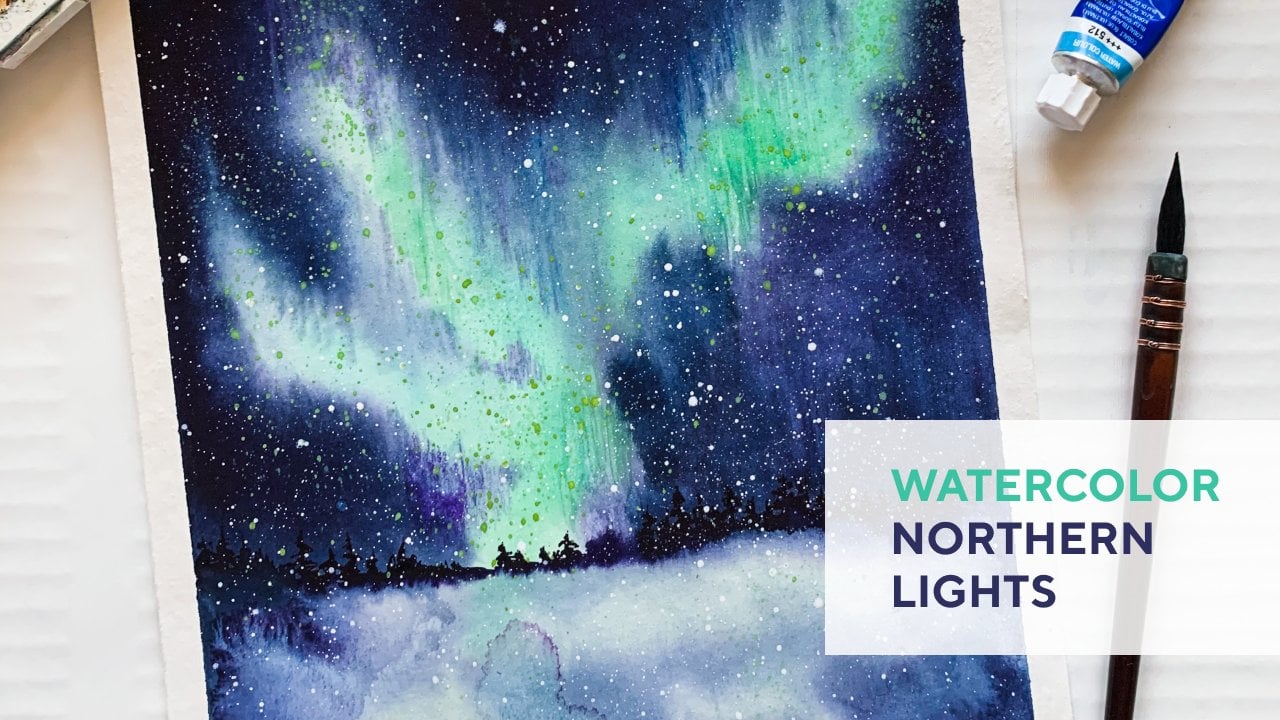
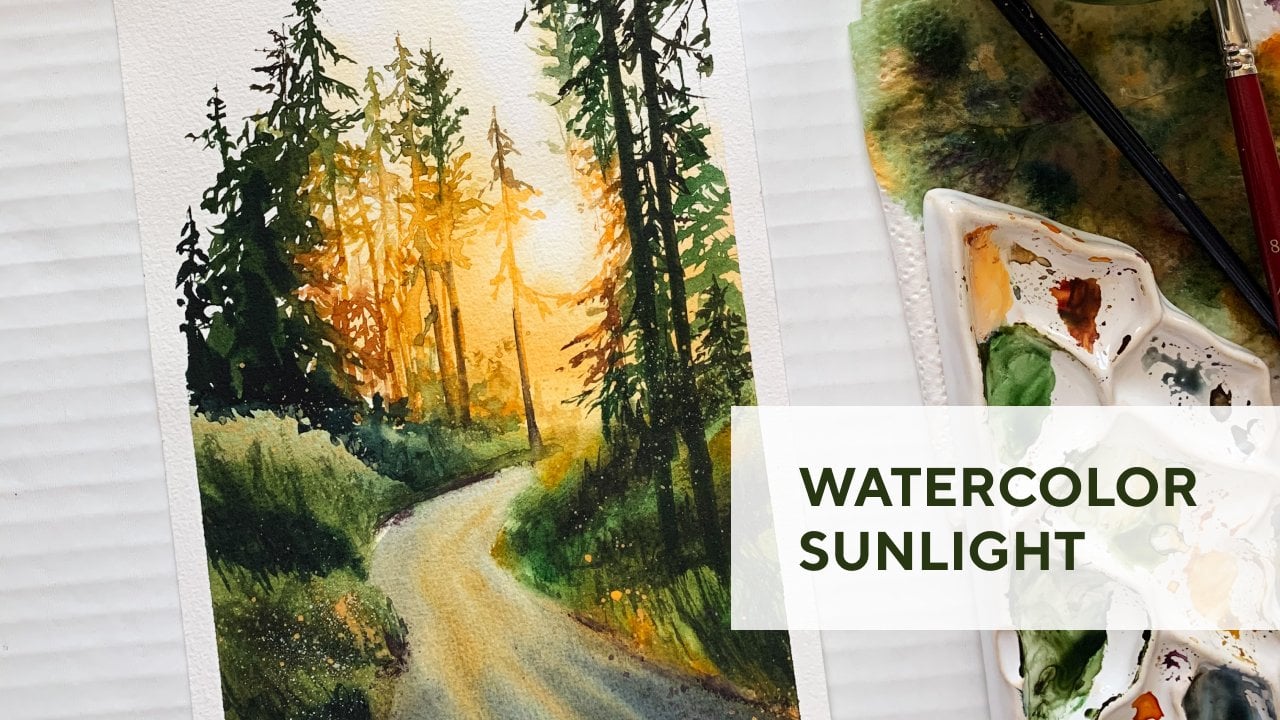
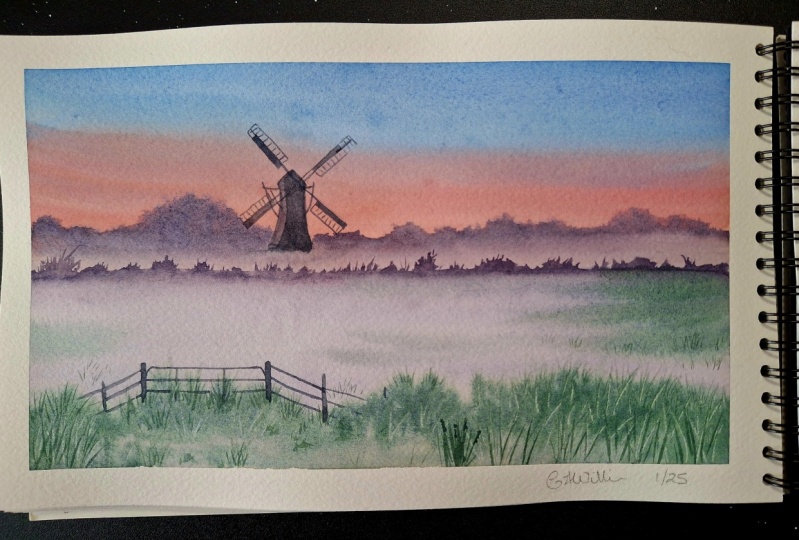
How to draw fog with watercolor?
 Ekaterina Azeeva, watercolor artist
Watch this class and thousands more
Watch this class and thousands more
Lessons in This Class
-
-
1.
Introduction
1:08
-
2.
Step 1: pencil drawing
2:27
-
3.
Step 2: gradient fill of the sky
3:17
-
4.
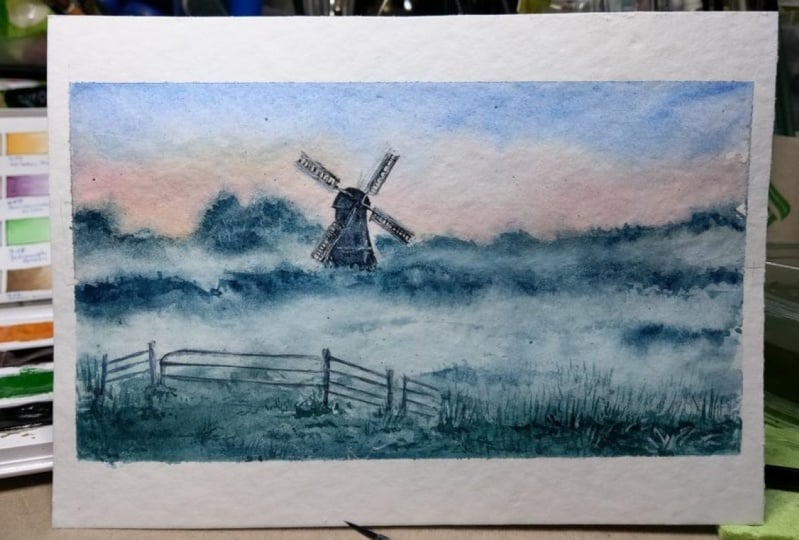
Step 3: forest in the fog
4:44
-
5.
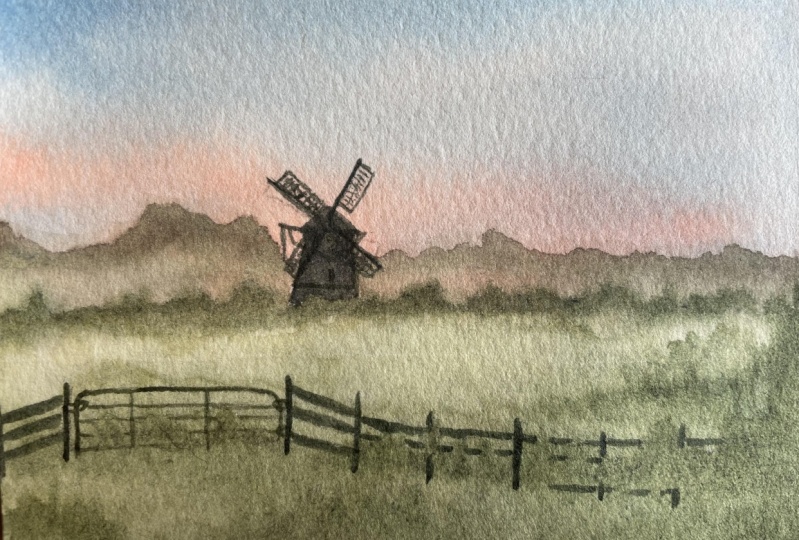
Step 4: the mill drawing
5:25
-
6.
Step 5: grass in the fore
2:36
-
-
- --
- Beginner level
- Intermediate level
- Advanced level
- All levels
Community Generated
The level is determined by a majority opinion of students who have reviewed this class. The teacher's recommendation is shown until at least 5 student responses are collected.
560
Students
23
Projects
About This Class
Hello!
My name is Katya. And I have been painting with watercolor for almost 5 years. During this time, I made more than 60 offline workshops. And now I want to share my knowledge with more people. I believe that everyone can draw and I want you to believe in this too!
This lesson is perfect for watercolor lovers of all levels.
If you just start drawing, then you will learn the technique "wet on wet" and will know how to fix things you don't like.
If you already paint with watercolor, you can deepen your knowledge of color combinations and watercolor techniques.
In addition, I will tell you:
- how to make gradient fill;
- about drawing with semi-dry brush;
- how to draw fog;
- why the sequence of using color is so important;
- how to combine the whole picture by color.
In the end of the lesson, you will get a new watercolor drawing and the skills that you will need in the further study of watercolor.
You can find reference photo and my drawings in the attached files.
Meet Your Teacher

Hello! My name is Katya.
And I have been painting with watercolor for almost 7 years. During this time, I made more than 60 offline workshops. And now I want to share my knowledge with more people. I believe that everyone can paint and I want you to believe in this too!
I lived in Saint-Petersburg and now I am based in Berlin.
See full profile
Hands-on Class Project
I will be happy to see your drawings! Just share it with us.
Do not be shy about your works, because this is a part of you. It is your unique sensation and vision.

Class Ratings
Why Join Skillshare?
Take award-winning Skillshare Original Classes
Each class has short lessons, hands-on projects
Your membership supports Skillshare teachers
Learn From Anywhere
Take classes on the go with the Skillshare app. Stream or download to watch on the plane, the subway, or wherever you learn best.