How to create Bokeh Effect in Watercolor Painting | Ekaterina Azeeva | Skillshare

Playback Speed


1.0x


  • 0.5x
  • 0.75x
  • 1x (Normal)
  • 1.25x
  • 1.5x
  • 1.75x
  • 2x

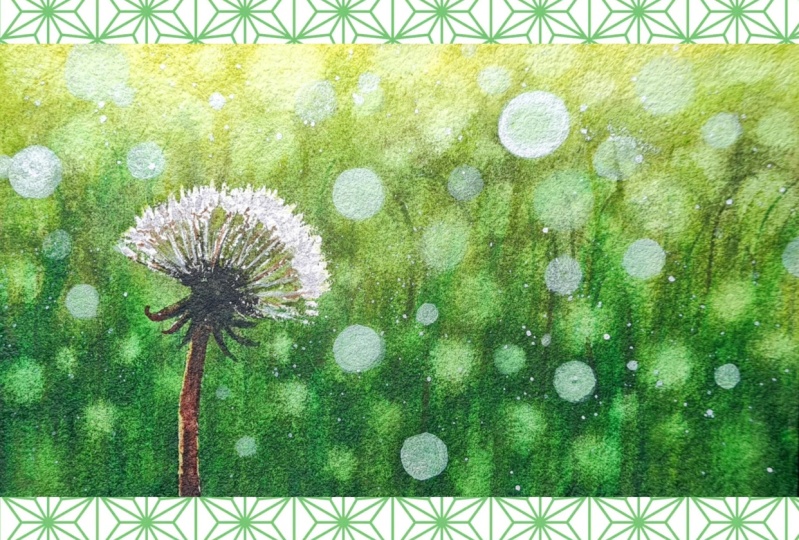
How to create Bokeh Effect in Watercolor Painting

teacher avatar Ekaterina Azeeva, watercolor artist

Watch this class and thousands more

Get unlimited access to every class
Taught by industry leaders & working professionals
Topics include illustration, design, photography, and more

Watch this class and thousands more

Get unlimited access to every class
Taught by industry leaders & working professionals
Topics include illustration, design, photography, and more

Lessons in This Class

    • 1.

      Introduction

      1:31

    • 2.

      Step 1: pencil drawing

      2:49

    • 3.

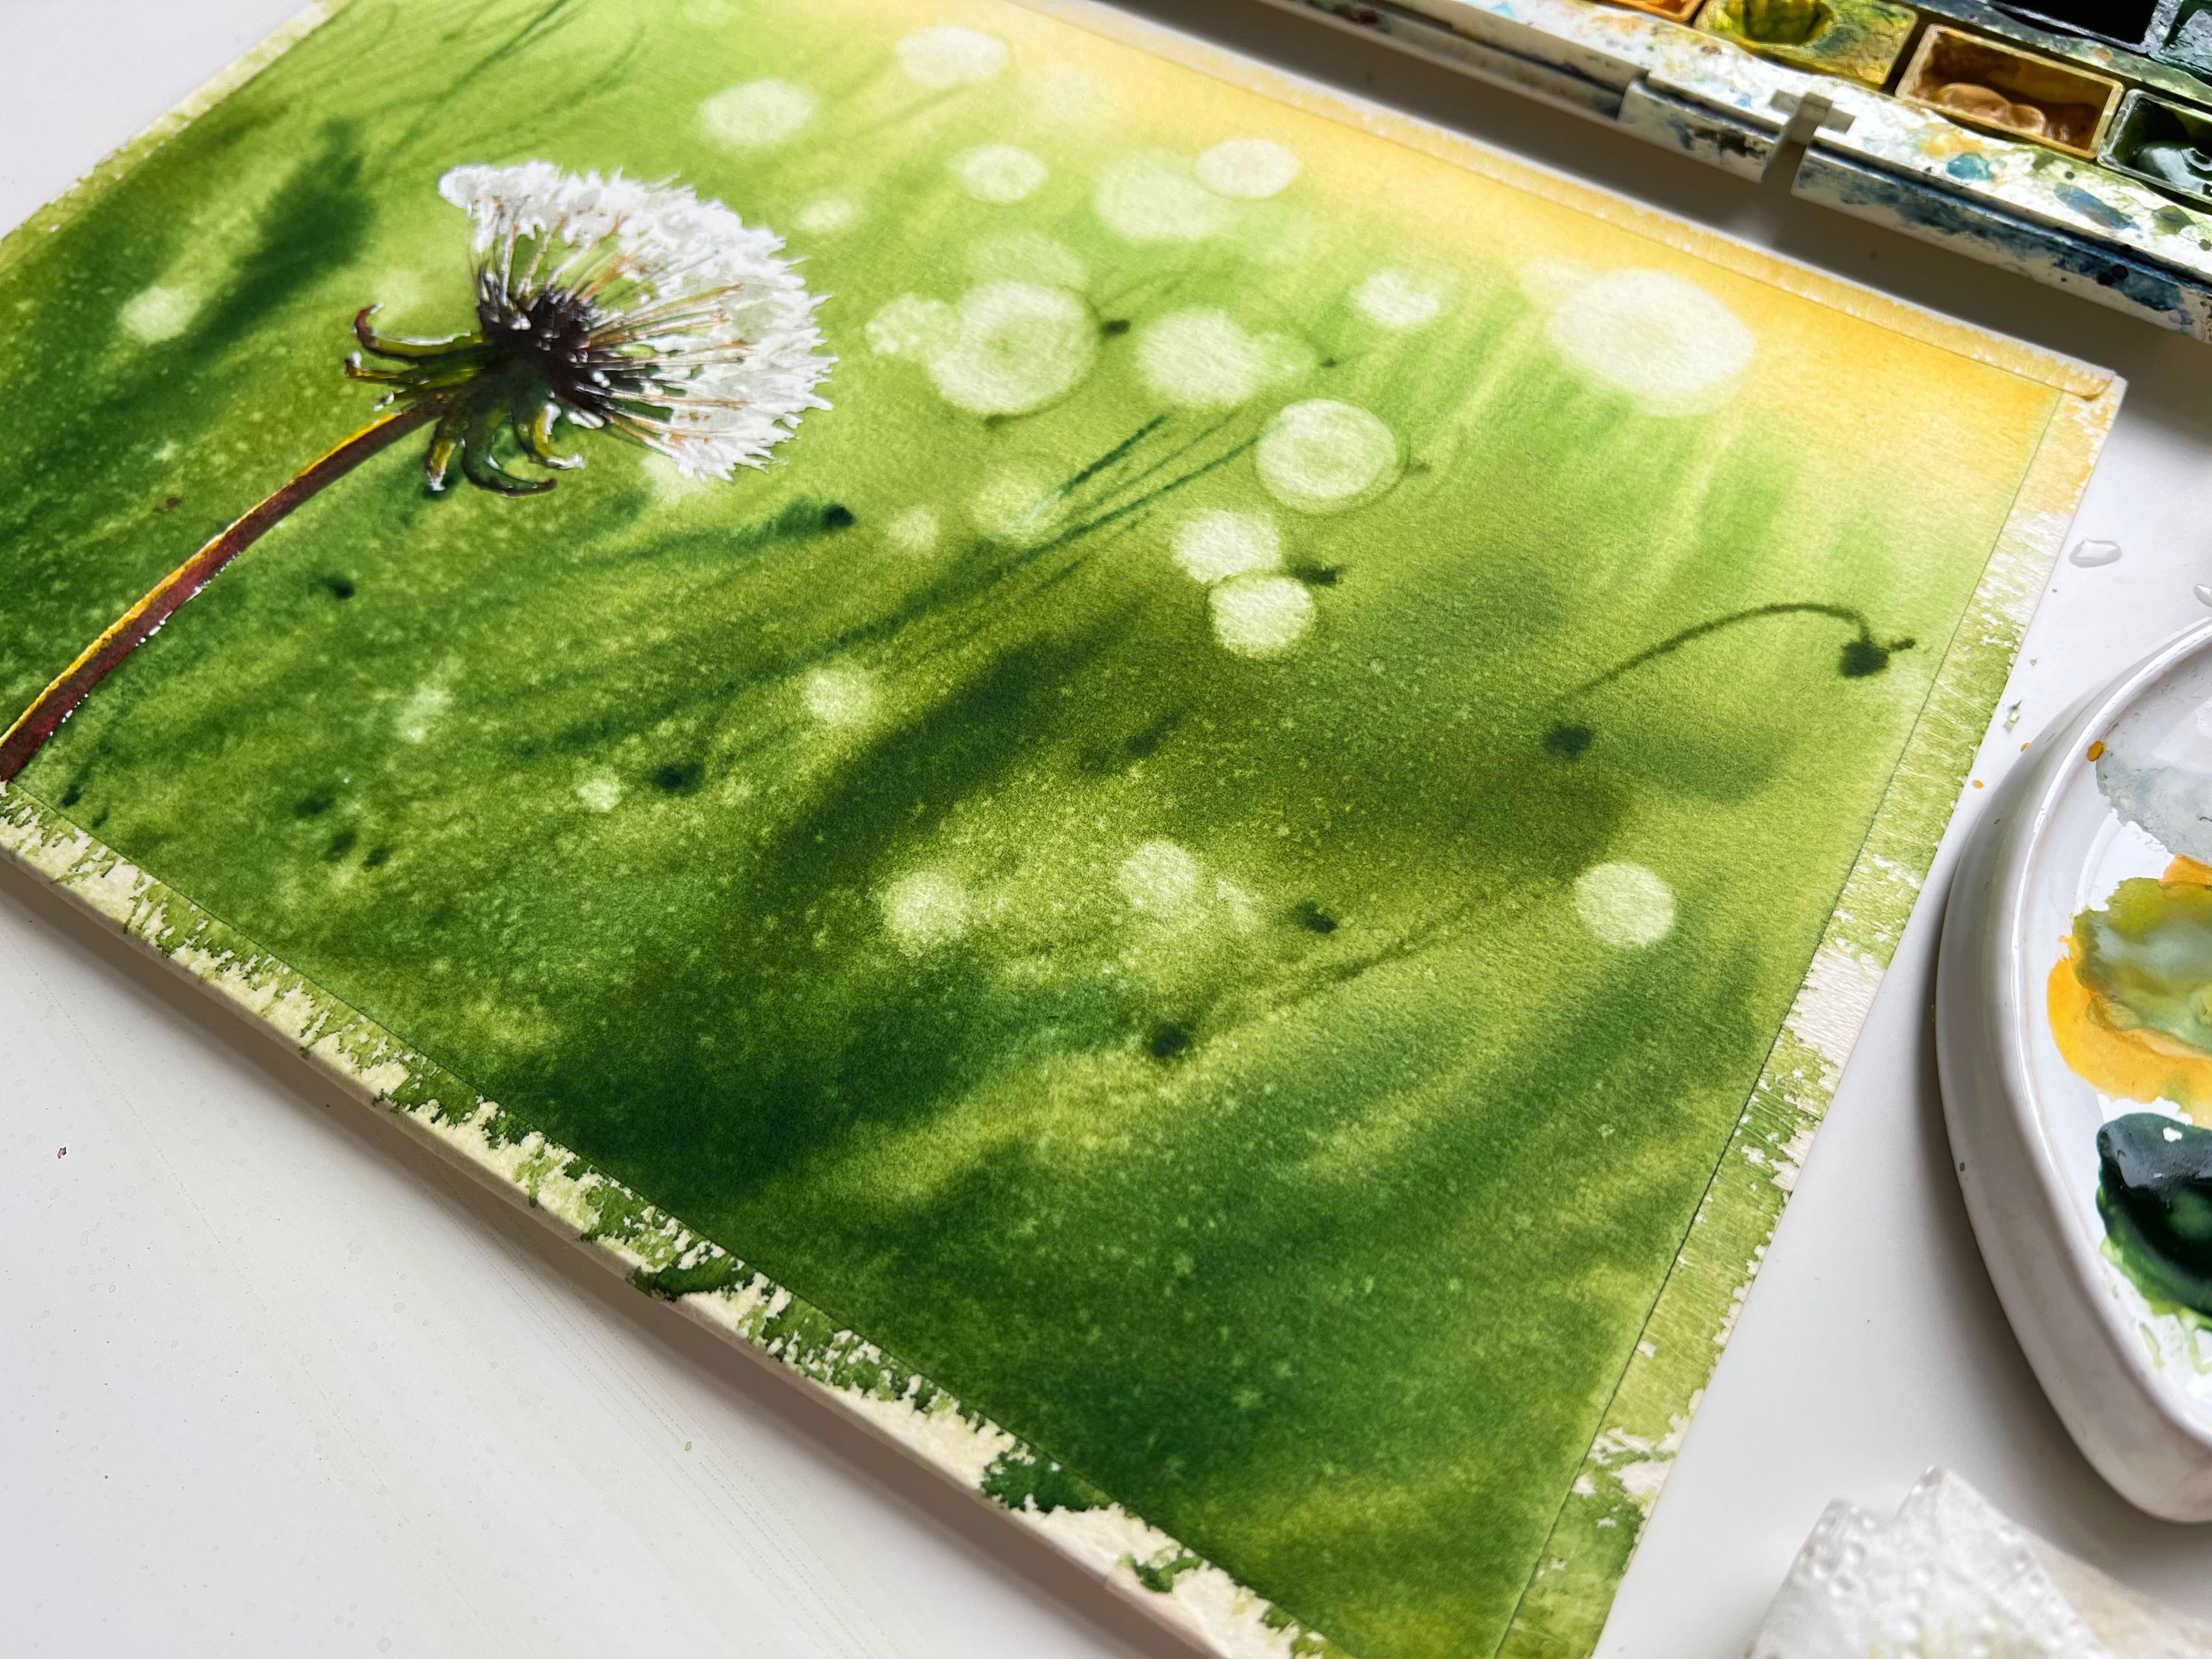
      Step 2: bokeh effect

      4:42

    • 4.

      Step 3: the dandelion

      4:27

  • --
  • Beginner level
  • Intermediate level
  • Advanced level
  • All levels

Community Generated

The level is determined by a majority opinion of students who have reviewed this class. The teacher's recommendation is shown until at least 5 student responses are collected.

247

Students

9

Projects

About This Class

Hello!
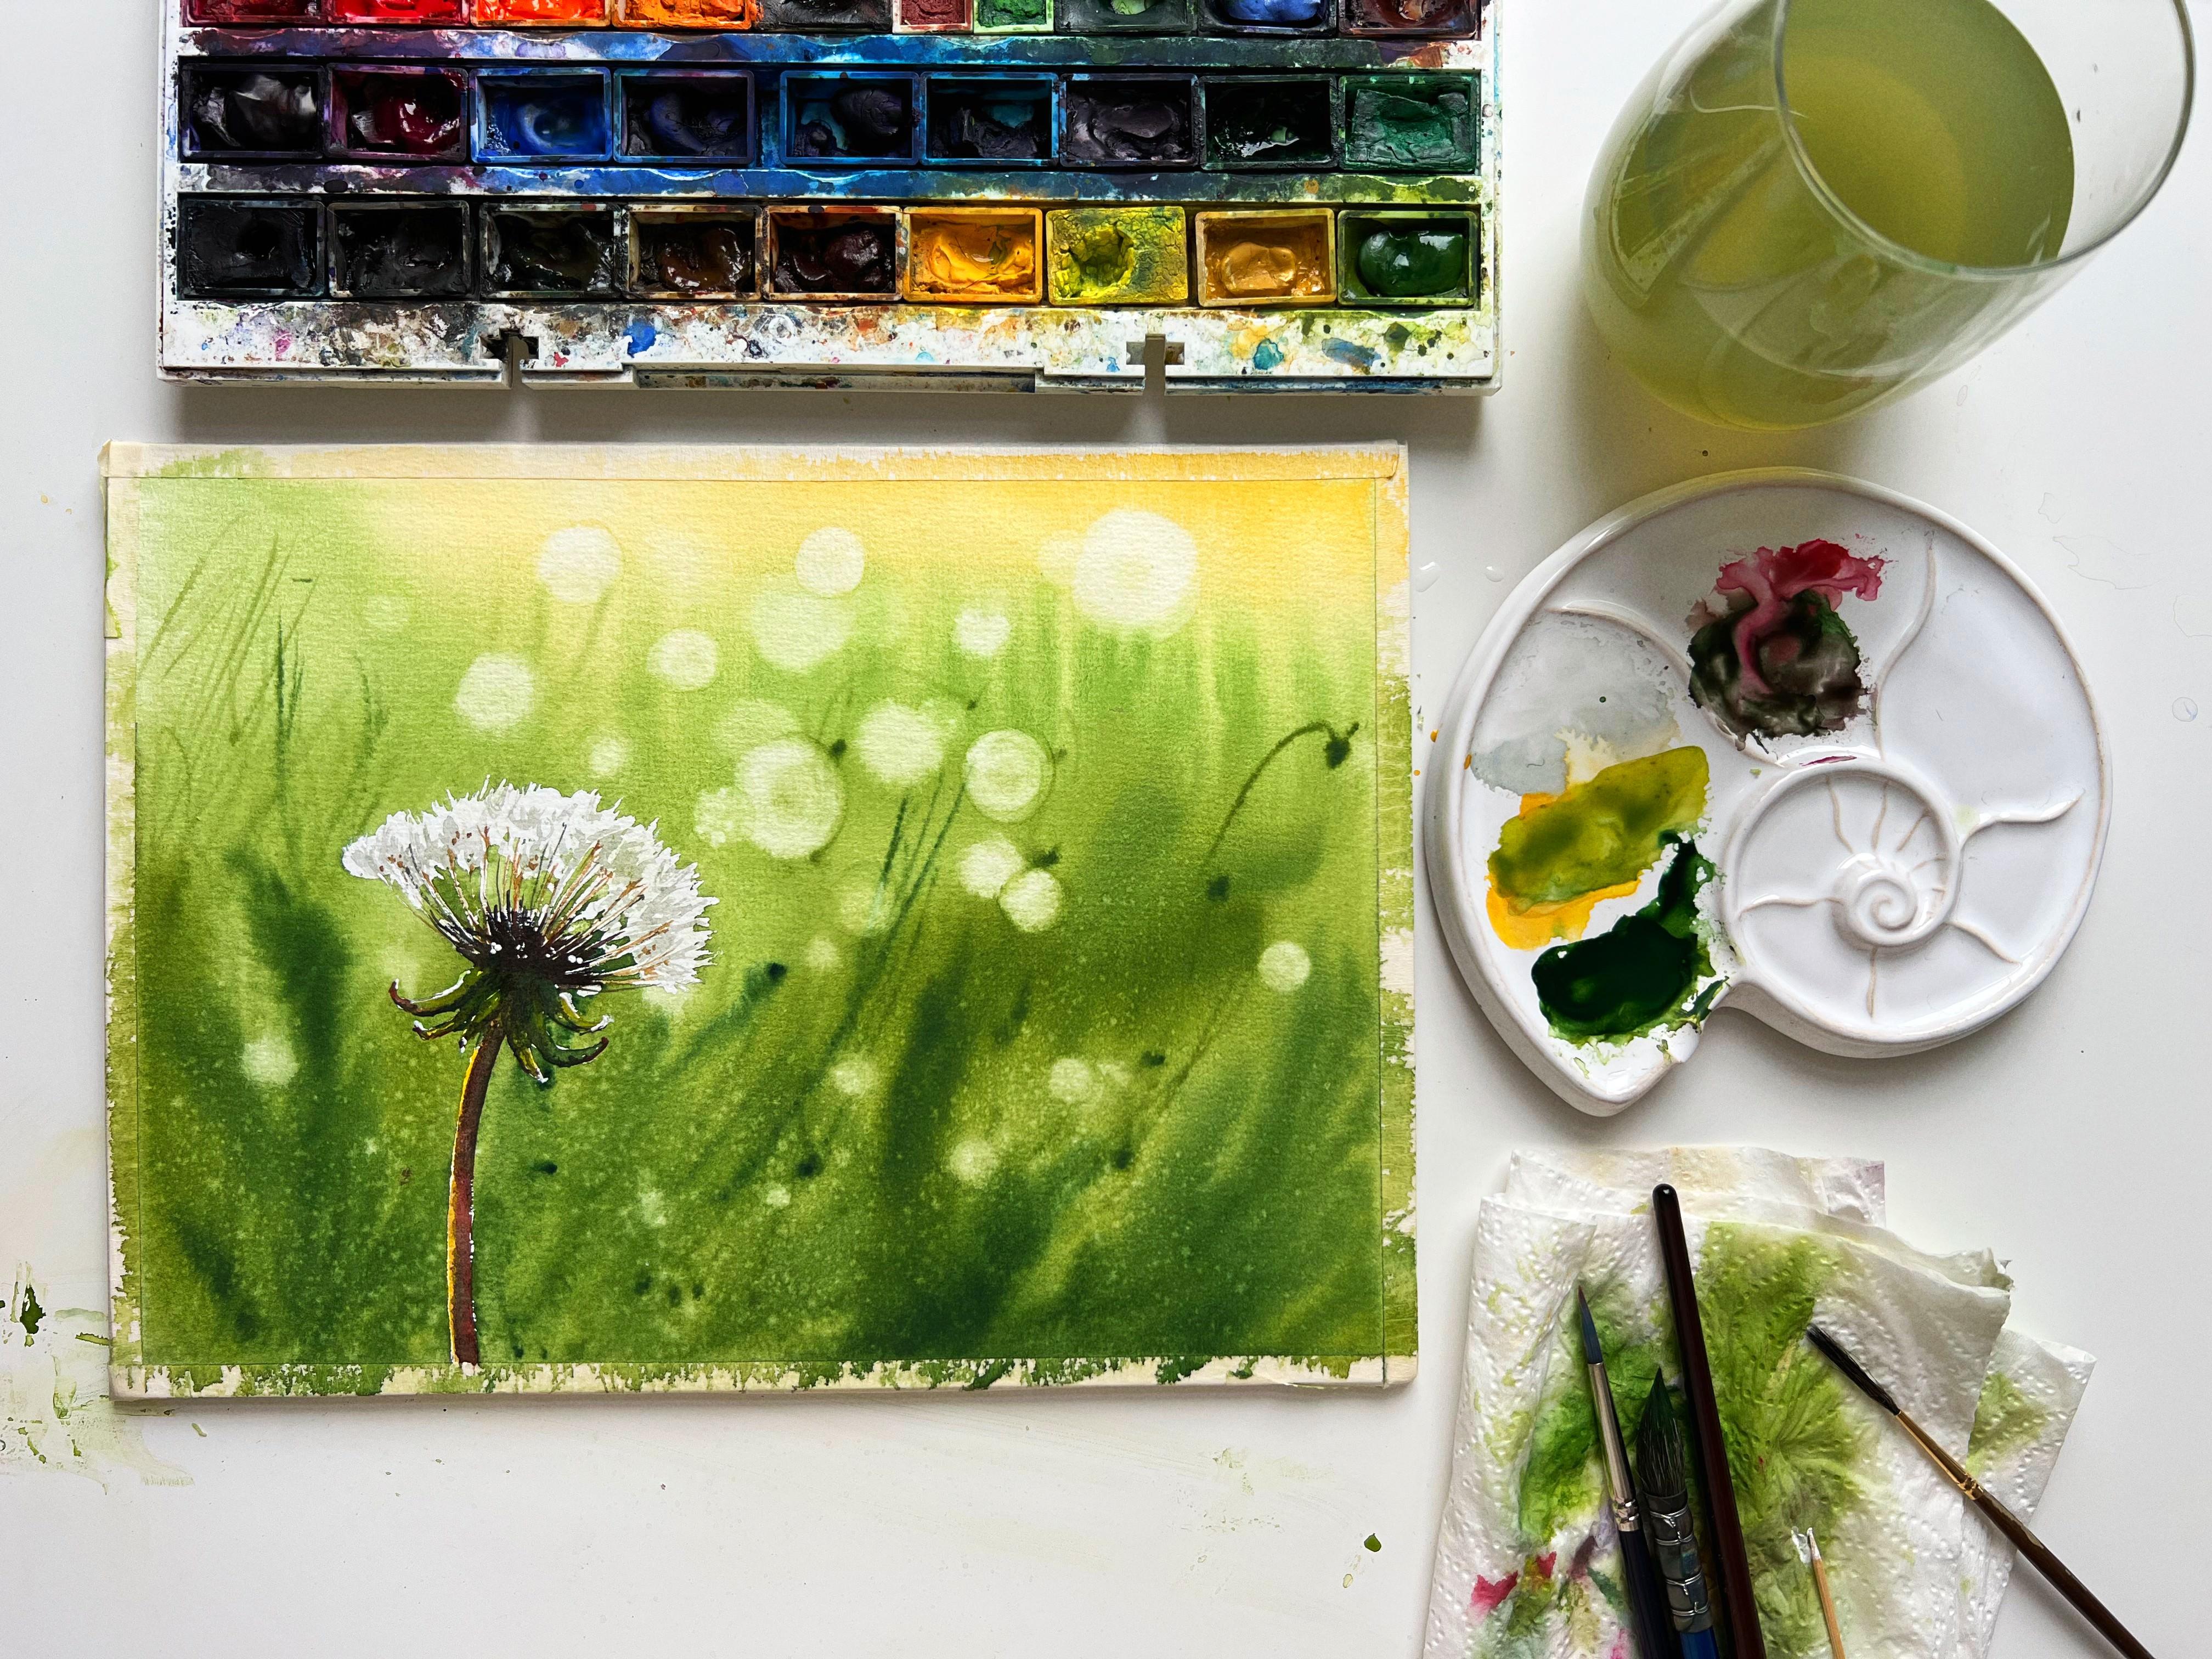
My name is Katya. And I have been painting with watercolor for almost 7 years. During this time, I made more than 60 offline workshops. And now I want to share my knowledge with more people. I believe that everyone can paint and I want you to believe in this too!

This lesson is perfect for watercolor artists of all levels.

If you just start painting, then you will learn the "wet on wet" technique and how to use masking fluid.

If you already paint with watercolor, you will improve knowledge of color contrast and learn how to make bokeh effect in your painting.

In addition, I will explain you how to:
- prepare pencil drawing for watercolor painting;
- work in wet on wet technique;
- make gradient filing;
- paint bokeh effect;
- achieve smooth color transitions;
- use white gouache for small details.

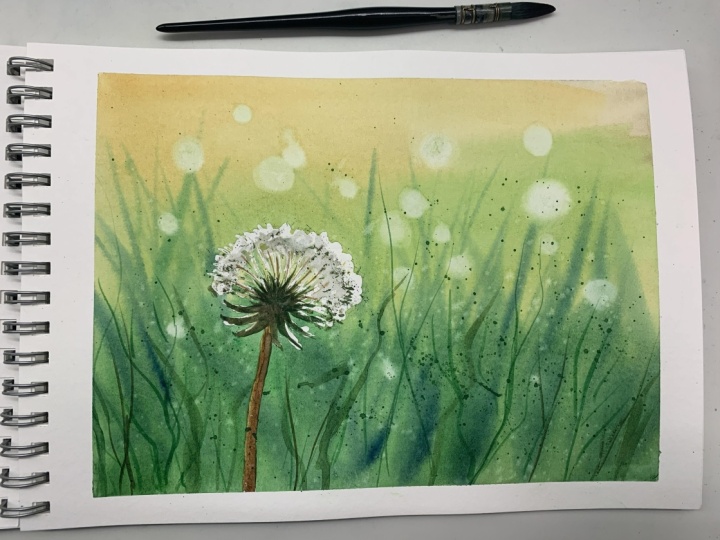
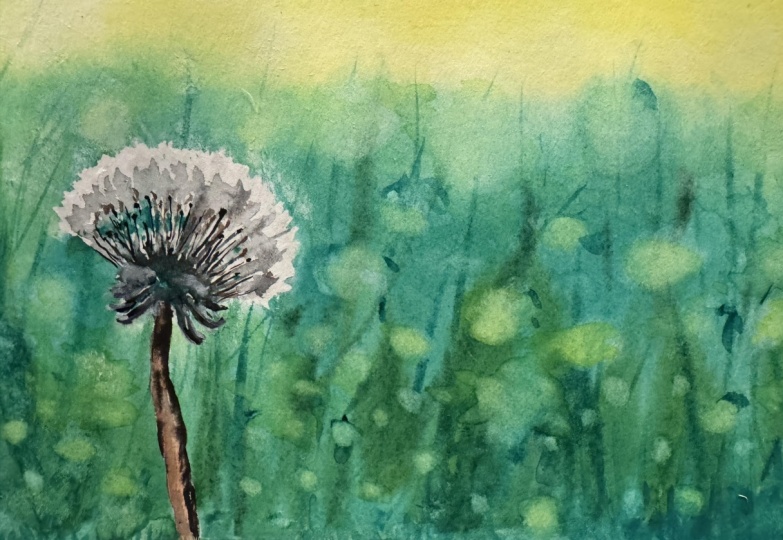
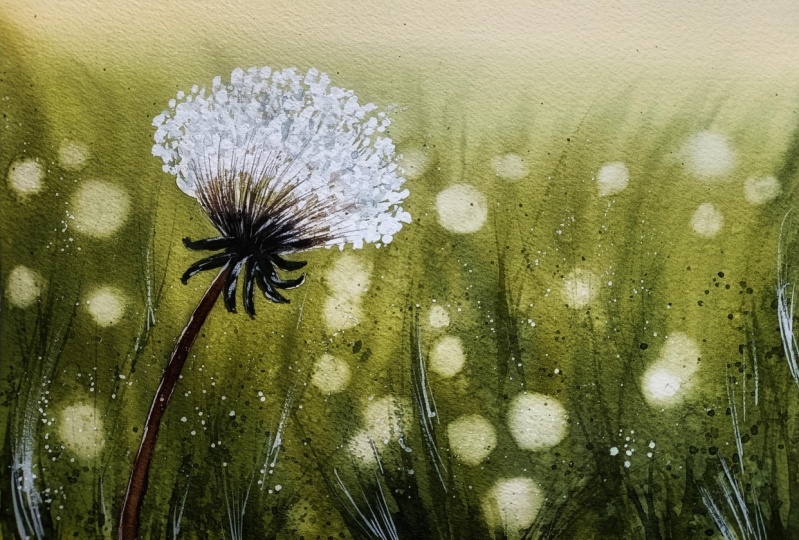
In the end of the lesson, you will get a new watercolor painting. Also you will get the skills that will help you in the further study of watercolor.

You can find reference photo and my paintings in the attached files.
 

Meet Your Teacher

Teacher Profile Image

Ekaterina Azeeva

watercolor artist

Teacher

Hello! My name is Katya.

And I have been painting with watercolor for almost 7 years. During this time, I made more than 60 offline workshops. And now I want to share my knowledge with more people. I believe that everyone can paint and I want you to believe in this too!


I lived in Saint-Petersburg and now I am based in Berlin.


See full profile

Level: All Levels

Class Ratings

Expectations Met?
    Exceeded!
  • 0%
  • Yes
  • 0%
  • Somewhat
  • 0%
  • Not really
  • 0%

Why Join Skillshare?

Take award-winning Skillshare Original Classes

Each class has short lessons, hands-on projects

Your membership supports Skillshare teachers

Learn From Anywhere

Take classes on the go with the Skillshare app. Stream or download to watch on the plane, the subway, or wherever you learn best.

Transcripts

1. Introduction : Hi guys, my name is Kate and I love painting with watercolor. If you would like to know more about my creativity, you can visit my Instagram page. This is my nickname. It will be really glad to have you subscribe. Here I show my daily life as an artist. Also, I write posts about watercolor painting and try my inspiration with you. Today. I would like to paint some applaud with you. I think it's nice to say goodbye to this season and paint last summer plot in this year. This lesson will be usable for artists of any level. Because if you, I experienced artists, you will definitely learn very interesting technique in this lesson. But if you're just a beginner, you're also really like it. Maybe sometimes it will be difficult for you, but you definitely have it. Strength to cope with it. I believe in you, in this tutorial, you will learn how to use masking fluid. How to work in wet on wet technique. How to create a photo effect in your painting. How to paint white objects voluminous. How to use white gouache for painting small details. Let's get started. 2. Step 1: pencil drawing: I start with the pencil drawing first to draw at Dandelion stem. Then I draw a triangular base and outline the borders of flops in a semicircle. In order to better understand where the dark part is a shaded with the pencil. Now I am drawing the flower petals. Their shape resembles cuffed, elongated triangles. Now I make the entire pencil drawing less saturated with an eraser. And before moving on to painting with watercolor, I will use some masking fluid. This liquid preserves white paper due to the fact that it covers the unnecessary errors of the painting with a thin water-proof film. Please note that in order to keep the very thin cover check dandelion fluff, I use a toothpick with a sharp tip. I stretch out the masking liquid and create a more natural than the line h. I also cover the stem and leaves under the Bot with the masking fluid. Masking liquid dry completely before moving on to painting with watercolor. 3. Step 2: bokeh effect: The first layer I will paint in wet-in-wet technique. Using this technique, we will be able to make a soft blurred background. And thanks to this, we will focus the viewer's attention on the dandelion. The first step in wet-on-wet technique is to read the entire surface with clean water. This step, It's important to distribute the water evenly over the sheet and not leave dry spots. Then I move on to watercolor. I like to paint from the lightest shades to the darkest. So it's easy for me to keep the color on the sheet pure. First, I take a mixture of yellow ocher to paint over the top of the sheet. Then they take the grassy color and do some horizontal strokes and below. I tilt the clipboard to allow the paint flow down and thereby blend more smoothly with each other. I add an olive color until the clipboard again, due to the fact that the paper is wet, the layers I easily mixed with each other, forming an even field. I paint over the lower part of the sheet with the same olive color. But at the same time I make brushstrokes depicting blades of grass. I deepen the color even more by mixing dark green paint and olive. I paint blades of grass again, here it's important to make Celtic strokes and trust your hands to make the background a little more detailed. I take a liner brush and paint cultic thin blades of grass in dark green with its long bristles. This brush leaves very natural strokes that perfectly depicted grass. Now it's time to create the photo effect. To do this, you will need a napkin and the clean wet brush with a clean, slightly wet brush, I remove some of the paint from the sheet in the form of circles. Each circle, it's important to wash the brush and dry it on a napkin. This is not done. Then you will not be able to remove some of the pigment from the surface of the sheet. I paint on cotton paper, which means that once the paint dries, I can't wash the pigment off. If you're working on a cellulose paper, then you can remove the paint from the sheet even after drying. In this regard, you now have more time to work. I continue to remove the paint from the sheet in the form of circles of different diameters. Tried to choose an area within which the bokeh effect will be strongest and in which it will decrease where the bokeh effect is the strongest, you need to wash out as many circles of different diameters as possible. I try not to paint white circles next to the dandelion in order to maintain the contrast of white fluff and green grass. When creating this effect, It's important that some of the circles overlap, which are either make the most chocolates at the top of the sheet next to the sunlight. Since the paper is almost dry, I can no longer wash the paint off the sheet to make our background even more interesting, I will sprinkle some clean water on the bottom of the sheet where the paper is still wet, some white stars will appear. This is due to the fact that you water push the pigment out of the paper are bokeh effect is done. Now it's important to completely dry the first layer. 4. Step 3: the dandelion: The first step is to remove the masking liquid in order not to have a stain the white paper with green paint that remains on the masking fluid. This area can be lightly weep to be the dump and African first, then with fingers, I begin to roll up the masking liquid and thereby remove it the sheet. You can also try erasing the masking liquid with an eraser if your fingers get tired. Now, I am moving on to painting white flops to make the white part of the flower look volume. Now, we need to depict shadows. To do this, mix, amber and cobalt to create a warm gray color. And read this scholar at band chaotic, slightly sharp strokes in the middle of the white flower. Here, I often look at the reference to more accurately depict the shadow. In the next step, I paint field lines with burnt sienna to connect the white fluff to the base of the dandelion. I see reddish tint in the dandelion stem. So I mixed green, brown, and red to get the right color. With a little brown and green Edit, I get another most black Karla with which I paint the base of the down the line. While the black color isn't dry yet, I paint the petals under the Bot with dark green. So one color begins to flow smoothly into another. I add a red brown color to the tips of the petals under the Bot. And with the help of a toothpick and white gouache, I add very small details. I paint a few thin lines inside the seed head and pull a couple of white dots. This is highlights inside the black part. That's all. Thank you for watching my lesson. I really appreciate that you trust me, as a teacher. Don't forget to subscribe to my Skillshare count to be the first who knows about new autocatalysis. And also, I wouldn't be really glad to see your paintings in student project section. I really like our watercolor community here, and it's super nice to share my knowledge with you and give you some useful advice is if you want. And I'm so happy when I see your progress. Thanks for these. I hope to see you soon. Bye.