Transcripts
1. Introduction: Hi, guys. I'm Inga
freelance illustrator. Welcome back to my class. I have been painting
for 15 years, and I'm obsessed with procreate, magical themes, and Q stuff. In my classes, I
constantly share the knowledge that I
have about the Procrit, about how to create beautiful
watercolor illustrations traditionally and digitally. And today's class
will be special. We will paint
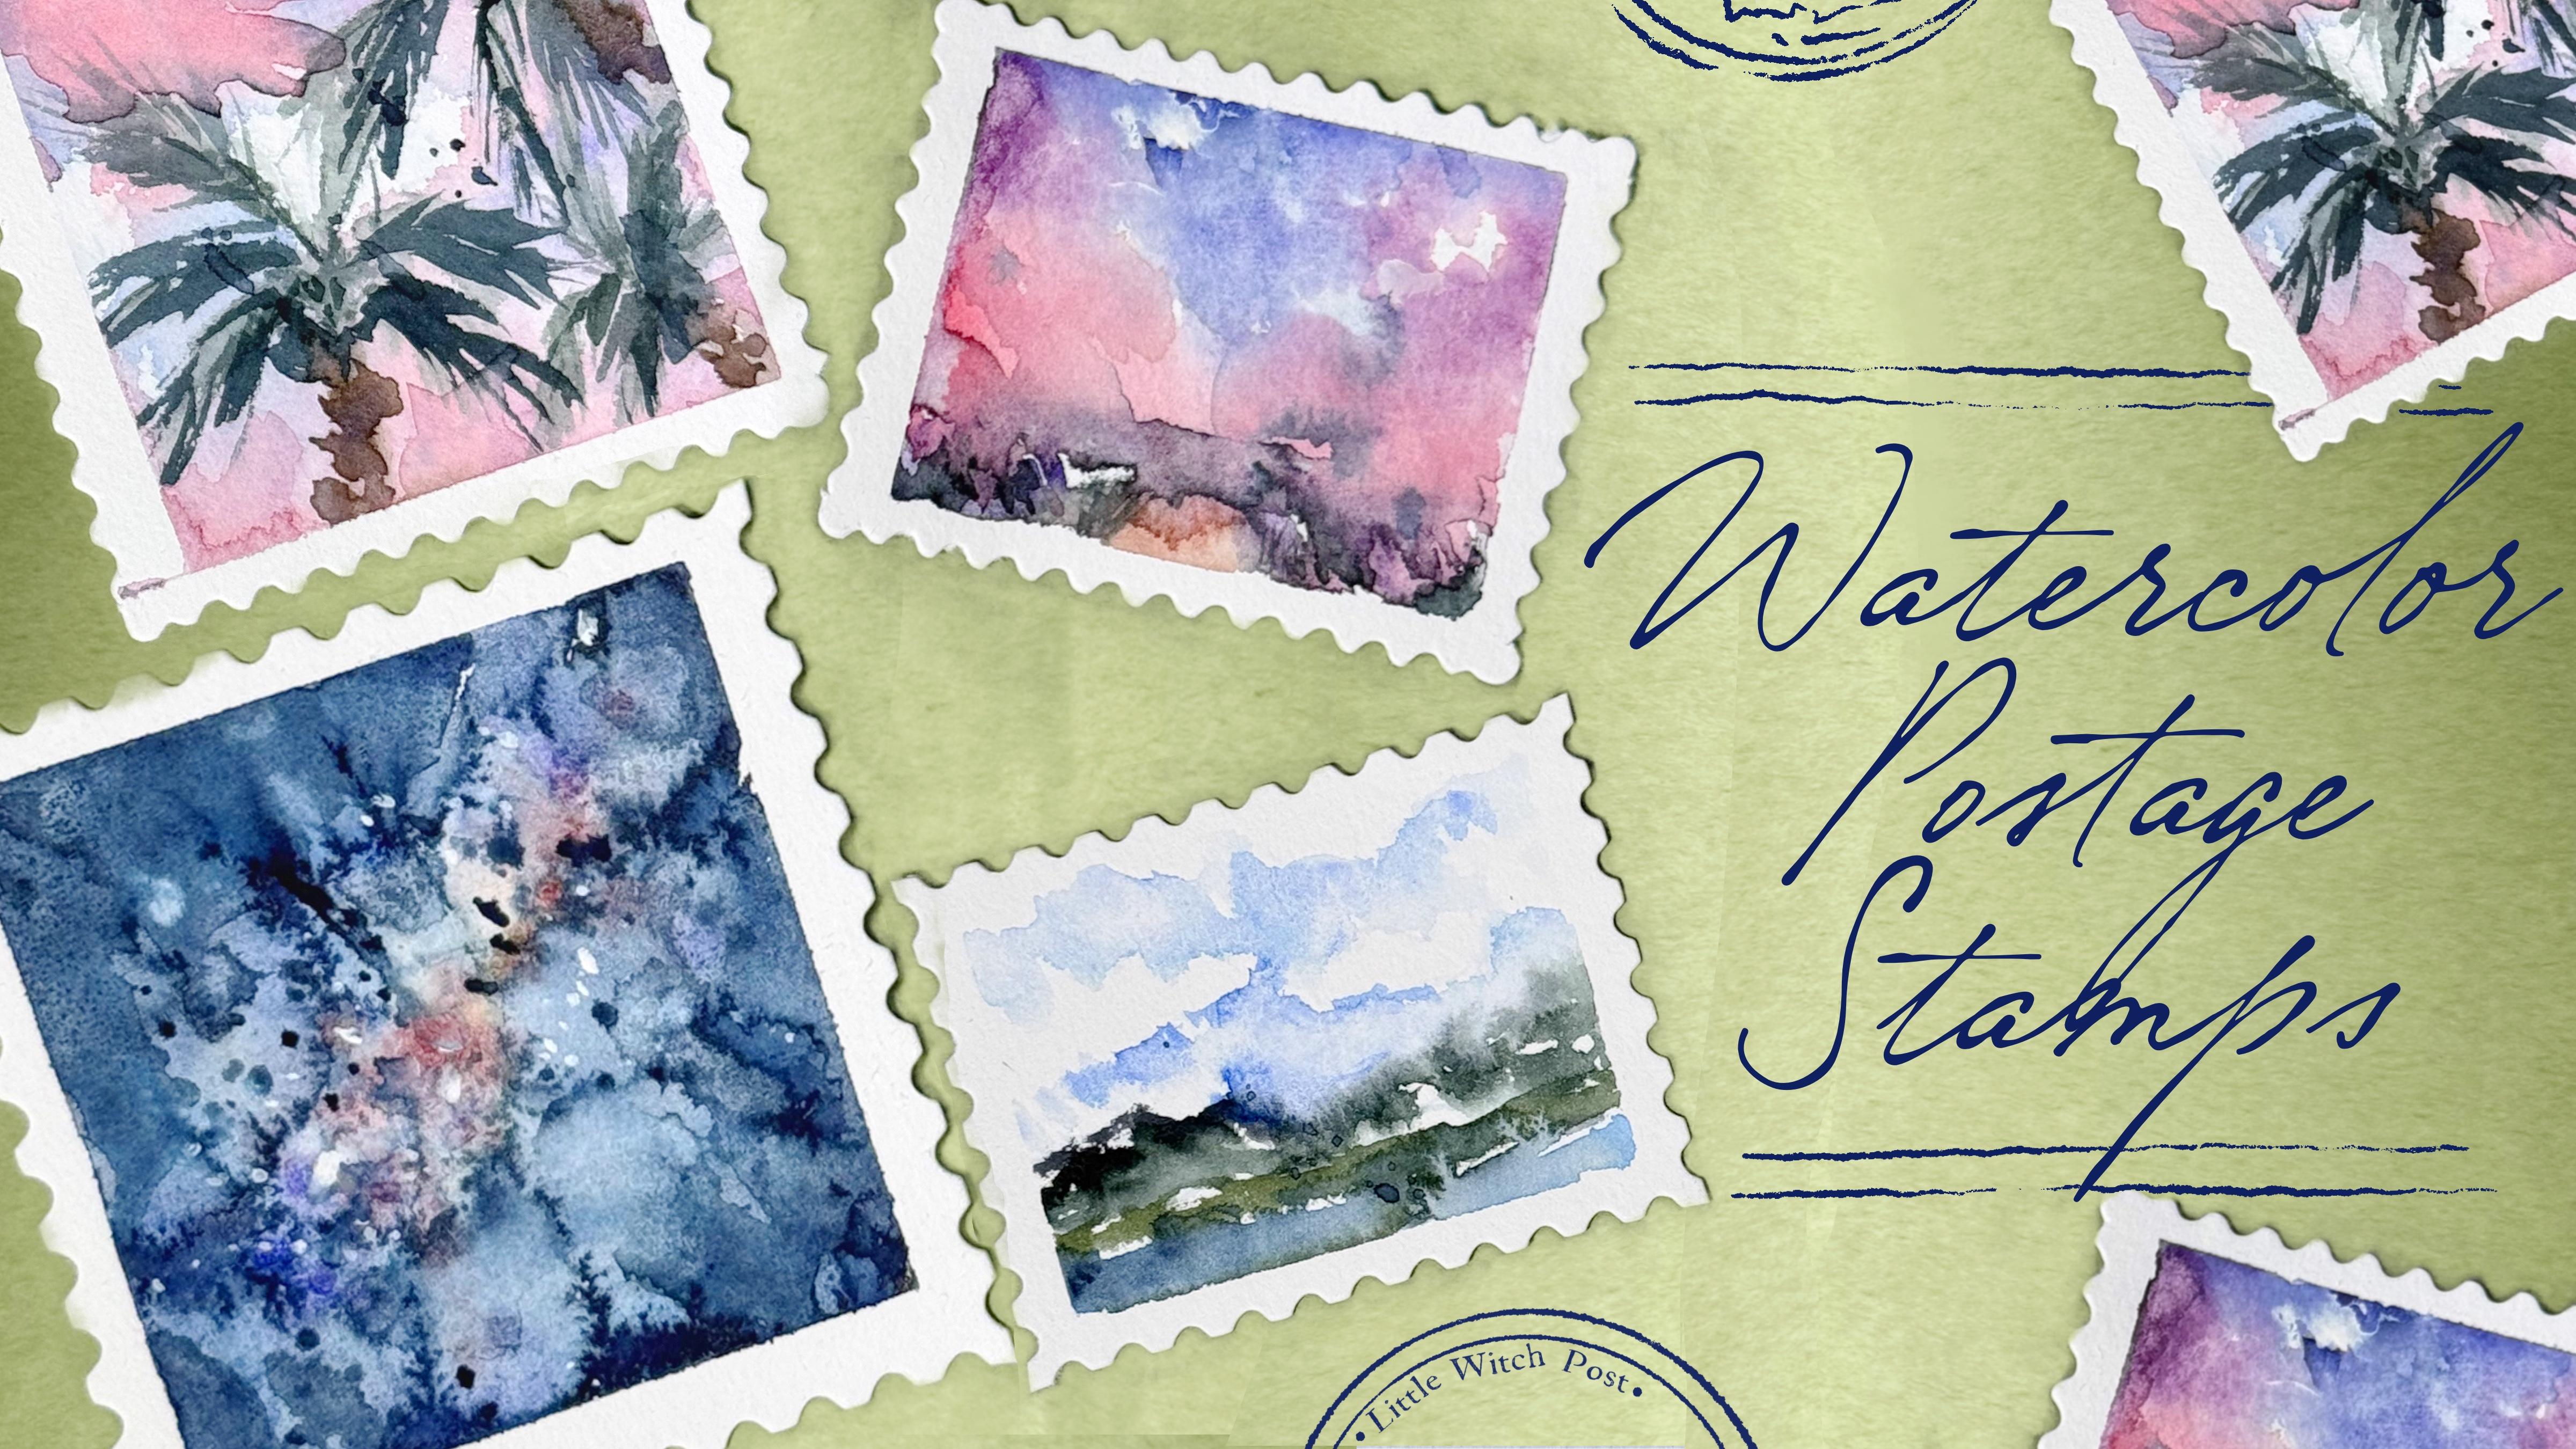
watercolor illustration with real watercolor medium, and our today's theme
will be postage stamps. And welcome back to my class. And let's dive into
watercolor art and create all together stamps
united with one topic, and the topic is sky. And in the end of my class, you will learn more
about traditional watercolor medium
about composition, how to sketch in a fast way, how to create illustration
without sketch, and how to enhance
your art by using different painting
techniques and how to add volume and color
variations to your art. Most importantly, you
will learn how to create beautiful sky illustrations on postage stamp with authentic
water coolor paints. I will show you my whole process from the start till finish. And during my class, we're going to go
through the next step. First of all, we will talk
about composition and where we will find the aim
of our painting process. Then we will practice and learn a few painting techniques. Our next step will be
creating sketches. After that, we will add first layer of paints
to beautiful sky, and finally, we'll start adding colors, shades and highlights. I will show you how to
create watercolor art from the simple shapes and how to
add more and more details. So we will make our
painting process a little bit more advanced. This class is great
for beginners, also can be interesting and
useful for anyone who is interested in
traditional watercolor art and sky illustrations. And one more thing that
I want to mention, guys, your opinion and your feedback are
very important to me. So if you have any questions, suggestions or recommendations, you can leave them in
discussion or about section, and I will be glad
to reply to you. My dear art fellows, I can't wait to
start this class, and definitely I can't wait to see what you upload
to project section. So let's not wait, grab
your paper and pens, and let's start our
painting process together.
2. About Class Project: Your class project will be next. You can follow my steps and create lovely sky illustrations, the same that I created or think about your own composition
and your own theme that you like that will bring
joy to you and then paint it using the
tip that I gave you today. You don't need to have
actual postage stamps in order to complete
the project. Simple watercolor
paper will be enough, or you can even paint digitally, for example, in Procreate. I will use Schminki
paints for this class, but you don't need to have them. Use the paint that you have, or you can even use
tablet or procreate. Again, just grab regular
paper and paints. In today's class, I will paint different sky illustrations
on real postage stamps. I will show you how to
create watercolor art from the simple shames and how to
add more and more details. So we will make our
painting process a little bit more advanced. Once again, you can choose completely different topic and draw your own illustrations. The most important,
all the illustrations should be united with
some specific topic. Try experiment and enjoy
painting process together.
3. Let’s Start: Hello, my lovely
Skillshare community. Before we start our
painting process, and before we jump
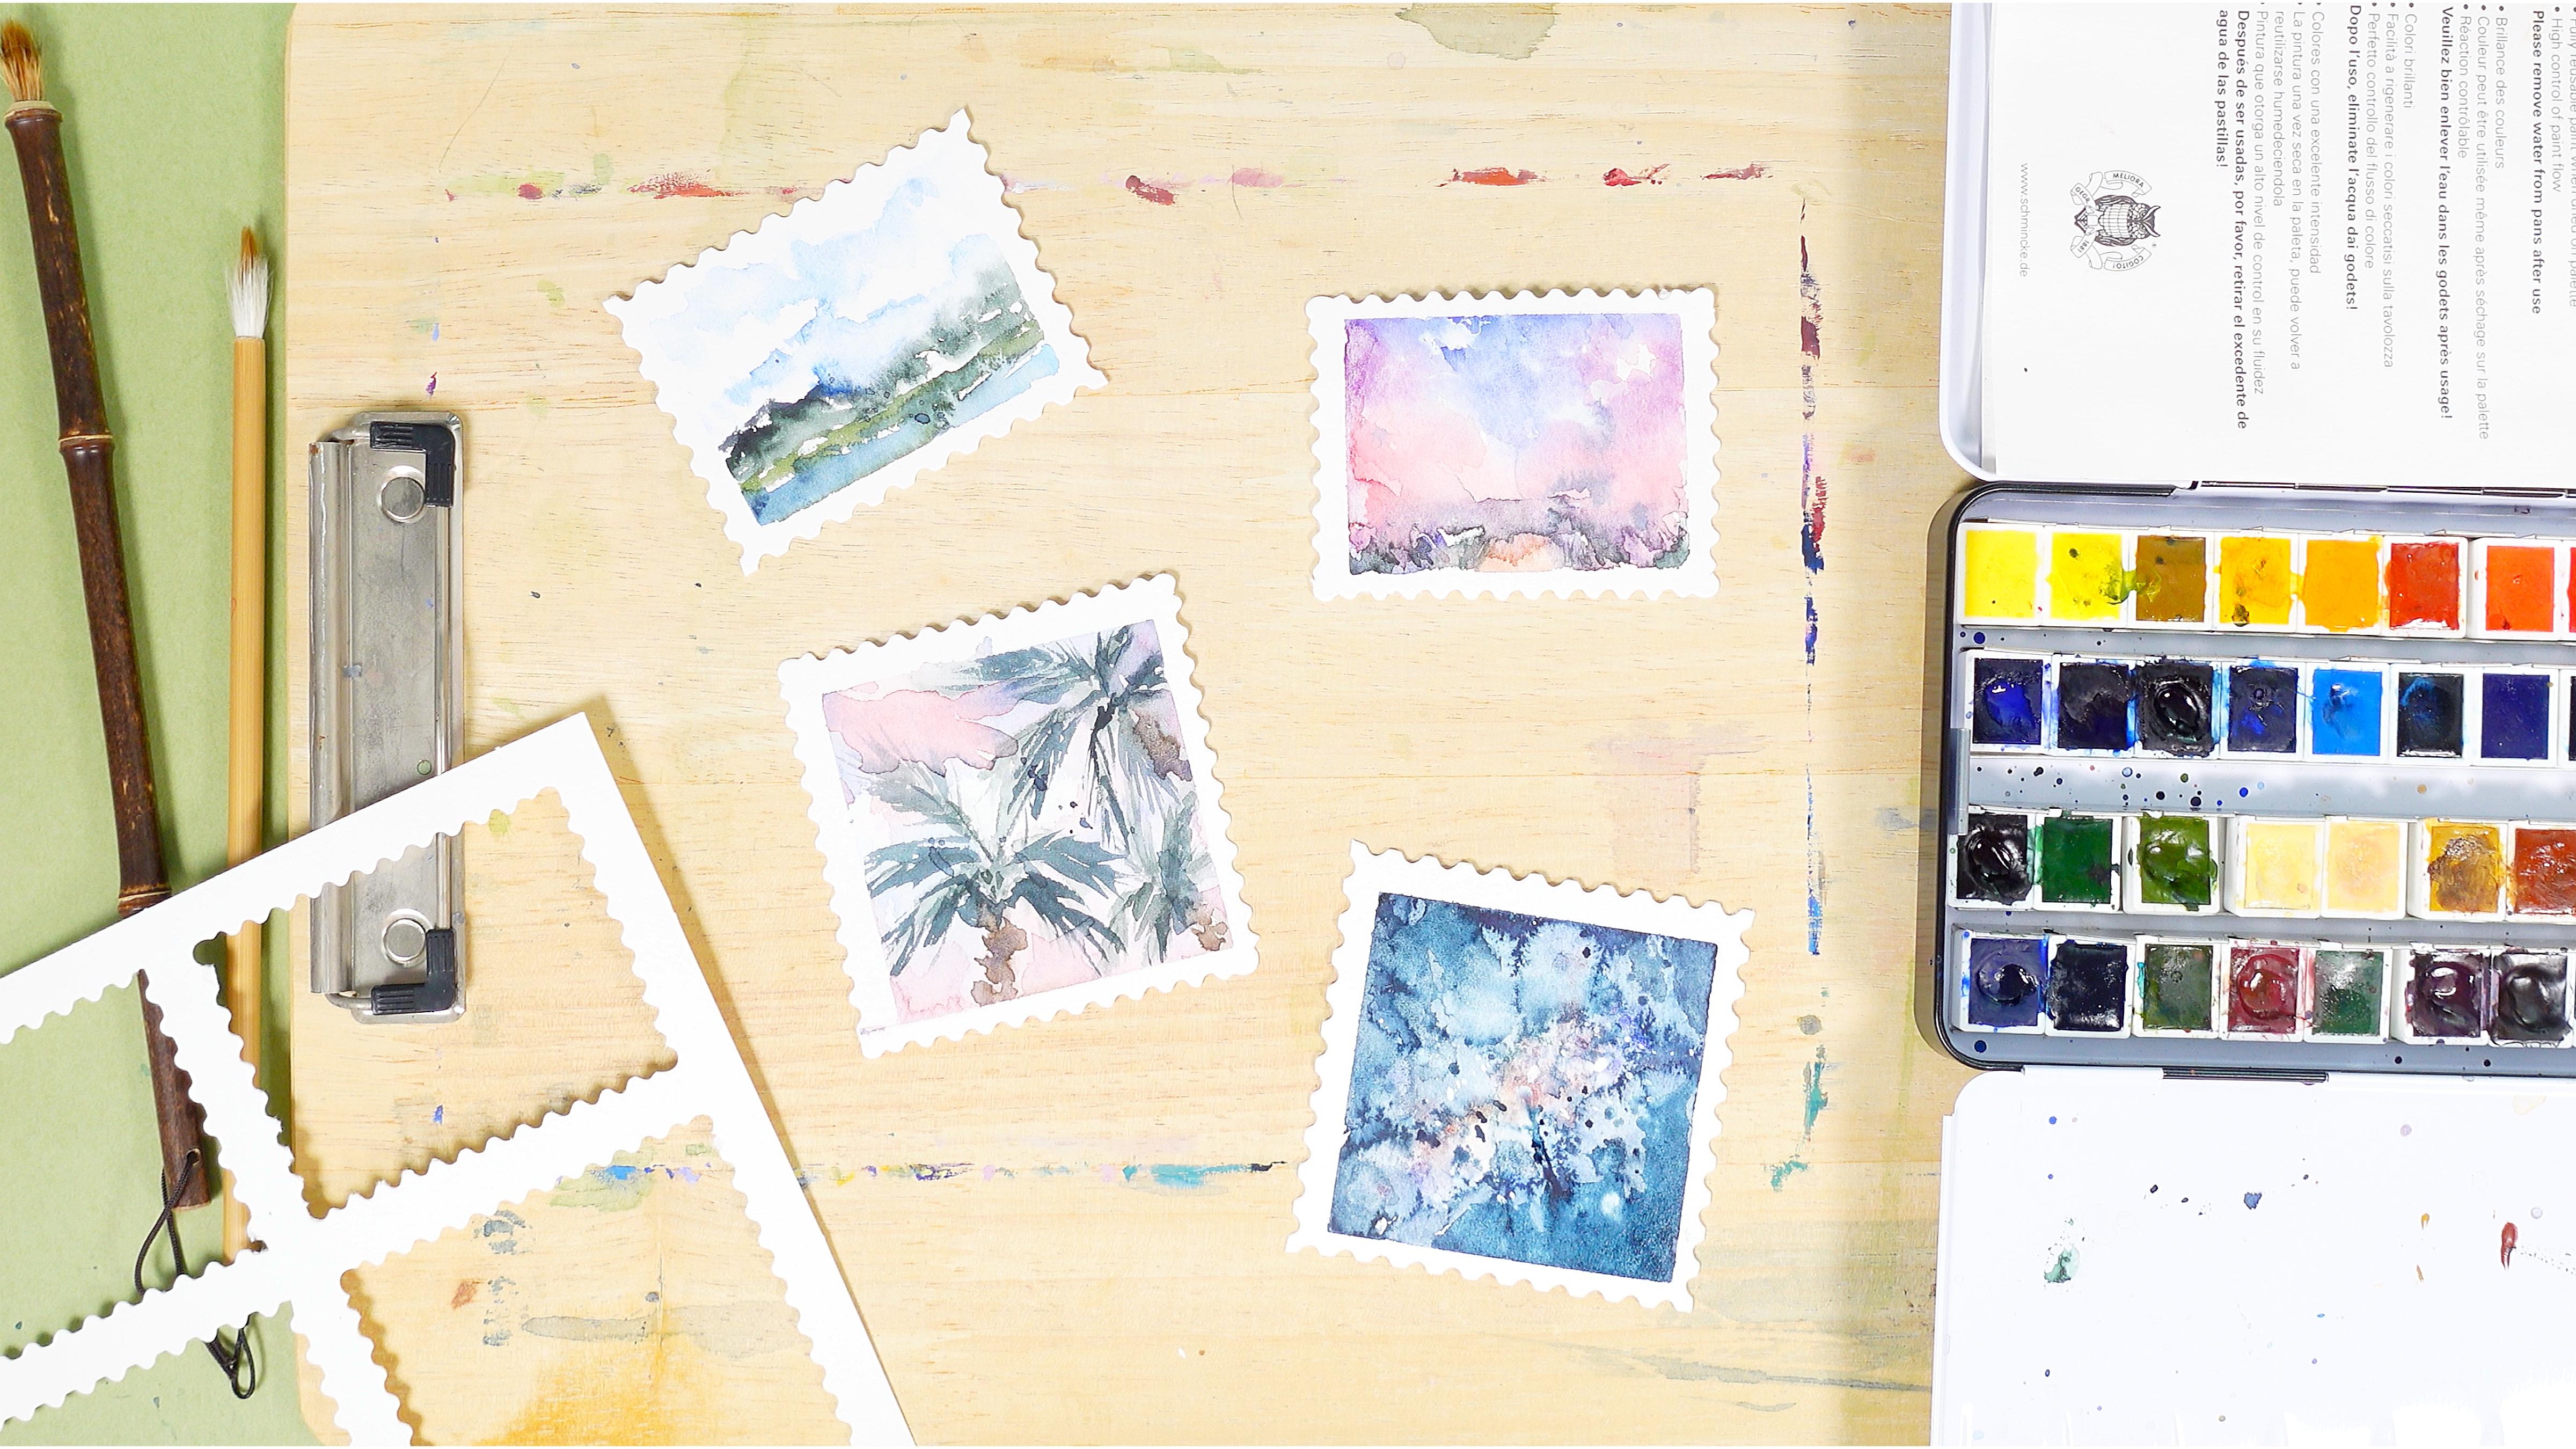
into daily practices, let's just talk about the brushes and paints and
materials that we have today. Again, you don't need to
have exactly the same ones. Just similar would be enough. So I'm gonna for the
daily practices, I'm going to use
just regular paper. It's thick 200 milligrams, it's called,
something like that. So pretty thick. Water
colour paper like these. I think it's ensen
if I'm not mistaken. So I'm gonna use it, and
then I'm gonna use tape. To separate some parts,
one from another, probably we'll separate it
into six different blocks. So that is the first thing
that we're going to do, and we're going to use it
for our daily practices that you can follow, and you can do every
day. Okay, cool. And again, I will
use this paper for the practices where we will explore different
painting techniques. And for our actual
final project, I'm going to use postage stamps. Let me show you them.
This is a paper. That's also watercolor paper, but it's shaped as
a postage stem. And also, it creates like
a set of them very lovely. And you can see
then you can just actually remove it
from the shell. So just wait a little bit. When we finish, I'll show you how to get rid of
the frame like this one. And it's pretty
simple, obviously. So I'm going to use
those postage stemps. But again, you don't need
to have the exact paper. You can just use regular paper, just separate parts of it
with the tape or if you want just cut paper into six or four pieces and
then just paint it. On it. So we're going to
use this paper a little bit later for our final project when we talk about
the composition, about our materials
and our main idea. So I will just put
it away for a while. And, guys, about the brushes, I have natural brushes. Mostly it's squirrel hair. Can we say squirrel hair? And I used watercolor paper and two brushes for calligraphy
Chinese brushes. I will use them to add
some tiny details. And this is pol Rubens
and brilliant rays. Okay, what I want to tell
you is that I will not take too thick or too big
brushes because, again, we're gonna have a
small rectangles where we're going to draw all squares, so we don't need
really big brushes. Also, I have color palette here. I have the brushes.
I have paints. Smink paints here.
Din din tin in. And I will tell
you the numbers of every color that I will
use during the class. Stan for you. You might just see the color, the name of the color and
then use your own colors. And also I take small paper. You don't really sit
here on this one, where I will mop my brush if
I don't need too much water. So let's use tape and separate our paper into six rectanles. First, I want to pin paper
through the wooden board. Okay. Duck Duck,
let's just put away. Try to have the same
distance for the frame. Ls. So what I'm doing for our
daily practice is same you can do when you create
our final project. We're gonna pin the paper, and then we need to
separate it into four to six smaller
rectangles or squares depending on the style
that you're gonna use. And formula. Okay, anything, I think I will separate it into six parts. I
need to be careful. I'm very clumsy,
so I will put away water 'cause I know
what might happen. Approximate size like this. What I want to tell you is that before we start painting, and I will
tell you that many, many times, we need to ask ourselves like we're
gonna have two questions. First is, what are you going to draw with which purpose? What
do you want to tell people? And the second one
is which medium, in what way you go to deliver
this message to people. And here we can talk
about the composition. We can talk about the medium, everything that
can help people to be related to your art and
to understand the message.
4. Watercolor Practices : Okay. So it's time to practice. Let's polish our art skills before we jump into
painting process. And today, I'm going to show you a few painting
techniques that really can ease your life
and painting process. And maybe in the
end of my class, we will define for you the most attractive
painting techniques that you might like. And you will see unexpected
results that we will have in the end of this
part of the class. Okay. So about the practices, we have in watercolor, we have a few ways of painting. And the most common
you already know about loose watercolor
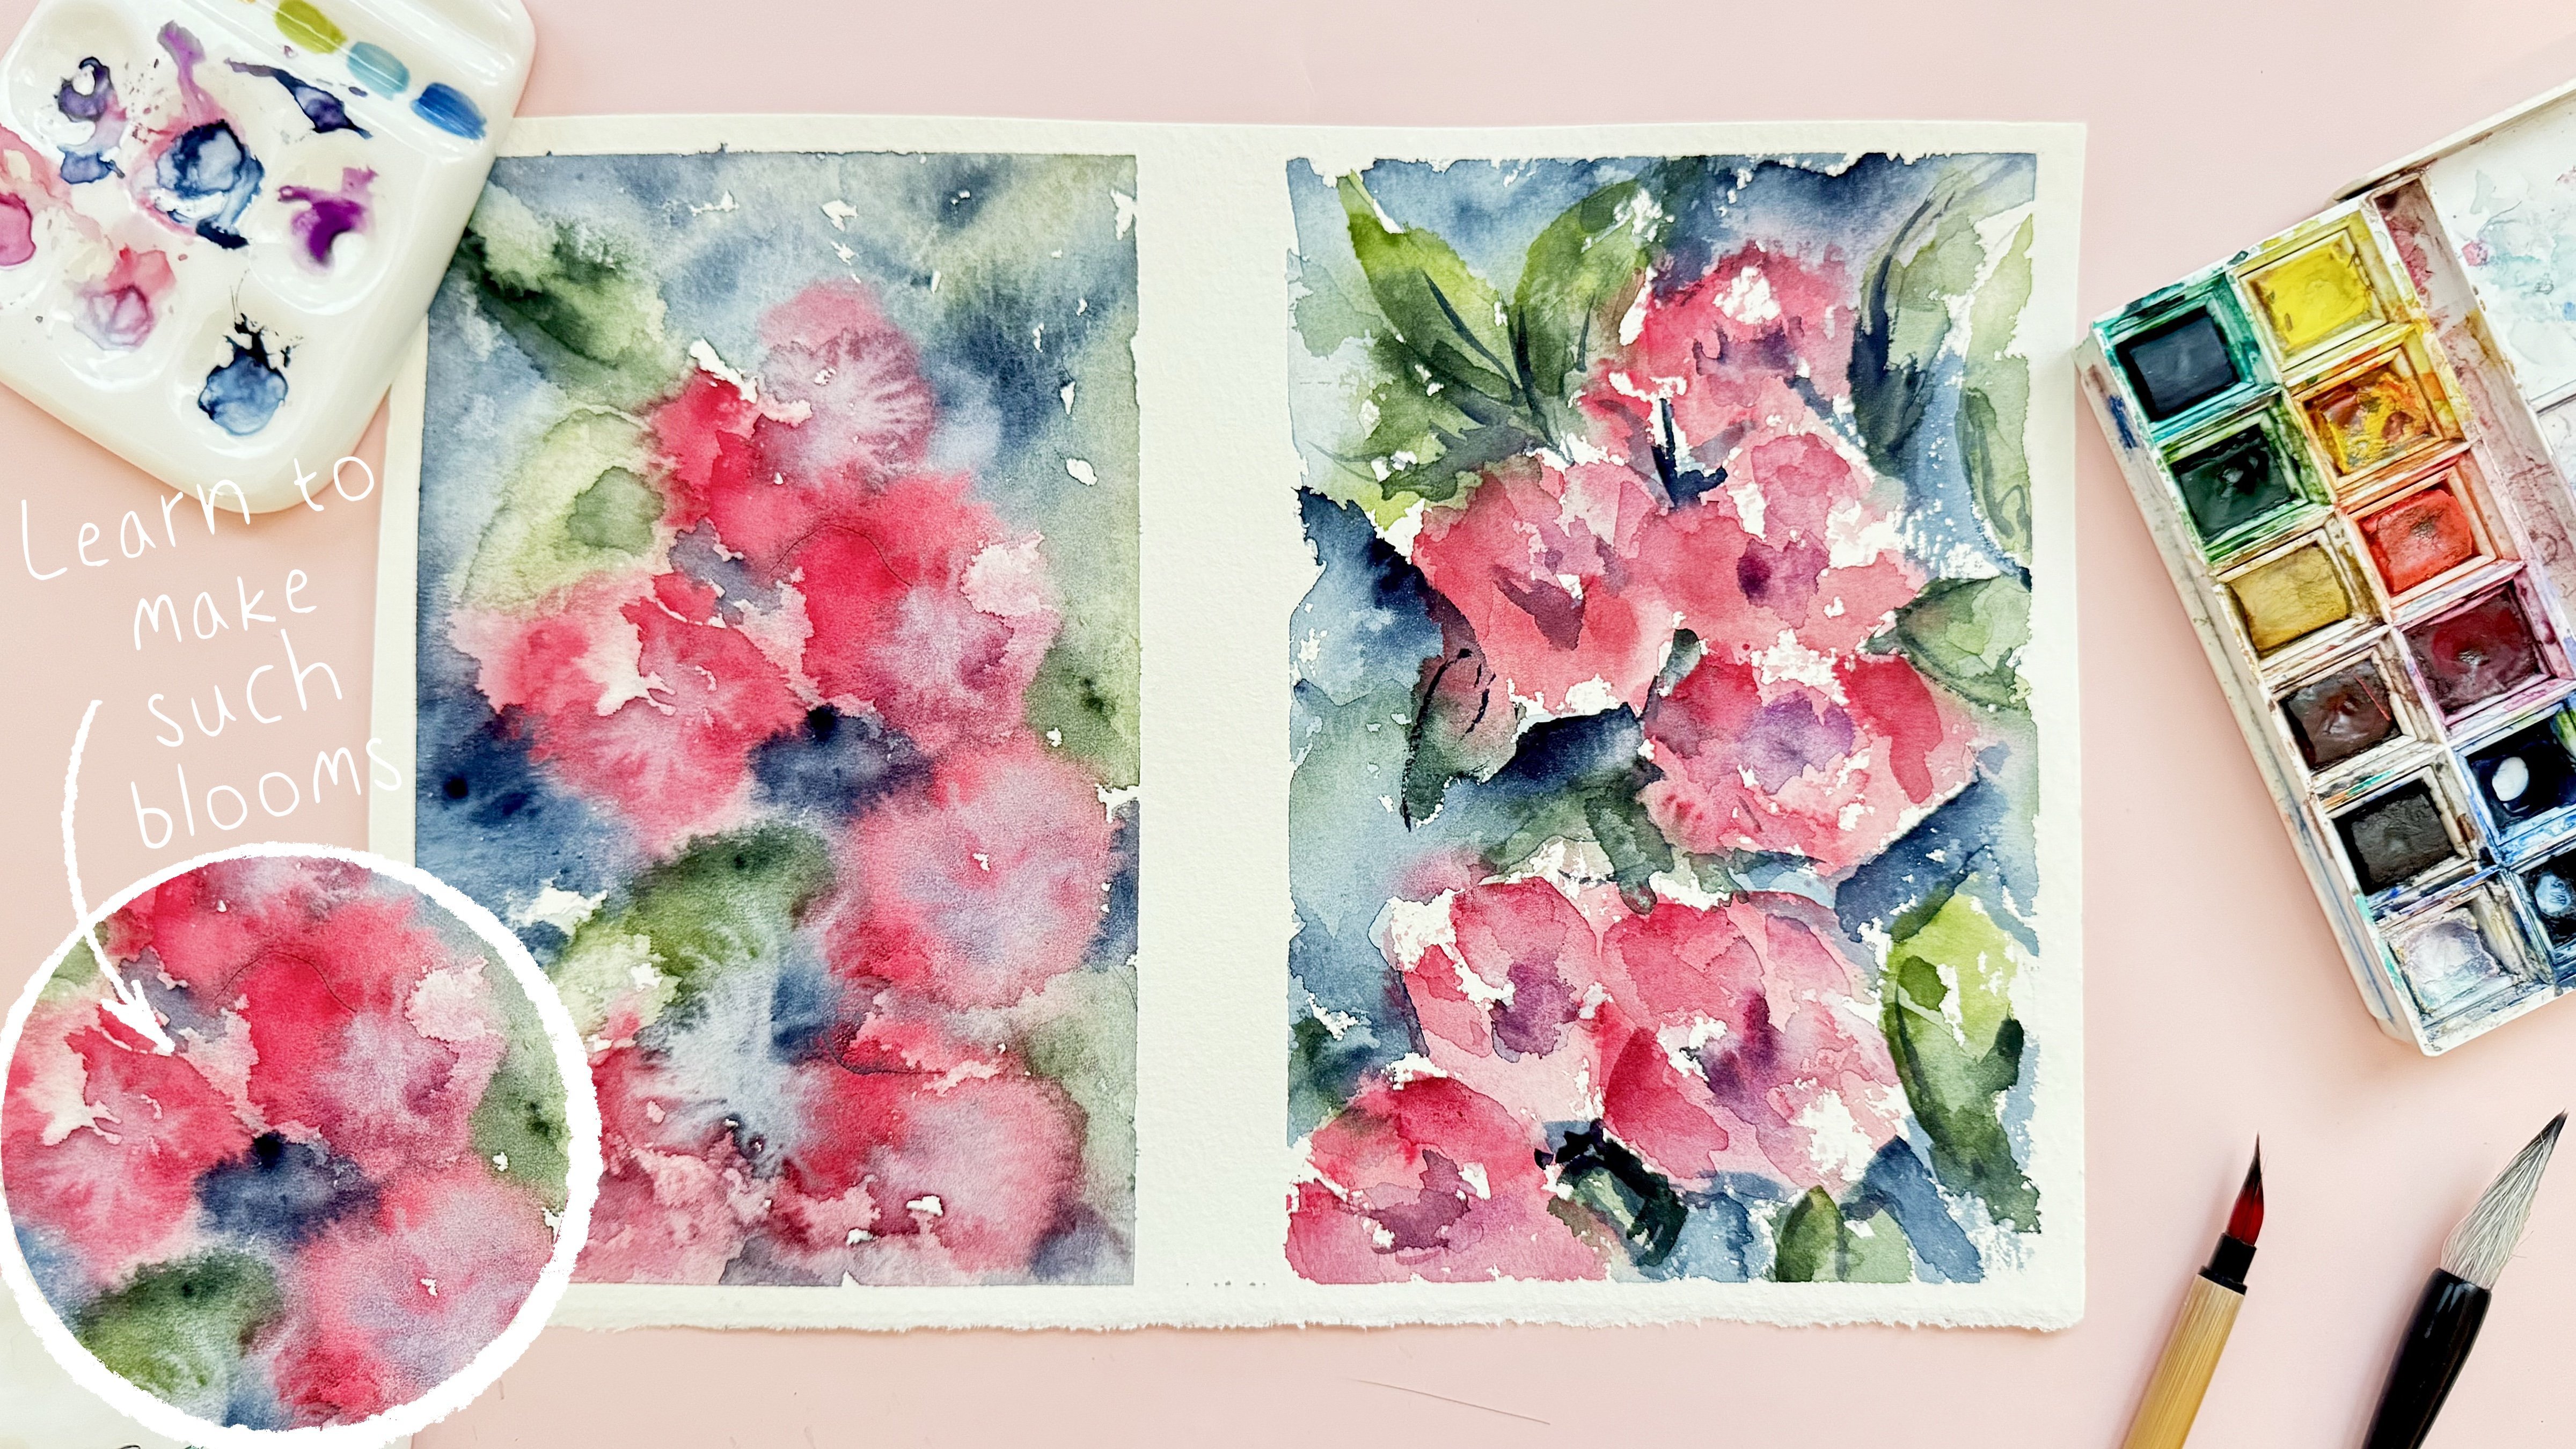
style that I like so much. And you might check
my previous class. It was about painting
loose watercolor flowers. And what I prefer to use the
technique is wet on wet. It's perfect for loose
watercolor style. So what I wet is when
we have wet paper, and then we use wet brush, we dip it into some
specific color, and then we start paint. So let me show you.
And here also, I will show you the way
how we can mix colors. So this is wet paper, and now I'm going to use color. Let me think which one. I think it will be French
Ultram, which is 493. And I'm going to put
some color on the paper. So I put some of the color, and I like to mix this color. This is wet on wet when we have wet paint and we had wet paper. Let's just make sure
that everything is wet. And then we're gonna have
burned amber, which is 668. And I really like to
mix them together. Also, you can use sepia
brown, which is 663. It's a little bit darker. Don't forget about
burn sienna 661. I think burn sienna will
work perfectly here. So here you will see the way
how they gonna mix together. I will add more
burned sienna color. Then we're going to
have we have wet paper, and then we need to get rid
of the water on the brush. So let me think which
color I will use. I will use permanent carmine, which is three, five, three. It's really hard to get it. But still, because
you have wet paper. Again, when you use the brush, when you need to dip
it into the color, make sure you don't have
any water on the brush. And let's do the same
and add another color. What do you think
about indigaclor? 485. I like this color
combination, too. Also, excessive water, take a color and try to
mix some of them. Now let's wait until the
color dries a little bit. And then they're
gonna have let's do. So add some water to our brush, but we won't add any
color, any water here. Perlin green,
seven, eight, four. Just paint some kind
of indica color. I'm gonna mix it together. Indiga color here. Let's wait. Then clean the brush. And what about taking franchaltamarin, same
that we did before, which is 493 So, and then they're gonna have
dry dry and dry technique. We don't have any
water on our brush. Same French ultramarine and burn Sienna colors. What
do you think about it? So it's really hard to
get some of the color, wash it, squeeze the water. I still have a little bit
of water on my color. My pull brush. Here. This is
dry and dry technique. Okay. Still we are waiting
until the colors dry. Let's try to show
you the gradient. And in this case, we need to add some water on the
surface on the paper, and then we're going to grab, let me think which brush brush. Let's go to Prussian
green prussian green. No brush. Prussian green. And little by little, we're going to add some pigment. Then we're going to
go again and we will layer mock pigment on
the top of the paper. And then little by
little, we will go down. But remember, because we're
going to show the gradient, we're going to have
the biggest amount of color on the top of the paper. And when we go down, we're going to have
little and little color. Also, what else you
can do, you can mix together with another
color on the top, again, make it darker. My suggestion, I like to use indiga color because it goes well with
almost every color. So I put it on a top and
then it becomes darker. Little by little, let's just put away some of
the excessive water. So you might reach some
interesting effects put here. If you add some splashes of
water, you will see it later. Yo. If you want some
beautiful effect, if you want to reach some
beautiful unexpected blooms, my suggestion to you salt. Let me show you how to do it. So steal our gradient, so I will layer the color. Again, on the top, I will
place our indica color. And because the surface of
paper is a little bit wavy, it's really hard to
get some specific, like, very solid result. What we can do is just to lexis. Just tilt it a little bit. Put it back. Ding ding
ding ding, ding. Mm hmm. Fine. Let it do. Okay,
like I said, salt. Let's take our magical salt. Yeah. Hard to get. I didn't use it for a long time. So and I just, like, put
it randomly on a paper. And then we need to
wait a little bit. And look at beautiful blooms. We can have some of
the blooms here, too, because this part is still wet because it was get
wet technique, so it takes some
time to dry. Okay. So let's wait and we have
the last piece of our paper. So you can use any salt. It can be like regular
salt, or you have, like, special salt or you have
the sea salt that you can use if you want to
add those lovely blooms. The last thing is
at my suggestion, I like to add some water, but I will not take
too much water. And here I will use permanent
carmine three, five, three. We see already spilled some
of the parts. Tinting. Wow, I like the results. That's actually what
we're supposed to do. We're supposed to
mix colors together. So what I want to do is
I'll add the color here, like, from the top left part. And from the bottom right, I'm
going to add indiga color, same what we had here, but I also want to
make some changes. I want to do some
splatters, like that. By tapping the brush, you can
add some lovely splatters. If you want, just
add them here too. And see the way how
they're going to, like, blend one another. It has very beautiful
and unexpected results. But also don't add
too much water. Otherwise, it will
be like a mess and you will need
to spend a lot of time waiting until
the color dries. But again, you see
every new splash of water will bring you, like, very, very
beautiful results. You can go to your
previous colors. And also, for example, go here. This is a technique that
we're going to use for one of them postage stamps where we're going to draw a night sky, and we will need to
show beautiful stars, and the best way is actually
add just pure water. So what I was trying
to say, if I want to use to make better blending, I just need to use
water and just go on the edge line between two colors and just dip water
along the line. Then we're going to
take permanent carmine and add splatter from this side. Let's just wait until
the color dries. Ding. So now let's wait until
everything dries, and we're gonna look
at the results. And we can get rid of the tape. First, probably, let's
just remove salt. Wherever. Be careful. Oh, just put it here separately. I like. You see, like, the
salted effect that we have? It's super super cool. T ding ding. I was to look at the salty line.
That's it we have here? Ding ding ding ding ding. Okay. So finally, it's time. Let's remove start
from the middle. And as you see, I gave name to every part of our painting in order not to forget
what did we do? And then we're gonna go through every part and we will
talk a little bit. And I think now we can
try to be careful. I try on wet. Okay, it's fine. I was too fast. I'll just try it again. Try on wet. Okay. Especially, be
careful of the parts where paper is still
wet. We have salt here. Finally. So we can look
carefully at every piece of art. Let me just put it and then
talk about every painting. So, guys, depending on
the style that you like, depending on your preferences, or maybe on aims that
you want to achieve, you can try different
ways of painting. And I really like those blooms that we have from mixing colors. And you see because
some parts, like, of the paper were
a little bit wet, and you see they have
very, very sharp line. And also look at the
way how colors blend in each other because it was wet
on wet painting technique. We have very soft blooms
and soft diffusion. So this is mixing colors, the way how we mix
two colors together, and then we had some
splatter that we put on top of opposite color. And like I said, the
blending effect is amazon. And also here we have the line. Line is less saturated, so you actually can see
where we put water because we dilute intensity
of color. Gradient. So as you might see,
on the top of our art, we have darker color. And when we go to the bottom, the color became more
and more diluted, too. And as you see, we have lovely blooms that we
received from the salt. You actually can still see some parts the
sidery edge lines. I like it so much. So we're going to
use this technique for painting night sky. Now let's talk about
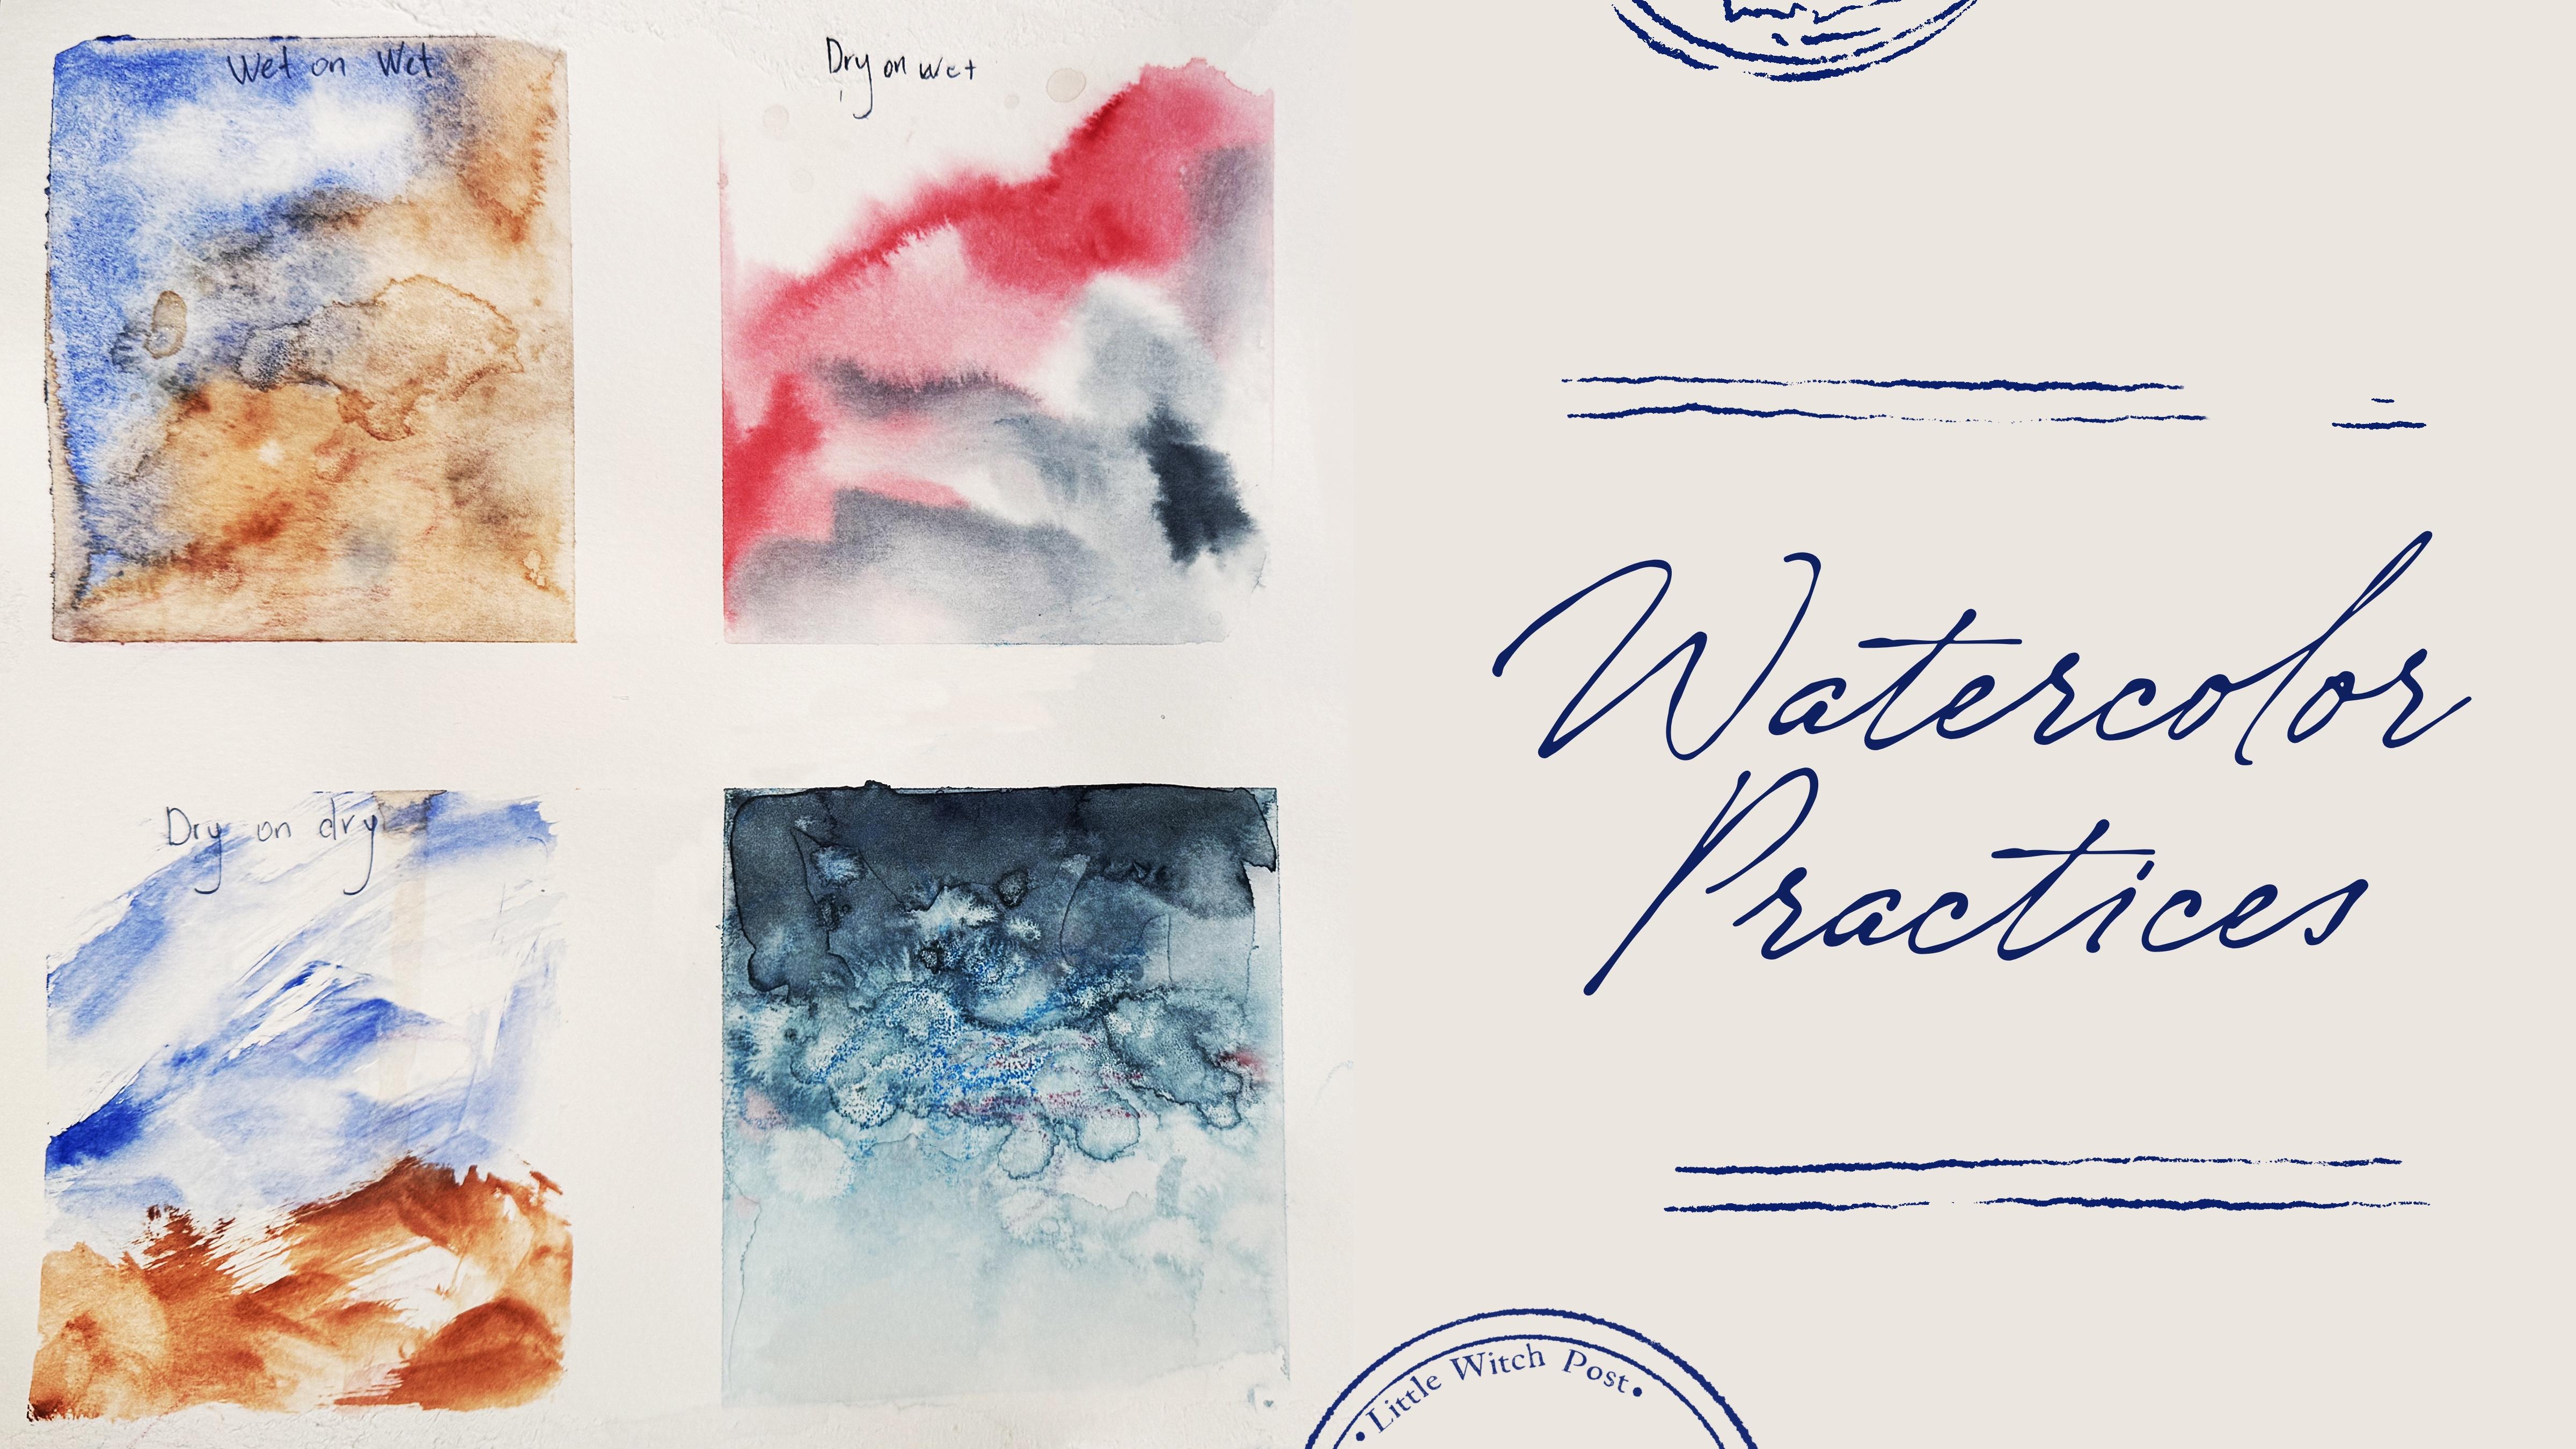
our four basic way of painting when we talk
about watercolor. First of all, it's wet
on wet techniques. This one, the one
that I like so much. And actually, this is
the same what we were using during the
mixing color process. And because in some parts, I put a little bit of salt. We can see some of
the blooms here. They give pretty beautiful
natural watercolor look unexpected way. So, wet on wet technique, we mix two colors together, or it can be just
like one color, and it gives you
very soft lines, very soft and harmonious look. It's very beautiful
when you paint landscapes and if you need
to draw some background, and if you want to create
this cozy watercolor, warm feeling, so this is a perfect way
wet on wet technique. Dry and wet technique,
you also see we have better exaggerated lines, edge lines when we mix
two colors together, and you see in some ways one
color overlap another one. And because it's not wet
on wet technique because the color was taken
always a dry brush, you might see that colors don't blend in each other.
They overlap. Oh, it's also lovely and beautiful when you
talk about landscapes. Also, when you need to
draw some kind of objects, this technique is
great, wet on dry. Same. Also good for
landscapes. What I can tell. Wet on dry technique
when we take wet brush, and we paint on dry paper. Here you have very
distinctive border lines, like when we put some color and then on
the edge of the color, you see those darker lines. This is very distinctive if you talk about wet
on dry technique. Also, we have lovely bloom
and also lovely line when we added some paint
on a sky area. Some beautiful for
landscapes, too. Also, I like to use this style when we
talk about portraits, painting people or sketching, like urban sketching is also
very good way of painting. Dry and dry, I rarely use
it because it's hard to get some color out of the
pen of the paint pen. So it's lovely if you want to create
some particular mood, and this way of painting can be pretty abstract and strong if you want to deliver some
of the specific messages. So here are the practices
that we made today. So my suggestion if you want to enhance your painting style, if you are still in a search, what way of painting
suits you more, you can make this practice
as your daily practice. You can go outside, for example, go to the seaside if you live next to the
sea or go to the forest or just go outside and sit on the bench and look at people
around and try to sketch, try to paint, and
at the same time, try to mix different
colors together and try to apply different
painting techniques. And you might see,
like when you do this practice like every
day or every other day, after two weeks or a month, you definitely will
find your style. And second, you will spend
less time on painting process, and you will just enjoy
your painting process. So that was the first part
of our today's class. And now let's jump into
our final project, and let's create postage stamps.
5. Purpose, Sketch and References : We finally move to the
very important class, how to create sketch. What about reference pictures and how to create unique art? That's very important questions. So let's talk about it now. Please follow my
steps carefully, and if something is not clear, I'm always ready to help
you in discussion section. Okay, as I said, we're going to use those
lovely postage stamps. I'm thinking from which side I should paint it
probably like this. Also, I'm going to use a tape because I want to
keep those edge lines, so I need to separate it. But I won't take too much. Here. So, like I said earlier, you don't need to
have postage stamps in order to complete this art. Just use regular paper and
create this rectangle frame. A like that. And you might see that the size of postage stems
is a little bit different. So the lower ones, two, they are bigger comparing
to the postage stems that we have in first row. So Okay. Don t d. Here we're
going to have salt. We have color palette. We have all colors. Now we can move them
closer because we don't have that big paper
anymore, so it can be here. Yeah. L. I just realized
that I was painting everything with just one brush. Okay, so what I'm gonna do
now is I have the same brush, and I will add different
kinds of shades. And here you can see
the reference picture. Before we start painting,
like I said earlier, we need to understand what
is the purpose of our art. So you might create series of postage stamps and you might
create your own topic. Again, you don't need to follow exactly what I'm doing
during my today's class. I just like to paint sky
in watercolor style, and I think thanks to
different techniques, it's just very
interesting to show different variations that we can see when we look at the sky. And also, I'm going to
use different colors to portray this guy. So that was my choice. But maybe you obsessed
with flowers, so you can definitely
draw some flowers. Or maybe you want to paint
some kids illustration. So you can paint lovely toys as a series of postage stamps and present them to
someone you like. So whatever you want, or
maybe like iwhere and you can paint those Japanese
characters in a way you like. So again, feel free
to show yourself. You are not limited
by just one topic. Our today's aim is to experiment with different
ways of painting and try to express
ourselves and also learn how to create
series of postage stamps. And for me, sky is
nature is freedom, is unity with the universe, if you might say, so
it's just feeling alive. The same thoughts. I want to show the people
who will look at me I think the
best way how to do it is to use some soft
techniques like wet and wet, dry and wet by showing
people who am I? I think I also can show them
the beauty through my eyes, through my art, and I can
show them that sky can be so beautiful and it can
create amazing feelings. Okay, so now I
think we are ready to jump into sketching process. So let's sketch briefly. You can use pencil.
Try to use HB pencil and you can use also
eraser, but be careful. Don't wrap too much
because in this case, we can damage the paper. And then when we add the color, there might be some
small, you know, dots that might not create
very aesthetic feeling. So just try to paint gently, try to schematically show the lines but don't
be too detailed. And also when you
wrap the paper, also try to do it gently. Or if you don't want to
paint too many details, just also grab some thin brush, and I took in diga color to
show the lines schematically. So our first art will be
like a total endless skies. So you can look at
reference picture and you can try
to draw the same. But my suggestion, we might get some inspiration from
our reference pictures. We don't need to draw
the exact objects on exact specific places. We can just get some main idea. It really can give us some
room for the creativity. It can give us some space to express ourselves
and our style. So this is very,
very it's milky way. So I schematically
showed milky way. It's barely seen, and that's what I actually
needed to achieve. So this is my first
postage stamp. Second one, I'm going to
draw some palm trees. And here I'm going to mix
a few pictures together. So I'm going to draw I
think for palm trees, I also need to have a
little bit bigger size for the postage stamp. So that's why I'm going to emphasize like the
darkest clouds. And I like that we
can show, like, a contrast thanks to the color, thanks to the day, the time of the day. That's very lovely. So here I show
schematically as a cloud, and then I can go to
another reference picture and just simply draw palm trees. Under the palm
trees where I find my love Cush schematically. I won't draw all of them. Don't forget about coconuts.
And the biggest one.
7. Painting Process: Wet on wet : Now we are ready to jump
into painting process. Use the brushes that you have. Anybody coolor medium will be fine or native procreate brushes or your own brushes if you
want to paint digitally. Let's not wait, and I will
show you everything right now. Okay, finally, you
can change the brush, and I will use a zero
brush, small one. And like I said, we're going to use and painting technique. So I just added some
amount of water. Here you can see our
reference picture. So let's start adding
colors little by little. Our main color will
be indiga color, and I'm going to apply it from
the edges because inside, like I said, we're
going to have milky way in a circular shape. Ding ding ding, lot of
water and some splatters. I think dark blue, which is four A two will be a very suitable color if you
want to mix it together. You also can use some
of the purple shades. In this case, use ultramarine
violet, which is 495. That's so interesting that like, I don't really use too
much of the color palette. Try to add more water splatters. So what else I'm going to use? You see in the middle,
you're gonna have a little bit of yellow shades. I'm going to use yellow
or which is 655. Just a tiny bit. You don't want to make
green colour, right? And probably also you can
think about pink color. And as a pink color, I'm going
to use Potter's pink 370. Think it can be a very
good combination. So let's add a little bit more of the Idea color because
now the color looks very, very dark, but we always need to remember when watercolor dries, the feeling will be
a little bit pale. And I like that watercolor
always gives you very unexpected
results. I like it. Water's pink. Because with
such type of illustration, I don't really want
to add extra layers. In parts where you go
to place our salt, we will have stars. Perfect. So now let's
move to the next part, and I think we can
draw palm trees. Okay, so now let's
paint palm trees. And here, like I said, I will use a wet on wet
painting technique. I apply water, and then I will use dark blue color which
is four, eight, two. I'll just put it
here. And remember, we mixed a few reference
pictures together here. So we're going to have blue
and pink colors together. By the way, in this
type of painting, I will actually apply two
different painting techniques. So I'm going to use wet on wet painting technique and dry on wet painting technique too. Now, pink color for the pink, I'm going to use permanent
carmine three, five, three. Try to use color palette
because it's really very dense. It likes its color so much. Don't worry about boundaries. Like I said, we will
apply dry on wet paint. C. But we also going to need
some of the white spots. So you can use tiny bit. And what about purple? Same,
use ultramarine violet 493495 and mankinse violet 474. Smit too much. It's hard to show
everything indeed hills because of the
size of the painting. Okay, let's wait until
everything dries, and then we're going
to add palm trees. So let's come back
a little bit later. I think we can go to
the lavender field. I just had tear Swift
lavender haze in my head. So I think we can draw it all together because the
colors are very similar. So here we can add
a little bit of water but just a little bit. In my suggestion,
don't forget to change the water after every painting. So that's what I'm gonna do now. Now, let's add little
by little colors. Magenta, three, five, two mixed together
with permanent camins. Now some manganese violet. The one that we just used. Like I said, it's very common. Now let's me mix together permanent carmine
and manganese color. Yeah, so the color
blends perfectly. Then manganese violet
to the sides likes. And in a center, we're going to have
ultramarine violet Here, I won't do a lot of changes because I think already the
composition is so nice. In the middle, I
will use burn Siena. And mix manganese violet,
the ultramarine violet. Also, I'm gonna mix it
together with peril and green. My suggestion change the brush. Probably we can use the
brush for calligraphy. Try to add less pigment
now on a brush. So try to use dry on wet paint. If you add too much water, just dip your tissue
with the water drops. So we need to have very
clear horizon line. But because the
paper is too wet, we are not able to do it now. Potters pink, I mixed
together with burnt sienna.
8. Painting Process: Dry on wet : Now, let's come back
to our palm tree, dry on wet painting technique. We're also going to create
some kind of contrast. See, because paper is still wet, it blends nicely, but also the color
spreads a little bit. So be careful here.
Paraln green. Try to show schematically the
direction of palm leaves, but later, you're
gonna add more colors. Because like I said, paper is still super wet. Hm. Okay, then leaves until the
paper dries completely. And then let's just draw. I really like the blending here. But like I said, we really
need to show the horizon line. Mm hmm. I like the
spreading of the color. I would like to rate some of
the colors little by little. Okay, let's wait. And then we're going
to add tiny details. Wow, look at this first postage stem that we have
is very beautiful. I like the blooms. Done with the second and third
postage stems, later, it's not the total end. Later, we're gonna
add tiny details. And now let's jump into
our last painting.
9. Painting Process: Wet on dry: Let's use wet on dry
painting technique here. So I will use Altramarin French. Because when we apply
color on dry surface, we have more control on a color. Now, let's add a little bit of water and spread some of the. Mmm. Beautiful. Then we will apply mountain blue
48, zero, four water. Same technique. Probably Amon all blues. Ultramarin violet, and indiga
colors are my favorite. Damn. And Ammon greens
probably parlin green, then olive green, yellowish, perlin green to add some
color to the mound. See, I have a dry effect. Some areas. And then I'm going to use
Tantra Rosa and Tantra violet, which are 982 and 983. I think they will be great for adding some shades to our
mountain. Look at this. Very, very beautiful.
And then olive green, yellowish, five, two, five. This is fine. And
here we are going CV blind dry on dry
paint. Less water. Likes it. Probably a little bit in
diga color, just a tiny bit. To show shade from the leg. Shade, shade, shade. Likes it? So, I think that was the fastest painting
technique that we had Our first postage
stamp is ready, too. What we're gonna do is jump
into tiny details, part.
10. Adding Final Details: It's almost the end of a class. Now it's time for our
final steps where we will add shades and a little bit of
texture to our art. And then just in a few seconds, our postage stamps
will be ready. Just wait a little bit. Yeah, we're going
to add tiny details to those two illustrations, probably a tiny bit
to the last one. Now let's grab the
smallest brush. This one. A wet and dry
painting technique. I'm going to use parallel
and green color. You can mix together parallel and green with indica color. Separate a little bit. The lavender fields. And parallel and green color. I can show some flowers here. And my suggestion
in watercolor is really hard to
layer white color. So here you might use quash. So quash colour. Just put tiny bid or now a color
palette. Same brush. Bigger brush a little
bit tiny better. L. So you can use semi transparent white colour and show some of the clouds. If you want, add
some water drops. And also, you can mix it
together with some pinky shade. Now, let's come back
to our puntries. Remember, we're going to
create some contrast. So now we are using dry on dry painting technique
to show the details. Coconut. Like said. Now let's go
with the brown color. Some of the brown shades. Maybe ochre or sienna. Poterspink I think might go
very well, and tundra violet. And if you want a tiny bid of permanent carmine to the
background, but be careful. Try not to touch our palm trees. I like this loose watercolor effect, very, very beautiful. And I also like this
dry effect and looks away how colours
bleed one in another. So now let's remove
our final touch. Let's remove salt. Be careful. Indenting here. And now I think we can add
I already likes the blooms, but probably we can add
a little bit more stars. We're gonna have many
white dots somewhere here. If you want, you can just, like, use a little bit more water
and add some splatter. And you can do same
with dark color. Just be careful. Also go to indica color
and add more splatters. Wise indica some dark spots. Same you can do here. Probably I want to darken the
edges a little bit.
11. Removing Tape and Frame: Try to be super careful. Git. Because in some areas, paint is still wet, so I need to try to be careful. Like sis. Next step was Sistin. Yuk. Here Mm hmm. At the beautiful. Then let's go. This is. Here. Ting. Wow. Look, I have some salt here that
I'm gonna throw away. Water no salt. Mm, so beautiful. And now let's remove our
postage stamps from the frame. Like it. Thing. Wow. The most satisfying feeling. First postage stamp.
Let's just put it here. Second one. Such loose
watercolor collection. Hi. Hi, not easy. We need to be super careful. Let's look at every postage
dam little by little. So, you see, by combining
different painting techniques, we can achieve very unexpected
and beautiful results. Looks away, how
colour plants here, all the overlay of the colors
that we have in this part. It's very. And like I said, when you use wet on wet
painting technique, and the feeling that
we have in the end is so warm and so harmonious. So you see very soft lines. I also like this wet on dry
and dry on dry painting. So this is the end
for today's class. I hope you enjoyed out
today's painting process. You learned something new and you got some creative ideas. I will be glad to see
all your paintings in project section. Good luck. This is the end for
our days class, and I hope you enjoyed
our painting process. And now you know a lot about traditional
wood color medium. And now you know a lot
about composition too, how to sketch in a fast way
and how to paint sky in different ways and how to add volume and color
variations to your art. And most importantly,
you learn how to create watercolor postage stamps with authentic
watercolor paints. You did a big job. Congratulations. Guys,
I will be happy to see all your artworks in
project and resources section, and I will be happy to give my own opinion about
your artworks. And I would really appreciate your feedback about
my class too. You always can leave a review in review section or about section. Let's see each other
in next class, and next time we will paint cute watercolor
character in Procreate. Finally, see you.
 Inga Yoon, Digital illustrator and teacher