Transcripts
1. Introduction: Hi, I'm Nadine. Thanks for
joining me for son today. I thought we'd do another
really quick one. This is the kind of
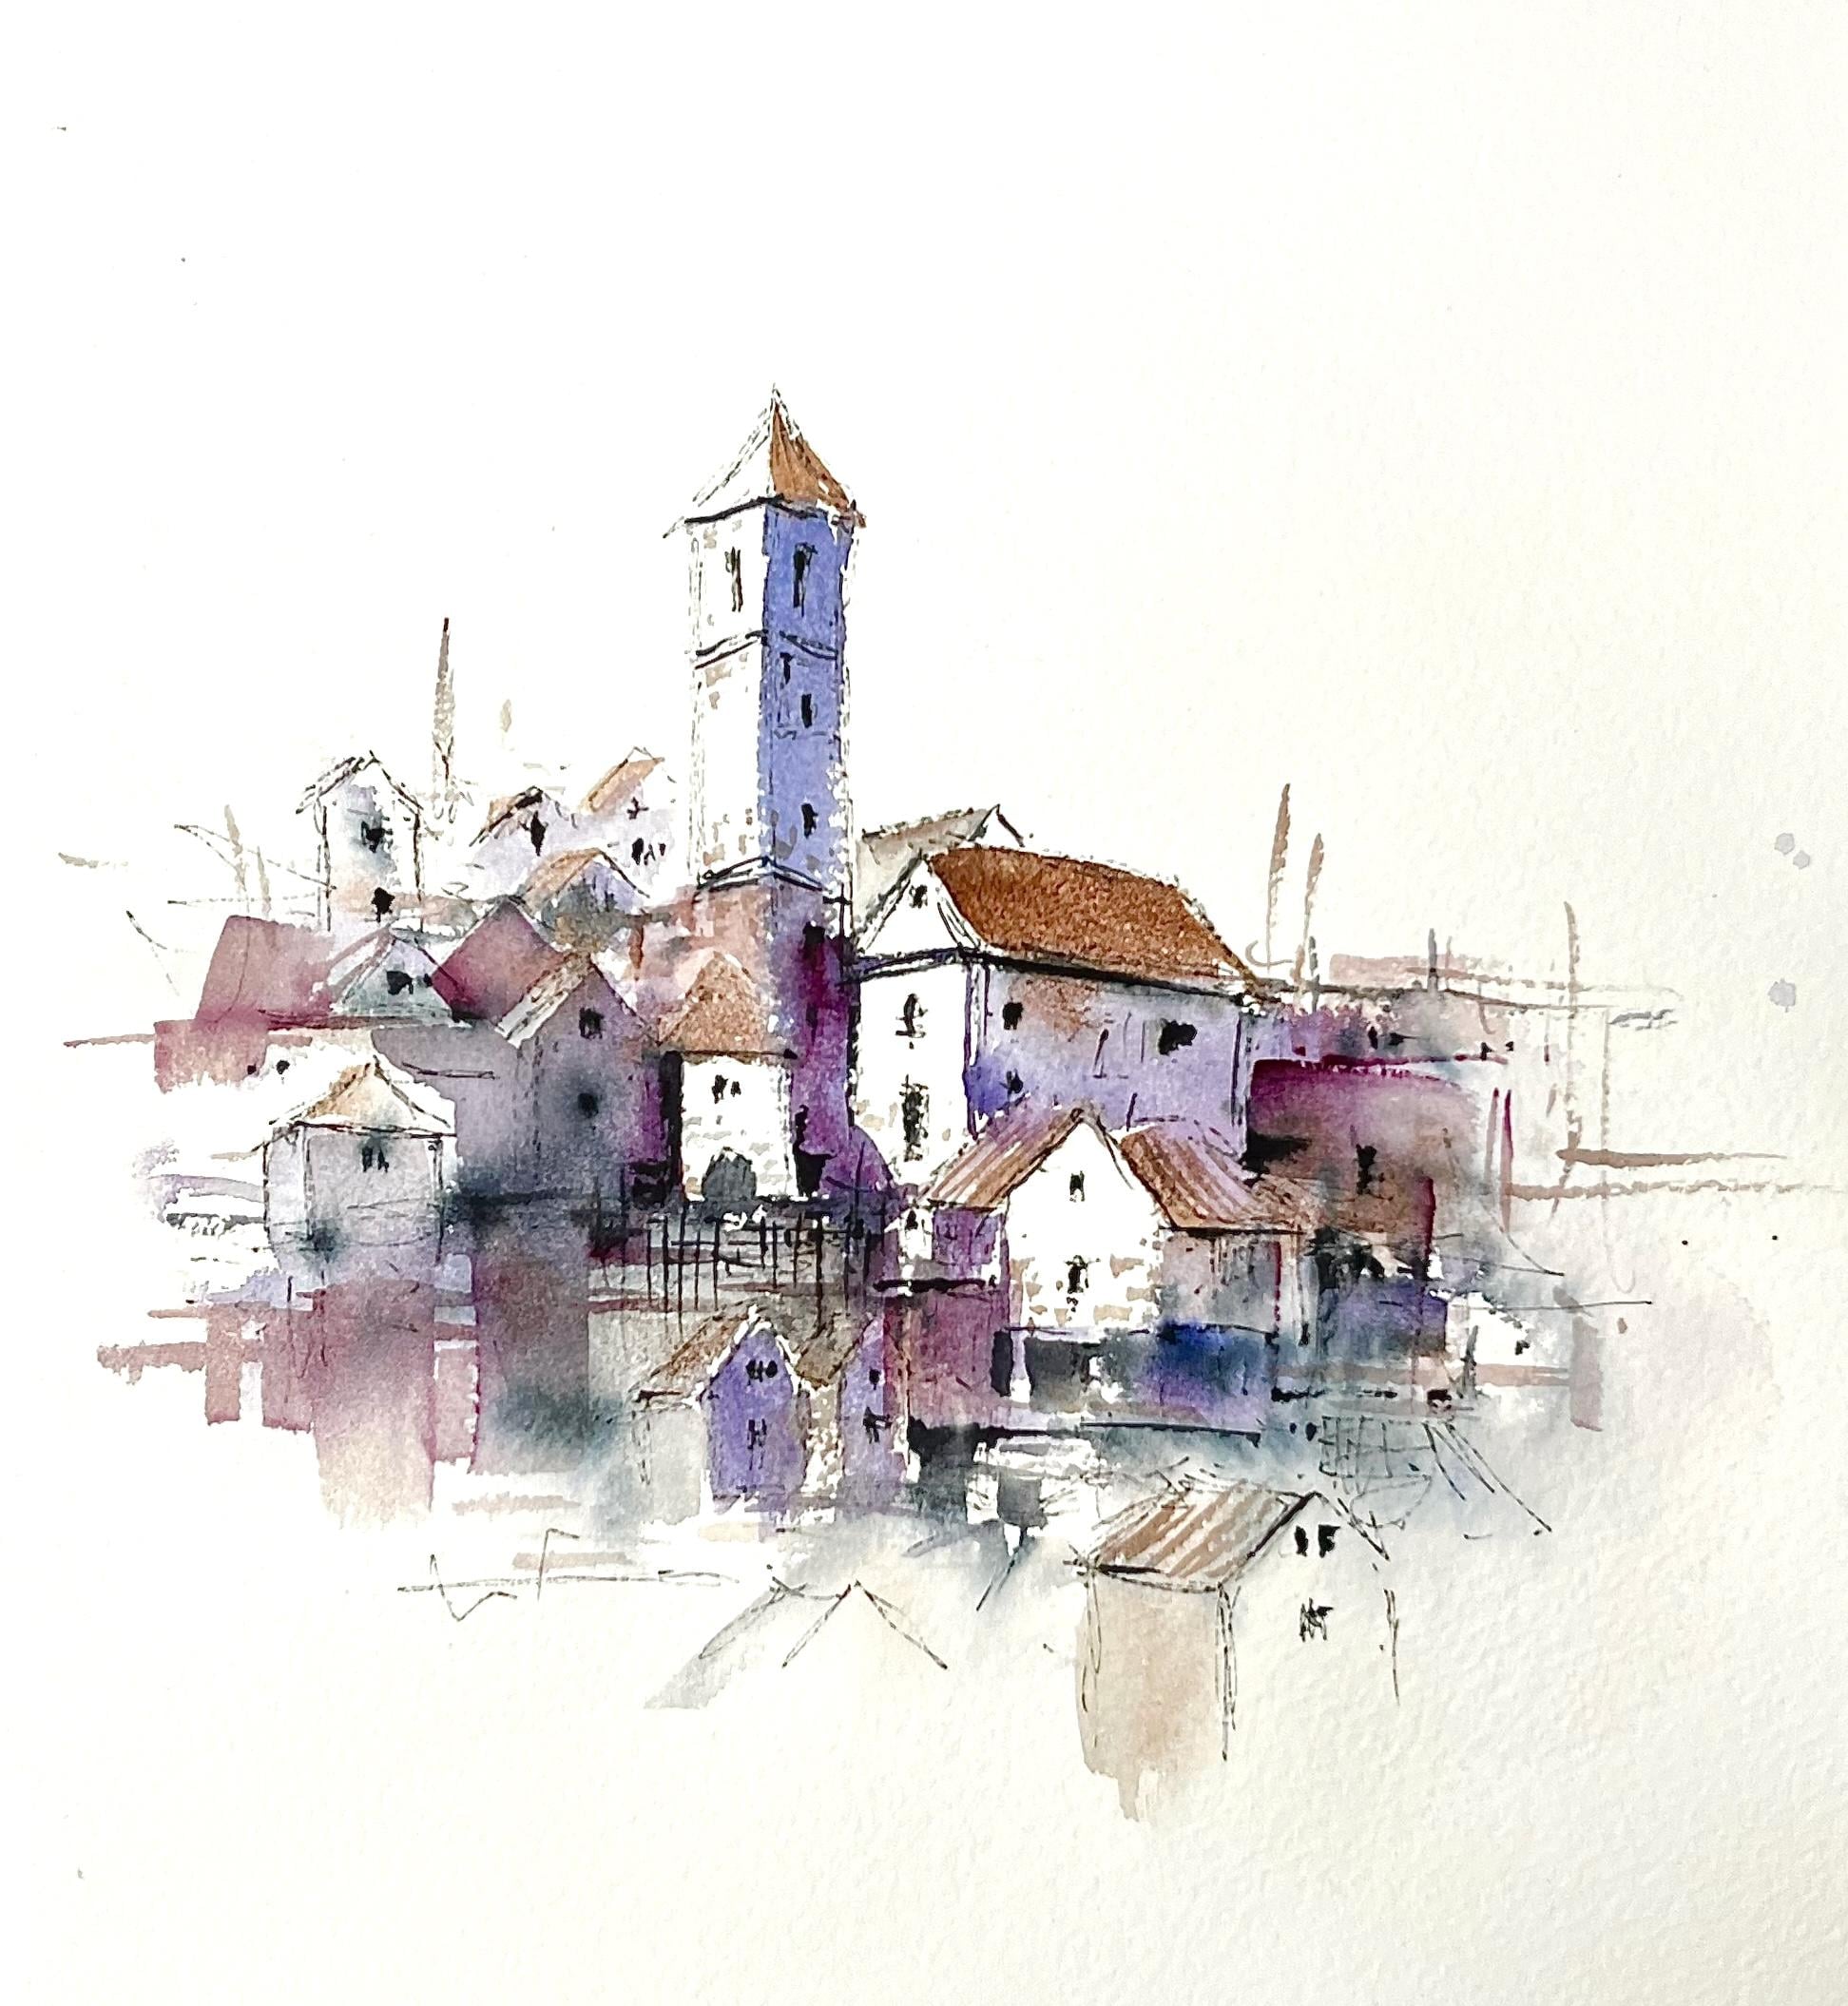
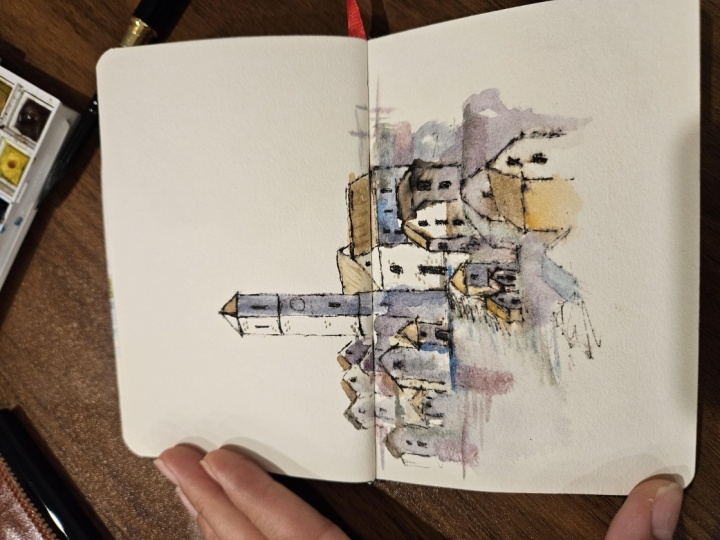
painting that I do, but I'm feeling a
little bit flat, don't really feel very inspired but want to get some
paint on the page. So this is a really quick ink
and wash. And it's really, I think, practiced in sketching and not
thinking too hard about the reference photo. I want
you to be thinking in terms of shapes basic shapes. And I want you to
be drawing this in ink straight onto the page, not messing with pencil sketches and rubbing out and fussing. We're just getting the
basic idea down on paper and then we're throwing
some paint over the top. So we'll go through the sketch,
and this one to this one, I'm actually going to sketch
with you so that you can see what I'm doing and see
how loose it is as I sketch. Then we'll go and put
pop some painting on, pull a few details out with a fine brush, and
then that's it. I want you to really relax
into this one and have fun. I really want it to be loosening you up. So let's get going.
2. Materials: Okay, materials for
this one really simple. I'm painting on 300 gram
Arches cold press paper. I'm playing flat on a board, but I'm not taping it down. I popped a link to
the reference photo, it's from Pixabay, and
you can download it directly from the site. In terms of pains, I've got. Just these four, but you
can use whatever you like. I haven't stayed true
to the reference, and I'm only using these
because that happens to be what I had most recently
squeezed out in my palette. So just use your
favorite colors. I'm using some Daniel Smith Transparent
Brown Oxide, Indigo, and acon violet,
and I've also got some Windsor and Newton
French Ultramarine in there. And for the brushes, you
don't need all three. You can use I would
recommend a flat brush. So I've got two flat brushes. I've got a small one
and a medium one. I put the sizes under
the material section, but it just lets you get these nice roof shapes and building shapes in
without too much effort. So I do like a flat brush.
They're both synthetic. This is another little
round synthetic for just a few little details. I don't want you to
sketch in pencil, so you don't need a
pencil or an eraser. I want you to go straight
with a fine liner to stop you fussing because you
just have to live with the mistakes that
you make in the sketch, and it all adds to the picture. So I've just got a size. This is a 0.1 marker,
and it's waterproof. Other than that, you'll
need your pallet, a jar of water and some tissues, so we're probably
good to get going.
3. Sketching the Basic Scene with Ink: Alright, now, as I said, I don't want this is a very
complicated picture, and I don't want to
get into any of that. I just want to capture the
idea of a bunch of buildings. So this is sketching practice, not super fine detail practice. So we're going to start
where it's easiest, which is with this
central tower. Again, I don't want to
be looking at going, Oh, gosh, there's a clock, and there are all these arches. Don't worry about any of that. I want you to think
basic shapes. So I've got my marker, and I'm going to start
with the little roof. Line. I've got a bit of a
triangling there. Things that get
tricky, it's when you're looking at where
the perspective lines are. What I tend to do, if I'm looking at this line
here and this line here, I'll just pop my pen on and
see what angle there on. Somewhere around there. Then I'm going to
give myself a bit of a rectangle. Messy lines. Doesn't really matter
how far I come down, I'm not going to make this
exactly like the picture. I am going to put
in now following the angle of this line, I'm going to separate that
building a little bit, angle of that line there. And a bit lower, there's another set of lines. So this line has to follow
the angle of that one. This one down there. So that's my first shape in. Then I'm going to pop. There's a building
on the side here. So a bit of a triangle. And again, this one, it angles slightly down. And this roof line underneath has to follow the
angle of that line. This has to follow
the angle there. That's next building,
got a bit of a vertical, the size of the building and
the end of the building. I haven't made that as long
as it is in the picture, but again, it doesn't matter. Quite like the little
building in here. It it's a bit complicated. I don't want to get too fussy, so I'm going to give myself a bit of a triangle
for the roof line. It comes back a
bit there as well, and my verticals here. I've got a little
window in there. I've got a little
archway. In here. Then I'm going to think about. I think I like this flow
down coming down this way. I'm going to pop in, it's a
bit of a tricky building. Let's see. I got to pop in. There's a bit of a
funny roof there. I've got that triangle
as a safe shape. E there is almost
straight across. A bit of an overhang,
I can come down there. There's all this crazy
business in here, which again, I'm not
going to worry about. I'm going to just pop in maybe there's a bit of a roof
there, bit of a down. I put in these little
windows here to give myself a a bit of a dark in
there and under here, maybe there's some
stuff under there. I'll draw the other
side of that building. And there's this looks
like a wall coming across. So really messy. Can see how I'm really
not stressing about that. There are some little
stairs down there. Then there are these
little buildings in here. Now, I haven't got
my spacing right, all that kind of thing.
It doesn't matter. I just want to draw in a
couple of little roof lines. Keeping it messy, got
another triangle in there, my verticals, to try
and position my eye, there are these little
windows and things, putting in a little rough shape. Coming back up here, there's a whole lot of dark
business under there. Up to this one, there's
somewhere around here. It's a bit higher than it
is actually in the picture. I've not drawn it quite
right, doesn't matter. There's a bit of a
door. This little line under here, I'll get in. Which way does that go? So I can adjust my lines there. There's that funny
little funny little bit of stuff there a little
window up there. Here I've got again, I've got
a little few little darts. I'm not going to worry
about that roof there. That shapes all really
complicated. Just go to ignore it. Okay. Back to the tower. I've got a few little
little windows. Give myself an idea. There's actually that kind
of little clock there. Now I'm not going to
draw in the whole clock. I'm just going to pop
a couple of lines. There's something
going on there. Now, little arch. Keeping it messy. All right. And I don't want to worry about there's some stuff going on. I'm not gonna fuss about that. Do I want to come down further? I do. There's that one. There's some business with
guns and things there, and then there's another
little building. In there. Windows again. Not going to
worry about the chimneys. There's a wall and
garden down there. A whole lot of walls
and things down there. Another roof line there, which I may not put in, but I'm getting
these little lines. I'm making even messier and looser than where I
want the focal point, which is in the center
of the picture. All right. So coming
back up to here, I'm going to draw a
couple more buildings in. I've got this little
one here we might put in The windows a little dark, then there's a roof line
going straight across. There's this little
cute little one here. Just a box. This one,
that goes backwards. That's a bit of a
funny roof there. I like these little
windows there, then again, there's
a whole lot of other business going
on down there. Above this one, maybe
there are a few. Those are quite complicated. Again, I don't want to worry
too much about these sort of curved roofs and bits of
lattice almost crisscross. I'm just putting in a few shapes because those
are going to disappear. I don't really want to
make it about those, and this is going
to be the last one. Again, another rectangle,
the triangle for the roof, a little bit of a window, and there's some stuff
happening there. I might pop this one.
There's this one last little one there. Working out where
that comes from. That's it. That's
all I'm going to do to get the sketch in. Then I'm going to throw
some paint around.
4. Throwing Down Some Paint: For this, I want to
keep it really loose. Again, this is just getting the idea that there's a
cluster of buildings. I don't want all my
brushstrokes to be perfect, so I'm going to spray some
mortar sort it around. The edges, not much,
just in a few. Just in a few places. Just so that I don't get too caught up in keeping
everything perfect. Grab my flat brush, and I'm not sticking with the colors that's
in the picture. I'm sticking with what I've
got in my palette here. So I've got my blue
and my purple here. I'm going to start on this side, and I'm just going to
drag some paint down. Maybe a bit more purple.
Then I'm going to come. I'm going to drag,
maybe there's this. I'm going to put that dark
in drag those lines across. This has got a mix of
dark and light there, but I'm not going to stress
too much about that. I'm going to put
this one in shadow. Just throwing the paint on. Then I'm going to come down. I'm just deciding what I'm
going to leave in light, what I'm going to
leave in shadow. So I think I'm going to
put all of that in dark. Just to tidy up that line. And these little ones
I paint that face in I'm really not thinking. All I'm thinking is where
do I want to put darts? Where do I want to leave?
Filling in, letting it run. You can see where it's running
into the web page here. I'm going to fill in
those little triangles. I don't want them to
be the whole focus. Then I'm going to grab
some transparent brown. And I'm going to paint
some roof lines in. Again, keeping it really messy doesn't all have to make sense. Moving the ones down here. Just go to throw that around. And if I'm getting fussy
again, chuck some water on. I want it to stay
clean around here, where the light is, but I
don't mind this getting messy. Then I'm going to take
while that's all wet, take my smaller brush, and
I've got some Indigo in here. I'm going to move that
around in a few places to help me darken off
some of these areas. I'm just making nonsense
marks and letting it bleed. Here I've got that arch, darken off the door, put in a few little extra lines. So nonsense marks. Just moving around while there's
still water in the page. Grab some brown now
and throw that around too just to warm
up a little bit. That's bit too messy in there. I'm just going to close that in Because I want some whites, too many whites will hurt. I'm just throwing the water
on, letting it move around. That roof, I'm going to
paint the brown, let it run. Throwing it into the wet paper, just letting it
bleed not thinking. I'm going to take
this brush again. I'm going to just
drag some water. I've got brown on the brush. I want things to bleed, so I'm not overthinking it. That light, I'll close in. I think I want to keep
the light there and close everything else in. I'm just going to
put a few more. Before I walk away for five, I'm just going to
pop up a few more little dark in boilets
all really wet. This is nearly dry in here, so I can pop a few little darks, come into the roof, restate those little lines, but messy. There's that one up there
that I haven't done. Just thinking I
might. Again, it's not at all what the colors
are on the reference, but that's not what
this is about. Just going to paint
that little shape in. Just looking I'm going to let that dry for
probably 10 minutes. I'm just walking a little
bit more brown around and we'll come back
and see how that's looking and add a
few bits and pieces. Come out of that
and let that dry.
5. Finishing Off: Okay. So it's been 10 minutes probably
and I'm pretty dry. I'm going to take a slightly
bigger flat brush now. I'm just going to
pop a wash over. So erries maybe chisel out a few more shapes,
so I'm going to use. I think a bit of my
transparent brown and a bit of that quin violet. And I'm just going
to come in and paint through a couple
of those shapes, kind of chisel out a
few bits and pieces. So I want to darken off here, but I want a bit of
variation in my lines, in my lights and darks here, just to try and make a few
of those shapes pop out. So I'm just walking around the mix so you can see
about the roof. Yeah. Having this bigger brush
means I can't get too fussy. I might darken this one off. So I'm leaving some of
the wash underneath so I can get some interest, I guess happening as always without having to
think about it. I'm just seeing if I
need to darken off that one slightly. Okay. I think I just wanted to back
that down a bit maybe here. It's just sort of sitting
back and looking I'm squinting and seeing where
there's much too much light. Alright, so I'm
going to switch now maybe back to my small brush. Take my Indigo and my I've got some Indigo and some transparent
brown on my little brush. And I'm just going
to drag through a few little darts sort of strengthen up some of those darts that
I've already got there. And a few more just
little fine lines to try and pull the
eye to where I want. So I want the focus to be
through the center here. So I'm just pulling out
a few of those shapes. Now, you could do that.
You could do some of these fine lines
with the ink pen. It depends what you're
more comfortable. Okay. So just walking a few little darks
around the place. A few of those eaves deciding whether
I'm going to keep this one or I guess
I saw put it there. So again, they don't
have to make much sense. Alright. And then I'm going to just suggest. I think I might do it in
the transparent brown. I take a little bit of milky, transparent brown in just
a few of these places. I'm going to suggest
almost like brickwork. I don't want to paint in
a whole lot of stones. But just in some of
these white surfaces, we've gone to the trouble
of leaving the page blank, I can just suggest a few little shapes
maybe up on this one. When you do this, you have to remember that you need to here, I've got angle stones
going that way. Here they would be going
down the other way. Paying attention to
the perspective. All of these and
some of these are actually white rendered, but
again, it doesn't matter. No one's going to
be looking at this, going, that's not like
the reference photo. Just getting the idea
stripes on some of these. The reefs. And I'm just going to now, you could put in
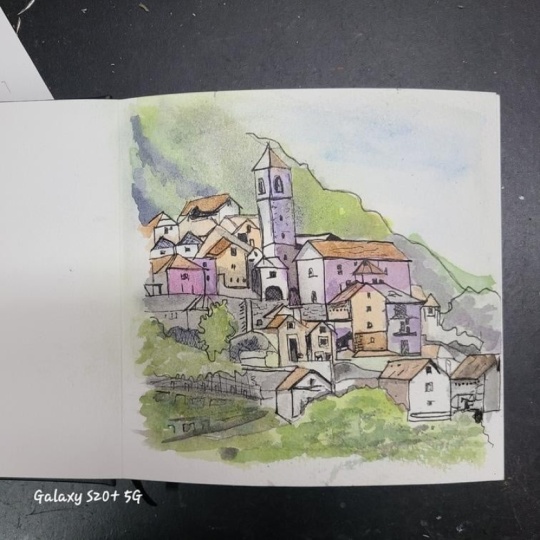
the green up here. I'm just going to put
in a few random arts because I just want
to keep the palette simple because it's not all that interested
in all of that. But what I want you to get
is this release of light. So I'm sitting back and
just kind of thinking, Where do I need to balance off? Got the little dark
windows through here, so I want to just put a few more darts around
just to balance them. I don't like that
one that I put in, but I have to live
with that now. Okay, I think that's all I'm gonna do. I think
I'm going to stop there.
6. A Final Word: Okay, so I'm finished now. I've made myself a
coffee. I've come back to it. That's where
I'm going to leave it. So what I'm hoping
that you get from the exercise is that
you don't have to get overwhelmed by a really
complicated scene. You can just pick
the basic shape. So we're thinking
our rectangles, we're thinking our triangles. Use your brush or your
pencil to work out the angles of the roof lines so that you don't get confused. Throw some paint on, rely
on mixing on the page, and then you can come back and add in some darks and details. And certainly, as you're
coming towards the end there, you can come and add details in with the pen rather
than the brush. Doesn't matter. You just need
some really strong darks. So if you're happy
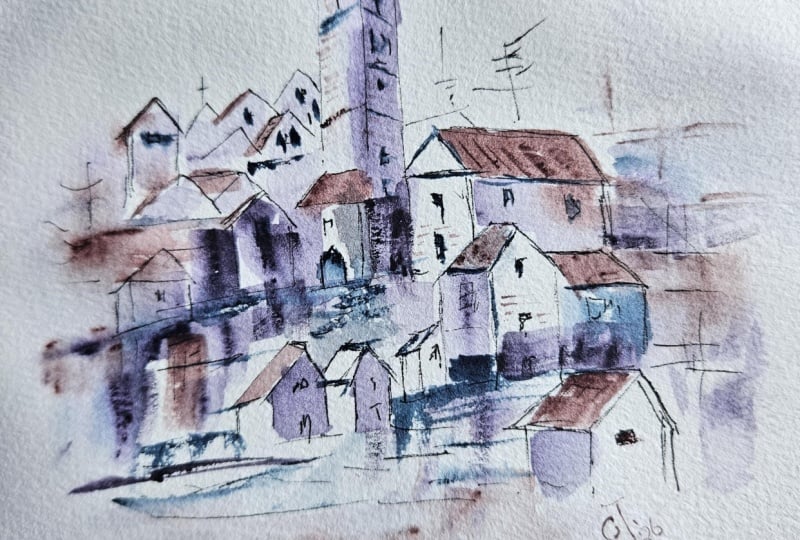
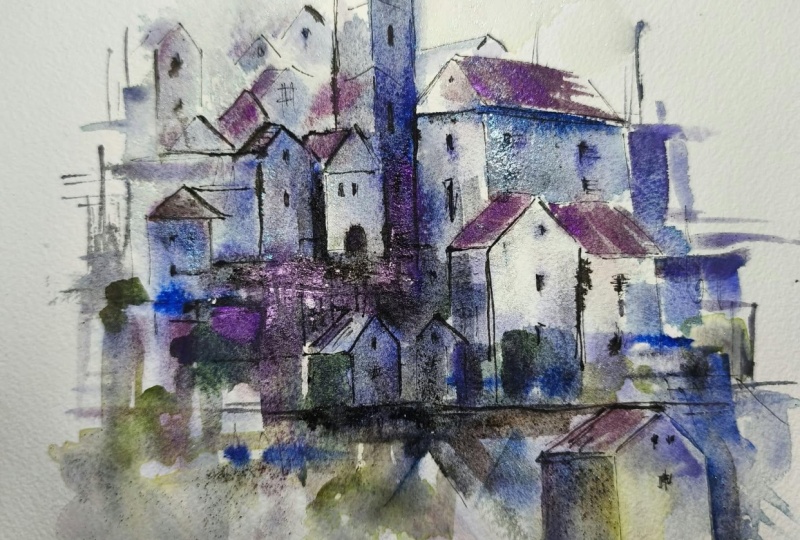
with what you've got, you can pop a photo up underneath project section
for me and have a look at. Use different colors. You
can use whatever you like. And I know some of
you will want to put in the greens. That's
terrific. Do that. I'd love to see what
you can do with it, but I just want you to keep loose and keep relaxed while you're doing it. And
thanks for joining me.
 Nadine Dudek, Professional Watercolour Artist