Transcripts
1. Introduction: Hello, my name is CC Emma watercolour artists in Hong Kong. In this series of lessons, I'm going to show you how to paying birds in a minimal style. My favorite paintings, objects are animals and flowers at hand. A lot of animal portraits. I also like to paying the misty and atmospheric style that I believe every painting has a story behind. I have exhibitions around the world. I met a lot of watercolour artists. I traveled many places giving demonstrations and workshops. Today, I'm gonna show you how to paying the spirit and the minimum style. So let's get started.
2. Basic tools: Let's see about the basic 2s. We have several things that we needed. Firstly, we need watercolor paper. We prefer cold pressed type for this painting. The most important is the texture of the paper. It keeps a medium grain, which is best to work with this lesson. Then we need one small round brush and what to kind of paint. There are many kinds of pain in the store. If you do not have watercolour paint before, I recommend you to buy a watercolor pencil, which you can choose 12 colors or 24 colors according to your needs. These sets might come with very fancy packaging. Some even have spaces for mixing your pain and put your brush inside. In this lesson, we use two colors, swelled, Herbert Scala Lake, and Payne's gray. Let's see how the color looks like. To Scala leg is very similar to the color of their cardinal bird. So as the best color to use, the pace grade will be used for data areas. And when it mixed with Scala Lake, it keeps us Doc RET that can be used on the bag. Remember to practice the dry brush. We may use this technique to paint a tail.
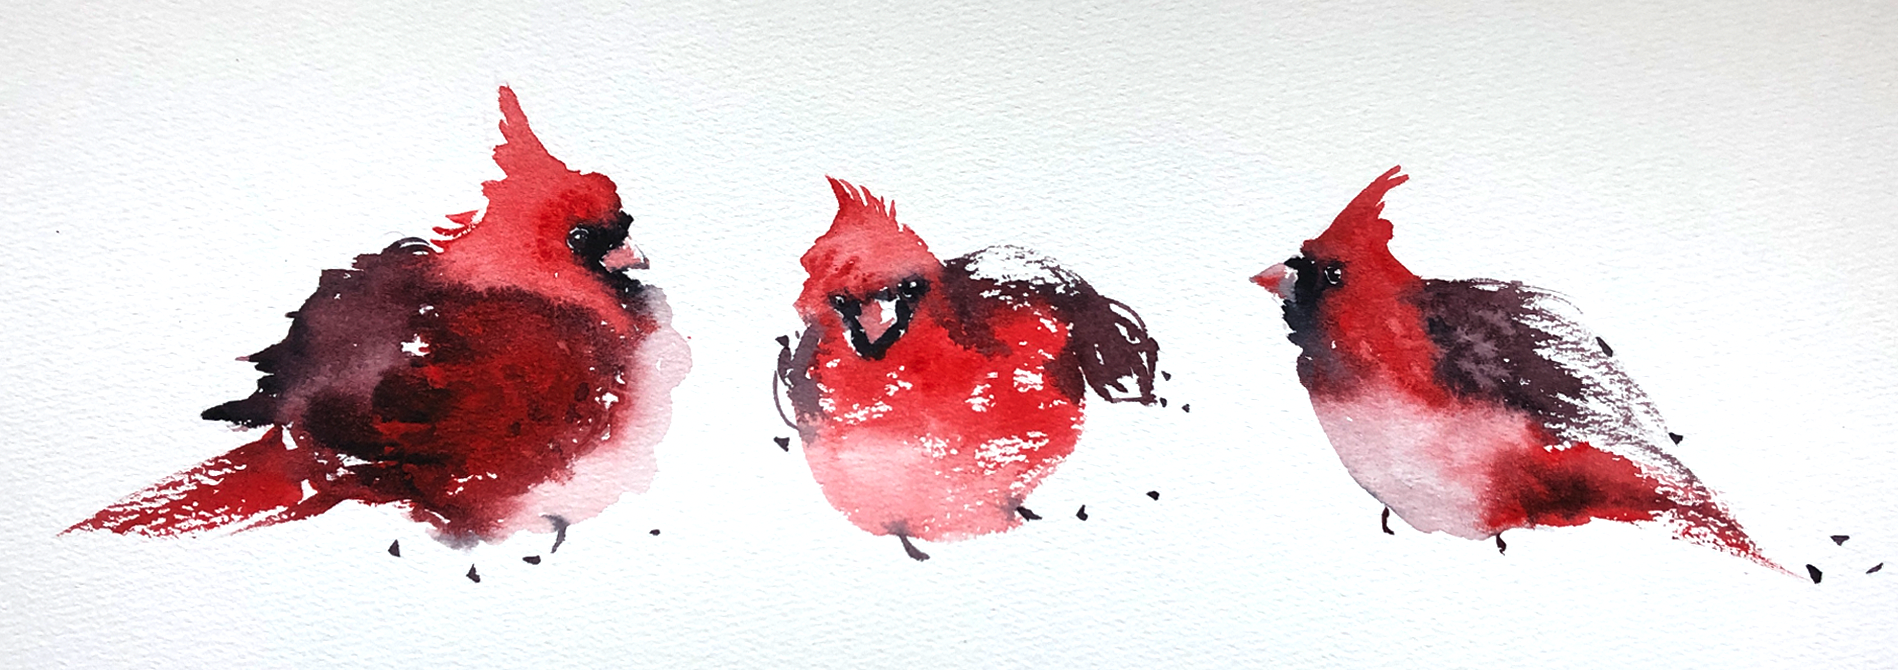
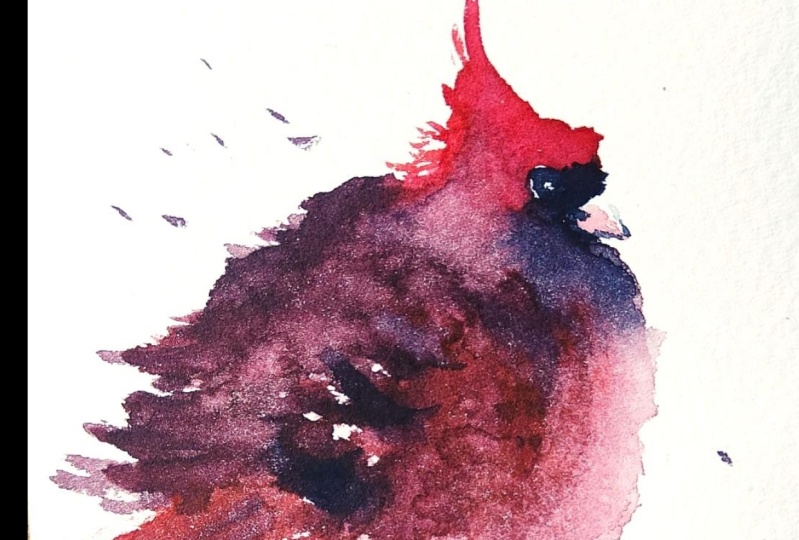
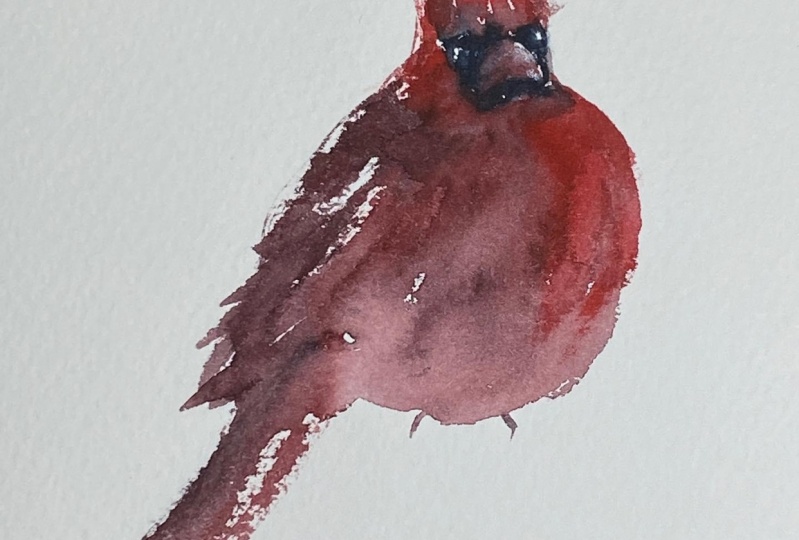
3. Painting the 1st Cardinal: So we start to paint the first cat into. First of all, we need to look for some photos of the cat in Uber. This time, we'll paint three cardinal birds. So I choose three of them with a different posture. This will make our painting more interesting. They start with the eye of the bird with dip, a little pain, and draw a very simple outline just to mark the position of the eye and the beak. We then use Payne's gray color to paint around the eye area with a letter, water is soft and the edges of the collar. Then I start to add the scholar red color around n above. You need to reference to the photo of the burn at this time. We add more water with the red pane on the top of the hat and slowly down the neck on the palate or start to mix the red with the pace gray, giving a darker red than from the back of the body. And also keep up it swings. We can add more color on it. So after we've finished the body, try to paint a tail with a dry brush. We can use the red color and made one stroke of Scala with dry brush. Now the body of the bird is not dried yet. We use a letter water to soften the edges and bring a little color out to form the body of the bird. And we can add to crawl with a very simple stroke. When we paint the eye of the bird with Payne's gray, remember to leave a little Y's sport for the highlight. The beak is damned paint with a light colour of scholars, Lake Arad. Also leaving a little Y's service as the high light on the top. And finalizing the bird. We asked some more colors on it. Some Payne's gray, and some bread to make it more rich in colors. So now we've finished our first CAD.
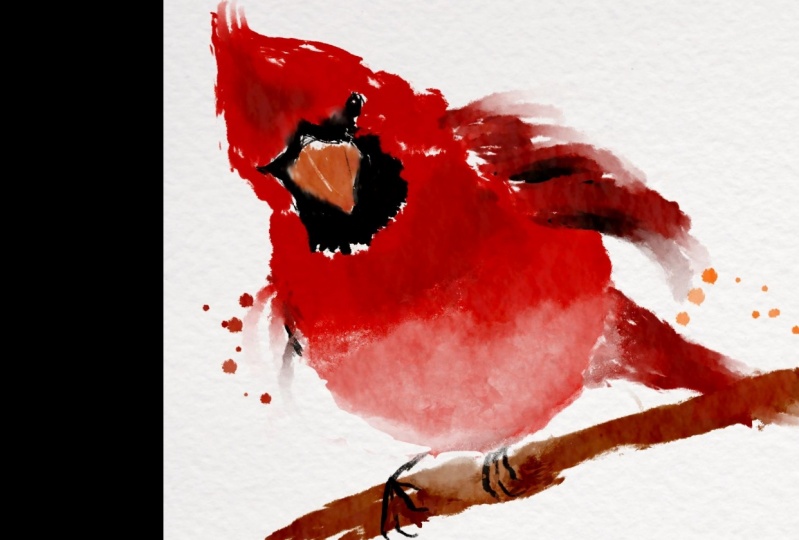
4. Painting the 2nd Cardinal: We start with a second cabinet. Just like the first one. We use a little pain to draw the I and the beak. This is only to mark the position of the eye and the beak. And then around the big, We start with pain scraping. Remember to look at the photo of the bird again. Remember to live the wide area of the eye. The reference to the photo. On the top. We can pay more freely given angular shape after birth. Then we slowly paying down to a space and then move down to its body. This time, I use dry brush for the body. I live some white sonic. And then as some warm water to make a lighter color red on the belly. I then mix with the Payne's gray with the rat again to get the middle tone. Father wings on both sides. We can pay no more freely on both sides. And then again, a very simple stroke for the for the eyes. I feel in Payne's gray color, leaving a little while on it. And finalizing with some more color. And a lighter red on the beak. Also living some white on it as the highlight. So we finished our second one.
5. Painting the 3rd Cardinal: Is that paint in the third cardinal? The first one, we repeat the steps of the first second. So we are now practicing more. Although each of the catenoid has different posture, but the process is similar. You start with an i and a b. If a little pain, withdraw the shape of the Cat in the Hat is most important. As this is the main feature of the bird. We can pay more freely on its body and ways. We start with the pains grade again, paint around the eye and A-B-C, and then use the water too soft in it. Then we start to add read above the eye and then form a triangular shape over is top. And then move around down to his body and neck. And then Moon Wolf, the red, down to the body. And this time we add a little water to make a lighter red to paint a Bally first. Then I mix the darker color again. And then paying the wings part. Using a dry brush. We can pay freely on it's swings. And finally, we add the tail of the bird using the Brad and very fast stroke. Adding to grow. Very simple. I, with the pace gray living a little white spot. And finally we have finished a beak again with a lighter red. And before the body is dried, a dip, a little water on it to make more fun texture. We can also ask some free dots. Overall. It seems to give more and movement to the painting. So we finish this. Riccardi knows, I hope you like it and enjoy this. Try on different posture of the subject and have fun on creating your piece. If you have any questions, you are welcome to send me a message. Thank you very much. See you next time. Bye-bye.