Transcripts
1. Introduction: Hi everyone. My name
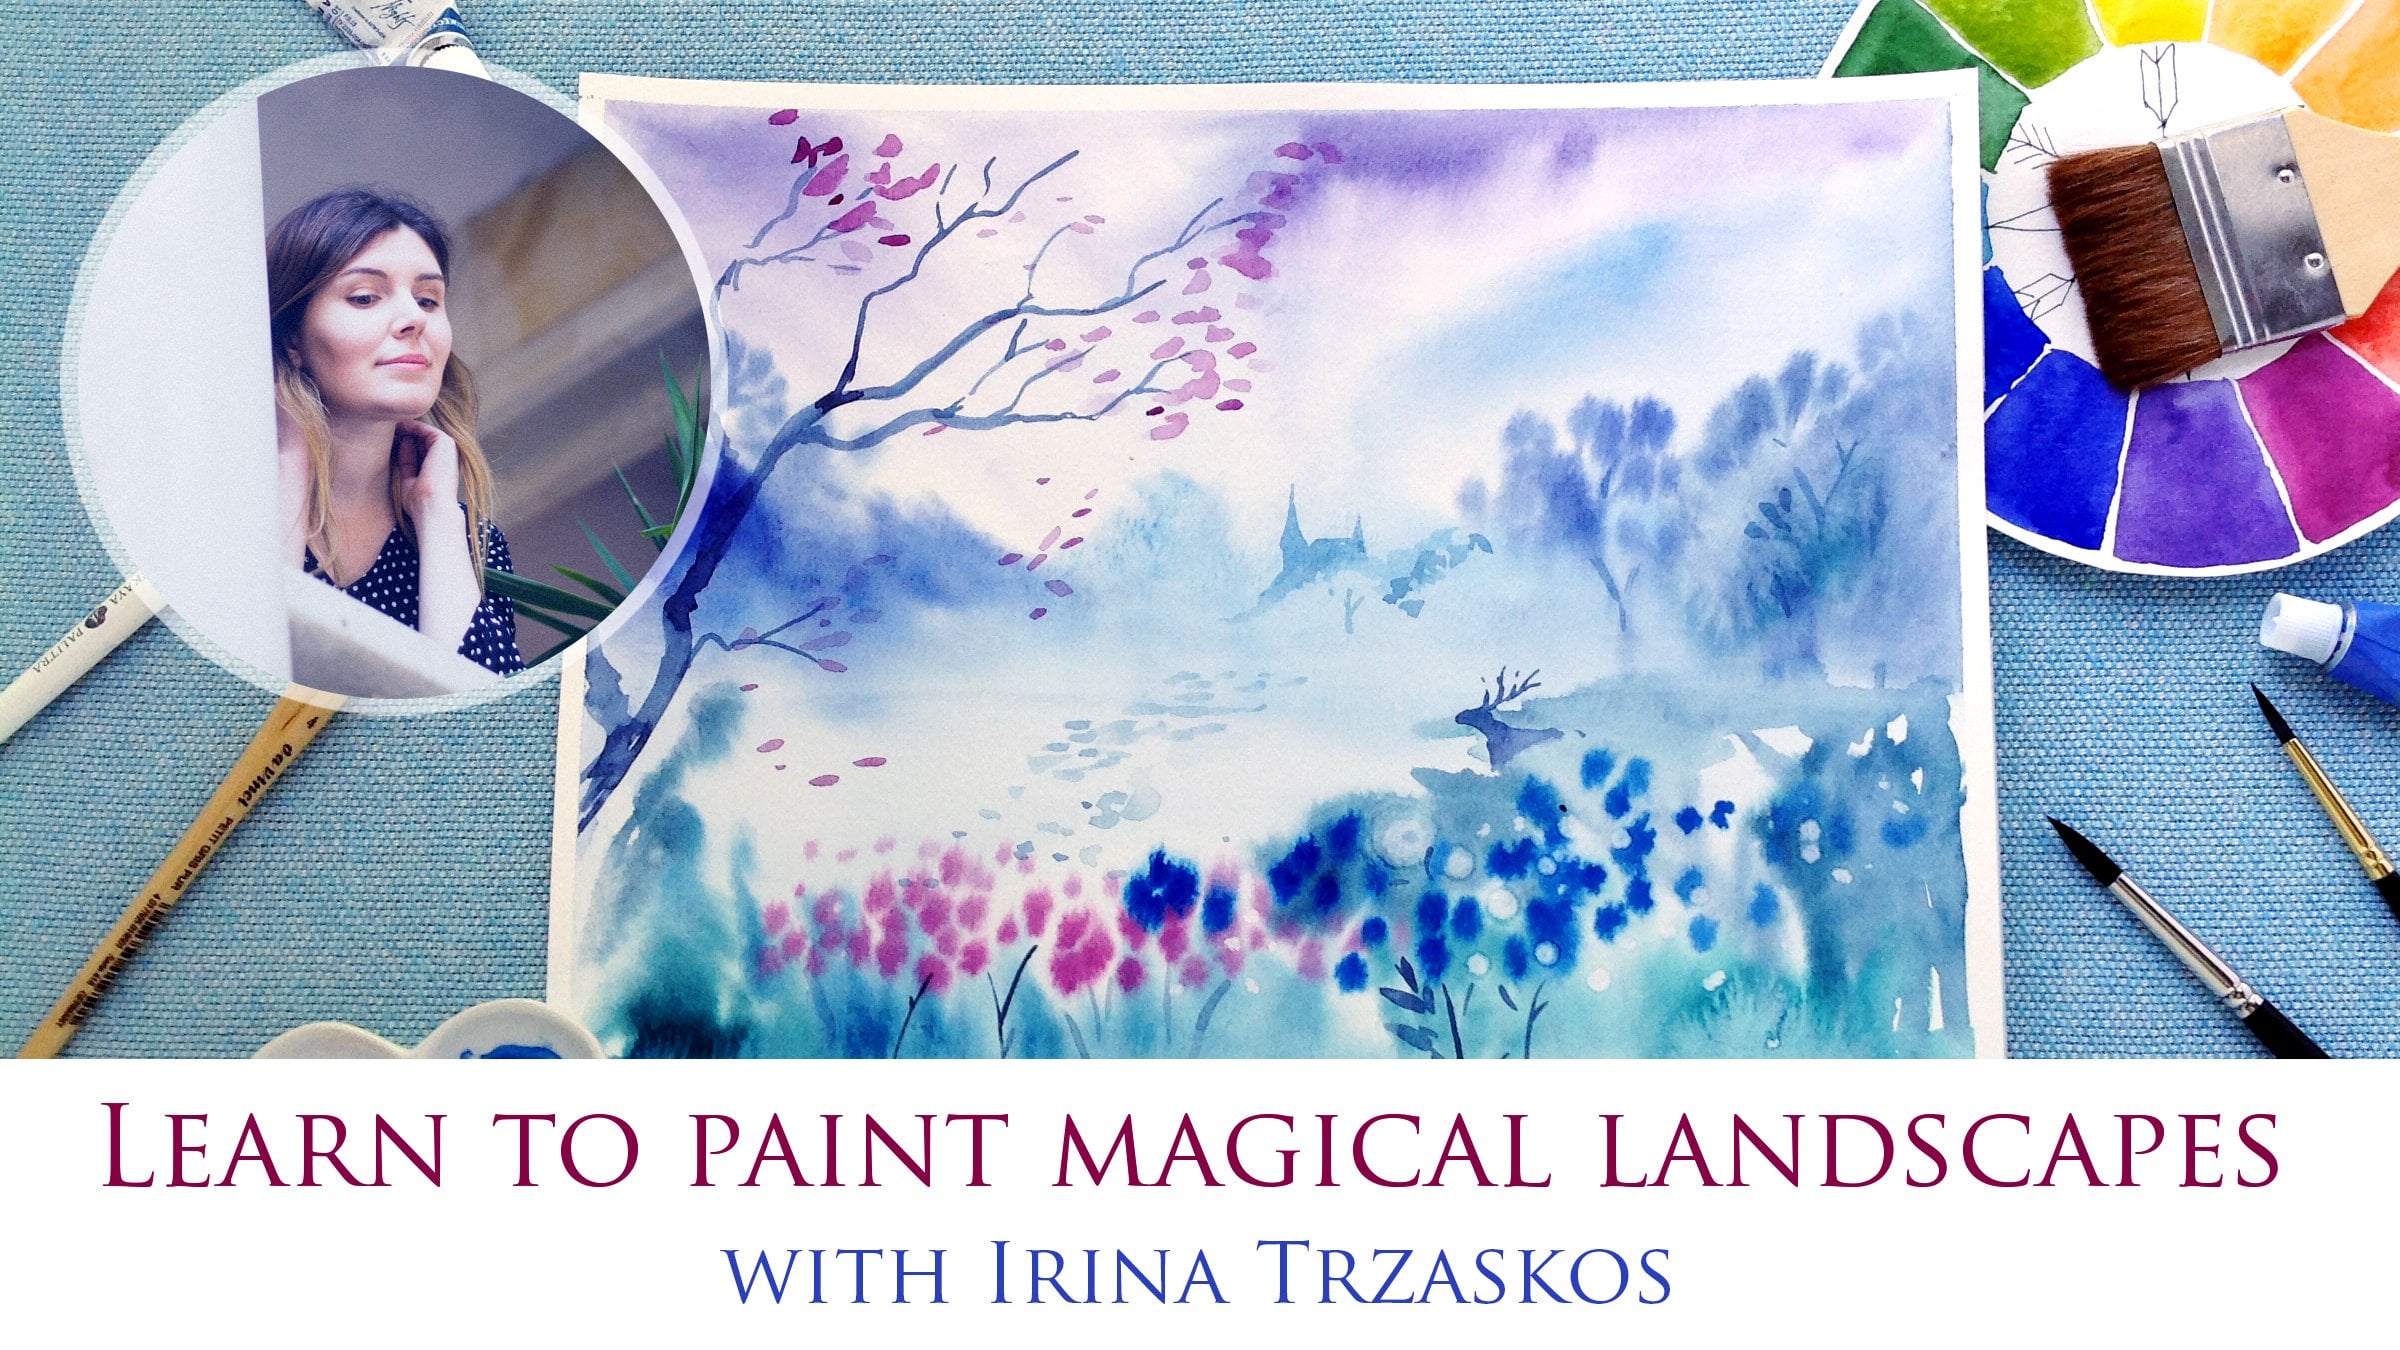
is Ina Frascos. I'm watercolor artist
and illustrator. You may know me through
my other classes. Or maybe, or maybe you took my 100 day watercolor
challenge. Many of you did. And I'm so grateful to see
you there in today's class. Because it's a spring, I want us to paint some painterly spring
flowers very easy. You can use them as a warm
up or you can use them in your sketchbook or on
your social media. Let's keep it fun.
Let's keep it easy. In next Vida, I'll share
the supplies of museum. Let's get started.
2. Supplies: In this class, we'll be
using not so many materials, just watercolor
paint, paint palette. A big watercolor
brush, number 12, synthetic brush, and a
medium watercolor brush. Number four, synthetic brush. Water and paper,
towel and paper. I'm using cold B 300 grams, 440 pounds, big piece of paper.
3. Colors: In this video, I wanted to share what colors I'll be
using in this class. But if you don't
have the colors, just find something you have in your palette as
close as possible. Or just use a different color
scheme for your paintings. We'll be using diamond yellow, cadmium yellow, cadmium orange, magento rosa, yellowish green, classic green, teal,
ultramarine, and violet. This is it this spring, so it's a lot of colors.
Let's get started.
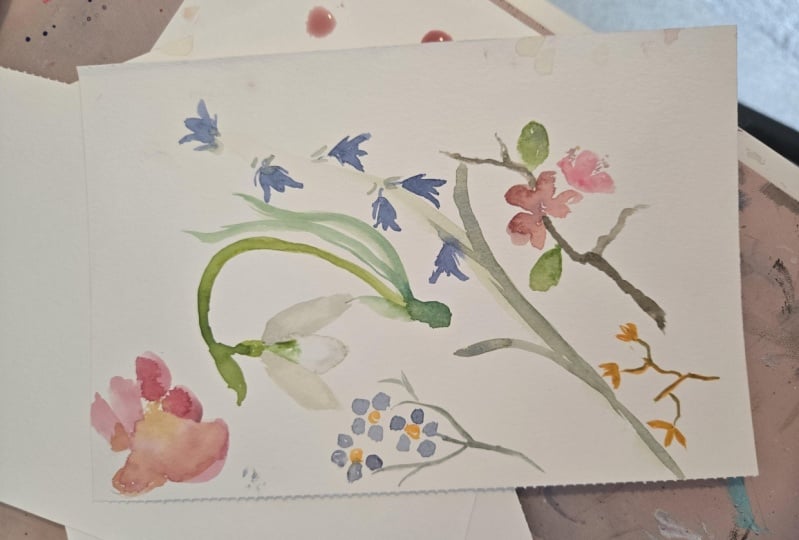
4. Class Project: So for the project
of this class, I invite you to paint
six spring flowers. And I painterly style. And you can paint them as
separate paintings or you can paint them on one sheet
of paper like I did. And I hope you'll have as much
fun as I did filming this.
5. Painting a Snowdrop: The first flower
we're painting for, spring flowers, is a snow drop. It's the most difficult one for today because we
need a white color. To make a white color, we'll need to mix
three primary colors, which is cadmium, cadmium, yellow, and ultra marine. They have to be in
equal proportions to give us a perfect gray. I think we need a
little more blue. This is our shade of gray which will help
us create a white. We'll diluted lot of water. And I'll start painting our petals just a
curve like this. Take some more water and
just drag it up like this. Then we have to dry our brush
and take away some paint, leaving just a little bit of
hints of color like this. Now let's paint the second
petal the same way. Make this and again, damping the brush
in a paper towel. You probably can hear it. Now we have a third pattern
which will just make little lines here like this. And we'll drive a brush in a paper towel and
we'll drag a color a little bit up next. Let's say I'll take a smaller
brush, it's number four. And mix are beautiful. Green green we'll be using. And cadmium orange actually it gave us a pretty
muddy green salt at some lemon yellow. And s this is better. So to paint our middle, we'll just make one
brush stroke here. Next chant. Like a little square right here. And since our brush, dry it in a paper towel and
drag some of this color up, I think it needs a
little bit of yellow. Just brighten it up. So
let's take some cadium yellow and add a
drop right in here. And again, I'm drying a
brush a little bit up this. Let's add some yellow
into our green mixture. Take a lot of water and water it down and then we'll be
painting this sting. I think it needs a little
more yellow things and then little hat. And then take a deep breath
and make a big slow, like this nice snow drop has a little leaf here on top. For next lease, we'll
take a big brush again, some classic green mix
it to have a green. We already have a
deep breath and we go up and a deep breath and
we go up again like this. Let's faking and to a little. That's nice. Here's our snow
drop in a per stop. If you want, you can take a small brush and just
take a little bit of the gray we made at
the beginning and add a few more lines to the petals, a little bit of texture. This, I'm not done cleaning
because I want to painterly. I'm just small brush here. This is our snow
drop in a painter.
6. Painting a Flowering Quince: Next painter. Spring
flower I want to paint is flowering quince. It's a flowering bush, which really flowers
very early in spring, sometimes even in the winter. In some regions we'll start
with a branch itself. For that, I'm taking some Roya and mixing it
with a little bit of perp. We've just brush number
four F if you want, you can take a brush a little
farther from the top of a brush and really just
make a small branch here. Next for the petals
is the fun part. Some cod, orange with a
little bit of magenta. And we'll dilute it
with a lot of water. To make a petal, just press the brush onto the
paper and make a small circle like
this one next to it. Like this. Macetually leave the middle wide because we'll be adding
the stamens there. And one more petal. Now I want to make another
flower next to it, which is a sideways. So I'll just press
Compress into paper. And we'll move it and maybe
a little P like this. Next. Let's take yellow and mix it with Rosiello and just
add some dots here. Don't worry if they
around a little bit into the pitch and some lines and dots
here like this. Next, let's take our
brown we mixed early. Just keep going with
this with this branch. This, I feel like we need
a little bit of red here. Next I want to make
a little leaf. So to our yellow, we already have
our stamens here. I'll add some greenish
yellowish green. And we'll add a little, it's a little too bright, so let's add some
rosa coming down a little like maybe one here. When it dried, you can add a little more defined bands of the petals or just
leave it like this. This is our flowering
queens in a painting style.
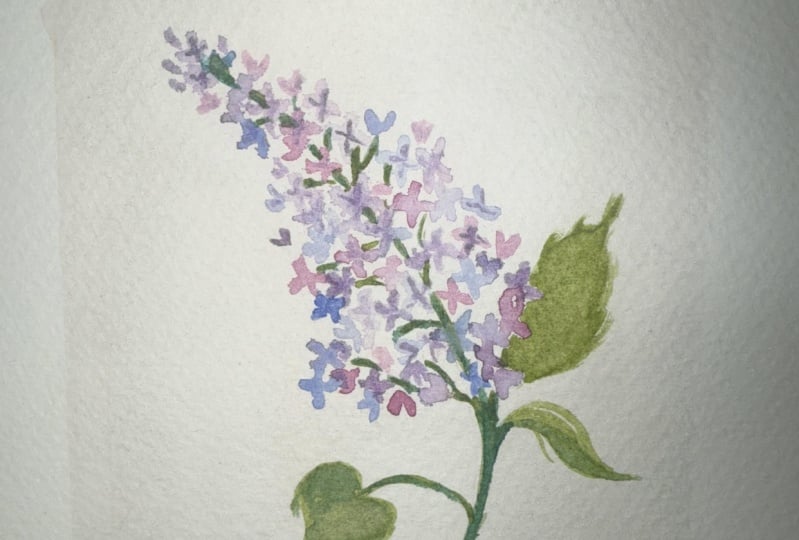
7. Painting a Bluebell: So next flower I want to
paint is a blue bell. I'll be using the same brown
we used for the queens. I just will dilute it with a
lot of water for the stem. I wanted to go this way
to fill the composition, The breath and goer line. My paints are in a way, so it's a little crooked, but it's okay here. We can have a little bulb to why not and some roots coming. It's a little thicker than
I wanted but it's okay. Sulfur blue will be mixing our till wave purple and I will give you a
beautiful purplish blue. Or you can use any blue
you have in your pain. Pat with brush number four, I'll start just pressing
the tip of the brush onto paper and leaving a
mark for the petal. This one will be a closed floor. This next one can look the direction and
open a little bit. We're making the swoop like this and you can
make as many as you want. Of course, I always start
with a Neddle pell, then I make the curly ones. The next one do I get? Let's make a middle
one a little cold. You can notice
they're like becoming bigger and bigger by the bottom. This is the smallest. Then they have a
also like petals on the top and one here, I made a more
purple or blue as I go to keep them different. So I think one more and then we can start
painting some leaves and maybe one more here. I said one more
and then one more next. Let's take some, we'll use the same green, but let's add some
ultramarine blue ed to darken it up a little. And then add a little bit
of green to the step. Just make sure to water it down. And then let's take
a bigger brush for this and make a leaf and another stem here. Here. I'm not too
happy with this leaf. Let's fix it a little bit. And this is our blue bell
and a painter in style.
8. Painting a Forget Me Not: Next spring flowers I want
to pin are, Forget me nots. We'll start with orange middle, just with a brush number four, I am making orange circles where I want the middle
of flower to be. Let, let's say three
flowers which are opened. Then I'm taking lemon yellow, mixing it with a little bit of orange and making a
circle around myself. This is too wet. Even if it's
faintly still still still. I don't want to mix
the cars with much. I'm then to go around the orange like this next
while that dries a little bit. Let's mix our blue. For blue, I want to use just ultramarine blue with a little
bit of till to warm it up. And then we'll start painting
while we are trying. Let's paint some, just like this petals, that basing petals just
leave a little bit of space from the middle. And we have five petals. I hope I'm right, petals have, it's
right there like this. A little chu be able. Not much we can do at this point about This is another petal. Another poll here. Oh, and the number
one I want to pin is, let's pin the stems first, and then I'll decide where
the next one soper stems. I'm using the same green
used for other noles. This here, and here we
fall have the next flow. And we'll go down like this. And we'll press and brush
more into the paper, and we'll make a leaf. And we'll press and
brush again like this. So depending on how much
blue you still have left, let's make some more
flowers which are sideways. And here we need a
little cup like this. I can make another here. And this is our, forget me, not flower in the
painter his stuff.
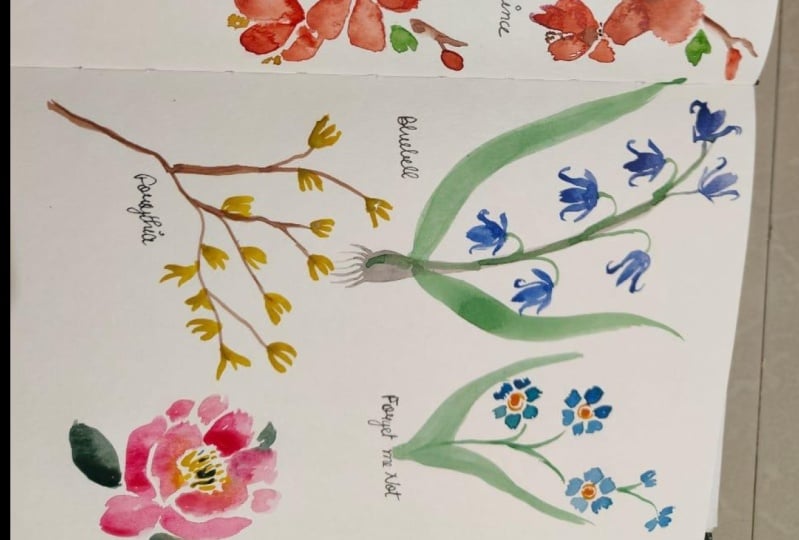
9. Painting a Forsythia: The next flowering
branch is very easy, but still fun is for stia. I hope I pronounce it right. So we'll take Rosana for the branch with a
little bit of purple, just like we did before,
and welcome purple. Just overwhelmed all my rosa. Then we'll do the branch
just we did with the queens. Just very freely, I think. Fun, Like this, like this. Let's leave some room
here for one more flour. Okay, I think this is enough. Then next summer, add me on yellow with a little bit of
orange we had on a plate. And then we'll start from the bottom of
the floor this time. And we'll press a
brush like this one. Petal 3.1 2.3 So easy and yet so pretty. You can turn the paper
anyway you're comfortable like this. So this
is our Peter Veria.
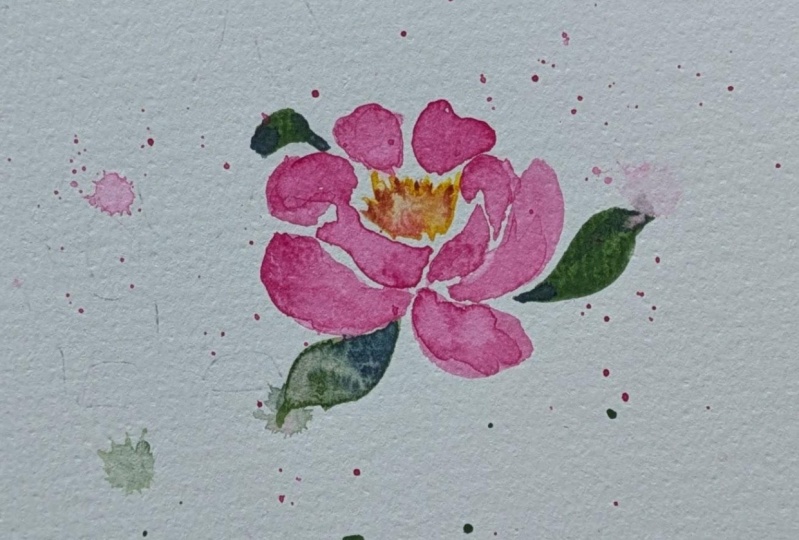
10. Painting a Camelia: Next flower is more complicated, but I still want us to
do it because we already did so many and we practiced. The next one is Camelia. We'll start with the
middle of the flower. We'll take some cadmium yellow. And we'll make some
lines like these. A little bit of
dots next to them. Next I want my came to the pin. Sl takes some magenta, we have a tiny drop of card orange and we
have a meeting brush. I'll start making the petals. You press brush into
the paper and you just lead the water. Really need to
rounding petals pole. You can see I'm
leaving white space. I don't mix the yellow. I think it looks
interesting when there is a white
space between petals, watercolor stops flowing freely. You just add a
little more water. If it becomes too pale, just add a little more paint. And one more petal here, and next we need a
very dark green. So I'll take a class of green and we'll just
one diluted to other. I'll add, I live right here. May be another one here. At the last touch,
I feel like we need a little brown in the middle. Medium, few darker dots here. This is our beautiful chameleon.
11. Thank you!: Thank you so much for
joining me in this class. I hope you had a
chance to paint me. If you like the class, please leave a review. And if you painted along, please apply the project to a project section
of the class. If you're sharing
your art organ, Instagram, take me a second. See, And I'll be happy
to share if I have time. And I'll see you in
the next class. Bye.
 Irina Trzaskos, Watercolor Artist & Illustrator