Transcripts
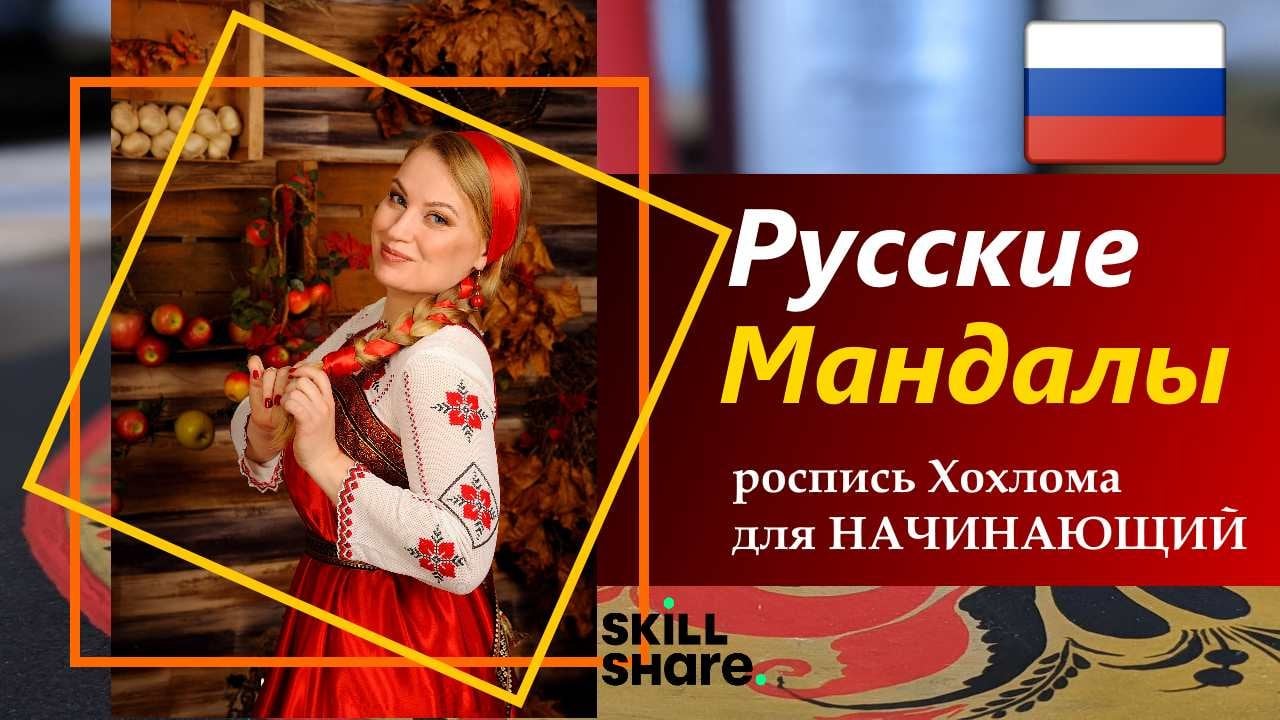
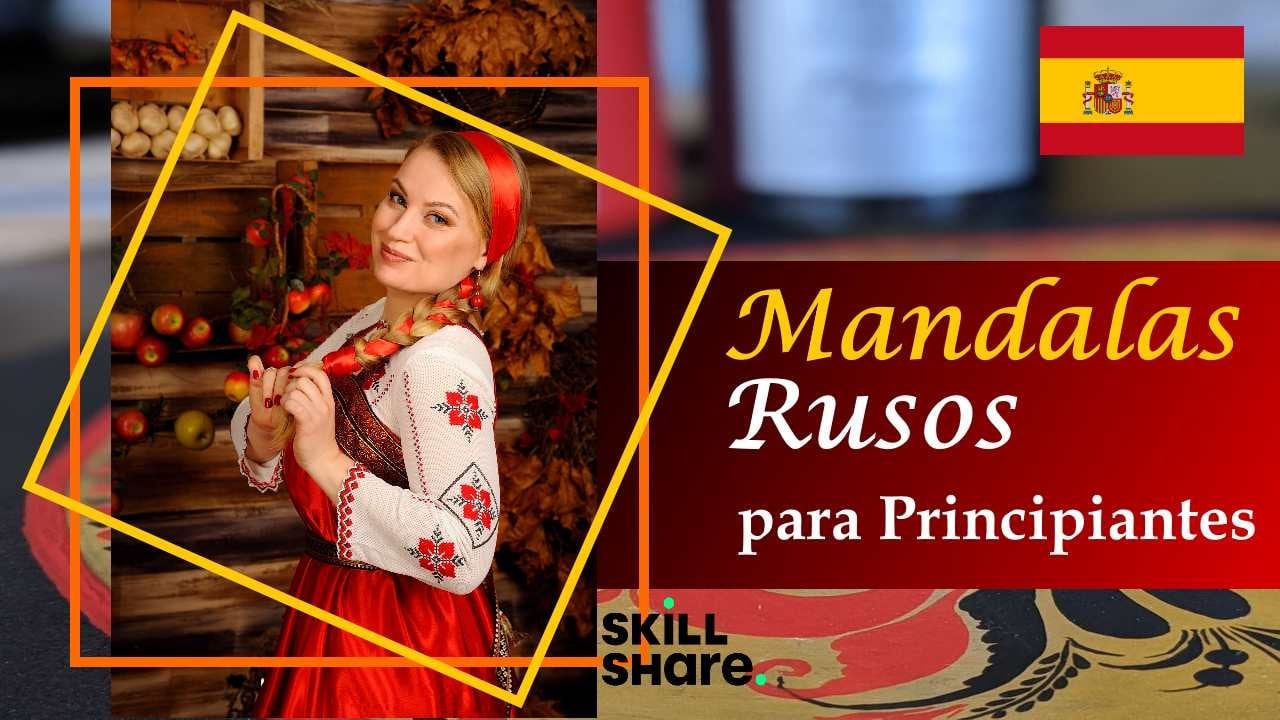
1. Introduction: Hello everybody. Now I'm walking through a winter forest in the north of Spain and my Russian friends are sending me messages that it has been snowing heavily in my home city St. Petersburg for three days. And everything is white and so beautiful. And I realized that I miss this frosty air, snow, that Christmas rush, bullfinches and the smell of mandarins - these imprints from my childhood, the symbols of winter in Russia. My name is Irina De Vicente and I'm a folk artist and I study Russian History of Art. I would like to invite you to my class where we are going to paint the Christmas postcard in Russian folk art style Khokhloma. Even if you have never painted before or never held a brush in your hands just start it without any doubts and you will succeed. You will only need a brush, paints and paper and a pencil, an eraser and a ruler for a sketch. I'm going to show you how to properly hold the brush as Russian masters used to do. The basic elements of Khokhloma painting and how we can apply this simple set of elements to create a special postcard. I'm looking forward to see you in my class. Join it right now! I will be very happy to see you. Bye-bye.
2. Class Project: Hello again, Welcome to my
heart, Homer painting class. If you would like to
know more about history, your freshman fall card about
Slavic symbolism behind in this compositions and learn more basic elements
of Haha painting. I strongly recommend
you to watch my first-class ration mandalas. Believe me, you will find a lot of interesting
things there. And today we are going to Bain the postcard in the
traditional ration for style haha with both
inch and Ashbury. Both are the symbols
of winter in Russia. Burton haha painting is a special topic and one
of my favorite topic. There is wide the large
variety of birds and ha-ha. But today we will take a simplified version,
but very effective. Here is for example, a walk panel you can
draw with birds, which we will study today. Everyone will
definitely succeed. Don't even worry. But first, Let's see what materials
we need today.
3. Materials: Okay, materials that
we're going to use today. I have prepared already here
and as usual copy paper, we will do this catch
in this paper today, but you can also use it
for your final work. I can also recommend
you to use cardboard, for example, like this, sad that they have
here different colors. You can use white paper or
light yellow like this. Light gray also is perfect. Even such a red color. Why not? If you are going to use additionally black
and gold color, it will look spectacular. I have another set of paper
like this for crafts. It's made in Spain, but probably you can
find something similar. There is aluminium cardboard
here in this sad golden, see, liver and other colors. Okay, then pains. Today I'm going to use rational tempera,
professional tempera paint. I like a lot to use
them in my painting. But anyway, you can use any pain that you
prefer, even watercolor. So it can be goulash, acrylic paint, vinyl paint. It's up to you. Here is for example,
I have goulash. This is French
vinyl paint that I also at door and use a
lot in my paintings. What colors do we need? As you probably
understood already, it's a red color. Any red color? Black color, white
for creating snow. If you use colored paper. If you are going to use today white paper
for your postcard. To create the snow effect. You can use Satyam sparkles, glitters, gold or silver, and the PVA glue. Or if you have a golden paint, you can create the effect
of snow with golden color. Brushes. I use squirrel natural
brushes. Number 2. The shape is round, but you can use any brush,
synthetic or natural. The most important thing
that it should be rounded. It means when you put in
the water or in the paint, then the beak would be sharp. If your brush will be
not sharp at the end, we will be not able to
do drops and thin lines. Then for sketching, we need a pencil and eraser and ruler. Additionally, we
need cotton bots. If you don't have cotton bots, I will explain you how
you can substitute them. Then a palette or
just the usual plate, flat plate napkin and
the glass of water. That's it. Let's get started.
4. Thumbnail-1: And we start from a sketch. I recommend you not to skip this stage because this sketch will give you more confidence
in the final painting. By sketching, you will understand which
elements like that, in which part of your
future postcard, how balanced your composition. And you can see the final
view of your postcard, okay? We fold our paper sheet of paper in half and our postcard will be in
a horizontal format. If you are going to
use only white paper, you can do sketch and your final painting work
in one piece of paper. Just make a sketch and then
paint over this catch. If you use the colored paper, then you have to do
the sketch and then repeat the second time on them. Colored paper. I'm going to press
to the pencil a lot now just to be more
visible for you. All my lines. I took very soft pencil, seeks be you can use HB pencil. For the beginning. I'm going to mark a frame. The frame that we will not go beyond by drawing and painting. No one element will
go out of the frame. This will make the
composition need and help you better navigate when you're
building a composition. Approximately one centimeter. Now let's divide the workspace into four equal rectangles. It will help us to
construct composition. Okay, look, if you have a
standard piece of paper A4, then here I have 15 centimeters, then I take that center, 7.5. Horizontally, I have 21 than
the center is 10 and half. Here is the center. And me, we make vertical
and horizontal line. Okay, I forgot that
I promised you to press more to my pencil
to be more visible. Here will be our bird, and in this corner will be a bunch of Ashbury and branches. On the right upper corner, we will have a free
space that you can use to put some title. Or you can just leave it free. And let's start from the bird. To understand exactly
what is the size, what is the proportion
of the bird? I will give you measurements. I will do two
centimeters up from the center and one
centimeter to the left leg. This 20 centimeters up, one centimeter to the left, and leave some dots. Here down from the frame. I measure approximately
two centimeters and mark some line. Here. We will start with
the hat of the bird. And here we'll finish
with the body. And let's draw our bird. Don't worry if you can't
do this from first prompt, you have an eraser for any case. So just tried to repeat the shape that I'm going
to demonstrate you now. Here is a hat of the bird. The bulk finch doesn't, has a big hat, so it should be just not so big despite the fact that our
painting is a decorative. Anyone soon
understand that it is a hinge or at least
that it is a bird. Illegal bird's-eye mean. That it is not a crow or storch. Okay, then here is a
small hat and bold Finch is you remember it had
such a barely, let's say, because it's called
on the street and they are sitting
on the branches like, you know, like green gene. That's why we make a line, not through the century, a bead and go down and make
a barely up like this. The belly goes
forward the beat like one centimeter from
this vertical line. And we just leave this line
at the moment like this. Here we draw the
line at an angle of 45 degrees
approximately down. And then curving and the
little bit the line, we go to the tail, tail of the bowl finch,
if you remember, it's not so long and a little
bit sharpened like this, don't make a tail too long
because we will get a pigeon. Instead of both hint. Well, if I will measure, it's approximately three
centimeters from the right side. And we stopped with a tail. I give you this measure, man, just not to pull the tail, not to do too long. Okay, this is the
body of our bird. Now we are going to
draw wings of the bird. The wink looks like a leaf. Just the tip of this leaf of this wing is rounded to
the left little bit, it looks more decorative. Now I will finish to draw and you will understand
what I mean. Like this, like a
leaf of the tree. The second wing is approximately
on the same level. If you put the line like this, this week will go
up the same shape. But then the TPP, the end of the wing, will be rounded to another site, will be rounded up. Lags of the bird. We will mark in the place in
the point when the line of the belly of the body meets
with the wing in this place, two lags we mark here
a beak of the bird and I just location of
the eye because in paint we will make
it more detailed. Well, I would like to correct
allele at the back of the bird here a little
bit just to perfectly it, a little bit more. It seems to me it will
more beautiful like this. You also can leave your paper on the table and look
from the distance. And if you would like to
correct the shape of your bird, please do it now in
the pencil because in paint it will be very
difficult to correct. The neck probably shouldn't
be curved so much as well. Our bird is sitting
on the branch. Just make the curved
line like this. And now let's go to the corner
where we'll be Ashbury. To paint Ashbury, we, we need to create just
the shape of the berries. And we're going to draw a smile, smile or bowl like this. And at an angle of 45
degrees to the corner, approximately, just
do like a smile. It can be like a ball
more deep or less deep. It's not important so much. And inside of the smile,
using cotton bots, we will put dots that will,
will imitate Ashbery's. Put the x's in the
middle of the smile of this bowl to mark the
center and the direction.
5. Thumbnail-2: This is what we're going to do. The first dot will be
in the center and then go according the lines
up with all the dots, making the shape of this smile. In Hawk Lama, elements, don't touch them and don't
touch each other than you should try to put the dots
but very close to each other, but they are not
connected there. They are not
touching each other. This is the first row. The second row. We will start from
the center as well, the first dot of the second row. And then you continue. But the dots will go
already how they can. It's not necessary to be under the first row dots. Exactly. The size of all dots
should be the same. Just maybe the last ones in there can be
ileal with smaller, but actually the size
should be the same. Their own number 3, again, start in the center, directly under the central dots. And there is how it goes. Three rows are usually enough, don't put a lot, but if you want, you
can add the fourth one, just a few berries. And branch as stem to this berries will go not
exactly from the corner, but a little bit down. We will start a little
bit down from the side. In hahaha painting, very
often this kind of stem, a finish with a drop. So then we draw the
curved line like this. But we leave this line not
exactly in the center, but a little bit to
the side, to the left. Look at this next line. You take from the air
just from any place, but very close to the first line and put to
the Centre, for example. And the third line
to the right site, every time you take this line, very close to the stem, but not touching the
stem and from the air just elegant curved
lines like this. Why do we put three lines? Just because the volume of
all these barriers are quite big and it will be not
enough to put one line. It just will look not
natural and disharmonies. And here are amazing
branches with leaves. But as we have a winter image, we can paint leaves. Then I would offer you two to put some pine tree branches. Now just draw the
lines in any order. Don't put this lions
parallel to each other. On the contrary, put them
in a different directions. But nicely. How you can see in the nature, one branch goes like this and another one
like this for example. And when we will take a paint, we will try to do with you
such a thin lines with a drop in the end to imitate
needles of the pine tree. In Haha painting these kind of elements like this,
we call ferns. Okay, Now it's not
maybe logical, but there are rules for
this kind of elements. If you're interested,
to learn more about these kind of elements
and the floral elements. You can watch my course,
botanical folk art. I recommend you to
watch it and to paint the flowers and leaves and
different firms and berries. Just take a look. And in this right corner is
I told you before you can put some title of your
postcard to write. For example, Merry Christmas or some happy winter,
happy christmas. Something up to you. What would you like
to to locate in this postcard or just leave
it without any title. If you don't know how
to, right nicely. For example, you
can just Google, for example, Merry
Christmas lettering. And you will see
a lot of images. A lot of, you can get a lot of ideas how to write
in a nice way. Just copy this lettering
and put on your postcard. Now, I'm just going to
mark here Merry Christmas. And then in the paint, I will do this nicely. Okay, our sketch is ready. If you are going to
continue on the same paper, just arrays allele,
albeit your pencil lines. If they're too much visible, and continue on the same paper. If you are going to
use color paper, just repeat the same sketch. It will be faster
already the second time, just repeat the same sketch on another paper or
cardboard paper. Okay, let's get
started with painting.
6. Bullfinch: Okay, I erase a little bit here. Banza, lines like this. And I'm going to continue
to paint over this sketch. We are erasing
lines just to avoid a dirt when the paint
will mixed with a pencil. But from the other side, I would like to leave some
lines to be visible for me. As I told you already before, I'm going to use
squirrel brushes. Number 2, I have
here two brushes. You can use one brush
if you have only one, just wash it all the time
when you change the color. I use separate brush
for each color because I this is my habit
and musters and Haha, they used to do like
this because, you know, every brush, it has
its own character. One brush, for example, allow you paint
very well drops and other brush is doing
very well grass. And, and the same
with the colors. If I need to do thin
lines in black, for example, I have a
separate brush for this. But all these things of
course, come with experience. So at the moment you can use only one brush that you have. Just remember that not all
brushes have good-quality. And if you try to paint and you see that it doesn't
come like you'd like. Don't blame yourself. Immediately. Just tried
to change the brush because 50 percent this is
the fault of the brush. Okay. I put on my palette on my plate. Two drops of planed
red and black. The texture of the paint
should be quite liquid. It's like a drinking yogurt. As more liquid, is your
paint as easier to paint? My tempera paint in the
tube is not so liquid, of course, and I always
need to mix it with water. How do we hold a brush? The correct position
is like this. We put that metal for URL
on the middle finger, close to the nail. Index finger. We put here in this place where the metal feral
and the handle of the brush meat and the thump support the handle of the
brush from the other side. Like this. When we
paint with hold the brush almost
perpendicular to the table, to the, to the paper like this. Like in calligraphy. You know, we do the motion
with the whole hand and we lean on the age of
the hat and little finger. If you hold your
hand in the air, your hand will shake. That's why lean on the millennial finger
and the age of the hand. If you need to do some line, just seeks fingers and
move all your hand. Either line, finish
with some curl. You can, in the
end of this line, move the fingers
and do this curl. Well, and in general, your hand works like a compass fixed on the elbow
and you move like this. Well, everything is very simple. Just practice a little
bit and you will get it. And let's start from the bird. And that red color. Deep your brush in the paint. Salk, all, all the bristles of the brush
with the paint band. Don't make duty there. Metal feral. If you see water without
pigment in the end of your bristles and just
dry with a napkin. This additional water. Here we separate the
belly and we will cover this belly of the birth of the bowl finch with a red color, like it is in the nature. Just painted over. Okay, I will take another brush. It's better always to clean your brush from the
paint if you stop to use this brush because
the paint will destroy your brush if you
will leave it to dry. We are going to paint over the rest of the
bird with a black paint. They care if that red
color is still not dry. Just not to mix black and red color just bleed a little bit
until they're red. Part will be dry. Here. Don't pay attention
to the wink and where will the
painted over later? Like reconstruct the
shape of the wing, the tail, and another wing. To make this kind of lines, you have to put your brush on
the TPP stat to move them, press in the middle of
your motion and then, and then lifted up
again on the TPP. Look at this element. This element, by the way, while I'm over the
basic elements of ha-ha and its name,
blade of grass. I'm going to show
you one more time. Lag, this says blade of grass. And to another site. You see. Now you start to learn the
basic elements of llama. And later I will show
you more basic elements. We are painting
over the full Bird, and we leave our
boldface to dry. Let's underline. The bailee with a
thin black line. Don't suffer. If you can't put thin
line with your brush, just use liner and
will be no problem, then the difference will
be almost not feasible. And we are going to draw
a beak for our bird. How we are going to do this? We will put two drops. I will show you an example
in the bigger size. If we imagine that this
is the hat of the bird, we put one drop like this
is I told you before, just put your brush
on the deep and then like printed to the paper, push it to the paper. And the second drop, like this, we show that the biggest
open the mouth is open. Have you got it? Yes. Okay.
7. Ashberry: And we are coming back
to our composition. And let's paint Ashbury. Now. I'm taking a cotton, but if you don't have cotton but you can use the
handle of your brush, put the cotton
bought in the paint, deep in the paint, like this. And we start from the center. Do you remember where had
them access the central axis, the line where we
put the first dot. I put the first dot. Well, the Bible,
the small bubble destroyed the shape of the cell. Let's correct it a little bit. It should be around. And let's put the rest of the dots by the
shape of this smile. Like we did in the pencil. Just put the rest of the dots. Our first row. Well, the second roll, try that. Dots don't touch each other. If you put two dots, two claws and they
will be connected like I have here and then, okay, it's not a problem, not a big problem, but tried to separate them. The third row here, the last one can be a
little bit smaller. I would like to add another row, number four just for the, for the balance of this lines. To keep the shape of this smile. Like this. You can have more deep smile, more deep shape as
I told you before. It's also acceptable. It's very well as well. I will turn any
old bit my paper. And I also recommend
you to always to twist, to turn your paper for
more comfortable painting. Don't fix your
paper on the table. And now let's draw the stem. Is I told you before, we paint the stem and the end will be a little
bit to the left from the center of Ashbury. And we'll finish the
line with a drop. And don't touch the berries with the align with your drop. The next line from the
air to another site, and the third drop
from the center. Also, all these drops and lines, they don't touch each other. They are not connected. I would like to add some blades. It's like dry leaves, you know, because in winter some leaves, they still stay on the
tree and they are dry. And to support our berries, I feel that some dry
Lee, some missing. I showed you already this
element, blade of grass. So let's add some blades
of grass or some drops. Again, you put your
brush on the TPP, press edit a little
bit in the motion, and that curve a little bit in the end on the tip as well. If you can't at
the moment to make this element blade of grass, then put just a drop. Okay, arche Ashbery is reading. Let's paint a branch. Our bird is sitting on a branch. But for the beginning, our bird needs lags. Then let's paint the legs
with two drops as well. Like this. And two fingers as small drops
from another side. The branch will be like
a curve, curved line. And the line goes through
the lakhs to demonstrate, to show that the
bird is a seating on this branch and
finish this line. And now this branch
on this line, we're going to paint now the complex haha element
that we call bush. If you saw my class
about Russian mandalas, I explain this complex
element where you, well, you can watch this lesson in the course ration
Mandel's additionally. But now I'm going to show
you how to do this if you find it complicated
at the moment for you. I will show you how
you can substitute, how you can do in
another more simple way, decoration of this branch. Okay, runner, runner,
spherical and novice, rural. Then blade of grass, curving like this
nicely in the end. And now the blade of
grass and a drop. Okay, this has half of the bush. If you feel it's quite
complicated for you. Just bought blades
of grass or drops. And we can put here two runners. And then blades of
grass or drops. Just beat tension
that all elements in Hama Don Dodge each other. I repeat again and again. And in this case, they don't touch the stem, they touch the line that branch. All of this small elements, and they are not connected
between themselves. And let's repeat the same on the second part
of the branch. But I will put half of bush down and just
blades of grass up. It was a boy. Oh my God, and the beak. I showed you how to do this and they didn't
pained by myself. Okay. I'm going to correct it. Okay. That's fine. Now. Now let's add
buy-in tree branches. As I told you before, just make improvisation and put lines in
different directions. I'm painting straight
lines with exceptions. But in general there
are no straight lines. But for our pine tree, we need just a straight line. So then this is, it will be also exception in our cells. And now we're going to
put this theme drops, long thin drops, like
I told you before. Just be prepared to do this very slowly accurate and
try to do this, drops this in the same size and the same thickness
as much as possible. I mean, of course we're
not robots and we can repeat this same elements, but try to make them
more or less the same. And don't touch the
line with this drops. And like this, we have to
complete all the branches are okay, let's go still. Be B.
8. Decoration-1: Okay, meanwhile, our
bird has dried up. We take the red paint and now it's time to
decorate our bird. We will start from the beak
and let's put the same drops, but in a red and a
little bit smaller. And now the eye, the eye will be like a
curved line and a circle. You can paint it over
like I'm doing now, or just to leave without
pay it and cite. It is of course, not a bird eye. But we are going to make it like this in
a decorative way. Well, the eye is ready. Well, and now, and our graphical type of painting,
of folk painting, we need to demonstrate somehow
the shape of the bird, the volume of the body of the bird that our
bird is not flat. How to do it? To demonstrate that the body
of the bird is not flat, we will use curves, curved lines like this, and all the small elements of decoration we will locate on the bird according this
curved lines theme. Generally, it makes
the bird voluminous. And I will start my
decoration from small drops. If you can do small
drops with your brush, you can use Tooth Beak, just usual wooden tooth peak or just put dots, small dots. The second row of the tropes. All of the dots can be bigger, allele, all bit bigger. Well, now let's do curves, small curves like this. 123. We don't have more space. Now to create the effect
of birds feathers, we can use this
element. Look at this. It looks like a letter Y. One curve drop like this. And one curved line like this. It's like a blade of grass. Similar. Look at this. If two
separate, two elements. It's like this.
One drop and lat, long blade of grass. Like this. Visually
it looks like a further if it's complicated for you just put
blades of grass, this lines, just curved
lines according the, the curves of the body as I
showed you before, the lines. Let's separate now
the lower wing. Because we will decorate
the winks in another way. First, mark with
a pencil and then cover with a paint. Like this. We separate the
wing from the body, from the rest of the body. Let's put this line
until the Endo the wink. And underlined
from another side. And another wing as well. And continue with feathers close to the tail. Let's stop a little bit. And let's add curves
as we did before. Up, I will add small dots. Just put with a
brush, small dots. The tail, we will decorate with a long blades of grass
as I showed you before, like this, we will imitate the
long feathers of the tail. Like this. Press the brush and leaf. Press the brush and leave. And the tip of the tail. Let's put two blades of grass connecting in the end
and in the middle. Couple of plates.
9. Decoration-2: While the body is
almost finished, and let's move now to the wings. On the top of the wing guy
will do the rounded part. I will repeat the
shape of round and, and in the sample the wing. I will also imitate further with the blades of grass how
I'm going to do this. I'm going to put element
that is very similar to, to add deep-sea earring. You know, Look at this and duplicate another one, but bigger around the first 11 drop in the center. The same element we're going to repeat with the second wing. Move the paper and
put it like this. That the wing will look at you, that your paint always to yourself and that axis
goes directly to you. And they gain a small earring. And the bigger earring
and the drop inside. Blades of grass on the sides
of the wing know like like a curved lines here as well. And now to fill this space here, I'm going to put thin
lines like race. Just look how I will do this. If it will be
complicated for you, you can take a handle of your
brush and put some dots. Dots from Handel of your
brush will be smaller. That from cotton bot. Like this put small dots. And I'm going to decorate with this thin lines around
of this earring. They are not the same, but it's even better. It's nicer like this. Like rays of the
sun. It's like this. Arrays go out of the earring. You touch the
earring with a brush and go out out of this earring. How both inch is almost ready. But do you feel that the
bailee looks quite empty? I would like to
decorate a little bit this red part of
the ballet as well. I will do a shadow. But in a Haha style, how we do shadows in hockey
Lama, It's like agreed. I will show you
here on the paper. Again. If imagine that this
is the bailee of the bird. We are going to use again, this drops, this
long, thin drops. It's like a thin line with a little bit printing
down in the end. And this long drop
will touch the line of the bar over the
belly like this. And then we turn the paper and put the same long drops
at another angle. As a result, we get such a grid like this, UC, touch the
line with your drops. And then to another site. What is the sense of this drops? Why we don't put just
the lines, thin lines. Because like this we get an effect of the
effect gradient. You know, when you
draw with a pencil, you can make the gradient
more intensive on the bottom, for example, and
lighter on the top. But in Haha, we can do this. We can put a lot of
small additional lines. It will be less decorative. Then we use this method of drops that thin on the top
and thicker in the end. We start from short lines
from the neck and go continue with a
longer and longer and then again shorter
and shorter to the n. Both the belly. Don't hurry up the lions and
the same distance. And continued to another site like this. Okay. Our bull finches,
radii like this. I like a lot. How do you find it? We are missing only
some words on the top. Or you can leave like this, this space free space. You can maybe decorate with
some sparkles in this corner. But I'm going to write
Merry Christmas now.
10. Final Decoration: Okay. When the
letters will dry out, I will underline with a black liner and I will
erase the rest of the pencil. And I wanted also
to show you how you can make more bright
your postcard. I will take a little
bit glue, PVA glue, and put it as a snow flakes
as a snow a little bit on the berries and branches and the ideal
bit to their letters like this to the grass of
the branch a little bit. And then I'm taking my spark
roles, golden sparkles. See you can't take any color. For example, green,
red, yellow, white. It's up to you. And just cover all
the sports of glue. Now very carefully, just
shake it out, brush it out. You can use additionally the soft brush and
clean LEO orbit. This sports, don't worry. This boats with a glue. This boats with a global not
lat, sparkles fell down. Now not to waste too much time. I put a little bit you
can put much more. Okay, perfect. And now we are missing
only the frame. We will make frame in
traditional HOCl AMA style. This is TP called decoration and hot llama of ages
of composition. We will do this curved
lines quite beak, normally in Hashemites,
a little bit smaller. But for our postcard, I think it looks where
you well, look at this. To keep the same distance
between this curves. Just use the ruler, just mark the same
distance. If you need it. You can later paint this space in their curves
that you can pay it out. Like I'm going to do. You can live like this, like you see right now, but put some, for example, dots inside or some elements or sparkles or
something like this. And continue like
this until the end.
11. Final Words: And let's look at our results. First of all, I'm
going to show you how I did it in aluminium paper. Look at this. And aluminum paper
to say the truth. It looks more impressive
done to agree. But even in the white
paper or colored paper, if he used some glitter sparkles or just some glitter pan, it will look fantastic as well. How do you like it? Please write me your
IV, use your comments. How did you enjoy? How was it for you? Was this difficult? Was it easy? Was it interesting? Please share your impressions
with me, your opinions. I will appreciate it a lot. And please take a picture of
your postcard that you just have painted and don't forget to add it to the
project gallery. It is important for me
to see your result. Please don't forget to put it. And your postcards
will be for me the best presence
for the Christmas. And don't forget to follow
me here on Skillshare. And also please follow me in my Instagram account where I published a lot
of my artworks, advices and the jazz
demonstrate my practice. They care guys and see you soon.
 Irina De Vicente, Decorative & Folk Art