Transcripts
1. Introduction: [MUSIC] Learning how to alter clothing to
fit your body is a great way to feel
confident in your style and breathe new life
into second-hand items. This class is all about
simple sewing techniques to re-size shirts so you
can look and feel great in clothes that you
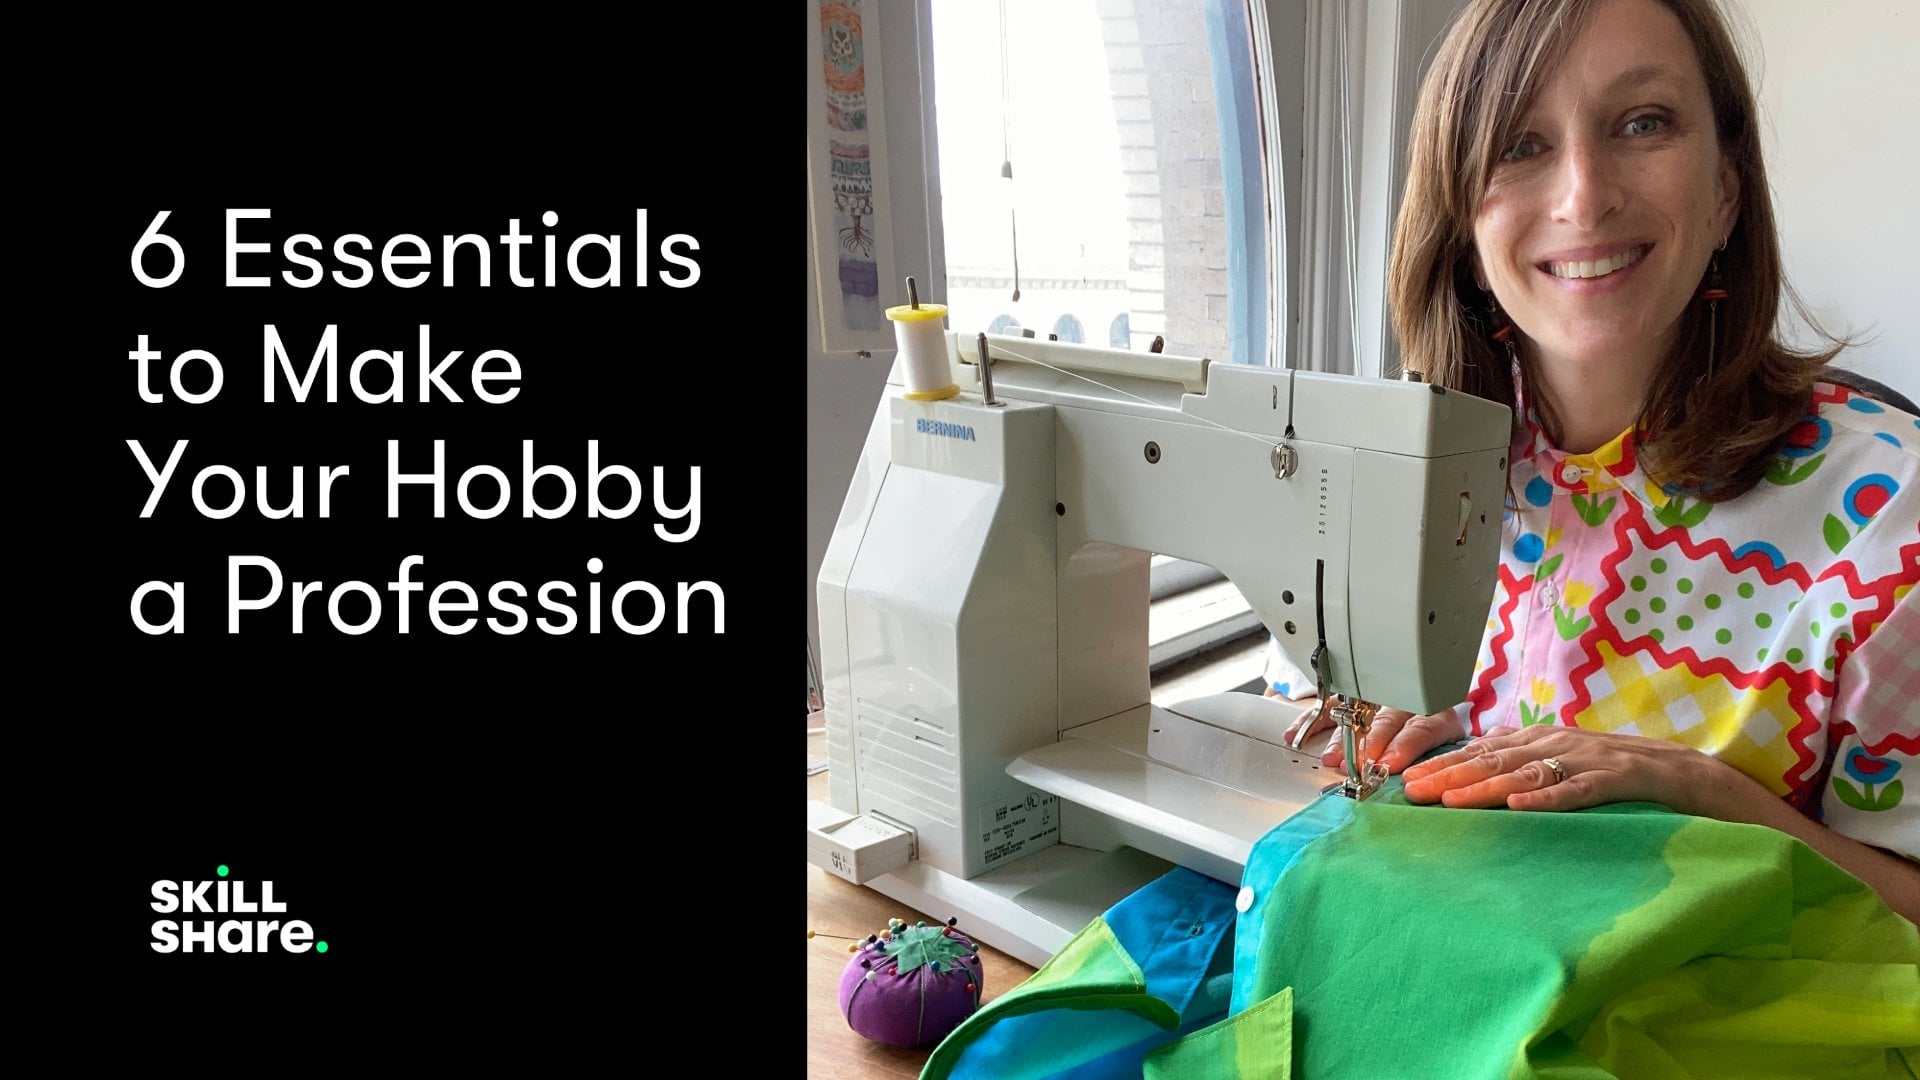
have lovingly worked on. My name is Maura Marcks. I design and sew clothing
in Troy, New York. I primarily use vintage
and secondhand fabrics to create unique one
of a kind pieces. My favorite thing to make
is a collared button down short sleeve shirt with
bright and vivid fun fabrics. When I'm not designing and
sewing my own clothing, I love to go thrift
store shopping. Thrift stores are a
great place to work on your style and save some
money at the same time. In my class, I'm
going to show you some simple sewing
alterations that you can make to your thrifted
finds such as front darts, side seams, and even a
shoulder adjustment. You can take an ill fitting
baggy but very cool shirt and turn it into something fabulous
that fits you well. This class is for students that have used a sewing machine before and have confidence
in using a straight stitch. If you've made a
pillowcase before, you'll probably be fine. This class is also for people who are curious
about one day making their own clothing and learning some sewing
skills to help on that journey. Let's begin.
2. Tools for Alterations: I'm going to be altering this oversize
button-down shirt that I made because I really liked the fabric and would
love for it to fit me. I will be using this Bernina
910 sewing machine during the lesson but any
basic sewing machine will do for what
you'll be learning. Any of these alterations
can be sown by hand with a needle and
thread if need be. My machine is set up with a standard presser foot and
a regular point needle, which is suitable for the
fabric that I'm working with. I'm using an
all-purpose thread and my bobbin is loaded
with the same. I've got pins, sharp
scissors, a fabric pen, which is disappearing
ink with water or heat, and a seam ripper. Not essential but
handy is a ruler. You'll need an iron and either an ironing board or
a towel on a flat surface. Totally optional tools to finish raw edges would be a
serger or pinking shears. If you don't have either, you can use your
sewing machine to sew a zigzag or just leave
the edges rough. In the next chapter, we're
going to learn how to make our first alterations,
the front darts.
3. Front Darts: I like to put on my oversized
button down and take a look in the mirror to see
where it's ill-fitting. This one is basically
huge in the middle so I'm going to take in the
front with two darts, and take in the sides. Darts are basically folds or tux that are sewn into the
fabric to create shape. This pocket is right in the way, so we're going to take it off. I like to get
settled in my chair with a seam ripper
and carefully break the threads around
the pocket to remove it without damaging
the fabric underneath. You don't want to
rush this part. If you rip every other stitch, you should be able
to easily pull the back thread in
one or two pieces. It will be sown more
densely at the top. Now we're ready to fit
ourselves for the front darts. To fit yourself for front darts, you can put on your
shirt inside out and find the fullest
part of your chest. You'll want to place a pin
about an inch below that, catching just a
tiny bit of fabric. The next part of the dart is marked at the smallest party, your torso typically just below your rib cage and just
above your belly button. You can pinch this as close to your body as you want
this seem to be, but keep in mind
comfort and movement. I'm going to keep this
shirt a bit loose and I'm placing a pin parallel to my body so I can
try it on later. I'm following the natural
grain of the fabric. You can give it a tug to find
that nice straight line. I'll pin where I want the
hips the shirt to hit. Now I'm just repeating
on the other side, matching the pin locations. I'm going to lay
my shirt down on a flat surface and reposition
any pins as needed. Keeping the dart
nice and straight along the fabric green. I'm going to repeat
on the other side and make sure the
darts are the same distance from the center. You want to mark
the pin locations on both sides of the fabric with a fabric marker or a chalk. We're going to need to remove the stitches at the
hammer, the shirt, otherwise, it'll
give you a headache later and an uneven hem. I'm going to rip out
the hem about an inch or more on either
side of my markings. To prep your shirt
for sewing darts, I'm moving my pins
to be horizontal. You'll be able to
sow right over these while keeping the
fabric in place. Take out the top pin,
and if you want, use a ruler to mark
your sewing line. I'm going to load up my
machine with thread and make sure that my bobbin
is loaded with the same. I'm going to set my stitch
to be a straight stitch. My machine has two spots to
set this and I'm going to adjust my stitch length
to a nice medium setting. I'm using a basic
presser foot and a nice new universal needle. Now we're ready to sow the dart starting at the bottom
edge of the fabric, start off slowly follow your markings and keep
the fabric nice and taut. When you get to the
point of the dart, you want to make the
last few stitches as close as possible to the folds of the fabric
and so right off the edge. I'm tying off the top of this stitch using a
square naught so it stays put and trimming. You'll want to
iron the dart with the extra fabric away from
the center of the shirt. This is a good time to
try on in the mirror to make sure everything
looks okay so far. In the next chapter,
we're going to learn another alteration which will be to take in the side seams. We don't want to mess with
the armpits at this stage, so we'll start just below. This should look nice
after this alteration.
4. Side Seams: To get ready to alter the
side seams of the shirt, I'm going to lay it flat. The shirt has side slits
which I'm going to seam rip to make it easier to
do the alterations. I'm going to pin
it nice and flat. We don't want to mess
with this armpit area so I'm going to start the
new stitch just below in the original seam
allowance and make a nice gradual curved
line with the midpoint being even with the
midpoint of the front dark. I'm going to take an
aside about an inch, but you can take it in as much
as you need at this point. The curve will go all the way to the hips or the
bottom of the shirt. I'm going to mark
with my fabric pen. You don't have to
draw the full line if you don't want to and just make a few marks along the way so you'll
know what to sew. Use the first marks as a reference for the other side
to make sure they're even. I'm going to pin as needed
to keep everything in place. I'm going to grab my seam ripper and undo a good inch or more, the hemp on either side of
where I'll be stitching. We just need all of
the bulk to be out of the way when we go
to the sewing machine. I'm going to try on the
shirt one more time to just make sure everything looks
okay before we sell it, and you can place a few
pins vertical along your marks to try on and be
careful not to get poked. I'm keeping my shirt
on the loose sides so I'm satisfied but you
can feel free to make any adjustments by just
turning inside out and repositioning any pins you want to get the
shape that you need. Normally, I wouldn't suggest making any cuts at this stage, but I'm going to cut off
this bulky side slip because it's going to be
in my way [NOISE]. You going to make any cuts, just make sure to leave
at least a half an inch or so beyond your marks
for your seam allowance. I've also rearranged
my pins to be horizontal so we can
sew right over them. I'm starting my stitch in
the existing seam allowance and going back and forth to
lock the thread in place. I'm just going to follow marks all the way down to
the edge of the shirt, making sure to keep
everything nice and smooth as I go [NOISE]. I'm going to repeat on
the other side and iron my new stitch flat and press excess to the
back of the shirt. If you have really bulky seams, you may want to trim them
down and a serger is a great way to trim
and finish off the raw edges all in one step. But a serger isn't your
typical household items so a more accessible solution would be a pair of
pinking shears, which you can get
at any store with a sewing section or
you can buy online. This create a zigzag cut
which reduces frame. Another method is to trim your
bulk with scissors and use the zigzag setting on your sewing machine down the
length of the raw edges. I'm going to use my
serger to do this part. I'm only doing this
to the side seams. I'm not going to do
anything with the darts because they aren't bulky. Not cutting it all is actually smart if you're expecting
your body size to fluctuate as you might want the extra fabric to reset your
alterations down the road. If you are serging, you'll have some extra thread that all needs to be tied off and trimmed. Now to fix the hem
that we've undone, I'm ironing here to
smooth everything out and I want to match
the existing hem. In this shirt, the hem is folded over twice in equal amounts. I'm going to cut some
of the uneven parts and use the iron to get
a nice continuous hem. Once I have it nice and
flattened out with the iron, you can pin and
place at this point, but I'm just going to take
it to the sewing machine. You'll want to adjust this
stitch length to match the existing hem and also change your thread to
match if necessary. I'm going to place
my needle right over the existing
hemstitch overlapping by about a half-inch or an inch. You can make a note of how large your hem is and
follow the guides on your machine or you can mark the hem with a ruler if needed. You just want to make sure
you stay nice and even while sewing the hem [NOISE]. Now I'm blending the stitch and sewing backwards to
lock it in place. [NOISE] The next chapter we'll take a look at the
shirt so far and learn another alteration to
adjust the shoulders.
5. Shoulder & Sleeve Adjustments: Now that I've taken
in the side seams, I'm taking another
look in the mirror. It looks okay in the middle, but I think these
shoulders are way too big. I'm going to show
you how to pull those in without
too much headache. We're going to get
out a fabric pen and mark the edges of my shoulders. This is where a
shirt is supposed to have a shoulder seam. We're going to mark and cut
a nice moon shape off of the shoulder curving down but not all the
way to the armpit. You can make initial marks while wearing the shirt and adjust afterwards by lying the
shirt flat and inside out. I'm leaving the armpit
area seams alone and I've used the seam ripper to take
off about 3/4 of the sleeve. I've transferred my marks in this nice gradual
curve starting at the shoulder location down about 3/4 of the
way to the armpit. I'm going to mark a nice
1/2 inch seam allowance and these marks are going to be where I'll be
cutting the fabric. I'm using the front
marks as references to cut the same amount on
the back of the arm hole. I'm taking my time
here to carefully make my cuts according
to my marks. Starting at the untouched
part or the armpit, I've pinned the sleeve to
the freshly cut shoulder. You may find as you
pin that you have too much room on
the new arm hole. Since this is the case here, we're going to need to
sew the shoulder seam a little tighter to know how much I've pinned the either
side of the sleeves so the excess is at the
top of the shoulder, and I'm going to mark
where the shoulder will need to be pulled in. Now I'm going to sew
a straight line from the neck area down to the
shoulder where I've marked it. I'm starting inside the seam
allowance sewing back and forth to lock the stitch and
sewing straight to my pin. You can trim this if it's unwieldy but I think
we can make it work. Sewing the arm hole is tricky
so we're going to adjust the seam length to be as long as possible which is
called basting. This makes it really
easy to seam rip if it doesn't work out
in the first attempt. After I bast, I'll need to reinforce the
seam with a tighter stitch. My sewing machine has
removable platform to make it easier to work
on sleeves or pant legs. If your machine
doesn't have that, you can just sew this part
with the default platform but just make sure you don't catch the other layers of
fabric accidentally. Starting in the seam allowance, I'll set my foot down, so back and forth
to lock the stitch, and begin to slowly sew the
arm using a 1/2 inch seam. You can do this
pinned or not pinned. I usually take my pins out
because there's a lot of readjusting to do
as you go to make sure the edges of the
fabric stay together. I just take it nice and
slow adjusting as I go. [BACKGROUND] Remember, I'm using a basting
stitch here so we're really making a first
draft of the final seam. Here is where we've
tightened the shoulder. I'm making sure to sew this
excess fabric nice and flat. In other circumstances, these excess might need to
be trimmed first. [BACKGROUND] [NOISE] It's helpful
to adjust as you go, sometimes pulling one layer
of fabric more taut than the other so you don't
get any bunching at the end of the stitch. [BACKGROUND] Now I'm blending the stitch into the
seam allowance of the armpit area and sewing
backwards to lock it in place. I'm going to repeat with
the other arm and use my old cuttings as a reference
to make it symmetrical. [NOISE] After both arms are
basted and looking nice, I'm going to reinforce
the basted seams with a tighter stitch. [BACKGROUND] [NOISE] After giving it an iron, I'm going to try this on again. All right. Those shoulders
look much better. In the next chapter, we're going to replace
the pocket and check out our newly
altered shirt.
6. Replacing the Pocket: I'm going to place the pocket on the shirt and pin in place. I usually eyeball this, but feel free to get out a ruler and make sure
it's on straight. I use the existing
seams with the shirt as a reference point
to line up the pocket. Readjust pins as needed into
pockets where you want it. I'm going to place my
presser foot very close to the edge of the pocket and
about an inch from the top. My foot has a little
marking that I'm going to follow to stay in an even line. You want to adjust
your stitch length to be on the tighter side. I'm going to slowly
cell backwards to the very top of the
pocket and reverse. This gives a nice
reinforcement stitch. [NOISE] I'm going to slowly follow the
outline of the pocket and place my needle
down to make any turns. [NOISE] You want to sew all the way to the very
top of the pocket and reverse stitch to reinforce and
trim any excess threads. [NOISE] There you go. That looks great. I like to roll up my sleeves
and tuck my shirt in. Now we're tuck in. Next up is going to be our
sewing project. We're going to sew
some darts to reshape a flat piece of fabric using a pattern
that I've provided.
7. Class Project: In this project, we will be sewing four darts in a piece of fabric following the PDF
pattern I've provided. In just a few steps, you'll see how some
simple stitches totally changed the shape
of a flat piece of fabric. Practicing darts in
this way will get you comfortable with
the process and will then give you the
confidence to make alterations to your
drifted or gifted shirts. When you finish the project, please post a photo of your sewn fabric panel with
the four darts visible. You'll need a printout of the PDF pattern
that I've provided. You'll need a piece of fabric
at least 18 by 21 inches. This is also known
as a fat quarter, if you are familiar
with buying fabric. You'll also need tape, pins, a fabric marker, chalk, scissors, a straight
edge or a ruler, and thread. An iron is useful but
not totally necessary. You'll also need a sewing
machine loaded with thread and needle
appropriate for your fabric. If you don't have
a sewing machine, hand sewing with a needle
and thread will work, but it's just going
take you a lot longer. Assemble the printout
of the pattern as shown in the
layout example page, overlapping edges by 1/2
an inch, tape together. Cut out the paper
along the solid lines. Fold your fabric in half. We're going to align
the pattern piece to this folded edge. A lot of patterns will
have you double up the fabric when the
pattern pieces have symmetry to them to save paper. Pin the pattern to your
fabric in a few locations. Cut out along the solid lines. I love my rotary
cutter for this stage, but if you don't have one, scissors will do just fine. Cut out all layers of fabric
along the solid lines, leaving the folded
edge of fabric alone. Now, we have a
sample shirt front. Go ahead and fold over so the wrong side of the
fabric is facing out. We're going to mark the darts
according to the pattern. In the class lesson,
we did this by eye according to our body shape. But for this project we
will follow these markings. Poke through the solid dots with something sharp, like a pencil. That way our marker or chalk
and go through the fabric. Mark the edges and dots
in both dart locations. Go over the markings if
they're hard to see. Repeat on the reverse side, marking the wrong
side of the fabric. Get out your ruler and mark
the lines according to the pattern connecting the dots and marking your fold lines. Now, we have the four darts all marked and ready
for the next step. Starting with one
of the lower darts, pinch it so it's folded along the fold line and
pin into place. Repeat this with the
other lower dart. Makes sure the wrong side of
the fabric is facing out. Make sure you're
sewing machine is set up with a straight stitch, a medium stitch length, a regular presser
foot and needle. Make sure both threads are out of the way and pulled tight. We're going to start with the bottom raw edge of
the first pin dart. Set your foot down
at the edge and sew back and forth
to lock the stitch. Following your markings, you can sew right over the pins. [NOISE] When you get to
the end of the dart, slowdown and carefully get right to the very
edge of the fabric. Sewing right off the end. Leave a generous
amount of threat attached because
we'll tie it later. Repeat with the
other pinned dart. We're going to
repeat the process with the other two darts, pinching and folding along the markings and
pinning in place. Sew the darts starting from
the outer edge to the point. [NOISE] Carefully sewing
right off the edge. [NOISE] Tie off each point in square knots to keep
them from unraveling. Trim extra thread. If you have an iron handy, iron the lower darts
away from center and the upper darts can be iron down towards the
bottom of the shirt. We've made our darts. You can see how just
four simple stitches have turned a flat piece of fabric into a three-dimensional
curved garment piece. When you finish the project, please post a photo of your sewn fabric panel with
the four darts visible.
8. New Conclusion and Thanks: Okay, I hope you've
enjoyed this class. We've gone over front darts, side seams, how to make
a shoulder adjustment. We replaced it, put on a pocket and we've even
adjusted the hem of a shirt. I hope the lessons
you've learned in this class will give you
the courage to go to a thrift store and pick out something that maybe
doesn't fit you write and practice a couple
of these alterations. Have a good one and keep sewing.
 Maura Marcks, Clothing Designer