Transcripts
1. Introduction to Pocket Class: It's so frustrating
to me when I find a beautiful vintage dress
and it doesn't have pockets. In this class. I'm going to show
you how to sew in a hidden pocket to your
favorite piece of clothing. Whether that's a dress
or shorts or skirt, anything that has a seam down
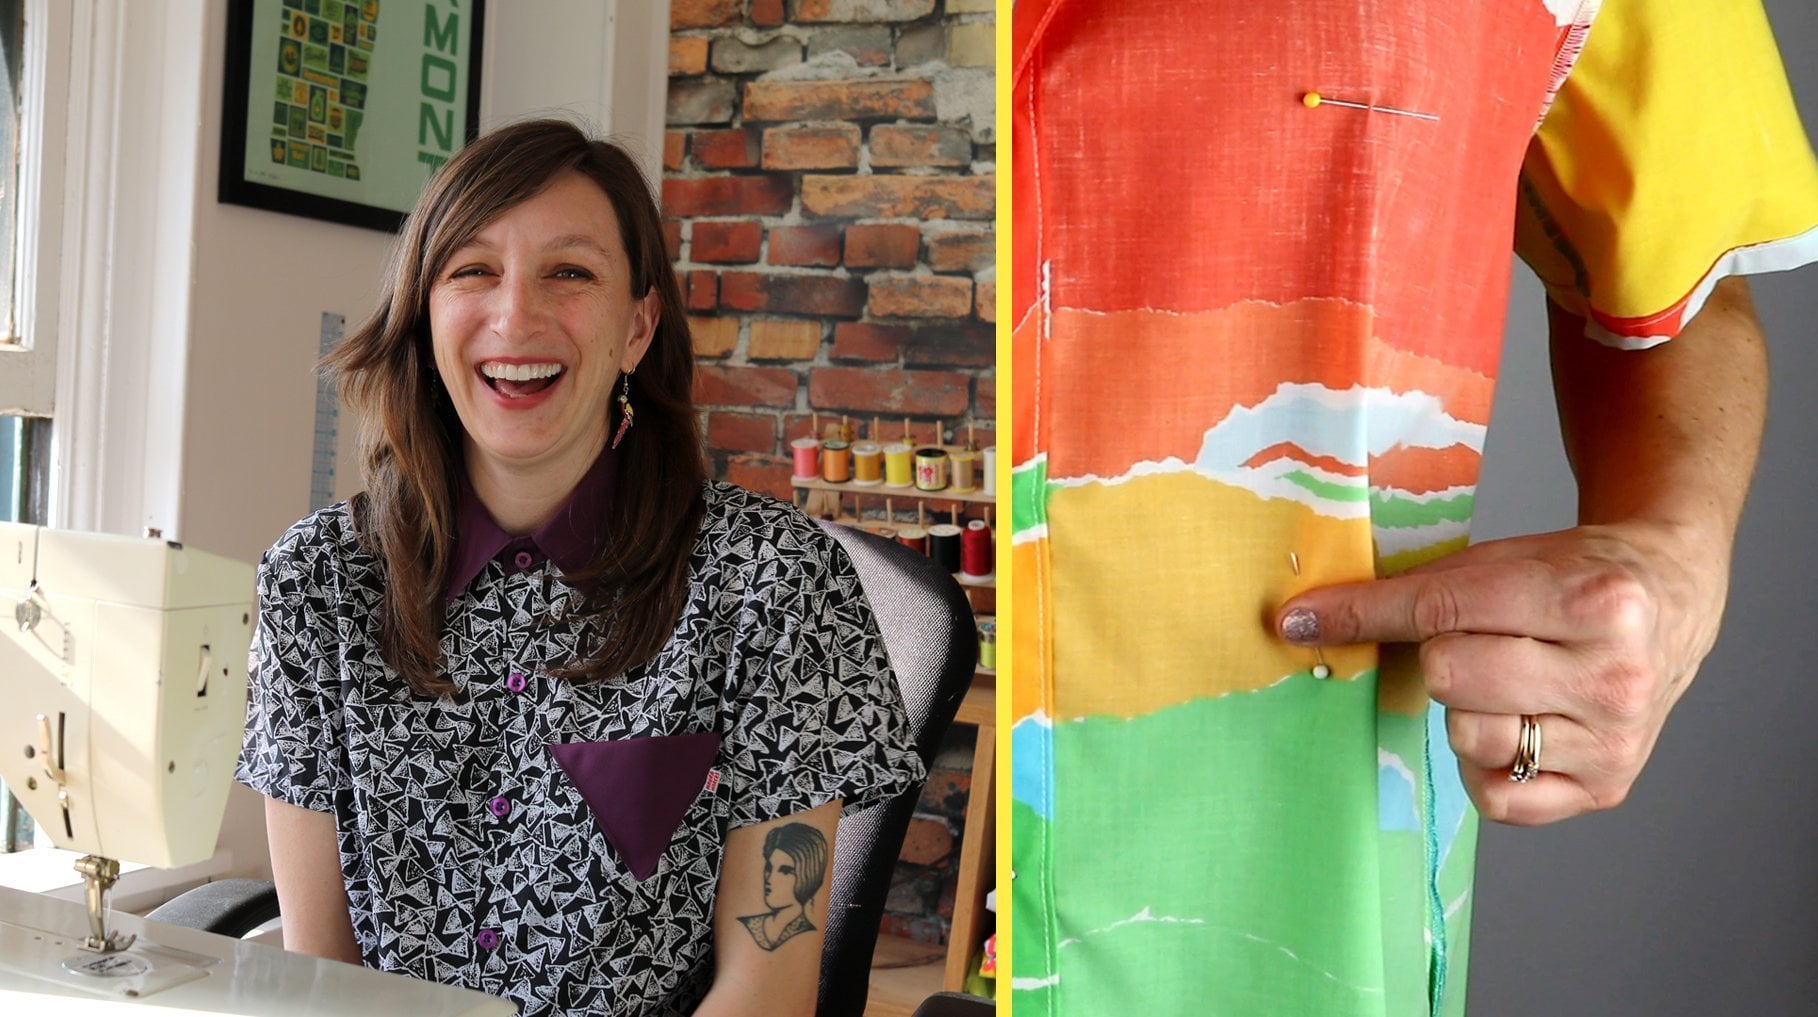
each side will be able to. So in these pockets, My name is more and marks. I'm a clothing designer. I use vintage fabrics to create fun and colorful shirts and dresses when I'm not
designing and so on. Solving for sale, I love to improve upon pieces that I
already have in my closet. Making functional
alterations with your sewing machine is a skill that I'm excited
to share with you. This class is in advanced
beginner sewing class. You should be comfortable
using a sewing machine. I want you to feel
happy in your clothes. And I think that adding
pockets is going to help.
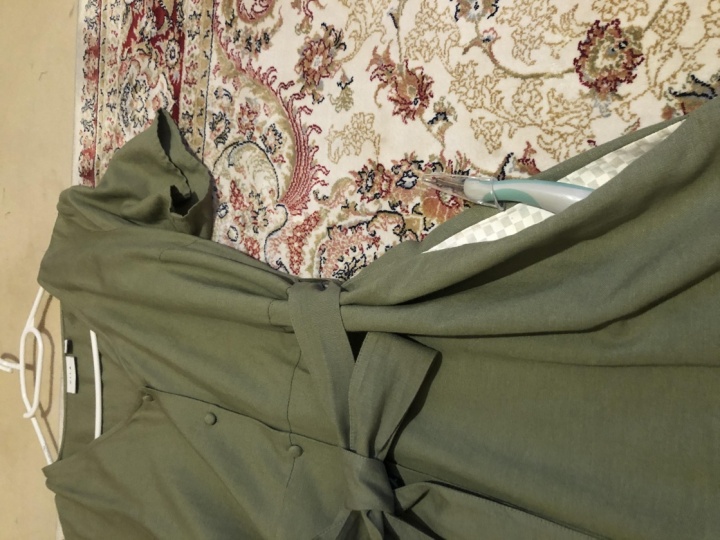
2. What Clothing to Add Pockets To: To sell in a hidden
pocket or side pocket, you'll need to open
up this side hip seems when choosing an article of clothing to add pockets too, there are some things
to keep in mind. I don't recommend
using something very expensive or very special
for your first try. As we all know,
practice makes perfect. I would start with
something loose fitting and made with one layer
of fabric at the hips. This Romberg does have a
lining above the waist, but luckily the hip
seams are not lined. So we'll be able to
open these up easily.
3. Tools and Setup: Some items that you'll
need are scissors. I like to have scissors
for cutting paper and a good pair dedicated
to fabric only. I love using a rotary
cutter for fabric, but it's not necessary. You'll need some pins. A fabric marker
or fabric pencil. These let you erase the
markings with heat or washing. And a seam Ripper. I'll be demonstrating with this fairly basic
Bernini sewing machine with a straight stitch loaded with all-purpose
white thread. I'm using white for
demonstration purposes, but would recommend you use a colored thread to
match your fabric. You can So by hand, if you're comfortable with that, it's just going to
take you a lot longer. You'll also need
a pocket pattern, which I've provided
cut-out to the solid line. An iron is also a necessity
for any sewing project. In my book. I finished my
raw edges with a surgery. This is totally optional. You can also use a pair of pinging shears which
helps reduce frame. Another option is to so a
zigzag stitch on the raw edge. You can also skip this
step altogether if you don't mind the frame on the
inside of your clothing item.
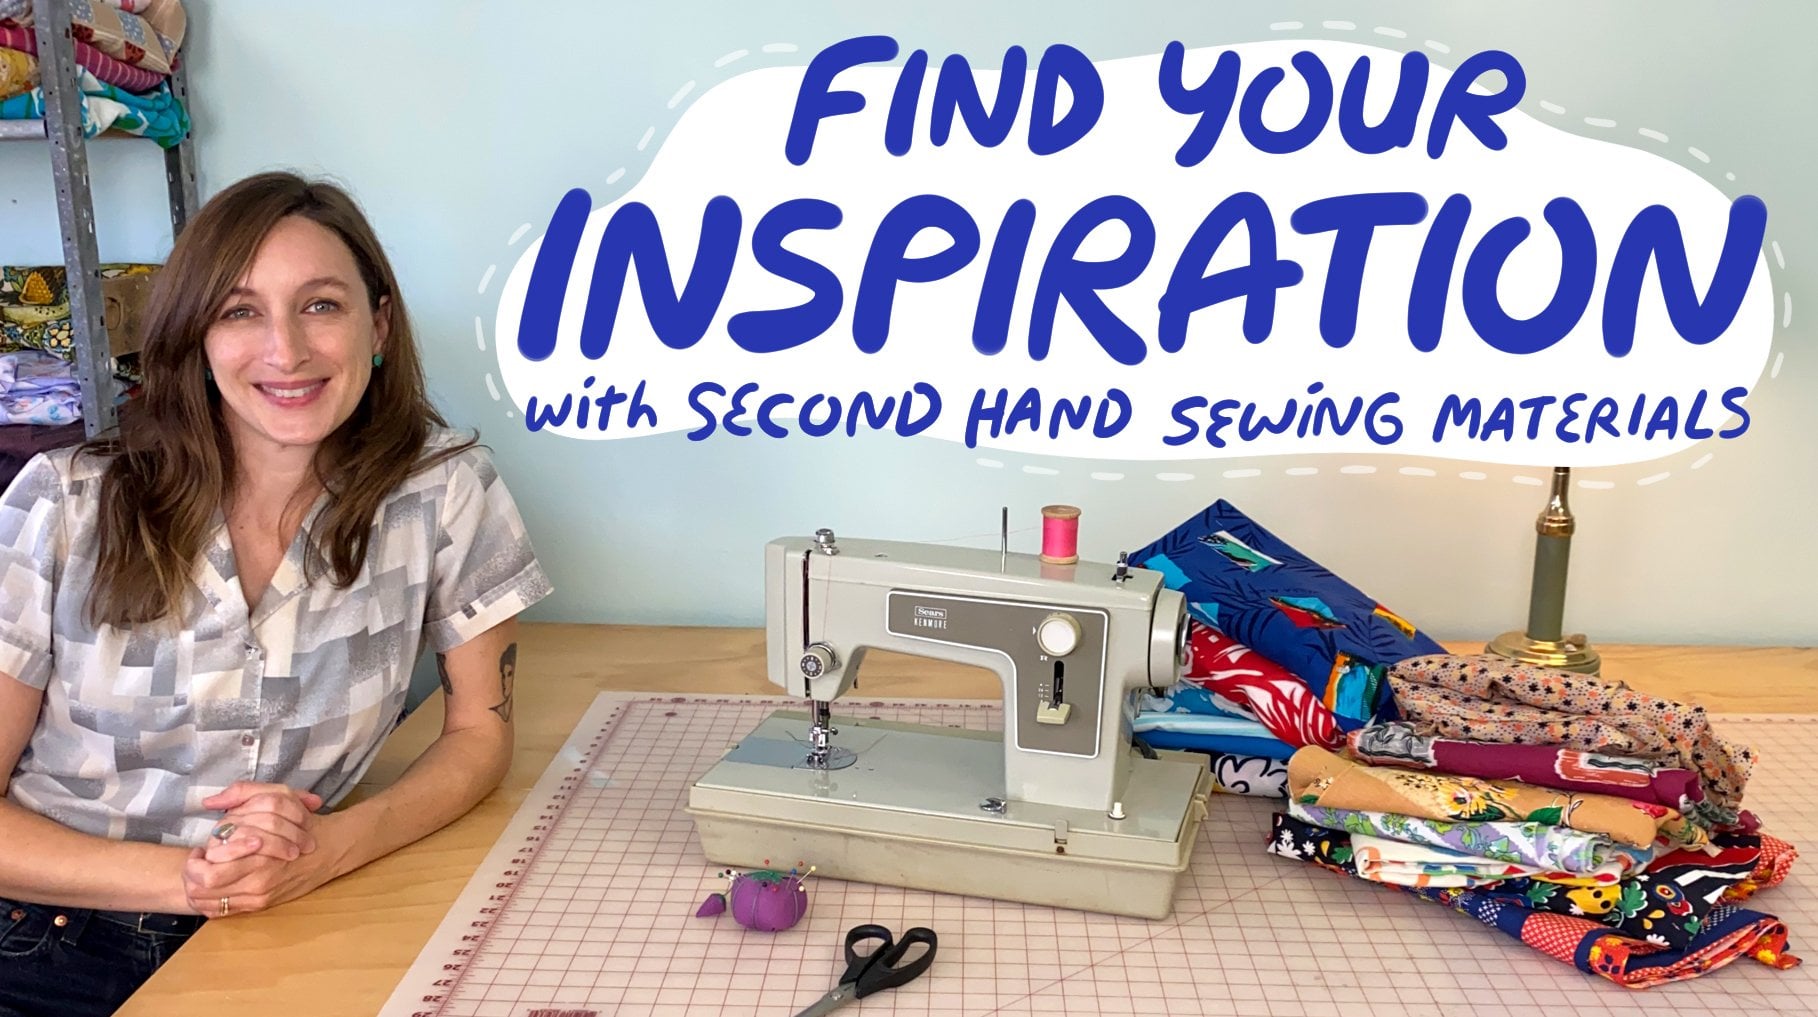
4. Choosing Your Fabric: I'm inclined to never
buy brand new fabric. I love to use vintage and
secondhand materials, which can be found in
all sorts of places. Take a look around. You might have a
spare pillowcase or oversized shirt handy to cut up. Maybe you even have access to grandma's old quilting stash. Secondhand stores and
yard sales are great, inexpensive places to
shop for materials. I also like using eBay to find deals on very
specific materials. Things to keep in mind are the weight and stretch
of the fabric. You want to make
your pocket with a lighter weight than
your clothing item, so it doesn't get bungee. You also should stay away from very stretchy materials as it will droop with whatever
you put in the pocket. Color matching is
up to you if you don't want your fabric
to show at all. But maybe you want to make
a secret party pocket, which is what I'm
choosing to spice up this otherwise plain rubber. So to reiterate, when
choosing your fabric, you want to make sure that it's lighter weight than the
clothing item you're using. It's not too stretchy. You can match the color or not. You'll need about a half a yard. You'll be cutting
out four pieces of fabric that are about eight
by ten inches apiece. Now that we've figured
out what clothing item to alter and have our fabric ready, we can begin our class project. Sewing hidden seen pockets.
5. Project Part 1 : For this project, we'll be
cutting out for pocket pieces, using them to measure and
mark our clothing item. Opening up the side seams
so there's enough room to. So finally, sewing in the pieces will be ironing after
each sewing step. And I'll be going over
finishing touches. I encourage you to follow
along and present a before and after photo of
your newly pocketed piece. Let's begin. The grain of your fabric is
the direction of the wave. You'll want to find the
long grain of your fabric, which is where there
is the least stretch. Pull with both
hands to find this. Which will help you
align your pattern piece when cutting out the pockets. Because we'll need to cut four pieces out to
make two pockets. Go ahead and fold your fabric in half so you can cut
out two at once. Align the arrow with the
long grain of the fabric. Pin the paper in place. Using your fabric scissors, or in my case, a rotary cutter. Cut the fabric. Repeat this step to cut
out another two pieces. Turning the pattern upside down. This step is to create a
mirrored set of panels. You should have four panels
for a right and left pocket. If I were making these pockets as part of an item to sell, I would finish the
straight edge of these pocket panels at
this step with my surgery. If you're adding pockets to a personal clothing
item for your own use, you can absolutely
skip this next step. This is a great point to
finish the straight edge of the pocket because it isn't sewn into the folds
of the clothing yet. Instead of a surgery, you can use pinky
shears to cut a zigzag, which helps reduce frame. Or you can use your
sewing machine does so a zigzag stitch
close to the edge. Now that my panels are prepped, I'm ready for the next step, which is to open up
the seams of my dress. I've determined how far
down I want the pockets to start by trying on the
dress and making a mark. I've decided to place them about four inches down
from the waistline. I'll use a ruler to make
the marks more noticeable, and I'll repeat on
the other side. Now using your pocket piece, align the point to be
about a half an inch above your mark and make a mark at
the bottom of the pocket. Repeat on the other side. Now that we have our markings, get your seam Ripper. Get comfortable in your chair and carefully rip
the threads from about one inch above to one
inch below your markings. This might take some
time depending on how many stitches your
clothing item has. I enjoy this part. I can listen to a podcast
and just zone out. Being careful not
to rip the fabric. If you don't have a seam Ripper, you can use some sharp scissors, but it is easy to accidentally cut the fabric if
you go this route. Now you should have an
opening in your dress about ten to 11 inches long. You will likely have some
thread pieces to tidy up. So get as much out of
the way as you can. Now we will pin the
new fabric pieces to these seams with the
dress inside out. With right sides of fabric
towards each other. Pin one piece of fabric
aligning the straight edges. The pointed part should be a half an inch above your mark. Place a few pins as you
align the fabric edges. Now you can add the second piece to the other side of this scene. Find the panel that will have the right
side of the fabric away from you when
aligning the left edge. This can get a little confusing, but just remember that
your pocket sandwich will have the right sides of your
fabric pressed together. Make sure that your two points are being pinned in alignment. Okay, now we have
two Elephant Ears soon to become a teardrop.
6. Project Part 2: Now also these pieces
along where we've pinned, starting at the point. Rearrange your pins if needed, and make sure no extra parts of your clothing item
or in the way. Align the presser foot of your machine so your
needle will be hitting just to the right of the original seam line
of the dress or skirt. And make a note of what this seam allowance
measurement is. Whether it is a
quarter or half inch. You can use the notches
and your presser foot as a visual reference while
completing the stitch. Set your machine to a
medium stitch length. And make sure it is set
to be a straight stitch. Make sure also to have your machine loaded with
the appropriate thread. So forward and backward
at the beginning of your stitch to
reinforce the top. So carefully down to the
bottom of the pocket. Rearrange as you
go and making sure everything is nice and flush. Make sure you're staying
straight and sewing just to the right of that original seam
line of the dress. So to the bottom edge and reinforced by sewing
back-and-forth. To sell the other panel, it is helpful to flip
the dress around so you're keeping the bulk of
the fabric to the left. So this time you can, so from the bottom of the
pocket piece up to the tip, you've pinned in place. So this should keep everything where it should be while you. So I'm making a visual know of that original seam line and getting my stitch to fall
just to the right of it. Going back-and-forth
to reinforce. Okay, Now that we have
our two pieces sewn in, it's time to take it to the ironing board to
flatten everything out. With the dress inside out, sandwich the pocket
pieces together, and press along
the stitch lines. Now we can take back
to the sewing machine. And so the next step, align the dress
seems starting at the top and smooth
everything out. Depending on how accurately you place the two pieces
they should align. It's okay if they
don't align exactly. You can see that
mine isn't perfect. This can be hidden
when we sew together. Place a pin on the dress
itself at the top, and pin the edges of
the pocket together. Finally, pin the
last open part of the dressing will be sewing from just above
where we started ripping the dressing
around the pocket. And down again.
This time you'll be aligning your presser
foot so your needle will hit along that
original seam line. Start above your ribs, go back and forth a few times. I'm just double-checking that my stitch length is appropriate. Begin sewing along the
original seam line and go down to half an inch below
the start of the pocket tips. If your pieces aren't
aligned well up here, stitch a little further
down and make sure you catch both layers of
the pocket fabric. Place your needle down and
lift up the presser foot. Rotating the fabric so
the pocket edges are on the right stitch with at least a half
inch seam allowance around the edges of the pocket. Make sure that pieces
are staying together as you rotate and
readjust as you go. You can see my seam allowance is getting bigger and bigger. This is okay to
not be so precise here as it is not
going to be seen. It just makes your
pocket a little smaller the bigger your
seam allowance gets. We'll clean up the edges later. Make sure you catch all of
the layers of fabric here, particularly the little
flap underneath. You're going to sell right
past your previous stitching, aligning your needle with
addresses original seam line. Place your needle in
the down position, lift up the presser foot and rotate the dress so the
pocket is to the right. Put the foot back
down and follow the original seam line
all the way down, closing up the RIP
portion of the dress. So back-and-forth to
reinforce the stitch. Now the pocket is pretty much done unless you want to
finish these raw edges. Oh, it's looking pretty good. Use your iron to
smooth everything out. You might be tired
at this point, and it's totally okay to leave the second pocket for
tomorrow or another day. I've sewn in my second pocket on the other side of the dress. And now I'm going
to use my surgery to get a nice finished edge. Again, you can use
pink shares for this part or the zigzag stitch
of your sewing machine, you're just going to follow
along the raw edges.
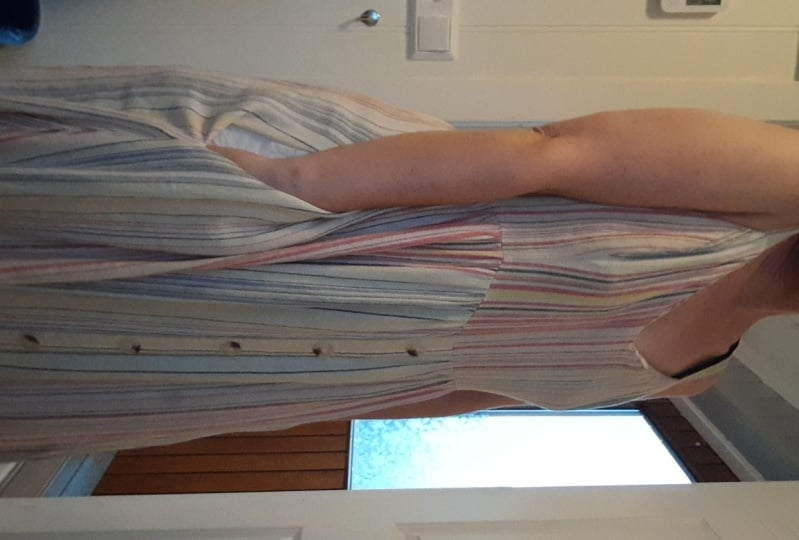
7. Conclusion and Thanks!: Okay, with another
pass of the iron, we're all done with our pockets. I'm so excited to have
finished my pockets on the sun dress and I can't wait to wear it out on the town. To show off your project. Please take a photo of
your clothing item with your favorite sewing
tool poking out of the pocket and then submit
to the project page. I'm looking forward to
seeing what you come up with and what clothing items you
altered to add pockets to. Thank you for taking
my Skillshare class. I hope you learned some valuable
skills and now you'll be able to alter your clothing
to have functional pockets.