Transcripts
1. Welcome: My name is Natalia, and I'm a Coulter bag maker and patron designer. I started sewing in 2008 and I have not stopped since. I love to make useful things and learn new skills and share creative ideas with the world. Sewing and crafting has given me so much. I now give workshops, travel to quote shows and craft shows and meet new people almost every day. I so five days a week and end up with lots of scraps at a poll shapes and sizes. In this class, I will share with you how to turn fabric, salvages into new fabric and make a neat basket for your sewing table. You will love this new technique and you will know.
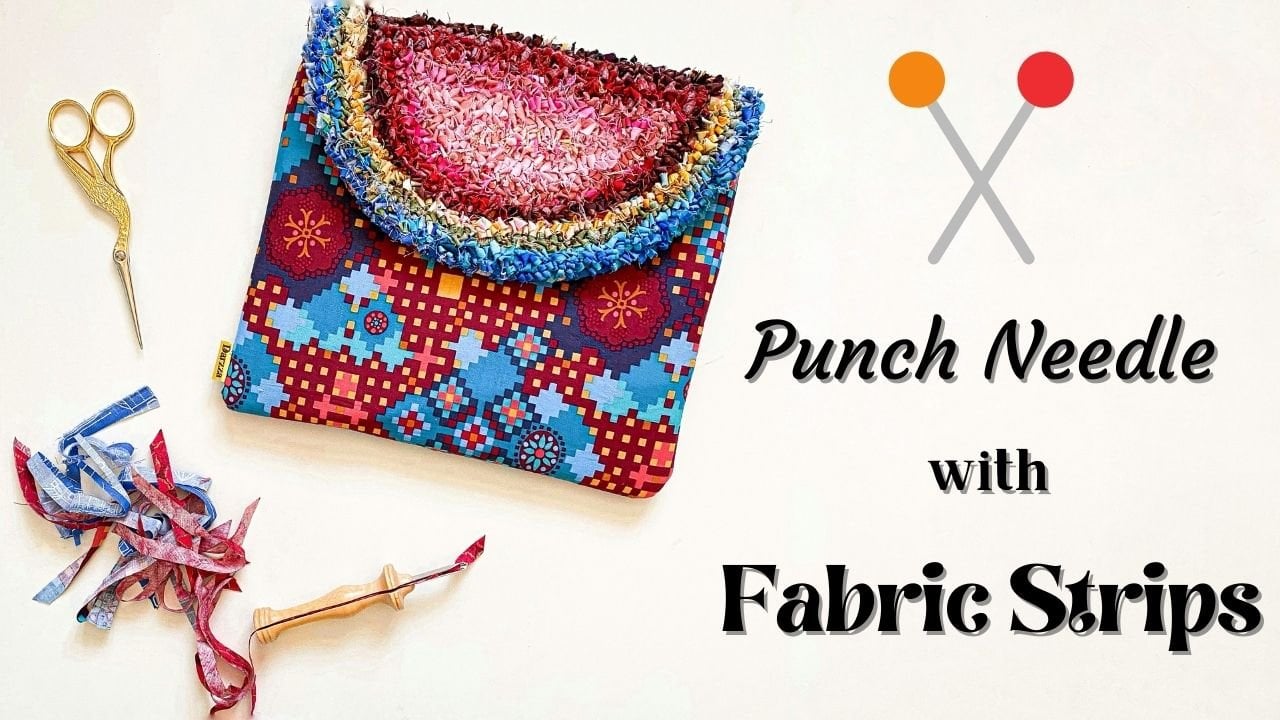
2. What You Will Need: Hello, everyone. This lesson. I'm gonna show you how to make salvage fabric. This cute pouch is made from salvaged fabric. I've you, um I've saved salvages from project I've sown before and I sew them together, as you see here and made this cute pouch. And that's where we're what we are going to do today. What you will need to make salvage fabric is a base fabric. This is gonna be the fabric that we're gonna so on. The Selfridges you're gonna also need a sewing machine of rotary cutter and ah, white thread for sewing. So I have this basket that I have that I keep on my sewing table. And every time I start cutting fabric for a project, I cut the salvages and put them in this basket and saved them to make salvage fabric. So what is a salvage? Salvage is the edge of the fabric is it usually has the information that helps you learn more about the fabric. For example, this one tells me that this fabric is made in Japan. This one tells me that the designer of the fabric is Anna Maria Horner. And, um, the company is free spirit and the name of the fabric is, I think there was an f here. So it's folk song, and yep, you can learn a lot of information from the salvages of your fabric. This salvage tells me all the colors that were used in making or in dying this piece of fabric. So those small circles here are all the colors that were used in the main fabric. So anyway, let's move to our lesson.
3. Selvedge Width: How thick do we want the salvage to be? You want yourself to be at least an inch and 1/2 white. So this ISS one inch wide, which will not be enough. Because once you show it, you're gonna lay the pieces over each other this, like this and you're getting a cover. The the fact that the beautiful fabric here and you don't want that you want this fabric to show so that to add more detail of interest to your new piece of fabric that you're making So this here is a perfect piece of salvage fabric gives me a detail. It gives me enough fabric toe work with and let's start sewing.
4. First Method: This is a small square fabric here. Ah, usually use a 20 by 20 square fabric. But for the proposed of this class and demonstrate on demonstration, I'm using a smaller piece. So let's start. So we have the base and this is the first piece of salvage. This is the second piece of salvage violate the first piece to cover the corner. And here's the second piece. I mean radiant on top of the first piece, and I'm gonna so making sure that I will catch the first piece, the second piece and the base and my sewing, I will continue adding more pieces of salvage randomly, but and making sure that the salvage edge covers the fabric, the raw fabric edge every time. And continue doing that until the whole piece the whole base is covered.
5. Second Method: moving to the second method of making salvage fabric. I please. Ah, small square fabric already. Rogers in the center off the base. And then take the salvages one by one. Put them on the Rogers. Used them to cover the Rogers. Okay? And then so from side to side, and then move to the next peace in the next edge and saw from here to here, covering the edges of the square and, um, keep going. Okay. And worse. I'm gonna trim here after showing. And then please, the fourth. It's trip here. And so, from edge to edge, covering awful Rogers of the square in the center and then keep going with the fabric scraps, the selfish scraps until oh, this one will not work Teoh until the whole basis covered. So let's take this to the sewing machine and see what we get
6. Trimming: showing all the salvages to the base, and we are gonna trim the excess fabric and have our new fabric slip to the wrong side. Take your rotary cutter, and okay, I'm using the lines on my ruler to as a guide to help me square the piece of fabric. And here is our first piece. This is our second piece of salvage fabric, and we're gonna do the same thing. We're going to trim all excess fabric, so flip it too, the wrong side and used a ruler. True trim. True side. True. And this is our second piece.
7. Cube Basket: Let's make a cube basket with our new fabric way will need 18 by eight inch square from ceviche Fabric lining fabric interfacing. We will also need 48 by five inch rectangles from salvage fabric lining and interfacing After attaching the foam interfacing to salvage fabric by sewing or ironing, put five by fate Rectangles right sites together match the short edges of the five by eight in tricked ankles. And so, with 1/4 and she seem, stop quarter inch from bottom edge. Repeat these steps to so all four bric tangles together back stitch every time you start and stop And remember when you stop that, you need to stop quarter inch away from the bottom match. Now you have sown the sides of your cube basket together. Well done. Let's so the base of the Q basket to the sides Match the first edge of this eight by eight inch square with the bottom long edge of one of the sides. Use wonder clips. They are very helpful. So 1/4 inch seen starting 1/4 inch away from the top edge and stopping 1/4 inch away from the bottom edge and repeat these steps on the remaining three sides of the base before turning to basket right side out. Clip the corners now, so the lining of the basket the same way you've sown exterior and certain exterior right side out into the lining. Bronx side out. Start by matching the seams on, clipping them in place, then match the edges on. Leave five inch opening, so the lining to the exterior with 1/4 and seam allowance starting and stopping at the pins . Remember to back stitch When you start and stop now carefully pull the basket through the opening. The final step is to top stitch around the top of the basket. This will give the basket and eat edge and closed the opening. Use Wonder clips to help and fold the opening inside 1/4 inch and clip top. Stitch an eighth of an inch away from the edge and cut the threats. - Give your basket a final press and wallah, you are done. Keep your basket your your sewing or cutting table, and to fill it. Perhaps happy selling
8. Projects You Can Make With Your New Fabric: So here are a few projects that I've sewn using salvaged fabric. The first here is a pouch. And, um, I've sown the salvage fabric diagonally and vertically here, Sorry. Horizontally and vertically. And, um, here I've sewn it a different way. And, uh, I've, um, tried here, too. Be picky with the color. So I chose yellow salvages. I have something together and this was actually a whole piece and continues here. So then after the yellow and the gold, there is white and then grays and browns. And, uh, you can end up with a beautiful pouch like this double zippered pouch. And here I chose, um, light colors, cheerful colors, and so them together too create my fabric so you can be random. You can be key and actually plan when picking the salvage. Peace is just so so them into fabrics. But you will end up with a beautiful, unique peace every time. So good luck. And I hope you enjoyed this class by
9. Thank You: and that's it for this class. I hope you've enjoyed it as much as I did. And I hope that you enjoy your new pieces of fabric and your unique project that projects that you're gonna so with these unique pieces of salvage fabric. Thank you so much for joining me by.
 Rawyah Sami, Quilter