Transcripts
1. introduction: Hello and welcome to my new Skillshare class. My name is, I'm a long-term Coulter, a bag maker, and a pattern designer. And in this Skillshare class, we will make a fabric mosaic wall hangings. Mosaic is a pattern or an image that is made with small stones, beads or glass. This pattern or image is used as a decoration for walls, ceilings, and floors. In this class, we will replace the small stones with small fabric squares. I will show you how to make your own mosaic pattern, or you can use the pattern included in the class materials. I will talk about the tools needed in this class and the vast fabric choices. I will show you step-by-step how to create your mosaic wall hanging. Then we will fuse it to the background fabric at borders and the process is so easy and fun. Let's begin.
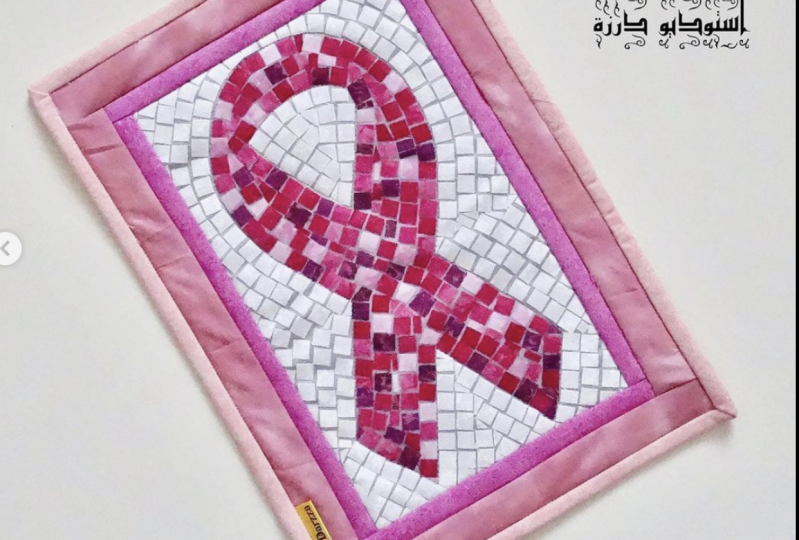
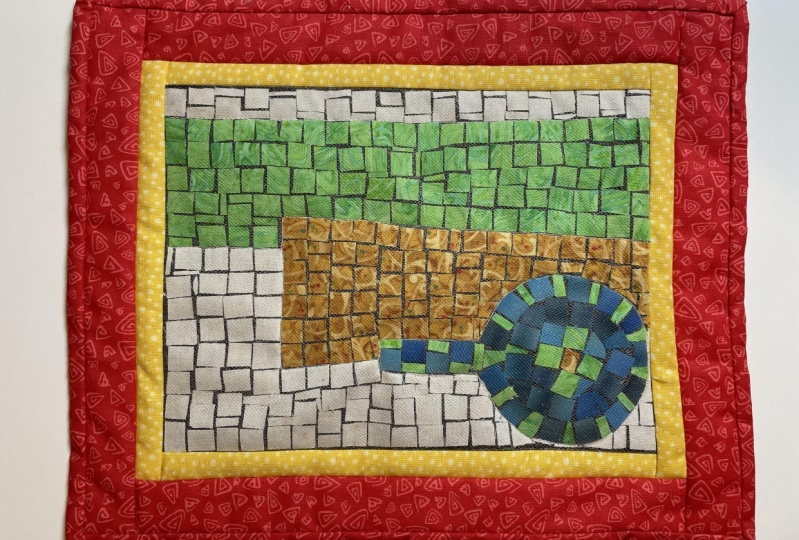
2. Pattern: Let us begin by looking at the pattern that is included in your class materials. This pattern was inspired by three decorative pieces in my family home. If you would like, you can enlarge the pattern at a copy center. However, I prefer to work with Size A4 paper. When applying this technique. If you prefer, you can design your own patterns. Tried to make it as simple as possible, make it a simple basic drawing without details. For example, this field is a simple curved line. Trees has no branches and the sun is just a simple round circle with no race. When coloring, we will use blue for this guy, yellow for the sun, green for the tree, and brown for the trunk, and green for the field. Very simple and basic. Let's do it again. I will now draw a lighthouse. I've drawn the ocean, the island, and the lighthouse on the light is shining from the White House. And to clear this painting, we will only need six colors. Designing your music pattern to be basic and simple is the best thing to do. This is best because the pattern is small. You are designing it on A4 paper. Too many shapes and colors will actually blurred. Final finished quote. On the other hand, wanted to subjects in the pattern and 46 colors as best, your final project will look neat and well-formed. If you'd like to find more inspiration for mosaic patterns, check Pinterest.
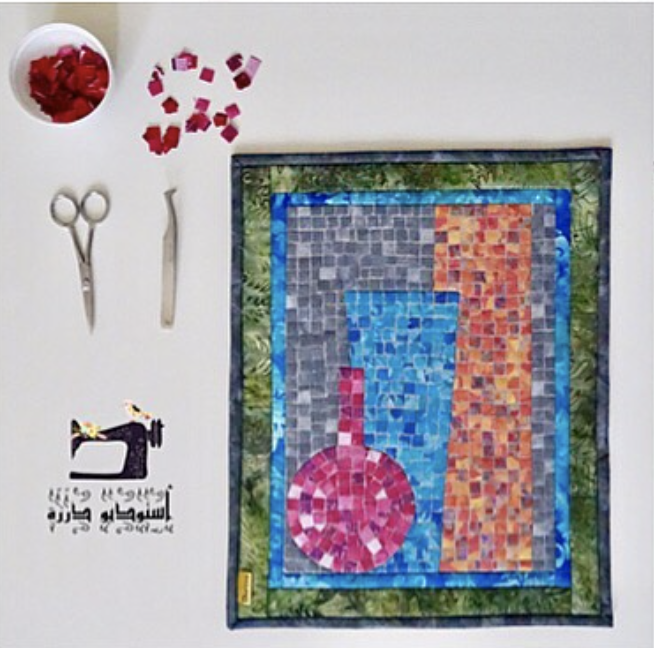
3. Tools and Fabric: Let us look at the tools we will use in this class. First, we will need a foam board. You will need ethics board about what interested. You can take to foam boards together to make a thicker board, we will use thumb tacks and pins, cutting mat ruler and cutter. A paper plate, small scissors and tweezers. We will also use fabric and batting. We will also use diffusible web steam is him. Please do not replace this with another brand of usable web. Team is seen as the only brand that will work with this technique. And of course, a sewing machine and a patchwork foot. Let us discuss fabric choices. For this technique, my favorite choice of fabric or the critiques. Critiques are great for creating mosaic wall hangings. The ticks will give our project a great marble effect. The ticks are also easy to use because they look the same on both sides. If we look at this finished mosaic piece, you will see that all three phases were made with boutiques. And you can notice the beautiful marble effect. Other good options for fabrics are marble prints. Solid, and hand dyed fabrics. Tone on tone fabrics will also work great. These are all good options for the mosaic while hanging. As for the fabrics that will not be a good choice for this project, are the busy fabrics, the very colorful fabrics. The fabric with motifs, complimentary colors, and lots of things going on. Those fabrics should be put aside for a different project. If we look at the pattern, we have three phases, 1, 2, 3, and the wall. So we will need to pick four colors. I've picked orange, blue, and pink for the bases and light gray for the wall. The next step will be cutting the fabric.
4. Cutting Tiles: Start by cutting three squares from each fabric. Each square should be four by four inches. In front of me. I have three squares of each color. And on the side, I'll place the paper plate. I'll begin by showing you the cutting strip swiftly. Then in details. Using a ruler, a cutter, and a cutting mat, cut the squares into thin strips that are three eighths of an inch wide. And things got this trips into tiny squares. Using paper or card stock. Move the tiny squares to the paper plate. That's it. Now, I'll share with you this checks and details. Begin by taking the fabric of choice and cutting three squares that are four-by-four interests from that fabric. Place this on top of each other. We will turn these four by four squares into tiny squares that are 3838. The tiny squares are the tiles which we will use to make our mosaic. Take a look at the ruler and find the eighth inch line. Place that line on the edge of the fabric, and move the fabric away from his trip. Major again and cut. Perfect. Now using a piece of paper or card stock, push all the thin, three-eighths inch strips together again. Turn your cutting mat 90 degrees. The strips are now horizontal. You will find that the sides are a bit uneven and that is fine. We will take the ruler and trim the sides. The OT tiles will be useful to FERPA odd spaces in the mosaic. Move the ruler to the left, eyeball a three-eighths inch square and cut. Flips the child's with a piece of paper or card stock, and then move them to the plate. And just look at all those pinks all cut from one fabric. Now is the time to pin the pattern and steam is seem to the foam board, taped to foam boards together and we'll use them in this project. Take the pattern and place it on the phone board. Take steam and remove the dry paper. Do not throw the dry paper. Who will still need a theater. Take the sticky paper and place it on top of the pattern is sticky side facing up. And now pin everything to the foam board.
5. Laying the Tiles: Now it's time to tile and we will work from the right to the left. Take your tweezers. I wanted the first face to be orange. So I picked an orange square and place it in place on the vase. Take the second square quartile and place it right next to or under the first square. But make sure that there is a bit of space between both squares. Keep going until you cover all the bases with orange squares. Working with tiny bits of fabric will take some time. And space took about 15 to 20 minutes. So I moved to the dining table and took my laptop with me. I watch the news, saw a few YouTube clips, is important that you feel comfortable while working on a project that consumes time and includes lots of repetition. Use the odd, tiny small scraps fabric to fill the odd spaces in the mosaic. And if you can't find a tile that is the right size or shape, you use your scissors to make one. Every 10 minutes. Stop. Exercise your hands, exercise your thumb, your fingers, your wrist. Make sure that you are comfortable and that there is no pain. Now I'll start working on base number two. As you can see, base number two is covered partially by face number three. So I will need to use my scissors more to shape the tilde's this time. All done with the face to moving to base number three. Now I have worked on this pattern twice before. Every time I start working on base number three, I find that I'm arranging the tiles in a different way. You can see the difference between how the tiles arranged, the mosaic in the picture and the Mosaic I'm working on right now. Anyway, it is always easier to work from the outside. And so arranged the tiles on the outside edge of the base and then fill the center of the face. As you can see, I'm using my scissors a lot and while working on the space. And I'm even using the tiny bits of pieces that have fallen on the table while cutting and shaping the tiles. And finally, it's time to work on the wall behind the three basis. And that's it. We are done tiling. It's time to fuse the tiles in place.
6. Fusing and Grout: Now we are done arranging the tiles and it's time to unpin our projects from the foam board. I'll store the unused toils and separate containers for future projects. Now, I'll remove the sum tax and put the foam board aside. To release the tiles from the paper. We will need heat and steam. Take the dry paper and place it on top of this sticky paper with the mosaic sandwiched in between. Now are in the whole thing without steam. Flip your project to the other side. And aria at, well, what's team? I have not spit up this part because I want you to see how slowly and carefully I am moving the iron over all of the tiles and paper. And now I'll wait for the paper to cool completely before moving to the next step. Okay, I moved my project to the cutting mat now on I'm cutting the excess paper. Okay, now remove the top paper. Now flip the project to the back, and it's time to remove the back paper. Peels a corner first. Be patient and careful. The feasible web is sticky and awake. A strong motion will break the tiles apart. We do not want that to happen. So work slowly and to use the top paper so that diffusible web wants stick to your hand. And here's a closer look after appeal to paper off the tiles. I'll put this aside now and get the fabric which will be the grout or backing to this mosaic. It might be a good idea to apply the previous chips to a small mosaic sample. This way you can test the heat of the iron, peeling the paper, and avoid making any mistakes. I've chosen this dark fabric to be the background or grout to the mosaic. Now I'll take the mosaic and lay it on top of the graph fabric. Sticky side facing down. Now take your dry paper. Again, place it on top of the Mosaic and iron the mosaic and fuse it to the ground fabric. And again from the corner, peel the paper carefully. And that's it. The mosaic is fused to the background fabric. Now trimmed to extract route fabric and leave about a quarter inch past the mosaic. The tiny mosaic tiles are fused to the grout fabric and according to this team is seen package, this should be permanent. However, it is best to add an extra layer of protection. Therefore, I will cover the Mosaic was told. In my studio. I keep several yards of tool, different colors for art quote, projects. Each color will give a different effect to the finished mosaic wall hanging. So it is a good idea to audition and see which color of tool will work best. I liked how the pink toll goes with this mosaic. So I'll use it to cover the tiles. Now let's make a quote sandwich and add the borders.
7. Adding Borders: These are the two fabrics I've picked for the borders, pink and blue. From the peak fabric, strips that are one inch wide. And from the blue fabric, I'll cut strips that are 1.5 inch wide. And here are the strips. Now it's time to make a cold sandwich. The dimensions of the mosaic part of the quote is seven by nine. The backing and the batting or 11 by 14 inches. The quote sandwich currently consists of 20 fabric mosaic and grout batting and backing. Before adding the pink border, we will pin the tool to the quote layers and secure it in place. Make sure that the toe fabric extends past the edge of the fabric on all four sides. Now let's add the first-quarter. Take your pink strip and place it on top of the first side of the mosaic. Match the edges of this trip with the edges of the ground. So in place with a quarter inch seam. Now repeat this on the opposite side. When you are done with the sides, repeat the steps with the top and the bottom of the mosaic. Now all four sides of the Mosaic have a border that in pink strip has secured the two in place and covered the grout. Now we'll add the second border. We're going to start with the sides and then moved to the top and the bottom. Trim, excess batting and backing. There is no need to do any quilting on this wall hanging. However, if you would like to add a few stitches that can add a bit of dimension, then I would recommend to just quote around each phase. And here's the back of the almost finished wall hanging and here is the front. Now follow your favorite method to add binding and cover the edges.
8. Thank you: And here is my finished mosaic wall hanging. I've added the binding and covered all of the edges. And here's the back. All those lift for me now is to hang it on the wall. Thank you so much for joining me in this Kosher class. I look forward to seeing your beautiful mosaic wall hangings. See you in another class. Take care and stay creative. Bye.
 Rawyah Sami, Quilter