Transcripts
1. Introduction: Hello everyone. My name is Emily and
I'm a furniture artist. You can check out my
transformation videos, process videos, recommendations, all that stuff on
my Instagram and TikTok at restored
refurbish revive. Okay, so today we are going to talk about staining a
piece of furniture. I will talk about the different materials that you're
going to need, the different types of
stains that you could use, how to identify if a piece
of solid wood or not. And I will walk you
through the entire process from start to finish as I refinished and stain the top of a solid
wouldn't nightstand. All right. So let's get into it.
2. The Project Piece: So here's the piece
we're working on today. This is a thrift did
nightstand that is solid wood. And I'll show you how you
can tell it's solid wood, but right now as you can see, there's some damage
on the top of this. You'll see what that looks
like once I stand it back. So you just want
to make sure that the piece that you're
working with is either solid wood
or a wood veneer. And if you see right now, this is what it looks like. If it's solid wood. So you can see the
wood grain in it. And then I'll show you
in just a second what Manufactured wood looks like. And I'm just looking at
the back of the piece. Okay. So this is a manufactured wood. This is an MDF particle board. It's just a composite wood. You can tell the
difference there. Another way to spot solid wood is to look inside of the drawer. And if it has dovetail drawer joints like this,
it's usually solid.
3. Materials: The materials that
you're going to need for this project vary depending on the specific needs of your particular
project piece. But here are just
the basics that you'll need to stay in a
piece of wood furniture. So the first one is obviously
a piece of wood furniture. Or like I said earlier, a piece of furniture
that has a wood veneer, something that's
going to take the stain and has a wood grain, then you're going to
need sandpaper to sand off the existing finish. And you're going to want
to start with a low grit sandpaper and work your way up to a medium and
then a high grit. So I like to do AT
for my low grit. And then I work my way up to
150 and then maybe to 20. Alright, so that's just
going to smooth it down so that it's
ready for this stain. The next material
that you're going to need is a tack cloth. Now attack cloth is just a sticky piece of cloth that's going
to collect all of the leftovers sawdust to make sure that your surface
is ready for stain. I also have pre stain on here, which is just a wood
conditioner that's optional. I like to use that
just to make sure that my stain doesn't
come out Blache. Then a foam brush or a cheap chip brush maybe
to apply the pre stain. You're also going
to need a stain. There are several
different types of stains on the market. So for example, there's just oil-based, regular,
traditional stain. There's water-based
stain, There's oil stains with built-in
poly, there's gel stains. And the type of stain you
use really is up to you, but there are pros and cons. So for example, if you are working with an
exterior projects, so something that's
for the outdoors, like a deck, for example. You would want to use
an oil-based stain for something for the interior, maybe a water-based stain
would be a better option. Oil-based stains tend to have heavier fumes versus
water-based stains. And water-based stains
are often known for being better for
the environment. Gel stains are great if
you're applying something in a vertical surface so that way it doesn't drip down
because it's less runny. So again, the type of stain is up to you for this project, I'll be showing you
both a gel stain and an oil-based stain so you can
see how both of those look. To apply your stain, you're
going to need something like a staining sponge or a brush or a foam
brush would work as well. Natural bristle brush
or a lint free cloth. So I'm just using in my
video a lint free cloth. And then finally you're
going to need to top coat it with a poly. So if you're working
with an oil-based stain, you're going to want to use an oil-based polyurethane on top. You can use a
water-based polyacrylic on top of an oil-based stain. But you have to
wait a really long time after applying
your stain to make sure that it's completely dry before you apply a
water-based stain on top. But a general rule is that
you can apply oil over water. But you cannot apply
water over oil unless, again, there's a excessive
amount of dry time in-between. So you'll see me use a gel stain that
has a built-in Polly, which is an awesome
option for saving time. And you'll also see me
use an oil-based stain with an oil-based
polyurethane on top of that, just to protect it and to make sure that it's
not going to have any fading in the future
and that is waterproof and easy to wipe down
and doesn't bleed. So again, it's just
a protective coat to finish off your project. For this particular project, I'm just going to
be sanding down the existing finish
because there was a lot of damage and
it's a small piece, so it didn't really
take me a lot of time to sand it back. But if you have a larger piece or something that has more
durable finish on it, I would recommend that you strip it down before sanding it. It's going to save you time. And it's going to do a better
job at removing whatever existing finished and
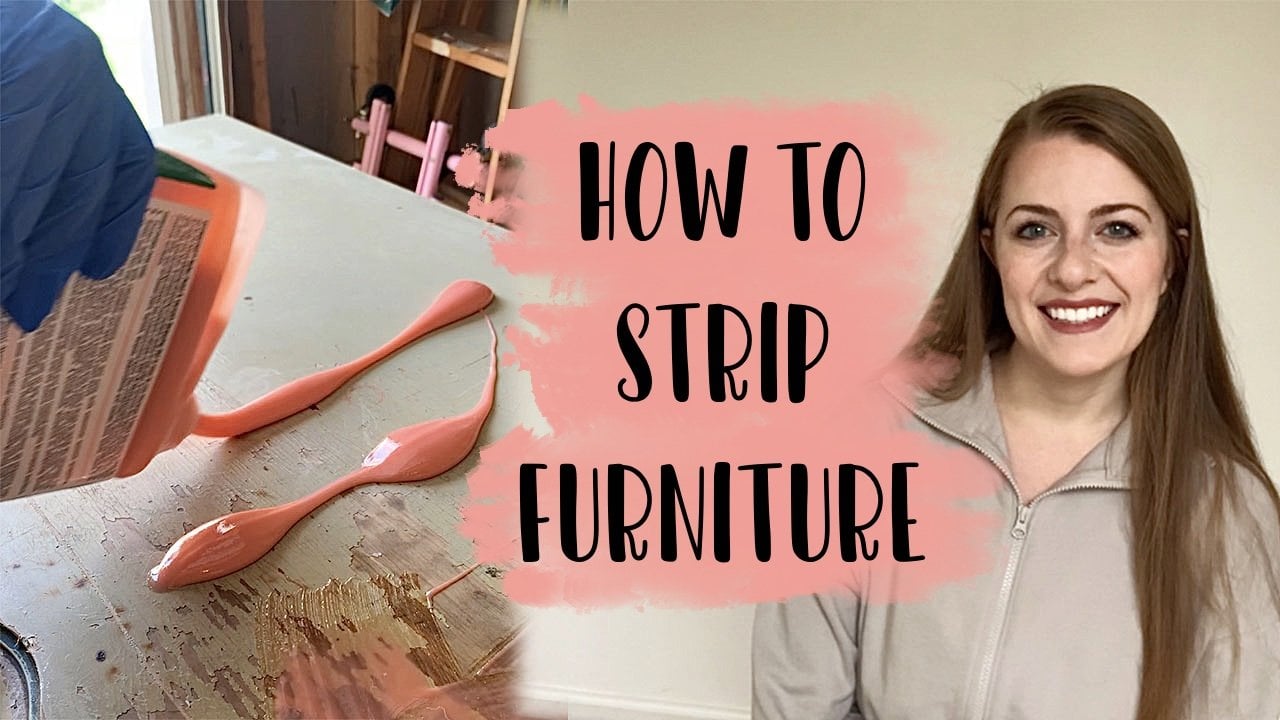
stain is already in place. And I do have a video here on Skillshare about how
to strip furniture. So go watch that if that's helpful for whatever
your project pieces.
4. Sanding: Okay, so you're gonna
want to start by removing the existing finish off of
your piece of furniture. As I mentioned earlier, you can do this just by
staining like I'm about to do, or you can strip back
the existing finish. And I do have a video on here of how to strip a
piece of furniture. I'm just going in right now with an 80 grit piece of sandpaper
on my orbital sander. You can see I've lined
up the holes so that I don't have dust flying all around while I'm working and I have it attached
to my shop vacuum, I would recommend that
you work in a open area, outdoors or in a garage with the door open
for ventilation. And I would recommend that
you wear a respirator so that you are protecting yourself
from the dust particles. So I'm just going to
go through now in sand off the existing finish. And as you can see, as I'm sending it off, it's revealing this
really splotchy, ugly dark spot that I believe
was left for maybe oil. I'm going to have
to deal with that once I'm done
sanding it all back. When you're standing
a piece of furniture, you want to move your
sander with the wood grain. So I'm trying to keep
with the wood grain. I do have a couple of
different directions of wood grain going
on this piece, but again, I'm just trying
to keep up with that. For the most part you
want to make sure that your orbital sander
is completely flat. I do end up tilting
it just a little bit to try to get on
the slanted edges. And then to try to get into some areas that have
dipped down a little bit. But again, for the most part, try to keep it level and flat. Now I'm feeling
the finish of it. I just worked within
80 grit sandpaper, so the surface is going
to be a little bit rough, meaning that I now need
to work my way up to a higher grit sandpaper
for a smoother surface. So now I'm going in with
a 180 grit sandpaper. Anything from like
120 to 1 eighth would be good for a
middle ground sandpaper. And finally, going in with
a 240 grit sandpaper. Usually I keep
around to 20% to 40. And I'm just going
to completely cover the surface again to make
sure it's super smooth.
5. Bleaching Dark Spot: So now I'm just going
to go in and bleach that one big dark spots. Some of the dark spots look
like wood grain and whatnot, so I'm not too
concerned about them, but there is just this one, very large splotch that
I just want to lighten up so that my stain comes
out a bit more even. So I'm just going in with
regular household bleach. I'm of course working outside. You want to be under direct sun. I'm using a foam brush
putting my bleach and a plastic cup and of course
I'm wearing a respirator. I would also recommend
that you wear gloves when working with bleach. There are other products
you can use to do this, but I always just go for household bleach because
it works just fine for me. So I'm just applying
that with a foam brush again underneath
the direct sunlight and then I'm just
going to let that dry. I'm going to come back
and see how it is. And if it needs
another round or two of bleach, then I'll do that. But I'm just trying to
lighten it a little bit. I don't need it to be perfect. As you can see, that
did a pretty good job at lightning, that dark spot. So now I am just going to go
in with a water and vinegar solution to
deactivate the bleach and just spray that on top. And then I am going to just sand that down
because the bleach and the vinegar water probably made the wood
fibers come up a little bit. So I want to make sure that it's smooth just as it was before, so it's ready for stain.
6. Prepping The Wood: Now it's time to prep
the word for our stain. So I'm going in
with a tack cloth, which as I mentioned earlier, is a sticky cloth
that's used to pick up all of the leftovers,
sawdust from sanding. And I'm just running
that along the surface, making sure that I get up
all of that sawdust so that my piece of furniture is ready for me to please
stain and then stain. Now I'm grabbing my pristine, which is just a
wood conditioner. It's just going to
ensure that I have an even stain application with little to no blotches and I'm just applying that
with a foam brush. Then I'm going to let that
sit on the surface for about ten minutes before I
come in and apply my stain.
7. Staining: Now that our pre-seen has had some time to
soak into the wood. It is time for the moment. We've all been waiting for actually staining the
piece of furniture. So today I am just using
this ethane would stain. This is an oil-based stain in
the color English chestnut. And I'm going to make sure
that I stirred up really well. Do not shake your stains, make sure that you stir them. I'm just using a wood
stick to stir it, making sure that I get
all of the stuff at the bottom distributed
throughout the stain so that it applies
really nice and rich. Now I'm just grabbing
my lint free cloth, dipping it into my stain, and applying that
in the direction of the wood grain directly
to the surface. I'm noticing that
this stain color is not exactly what I had in mind. So I am going in now with red chestnut going directly
on top of that stain. While the stain is still wet. You're going to let
that sit for a while and then you're going to
wipe back the excess. The longer you let it sit, the darker and more
rich the color is. I wiped it back pretty
quickly because I was happy with how it
looked as I applied it. And here's how it looks after
the stain has been applied. And when you're working
with an oil-based product, you want to make sure
that you put your rags, whatever other supplies you used outside and away from your
house to dry off completely. They can spontaneously combust. It's rare, but it does
happen sometimes. So just be on the safe side and keep these away from
your house as they dry. For this next section, I'll be staining the
top of this end table just to show you what
a different stain looks like on a
different type of wood. So the previous piece is, OK. This one is pine. I used an oil-based stain
on the previous one. And this one, I'll be using a gel stain with a
built-in top coat. Just so you can see
the difference. I'm just standing it smooth with a 220 grit sanding
block and then I'm going in with
my tack cloth to remove any leftovers sawdust. I will not be applying a pre stain because the
pre-seen is oil-based and this gel stain is
a water-based product. So I'm just going
straight in with the old smokey gel stain
by Lily Moon paints. Make sure that you're reading the label of the product that you're using because
the instructions are gonna be different
depending on the products. So for example, this is a water-based gel stain
with built-in policies. So it did say on
the bottle to shake the bottle before
I use it to make sure that there's no
separation inside. So I'm going to apply
this again with a lint free cloth and in
case I didn't mention it, the color is wooden barrel. Just as last time. I'm not exactly happy with how
the color is turning out, so I am going to go in
and layer on top of that the color
Tennessee Whiskey, same product, same brand, just a different color. As I mentioned, this product
has a built-in top coat. So once you are
done applying it, you wait for it to dry and
that's it, you're done. Okay. Took a quick little trip to
Home Depot just to show you the stain section
here at Home Depot and just how many different
types of stains there are. Make sure that you're picking
one that fits your needs. Go back to that material list as I go over the pros and cons, in case you're still unsure
which one you should get.
8. Top Coat & Results: So our last step is to go in with our protective top coat. And today I'm just going to be using an oil-based polyurethane. So I really wanted to make
sure that my stain was dry. It's been very humid here, so I left it for a full 24 hours before
going in with my top coat. So now I'm just coming in with a 220 grit sanding block to
sand down the surface just to make sure that
everything is smooth and ready for me to
apply my top coat. And of course I'm
following that up with my tack cloth just to make sure that all of that dust
is up before I seal it. And now I'm grabbing
my polyurethane. And I also have a foil
lined plate just for easy cleanup and a foam brush that I'm going to use
as my applicator. The finished I'm using
today is a clear satin. You can also get
something semi gloss or high gloss or more
of a flat finish. I prefer sat and I think it's just the correct amount
of Xi1 for my taste. You want to make sure that
you stir this up really well before applying it
with a polyurethane, you want to stir, not
shake, it's oil-based. Then you're just going to
come in with your foam brush and apply a thin, even layer. Oil-based Pauli's are
pretty forgiving. They self-leveling really well. But you just want to make
sure that you're going in long even strokes so that
your end product has a smooth finish and that
you're not overworking the product too much because then you'll see
your brushstrokes. And if you apply too much, then you'll get bubbles. But again, it's
pretty forgiving. Don't let that scare you away. I know that I'm gonna be
applying another coat of this. So rather than clean off
my brush or throw it away, I'm just putting it
into a plastic bag. That way it won't dry
out in-between coats. So at this point I've
waited about four hours and my poly is dry and
ready for my second coat. Again, read the instructions on your specific product because dry time is going to be different depending
on where you're located and what
product you're using. But I'm just going
in and I'm giving it a light sanding
in between coats. And then I'll apply my
second coat of Pauli. The number of coats
of poly that you apply really comes down to how much traffic the surface that you're applying
it to is going to get. So this is a nightstand top. So I would say minimum
two coats of poly, possibly three or more if
you're doing something like a dining table which is going to get
wiped down a lot, get a lot of traction. Then I would do maybe four
to five coats of Pauli just for extra added protection. But again, up to you. Once your poly has
completely dried and cured, I like to leave it
for a day or two, sometimes three
days, depending on the humidity before I start
putting things on top of it. But once it's ready to go, then you are done. I've included some pictures
of the end product. Thank you guys so
much for watching. Feel free to follow
me on Instagram or TikTok and check out my other
videos here on Skillshare.
 Emily B, Restore Refurbish Revive