Transcripts
1. Introduction: Hi, I'm okay. If dutch designer,
engineer and maker with over ten years of experience
in designing architecture, such as tiny houses, Kevin's furniture,
and interiors. My work is mainly
focused on minimalistic, sustainable, and timeless design made with natural materials. Together with my wife and kids, we're constantly looking
for new adventures. We love to live a lifestyle, a lot of creative
expression by sharing our ideas and designing
new products. In discourse, I teach you how to make the famous
Kentucky stick chair, field chair or folding chair. You can make this
chair yourself with wooden sticks and it's
surprisingly comfortable, very sturdy, and
also very beautiful. Design is centuries old and probably has its
history in Kentucky. You can already
picture man sitting in his comfortable chair made of sticks on the
front porch, right? The chair is beckoned style. It quite expensive to buy. And of course is much more
fun to make it yourself. This course is intended for if people want to learn how to make their own furniture and want to learn some basic
woodworking skills. And of course, it's a
super fun project to make some chairs for your garden
or give away to a friend. I explain all the
steps until you exactly how much would
you have to buy? What you have to saw, where to drill the holes, and how to attach the chair. You don't need it. Any experience with woodworking. Anyone can make this chair. I use a miter saw, but you can also use a
simple hand saw or a jigsaw. I'm sure discourse
has gone to inspire you and help you to get
started right away. So let's get started.
2. What you need: What you need. Okay.
Here's a summary of the things you need and
things that are handy to have. Materials. Of course. Woot. I'll tell you later
exactly how much. Iron wire. At least four
millimetres thick or a rope of at least six
millimetres thick. Paint for outdoor
use like teak oil. Measuring tools. So a pencil. A ruler and a template you can download from
the projects folder. Saw tools. A handsaw
or a jigsaw. Or mind yourself
if you have any. And of course, glasses and ear protection. Drilling tools. A drill bit of six millimetres. If you use iron wire or eight millimetres
when you use a rope. And of course, a drum machine. Sending tools. So sending paper or a
sender. Mounting tools. A pair of pincers. A pair of pliers.
And the hammer. Paint supply. So close. Tick oil or paint. A roller or a paintbrush. And a piece of cardboard. This may sound a lot, but I'm sure you
already have most of it at home. Let's get started.
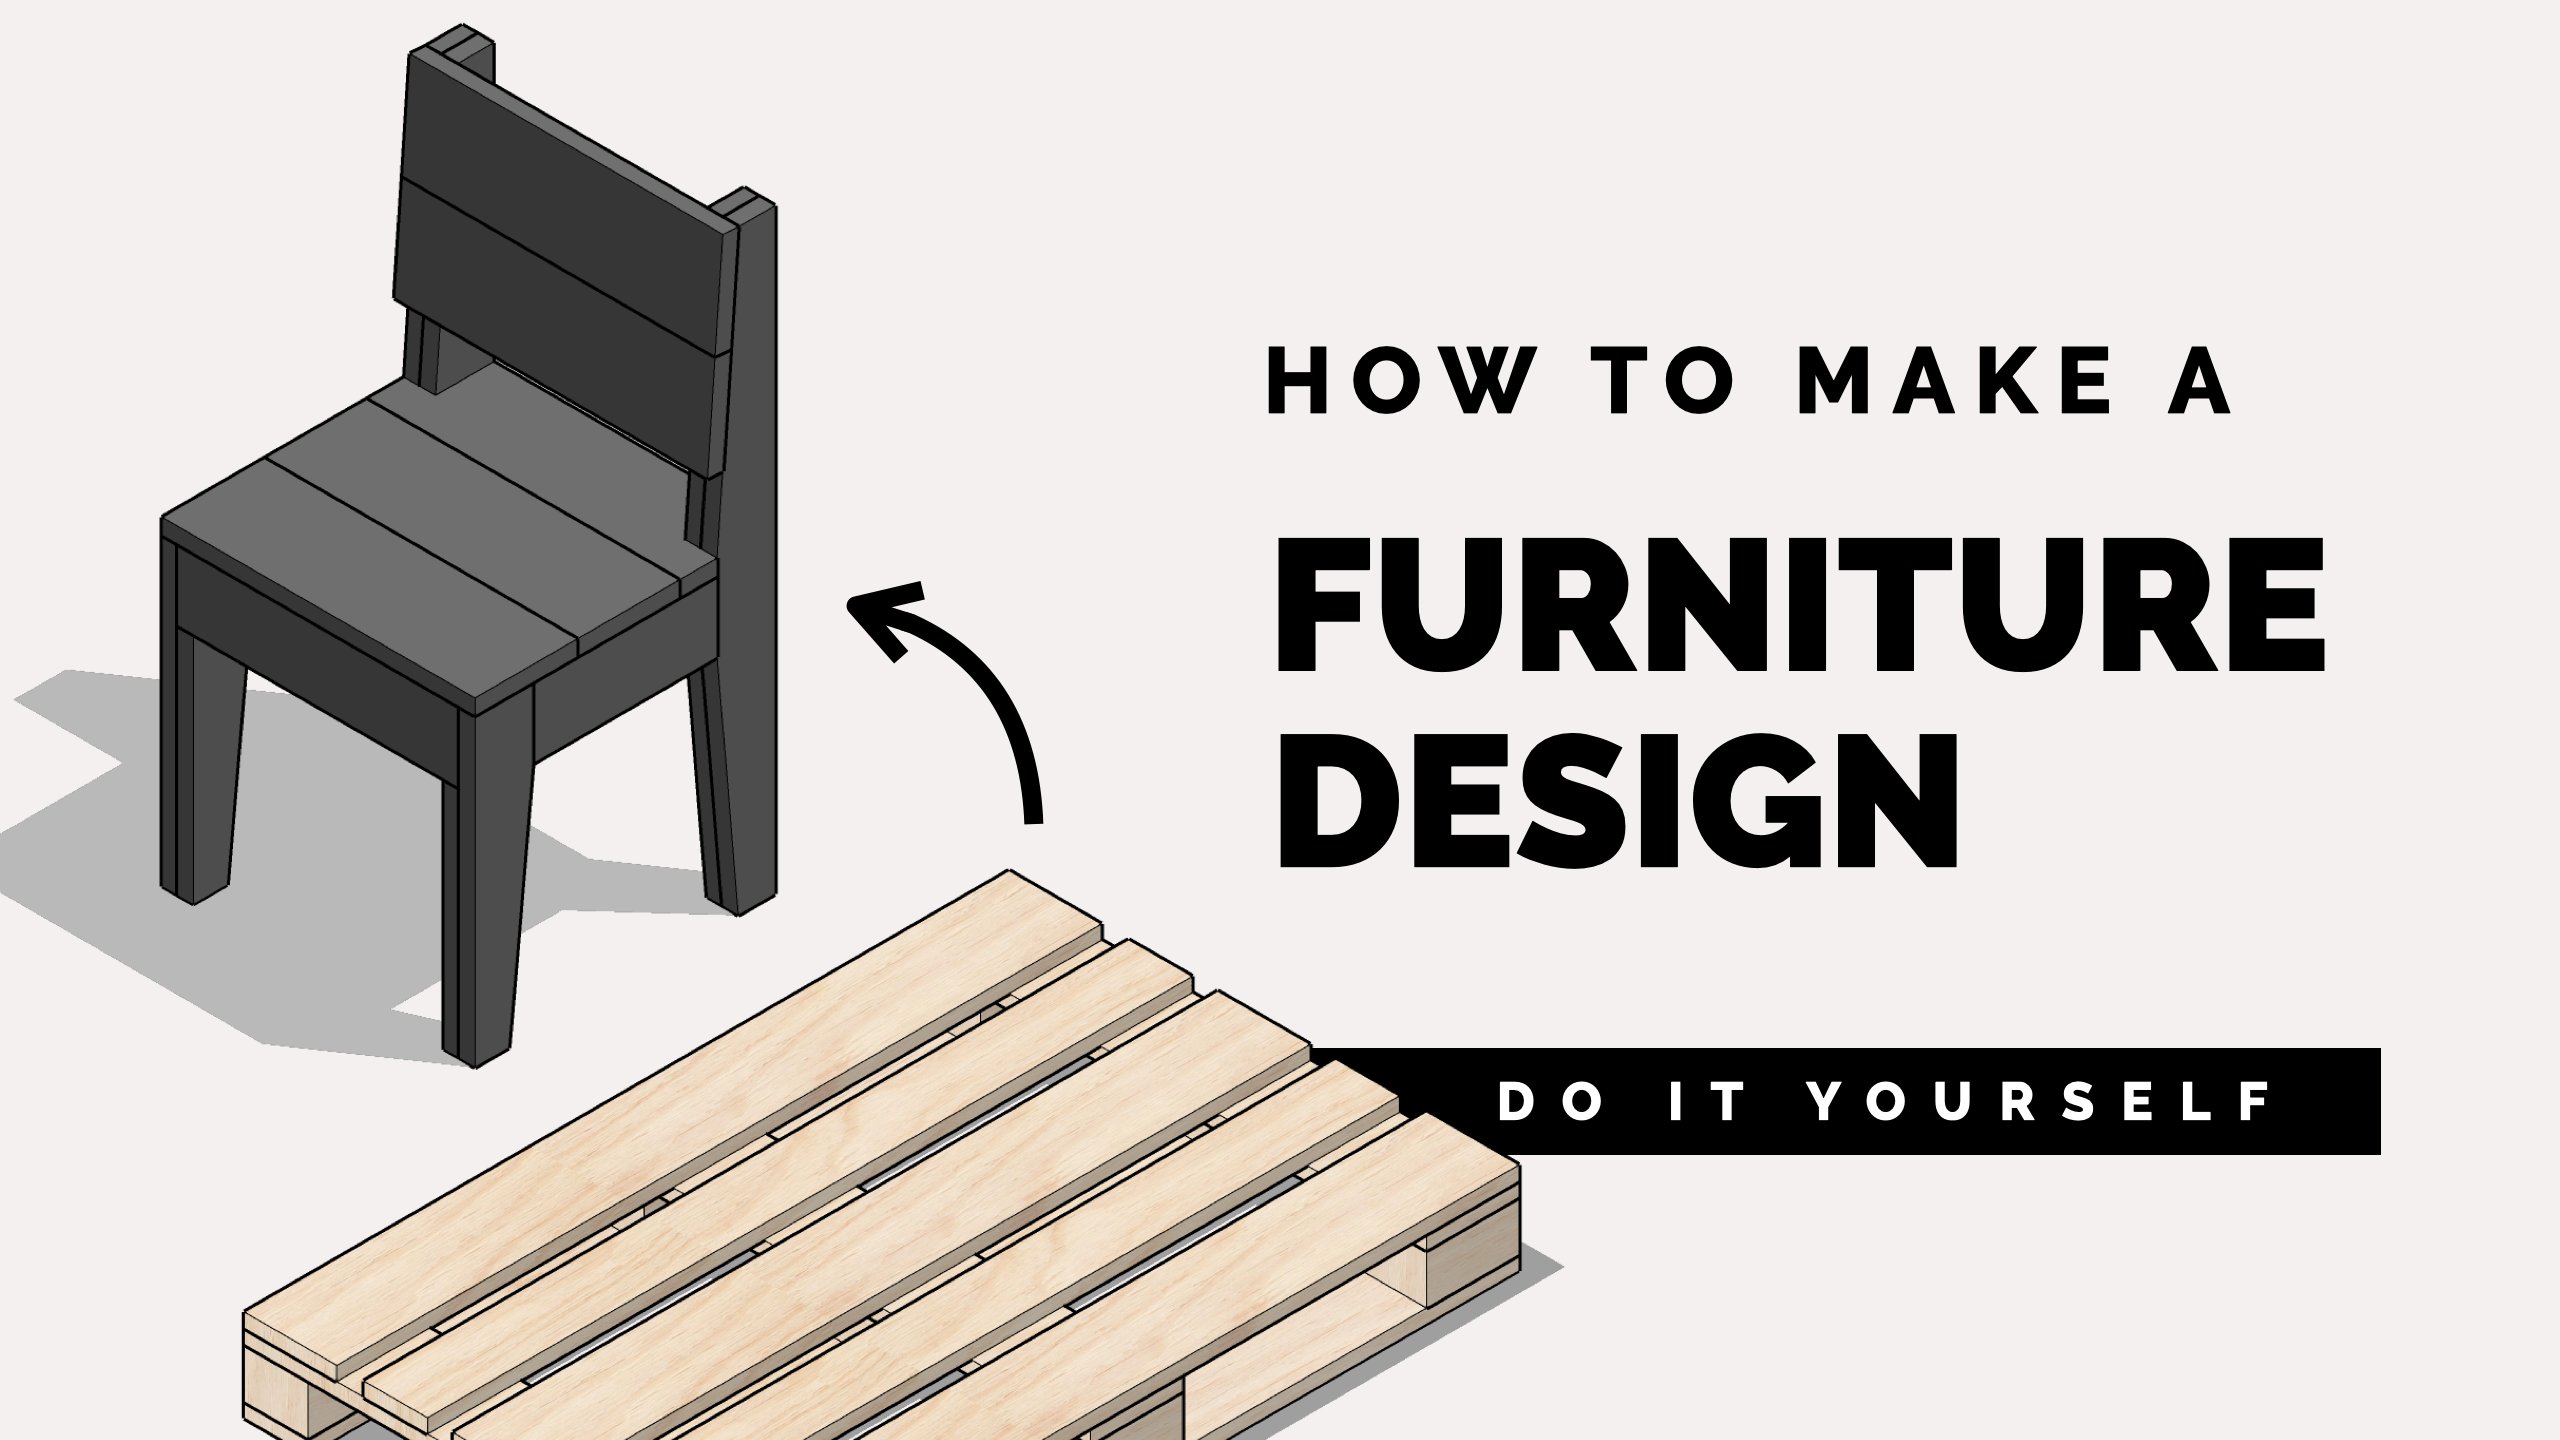
3. Cutting plan: Cutting plan. Stick
Chair of course, consists of sticks,
as the name suggests. The dimensions of these
sticks are very important as they must rest well on top of
each other. When unfolded. I use a word size of 34 by
44 millimeters for my chair. 34 millimeters in width and 44 millimeters in height through absorptive force
when you sit on it. I understand that
these dimensions are not the same
in every country. So feel free to choose a stick
with similar dimensions. Try not to go much thinner than 44 millimeters as the legs of the chair will bend
too much. Otherwise. The width of the sticks
may be slightly thinner. So between 3238
millimeters is okay. If you can find a
stick that resembles the size and your local
instruction store, you can also choose a wider
beam that you cut in length. There's a little more work
and especially useful if you have a table
saw or a circular saw. So for example, a two-by-four. So 38 by 89 millimeters would
work perfectly as well. Best way to cut
down to two by four through the middle
with a circular saw. This will make a jig first.
Go something like this. You can clamp it
between four pieces of boot and make a bunch
of two-by-twos. So I used a pine timber with a flat corner that doesn't have rounded corners
unfortunately. So I have to touch it
up later with ascender. I used pine timber because I'm going to
paint it later on. If you don't want to paint it, but want to use the
sticky chair outside. You can also use
Douglass or large food, which works great for that. Alright, then something
about the length to boot. They're also different
in every country. In the Projects folder, I've added some cutting plants would come in sizes
you can download. I've cutting plan
ensures that you create as little
ways as possible. And as you know, exactly
how much would you have to buy at your local
construction store? I always find it
very annoying when I have bought too much or
too little material. For your convenience, I've
worked out a number of cutting plants with optimal
use of material. So again, you can download
this and the projects folder. You can choose between
a bar of 78910 feet. If you choose a length of seven
feet or 2100 millimeters, you will need seven beings. If you choose a length of eight
feet or 2400 millimeters, you will need six beams. If you choose a
length of nine feet or Twenty-seven
hundred millimeters, you will need five means. If you choose a
length of ten feet or 3 thousand millimeters, you will need five
themes as well. So the most optimal
size for this chair is a Twenty-seven hundred
millimeter or nine feet beam. So you can then check
online which would sizes are available at your
local construction store. Then choose the right
cutting plan from the Projects folder that we
can start with the next step. Or we will cut to parse to size. Class Project. Choose root
with the right dimensions. Download the cutting plan
with the right length.
4. Cut all the pieces: Got all the pieces. Okay. When you've printed
out you're cutting Plan B can start
sign all the pieces. I have chosen timbre
of seven feet, so 2100 millimeters that
use in this example. In this example I
work in millimeters. I need seven bars
for this that I already have ready
against a wall. I use my miter saw to
cut all the parts. But of course you can also
use a jigsaw or a hand saw. This just takes a little longer. I put my cutting plan next to my saw so I can easily see it. I'll start with the first bar. I have to cut out the same
part from the beam twice. First, one time 240 millimeters, then two times 380 millimeters, and one time 1070 millimeters. I start with 240 millimeters
and market on the wooed. Now I aimed a saw
blade at the center of the line and slowly saw
through the first beam. So I go on to a 380 millimeters
per the next piece. And I do that twice. For the last piece, I flipped the bar over. So don't I start from the
clean side of the bar. So I do it is again
with the next beam with exactly the
same dimensions. Arranged old parts
together by size. And so you continue
to the next beam. Again, two times the same
beam, 380 millimeters, then 900 millimeters
and 790 millimeters. Continue in his way. And you have cut all the pieces. Make sure that the bars are always perpendicular
to this Saw. You see how easy it is
thanks to the cutting plane, because she knows
exactly what to cut. Make sure that you use glasses, ear protection, and
possibly gloves when working with a miter saw. When you're done, you
can send all the parts. Especially ends will be a bit rough because I was not
able to buy a rounded root. I also have to send the
length of the beam. You can just use regular
sand paper for this. Because pine is quite soft wood, but a sand or is of
course faster and easier. You can round the ends a little more so that they
feel less sharp. Excellent. Arrange all
parts in order from a to F. And we readied
for the next step. Drilling the holes. Class project. Could all the pieces. Send the parts with the sender.
5. Drill the holes: Drilled a hole. In this step, we're going to drill the holes. Will then be able to pull the iron wire through these holes to keep
the sticks together. You should now have
solved all the parts. You need. Nine times part a, six times Part B. Then two times Part C. These
parts are for the seat. Then you have for the
bag four times Part D, two times Part E, and two times Part F. Okay. There are several ways to attach the sticks to each other. I prefer to use a piece of iron wire at least four
millimeters thick. But you can also use an
iron cable like this. Or you can just use a rope
which works great as well, at least six millimeters thick. The whole suite we'll
drill will of course, depend on the thickness
of your wire, cable or a rope. Take the thickness of your wire and add two millimeters to this. You want the wire to go
through the wooed a little stiffly so that it can hold
the sticks well together. So for example, here I used
a six millimeter rope. So I drilled a hole
of eight millimeters. You can end this fairly easily
with and not like this. But in this example, I use four millimeter thick iron wire, which I cut and bend at the end. So I need a drill
of four millimeters plus two millimeters
is six millimeters. In the project
folder, you will find an overview with the exact
position of the holes. These are very important
and ensure the parts fit together just right and
distribute the forces well, when you sit on the chair. And this overview, you can see
the position of the holes. We always count from
this side of the stick, from left to right. On one side, all holes are in
the same place everywhere. I will call this one for now. One is 37 millimeters from the side and into
the center of the stick. Then hold to hold two is
different at a seat and back. At part a, the whole is 203 millimeters or 37
millimeters from the side. The second hole is located at part B and C At a
distance of 300, be made us from the side. And it's part D, E, and F. The hole is 630
millimeters from the side. Okay, Let's start with hold one. Because whole one is 37
millimeters from the side. For oldest sticks, it is
useful to make a pattern. So you only have to measure
once and you're sure that older halls are aligned
and in the same place. It is very important that the holes are all
on the same place, then you get the best result
when a chair is unfolded. You can also measure out
the first part and then use this as a pattern for
the next one. Like this. The only drawback is that you have to drill very straight. Otherwise, all the other holes will be placed wrong as well. A more precise way
is to take a piece of paper or cardboard
and cut a pattern. So in my case, a pattern
of 44 by 100 millimeters, for example, depending on
the thickness of your woot. Then I measure exactly
37 million made it from the side and in the center of the paper and make a
hole with a screw or nil. So I go along all
the sticks and I press a small point
with the nail. Then I drill a hole
in this with a drill. Do this for all the parts. Make sure to keep the drill
as straight as possible. So the hole is centered on the other side of
the road as well. Now we're going to hold to
your duties in the same way. Only now you use
your tape measure to determine the second hole. If you've measured one
part and drilled a hole, you can also place it over the other and use it as a pattern. Okay? So drew all the holes and
organize all parts neatly from a to F. Okay, so in the next step, we're going to paint and prepare the parts so we can
string them together. Let's go class project. Drill the holes of all parts. I make a pattern if necessary.
6. Painting: Painting. As I mentioned before, it is wise to paint you world if you want
to use it outside. It's best to do
it now before you start attaching two
parts together. As an experiment, I tried
whether you can paint a chair afterwards and a
chair has done with my son. I can tell you it is very
difficult to paint all parts neatly because you can no
longer reach them very well. It's therefore wise to
paint all paths first. And then it's best to
have at least two layers. I use a natural oil myself. This is a teak oil wood, a pigment that gives the pine
an old walnut like color, which I really like. Make sure you spread it
well and not too thick. Outside, it dries very quickly, so I could easily do several layers for
the best protection. Each layer makes the
colour a bit darker, so don't apply the
first layer too thick if you don't
want it too dark. You can use a roller. Or a brush. Ends of
the wood are the most important because that is the place where
wood absorbs water. Oil absorbs into the wound, preventing moisture from
entering the wound. That is different
than with paint. Paint creates a small
layer over it as per text. Place all parts on a piece
of cardboard or paper and paint one side
first let it dry. And then the other side. Paint all the parts at least two times
in a color you like.
7. Assembling the seat: Assembling deceit. Okay, when all the
parts have dried, we can start with the fun part, connecting the parts together. I haven't painted depart in his example yet, as you can see. I did that later on. Okay. The chair
consists of two parts, deceived and the back that
we will join together. You'll start with the seat. And the projects folder. I've added the link
pattern that you can print out collected parts
for the seed. So part a, B, and C. You can clearly see the order of the
parts on the laying pattern. We will start with part a, lay it down with a narrow
side up. Then take part B. The holes of hold two
must be lined up. Then another part a and part B. And then again a part a. Then comes along
stick for the leg. Part c. You also put the holes of whole two in
line with the other holes. And older halls of whole one
need to be aligned as well. So you repeat this
pattern again. So Part a, Part B, Part a, Part B, Part a, and Part C. One last time. When you've put all
the parts in order, we will connect them together. I use a four millimeter
thick iron wire. You can roll this
out completely and try to bend the wire as
straight as possible. You need about 80
centimeters of wire. We going to bring this
wire through hold two. So we start at the front. So through the whole of part a and then through the
whole of Part B, etc. Then you slide the parts
to the end of the wire, bent the n sub ID so
that they can slide off. Because the hole is slightly
larger than the wire. Assembling the parts
goes quite easy. Connect all parts together, and bend the wire
again at the end. Okay, well done. Then we move on to the
back of the chair. Class project. Arrange all parts of
the seed in order. Assemble all parts of the
seat together with a wire.
8. Assembling the back: Assembling the back. The back goes the
same way as the seat. Only now we start at the top of the chair and the wire
goes through hole one. Put all the sticks
the back in order. We start with part F first. That is the lack of the chair. Then Part D and E.
And two times party. Again a part e. Then Part
D. And finally part. Make sure that the
holes or hole in one and hole two
are aligned well. Spreads to bars a little
bit before assembling. Now we do the same
again for the back. Cut a piece of wire. 60 centimetres is sufficient because these parts will be
pulled towards each other. Connect all sticks together. And bend the wire again at
the beginning and the end. Leave enough space
between the bars. We're not going to pull
these together yet. We will do that later. Otherwise it will be very
difficult to connect the next wire and the next step. We're going to connect
the seat and the back. Class project. Arrange all
parts of the back in order. Assemble all parts of the
back together with a wire.
9. Connecting the seat and back: Connecting deceit and back. Okay, now we're going to attach the seed and
the back together. We're going to do that by
alternately connecting a part of the seed and then a part of the
back with a wire. So first we have the seed, and on top of that,
we put the back. The idea is that we
connect it to part with one wire by
connecting a stick. Alternately. Cut another piece of wire, and make sure it is straight. We then start with
the other part of the seed with
the smallest bar. Placed a wire through the first hole and then through the whole of the first
egg from the back. Then there's always a
small bar in-between. So you have to pick it up
between the bars of the back. So you go on and on. You will notice that
it gets a bit heavier each time because there's a
lot of friction on the wire. Carefully push the wire
through a little at a time. Halfway through, you will
notice that the trend no longer wants to go
through properly. And tip is to make space between the first sticks and
pull the wire back. You then slowly move
this space forward. Try not to bend wired
too much when you pull, as it will weaken the wire. You can pull on it, but do it in a straight line. You can also use pliers
for a better grip. So do it is alternately until
all bars are connected. When you have reached the end, you can bend wire again through
the bars, stay in place. Now place a chair
on a side and press the bars a little so that there is no more
space between them. Then we go on to the last wire. The end part of the seed. This one is a lot easier. You also need about 60
centimeters of wire for this. Start at the front again and bring the wire through
all the holes. This one can stay
a little loose, just like to back. We're now going to
cut and fast and iron wires in the next
lesson and finish the chair class project. Place the back on the seat. Connect the two parts
together with one wire. Placed the last
wire from the back.
10. Finishing & fastening: Finishing and fast. Okay. We've come to the
last step of this course. All parts are in the right place and connected with the wire. Now we have to finish these wires and put some
parts under tension. When you've used rope, you can simply put a
knot on both sides. With Iron Wire. This is a little different. I'll show you the principal. We start with the
wires from hold to. So the wires in the
middle of the chair. And we start on one side
and got the threat to about three centimeters or
a little more than an inch. Grab your pliers with a small nose and bend
the wire around. Make sure you bend it
inwards and not outwards. Then press the end of
the wire into the wood, about one and a half centimeters or half an
inch away from the hole. And hammer the end
of the wire as far as possible into the
hood with the hammer. So make sure you don't press the wire back into
the hole again. You can do this by hitting
a little diagonally. Then gently flatten the
wire out of the presses, a little into the
wood. And you're done. Then we go to the other side of the wire and do the same thing. Tension the chair again
and bend it a bit inwards. The main thing is
that there is not too much space
between the sticks. Do not pull
everything too tight. Otherwise it will be very difficult to unfold
a chair later on. About one millimeter
between the sticks is okay. Then cut the thread again
and do the same thing. So make sure you bent
a wire nicely with the pliers so that you can
hit it well with the hammer. Sometimes it is useful to
drill a little hole with a very thin drill so that you can get to wired
deep into the boot. I hold the wire firmly
with the pliers together. Wire does not slip back. And here again,
flattened the wire. So we will do this for older wires to the middle wires first and then the two ends. Again, you have two
detention ends. Slide two bars well
towards each other. This should be tied. And you see that the wires in the middle get
more tied as well. Do one side first. Then pull on the wire
and the other side. Okay. Do duties for
all the wires in your Kentucky stick
chair is ready to go. All right. Test it out unfolded and see how comfy this cherries. When you unfold a chair, the chair makes a curve in the seat which makes
its very comfortable. All right. Well done. In the last video, I show you the end result. Class project. Finish all
the ends of the wires. Test it out and enjoy.
11. The end result: The end result, grave. You've made it so far. I hope you learned a
lot from this course. It would be really great
if you can share it, the end result with us. If you've managed to make your
own Kentucky stick chair. Take a picture of your chair, go to Projects and Resources
and click on Create Project. I really enjoyed teaching this class and I
hoped you liked it. You can also follow us to be the first to see our new courses. Thank you so much and good luck with making this beautiful
Kentucky stick chair. Take care.
 Auke & Jildou, Designer & Maker Architecture & Interior