Transcripts
1. Welcome: Hey, friends. In this clause, you will learn how to record audio for your videos with a level year microphone, also called love mike or lapel mic. Recording with the lovely and microphone will help you get high quality audio in your videos, reduce the echo and room sound in your recordings and conceal, or at least minimize the visibility of a microphone on screen. After taking these clothes, you will have learned what a level year microphone is and the benefits of using it. How to properly set up the lab mike on the person you want to record and how to recorded the audio to a smartphone or an external audio recorder. My name is Mike, and I am a music sound and video producer from Sweden. I have a true passion to teach and inspire as many people as I can so that you can improve your skills and be inspired and motivated to take action. All right, I am super excited to get started teaching you this close. Just quickly, enroll Button and I am waiting for you in the next video. My friends
2. Introduction: Hey, friends. In this video, you will learn what a level here microphone is and the benefits of using this kind off microphone. So what is a lover here? Microphone? Well, firstly, the name is often shortened to lab Mike, and it is also sometimes called a lapel Mike. I will call it a left Mike during this close. A lab Mike is basically a mini sized microphone that you attached to the person you want to record in your video. There are two versions of Love. Mike's Wired and wireless Wireless systems are much more expensive. They are great for live situations, but other than that, I recommend Wired Love. Mike's the lab. Mike must then be connected to an audio recorder off some kind. I will talk more about that later in this close. And why do you use a lab? Mike? The most common reason for using a lab mike is that you can hide the microphone so the viewers cannot see it at all, or barely notice it. Since alert Mike is so small, you can easily conceal it. For example, in movies, they often tape it to the chest beneath the shirt. All they put it inside a prop close to the person on screen, like a plant in most types of videos, except for movies and drama, you don't really need Teoh fully hide the microphone. But even so, a lab mike clipped to your shirt feels less intrusive than a big microphone on screen. The second benefit of using a lab mike is that it can greatly reduce the amount of room tone and echo in your recording. This is because you get the microphone closer to the mouth, but also that the body malls absorbs the sound waves from behind the person you record. All right, let's continue in the next video, my friends.
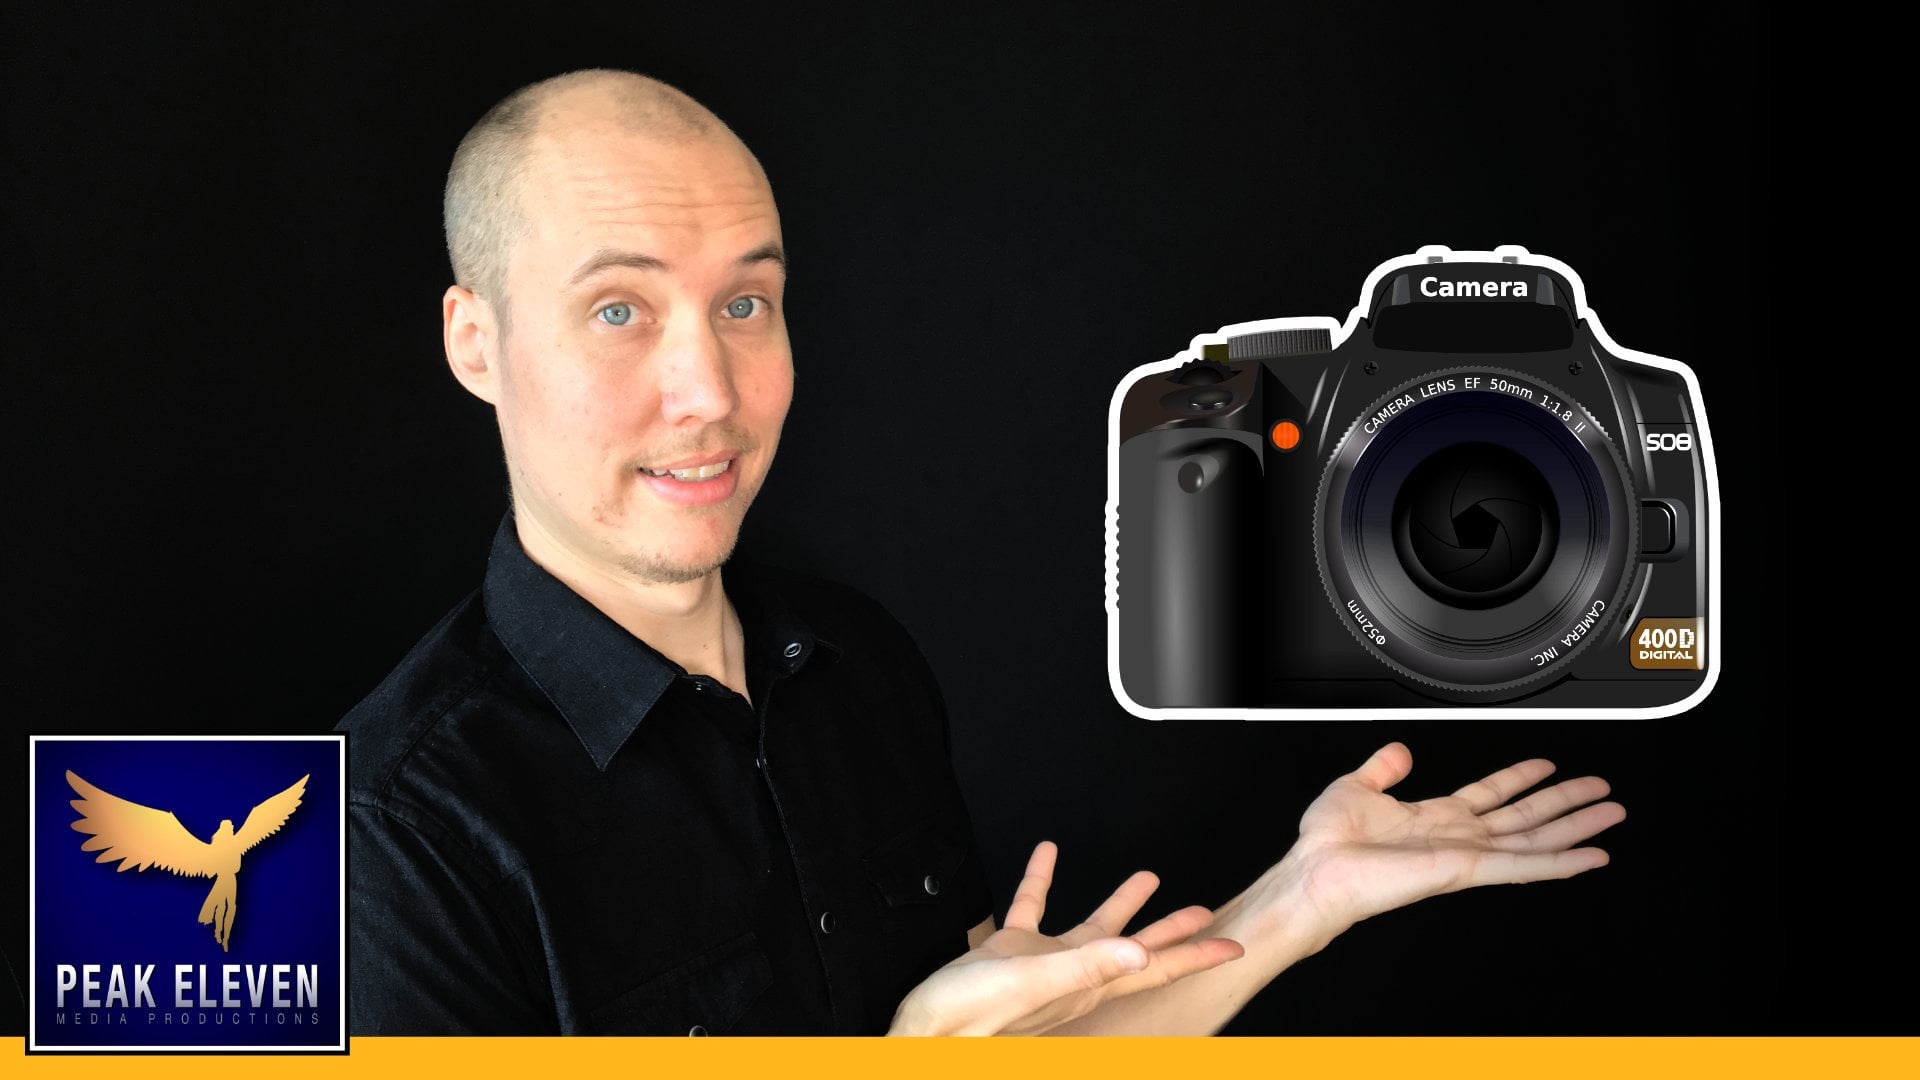
3. Setup: Hey, friends. In this video, you will learn what device you can use to record the audio on when using a love mike, what type of collector to use and how to set up the land Mike on the person you want to record, so you need to have something to connect your lab like to that can record the audio from the microphone. There are many different devices you can use for this. The most common options are one an external audio recorder to your smartphone and three recording directly into your camera. While recording the lab mike directly to your camera might feel convenient, the audio quality will decrease a lot by doing this. This is because all audio recorders have something called a pre empt, which basically translates the microphone signal into a digital audio recording. And cameras generally have a bad preempt, which will create a lot of noise and hiss in your signal. Recording to your smartphone is a better solution, since the preempt is of better quality than most consumer level cameras. However, if you want the best or the equality, you will need to use an external audio recorder, even a cheap one will give you far greater audio quality than recording to the MIC input of your camera simply because an order recorder is specifically built to record. Could audio. Most lab Mike's have a connector off the Mini Jack type. There are two versions of these. One is meant to be connected to a smartphone or tablet, and the other one is designed for all other types of recorders. The connector that only works on smartphones is marked with three rings, and the other type have two rings. The roar adapters that he can buy to transform one connector to the type of the other one. I personally use a lab my called the Road Smart Lab. Plus, this is a lab Mike designed for smart phone recordings. Then I also bought an adapter that makes it possible for me to use the same lab Mike to record an external audio recorder. Finally, how do you set up the lab Mike on the person you want to record? Well, all love Mike's comes with the clip that you can use to attach the mic to an object like, for example, a shirt or a color. I usually attach it just below the second button on my shirt, make sure it is aimed upwards. And then around the cable balloon my shirt. And once it comes down at the end of my shirt, I take the connector and inserted to my soon H one external recorder using the adapter. As I said, you can use this lab Mike to record directly to your smartphone as well. But I prefer an external it recorder, since it gives me the best audio Quartey. Then I place the recorder in one off my pockets. All right, let's move on to the next video, my friends.
4. Record: Hey, friends. In this video, you will learn what to consider when you start recording the audio for your video with a lab Mike and Dave recording device, the first step is to set a good recording level on your audio recorder. Audio level in digital form is measured in decibel and goes from negative values up to the full scale peak at zero disciple. This means that the audio will be clipped on distorted if you record at a too high level. When setting the input recording level, consider how much variation the audio you record will have. The more variation or volume the audio of your record has, the lower you will have to set the recording level. In most cases, I use minus 12 decibel as my mark to aim for you want to have some room for the variations in audio level from the person speaking. The input recording level is set by asking the person to speak normally as you look at a decibel meter on your recording device. Then you adjust the input level, also called gain, until you see the average decibel level around minus 12 decibel or whatever you aim for. If you're recording audio only device other than your camera, which I strongly recommend, you will need to sink the audio and video in post production. This is one of the reasons the use a collapse or board in movies. Basically, you get two audio tracks for your video. One is the audio track that is recorded by your cameras built in microphone. This built in my always sound crappy, but it is important since you needed to sink your good audio. The second audio track you get is the one you record on your external recording device. Sat such an audio recorder or your smartphone to make this sink process easier. In your video editor, you should add a sink marker in your audience signal. So what is he sink marker? Well, basically, it is just a short, distinct sound that will be visible in the audio lane of your video editor. Personally, I snap my fingers three times in a row like this, but many people just clap their hands instead like this. As long as you get that distinct odium worker, you're good to go. So the first thing you need to do after you hit the record button on your audio recorder is to add this audio sync marker. Now, I have some final advice I have learned from experience, and that is that it is better to record your full video in one whole session. By this, I mean that you start the video recording, start the audio recording and then recall your full video with all the takes you need. So if you make a mistake, just pause for a couple of seconds and try again. The key point here is that you will end up with only one video file and one audio file, and this will make it much easier to sink in post, since you don't have to mess around with lots of different files. Great. Now let's finish the full clause by watching the final video where your next actions awaits .
5. Your Actions: friends. Amazing job. Now we have learned how to sit up and record audio with the level here microphone to get great cruelty. Audio in your videos. I want to congratulate you for completing this close. This means that you are a person who finish what you start a true sign off a winner. Now it's time for you to take action because action is what leads to success. Action number one. Leave a review on my course. I would really appreciate it because it motivates me to create more closest action number to share your close project. Your final class project is to decide what left Mike you will use and which audio recording device also include linked to your YouTube channel so that people can listen to the audio of your videos. I am looking forward to see your class project. Finally, I want to thank you for taking my class. I hope to see you soon in one of my other clauses. I wish you a great day and remember, you look, my friends
 Mikael Baggström, Music Composer | Sound Designer | Video Producer