Transcripts
1. Introduction : Hello there. My name is Michelle, and I'd like to welcome you to this class today. We're going to paint purple hydrangeas, and in this class, I'm going to teach you very easy techniques on how you can create that round beautiful cluster flowers without having to sketch or use multiple brushes. If you're in beginners struggling to paint this particular subject, then this class is perfect for you. I hope you can join me from start to finish so you can learn all of the techniques that I'm going to share with you today.
2. Materials : before we begin painting, let me just briefly discuss with you the materials that were going to use for this class. Of course, we're going to need a bottle of clean water for rinsing her brush. 100% cotton 300 GSM watercolor paper. This is cold pressed, your favorite purples and greens for the watercolor and a few ceramic pallets for the brushes. I'm going to use this quill brush size 30 and a liner brush size zero.
3. Colors : for this class, I chose four beautiful colors that go well together. The first color that we're going to put on our palate would be bright rose. Adding this color to the purple shades that I'm going to introduce later on is actually good to create interest and depth to our artwork. So I'm going to add a few drops of water to this color so that it's fluid and not too thick , since we want to paint the pedals in a very light and almost transparent matter. The next color that we're going to use is mineral violets, which is a very nice, muted color or shade of purple. And just as what we did with Break Rose, we're going to add a few drops of water to this color to make it more fluid and more transparent to ensure that the pedals that we're going to paint are very, um, light in color. Now, the next color that I've picked is permanent magenta, which is a reddish shade of purple again. We want to choose colors that go well together, and this is actually a very nice color because it adds warmth to, um, the whole flower and for the last color. We're going to use permanent violets, and this would have the same consistency as the other three colors we've chosen. So I'm going to add enough water to make it really fluid and more chins. Parents, since this appears to be a very dark color compared to the rest, um, I might just blend this with either mineral violet or permanent magenta to soften this color a bit when I do apply it on the pedals. Okay, so these are the college that we're going to use, and now we can start practicing the strokes.
4. Practice Strokes : before he began painting the whole flower. Let me just show you the basic strokes for the pedals. I'm going to load my brush with mineral Violet, and I'm going to hold it almost at the end of the handle so that there's lighter pressure as I do my brush strokes. Now I'm going to just do too quick strokes for PETA, and I'm going to do this by quickly pressing against the paper and lifting my brush. Now, when I add the second pedal, I'm going to use a different shade of purple so that our flower doesn't look. Flat. Ones were done doing the whole head ranger. Keep in mind that the hydrangea is a cluster of small flowers, and the pedals of these flowers are of different shapes, shades and sizes and using different shades of purple. Help us create an illusion of a three dimensional flower. - Okay , I'm just going to finish the last two pedals for this demonstration, and I'll see you in the next video to paint the first layer of pedals for our projects.
5. Petals : First Layer: in this video, I'm going to show you the strokes needed to create the first layer of pedals. Now, I've already prepared the colors that I'm going to use for this particular project, and we're going to start with permanent magenta and with airbrush, we're going to quickly press the brush against the paper and lifted twice to create very small pedals. We're going to spread thes pedals around the center of this paper. And as you can see, we didn't do an initial outline of a circle. But I guarantee you that by the end of the project you'll be able to create a perfectly round cluster for our hydrangea. Okay, so at this find I'm going to check and see if everything is just in the center of the paper . And now I'm going to rinse my brush and loaded this time with another purple color. This is mineral Violet, and I'm going to use this color for the second pedals that I'm going to add to the ones that we've initially painted. By this time, the first pedals have already tried, so we won't have to worry that the second pedals will bleed into the first ones Okay, now we're ready to add the third pedal, and for that, we're going to use permanent violets. And we're going to add a little bit of permanent magenta to it so that the color does not, um, look so far from the 1st 2 shades that we've already used. At this point, instead of adding 1/4 pedal to the flowers, we're going to rinse our brush and loaded with bright rose. Instead, this very light shade is going to be used to create random pedals, which we will be painting in a circular form so that we have a border for our cluster flowers. By doing this, we can make sure that our hate ranger is a perfectly rounded flower. Ones were done painting the whole cluster. Now, at this point, I'm going to load my brush with magenta and a little bit of, um, mineral violets, and I'll be using this shade for the fourth pedal of our flowers. Now that we're done adding pedals to thes flowers, we're now going to move on and random these elects whatever purple shade that we want and add these pedals all over the whole cluster. I'm just trying to spread one color all over the cluster one at the time. And then, once thes have already tried up, I'm going to add a second or third pedal or even 1/4 pedal toothy small flowers to complete the whole cluster. Okay, Now we're done with the first layer of our pedals. Now, depending on what you want to achieve for your hydrangea, you can actually stop at this point and at the details and the leaves, or you can add further layers onto this flower. And I'm going to show you how you can do that in the next videos. See you there.
6. Petals: Glazing: Now that we're done painting our first layer of pedals for our Hey Jane Gia, we will now be glazing over these sparrows a round for the first color. We're going to use permanent violets, and we'll be painting over some of the pedals using this color. Next, we're going to use permanent magenta to Glee's over the rest of the pedals. At this point, you can see that your hydrangea is now looking more dimensional. And you also noticed that we have been able to maintain the softness of our pet does. And that's because we created a very thin layer of pedals at first and just glazed over them with another thin layer of pedals. We can actually add a few more pedals here to make our hydrangea look fuller. Now that looks a lot better. And now we're ready to add details to thes pedals, and we'll do that in the next video
7. Petals: Details: in this video, we're going to add details to the pedals, and we're going to use the rigger brush for this now for the color we're going to use permanent Violet. Since this is the darkest shade that we have on our palates, well, simply add around three fine lines for each pedal, starting from the inner part of the pedal moving out bird. If you don't have a rigger brush, you can also use a very fine a round brush for this part of our class. Now the reason why I used the rigger brush, it's because it's very consistent when it comes to creating those lines. As you can see. Even if I apply greater pressure, it does not creates any deviation with the strokes. Instead, it creates very consistent fine lines all throughout, from the center of the flower going outward. - At this point, you already have a pretty good idea how to do the fine details for each pedal. And since we're going to apply the same detail for all of the pedals, I'm going to speed up the video from this point up to the end
8. Leaves: First Layer: for this video. We're going to paint the first layer of her leaves, and the color that I'm using is greenish yellow. Now I'm going to put this color on a small dish, and I'm going to add a lot of water to its so that it's very fluid, just like the consistency that we had for our pedals. Okay, now we're ready to paint the first leave, and we're going to start by doing a quick diagonal stroke upward from the bottom left corner of the page, going towards the flower. And from this line, we're going to do long, see strokes going outward to create a wide leave with jagged edges. - Now I'm adding a second leave to this flower, and it's going to be a bit longer than the 1st 1 that we just painted. And after this, we're going to add a few more leaves surrounding the flower, and these would be of various shapes and sizes so that it looks more natural and we're going to try to create an impression that we're looking at the hydrangea from its top and that the other leaves that the leaves you just painted are all positioned at the bottom of that flower. - Okay ,
9. Leaves: Veins: in this video, I'm going to add the mid rib and the veins of the leaves. Now we're going to use the same brush. And for the color, I'm going to use Olive Green, and I'm adding this color to another ceramic dish. Now we would like to achieve the same consistency as the one that we did for greenish yellow. Since we're only going to use olive green as an outline for the mid rib and the veins, and later on, we're going to add a darker color for the rest of the leaves. I'm quickly checking if the leaves air fully dried before I add the mid rib and the veins on them. I'm carefully drawing these lines so that I do not break them. As I create one line from one end to another, and I make sure that they're nicely curved so that they look more natural. The mid ribs don't necessarily have to be in the middle of the leaves. Sometimes he can draw them, um, off center, so that you create an impression that the leaves are either swaying or they're curved towards one side. Now let's move on to the veins, and we're going to work from the center going outward and from the inner part of the leaf near the flower going towards the tip of the leave.
10. Leaves: Negative Painting: Asai mentioned in the previous video The outlines that we did for the mid rib and the veins are very light because we only wanted to use them as a guide when we're painting the rest of the leaves with this darker shade. Now for this one, we're going to use olive green, but we're going to add a bit of black onto this color so that it becomes darker. - Now we're ready to start painting around the mid ribs and the veins with its darker shade of green. - Now that we're done with the first leave, we're going to do the same procedure for all of the other leaves. And so I'm going to speed up the video obits from this point onwards.
11. Petals: Glazing #2: this part of the class is actually optional. If he wants your hydrangea to have a deeper, darker color similar to what we did earlier, as we glaze the pedals, we will be adding pigment onto these pedals to give them a deeper, darker shade. This time, though, we're not going to plays over the entire pedal. Instead, we're just going to add color to some parts of it. Notice that I'm holding the brush at the middle of the handle. This allows me to flicker my brush with greater ease, and so I'm able to create better brush strokes that have no hard edges. At this point, I'm going to get some more permanent violet onto my palate, and this time it's going to be of a thicker consistency. And I'm going to use this to fill in the gabs between the tiny flowers within our cluster. No, I'm getting more mineral violets onto my palettes. I've just added a few drops of water, and I'm going to use this to add some more shadows onto her flower for greater depths. Now, to bring this piece together, I'm mixing the permanent violet and mineral violet shades together, and I'm going to use this to add more glazing to the rest of the pedals. There you have it, a very bold colored hydrangea for you, as you can see, adding those darker shades have given our flower greater depth and dimension.
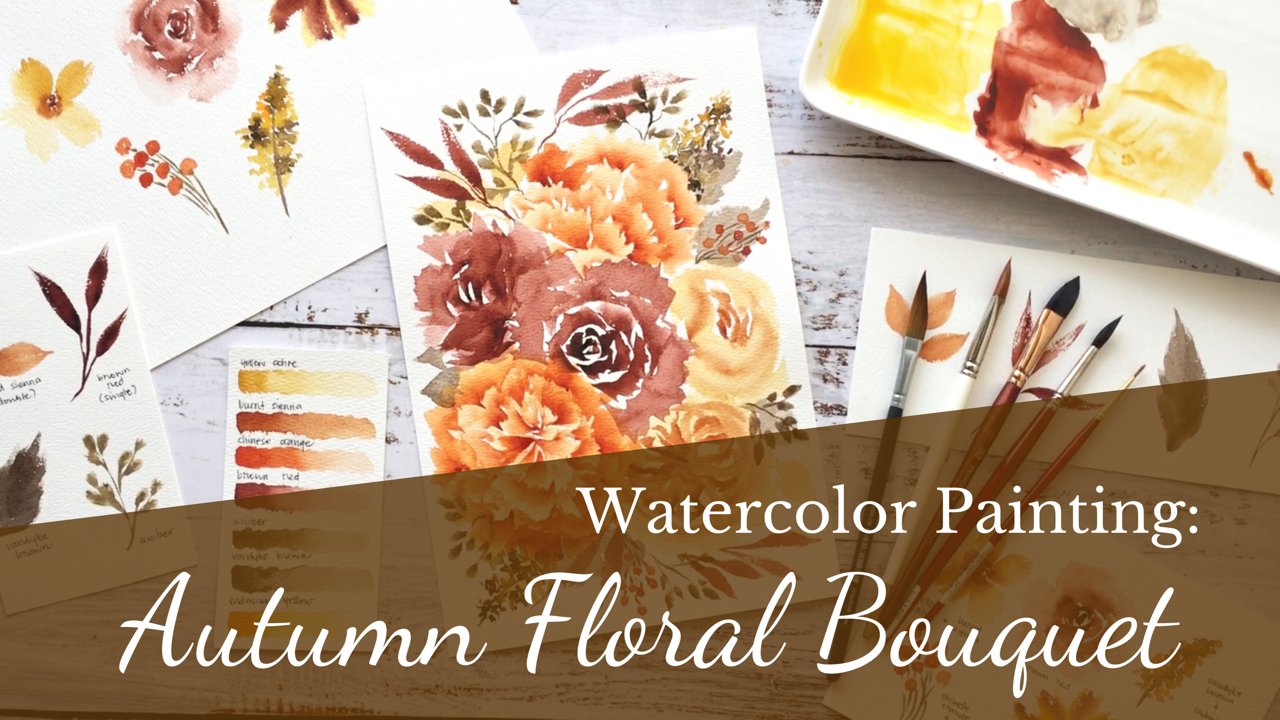
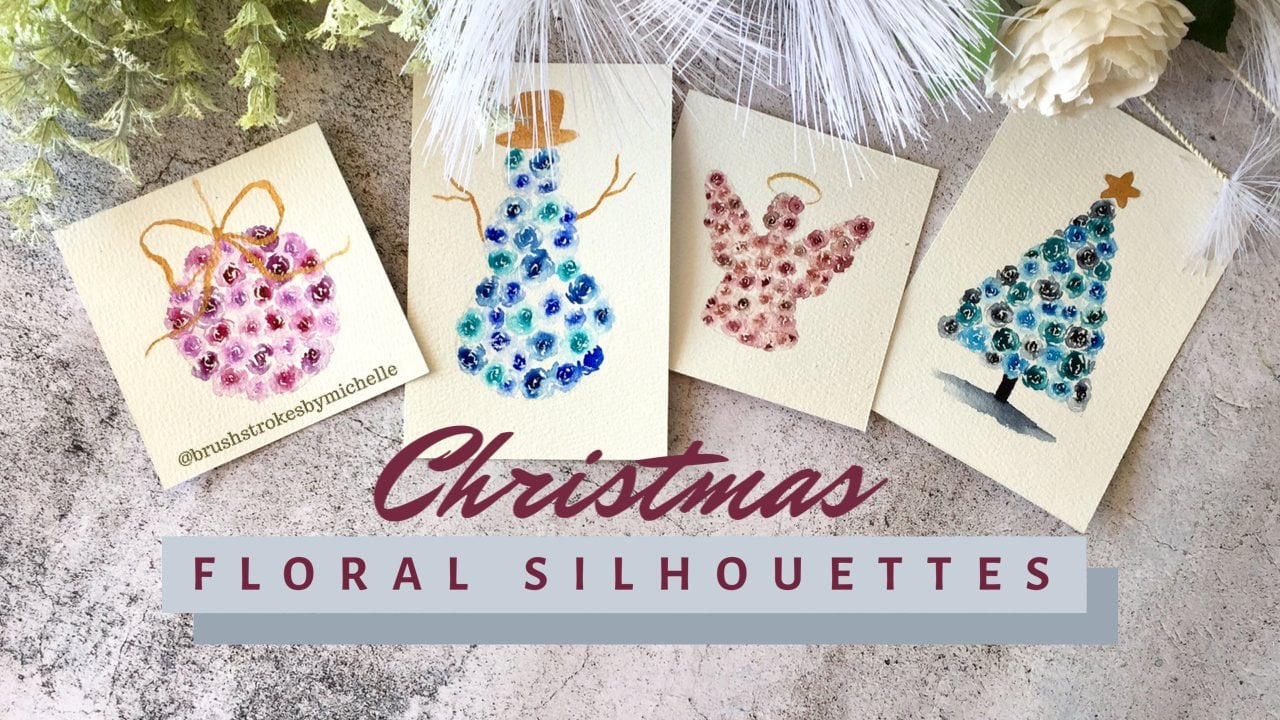
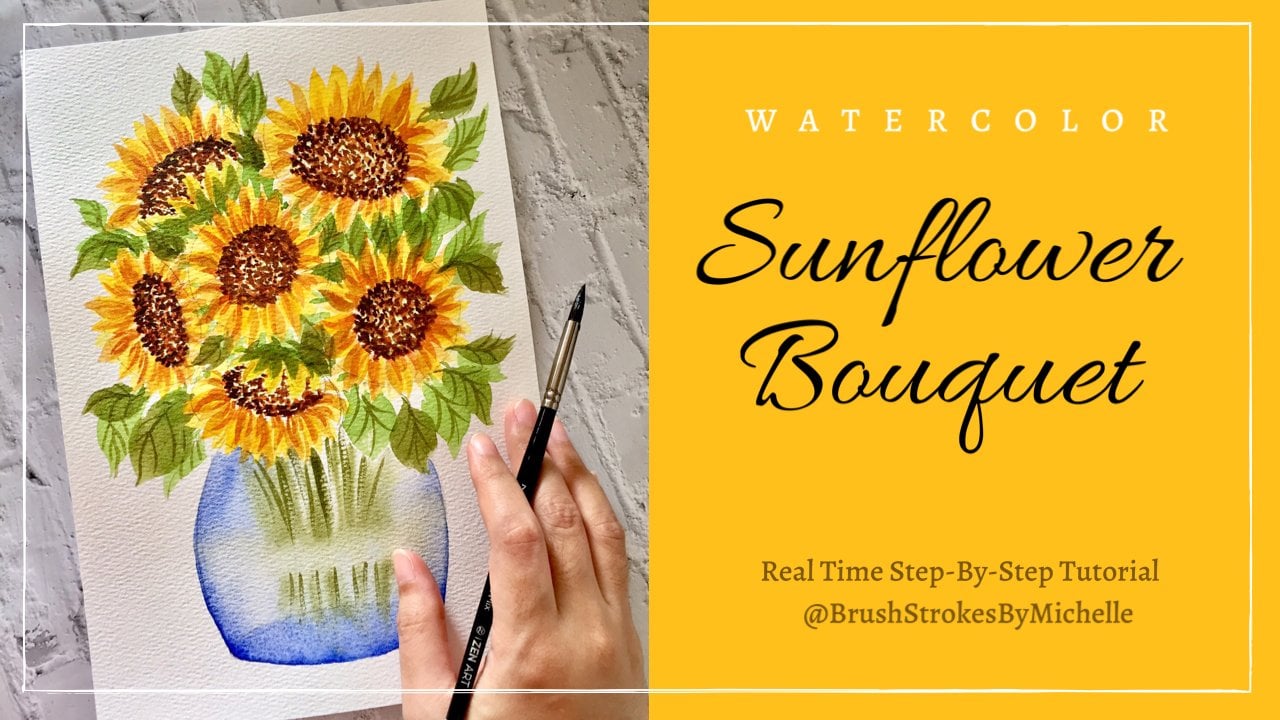
12. Final Thoughts: Thank you so much for joining my class on how to paint watercolor hide rangers. I hope that you enjoyed participating in this class as much as I enjoyed creating it for you. Now, to give you an idea on your project, I'm sharing a few other art pieces that I've created just recently. And as you can see, there are so many collar combinations that you can experiment with. I hope that I was able to simplify the process of painting hydrangeas for you. I know that a lot of artists struggle with this kind of flower, although we love it very much because of its very complex structure. But as I have demonstrated in this class, you can actually create this very beautiful piece. Even without sketching. He just have to be patient in creating very light multiple layers so that you create a lovely final artwork. I'm so excited to see your lovely projects so pleased to share them here. And if you happen to have an instagram account and if you'd like to post your photos, they're a swell. Please tag me at brushstrokes by Michelle. Thank you again. And I hope to see you in my next class.
 Michelle Gonzalez, Water Color Painting Made Easy