Watch this class and thousands more
Watch this class and thousands more
Lessons in This Class
-
-
1.
Class Trailer
0:48
-
2.
Breakdown of the Project
1:10
-
3.
Preparation: Scan or Photo
0:38
-
4.
Isolating Lineart in Photoshop
2:27
-
5.
Extra Tips
1:30
-
6.
Using the Isolated Lineart
0:28
-
7.
Some Final Words
0:26
-
-
- --
- Beginner level
- Intermediate level
- Advanced level
- All levels
Community Generated
The level is determined by a majority opinion of students who have reviewed this class. The teacher's recommendation is shown until at least 5 student responses are collected.
148
Students
1
Project
About This Class
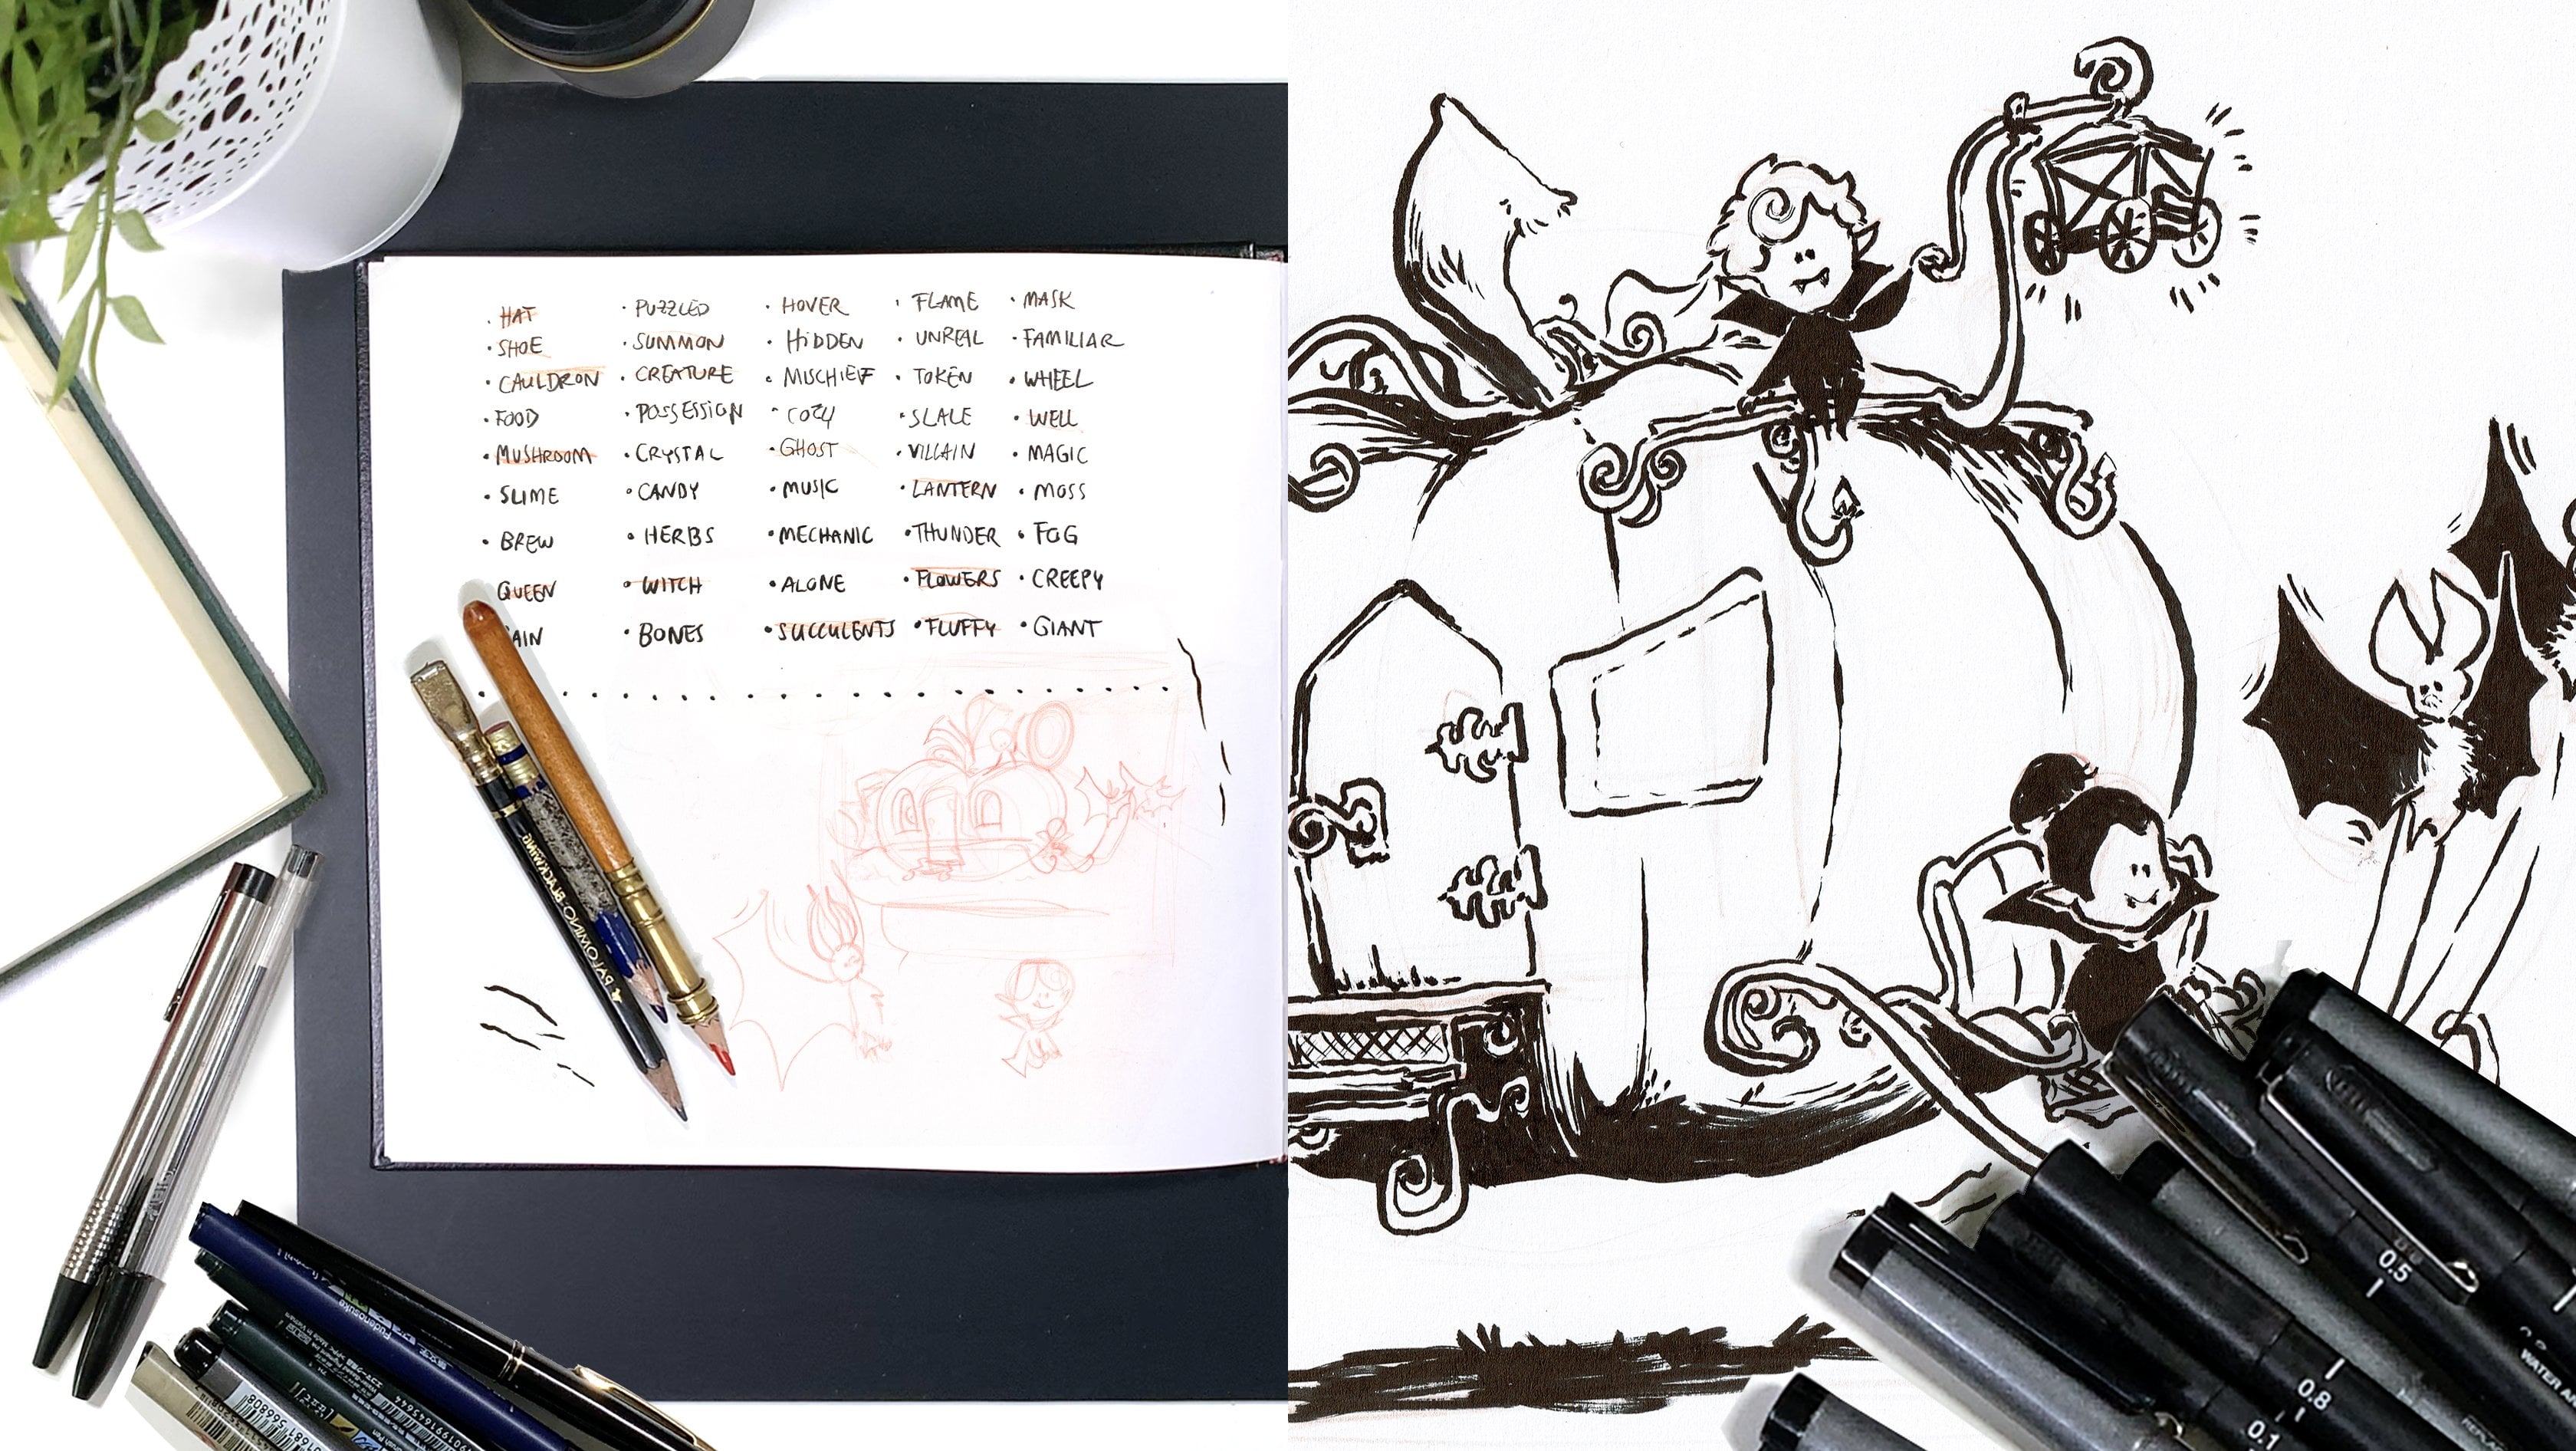
This Quick Trick is about a fast and easy way to digitize your traditional lineart in Photoshop.
It is aimed at Students of Intermediate Level, as you require some knowledge in the software, and I am not going into deep detail of essential functions and tools.
As an Illustrator who loves to work digitally, this is one of the most useful Photoshop Tricks I have ever learned.
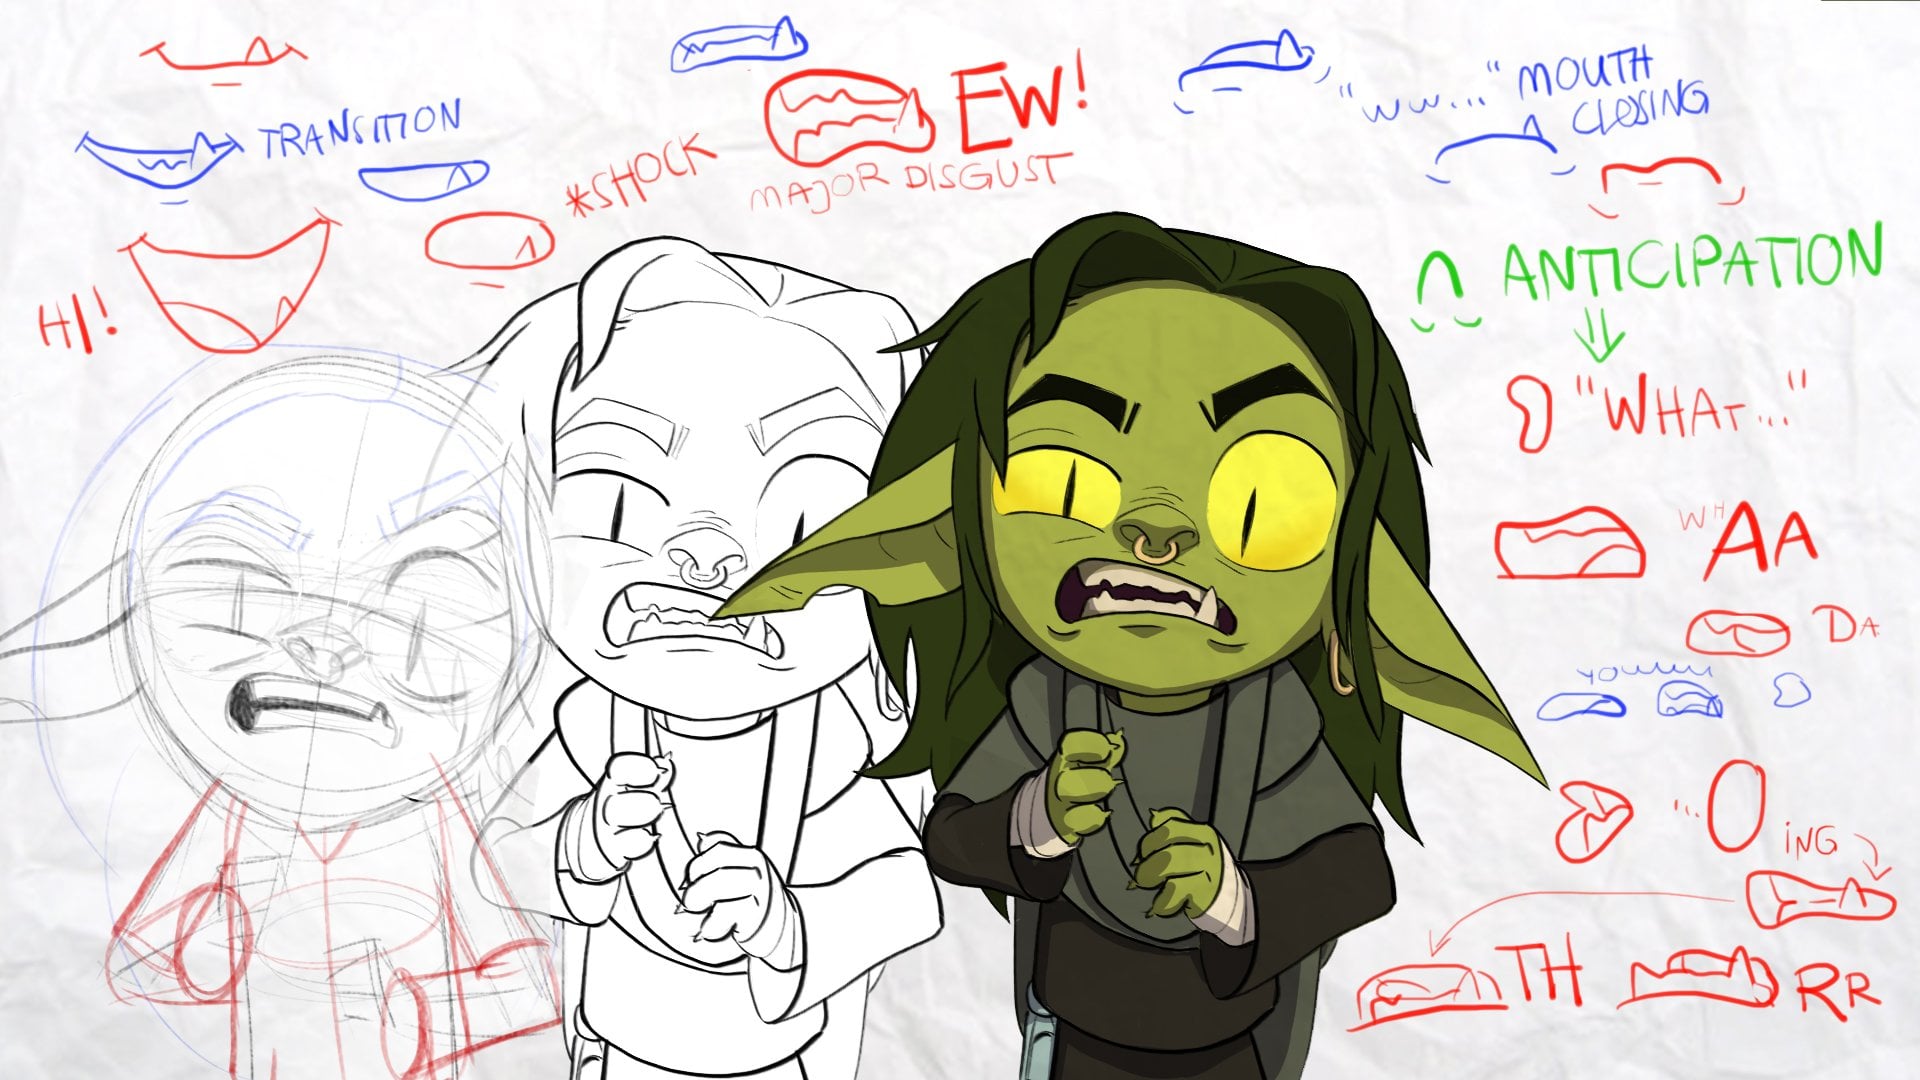
You will be able to elevate your drawings to a new level by digitizing them and work on them in a non-destructive way.
Even if you are not going to add color to lines or behind them, this method will allow you to turn your art into a clean digital drawing in no time.
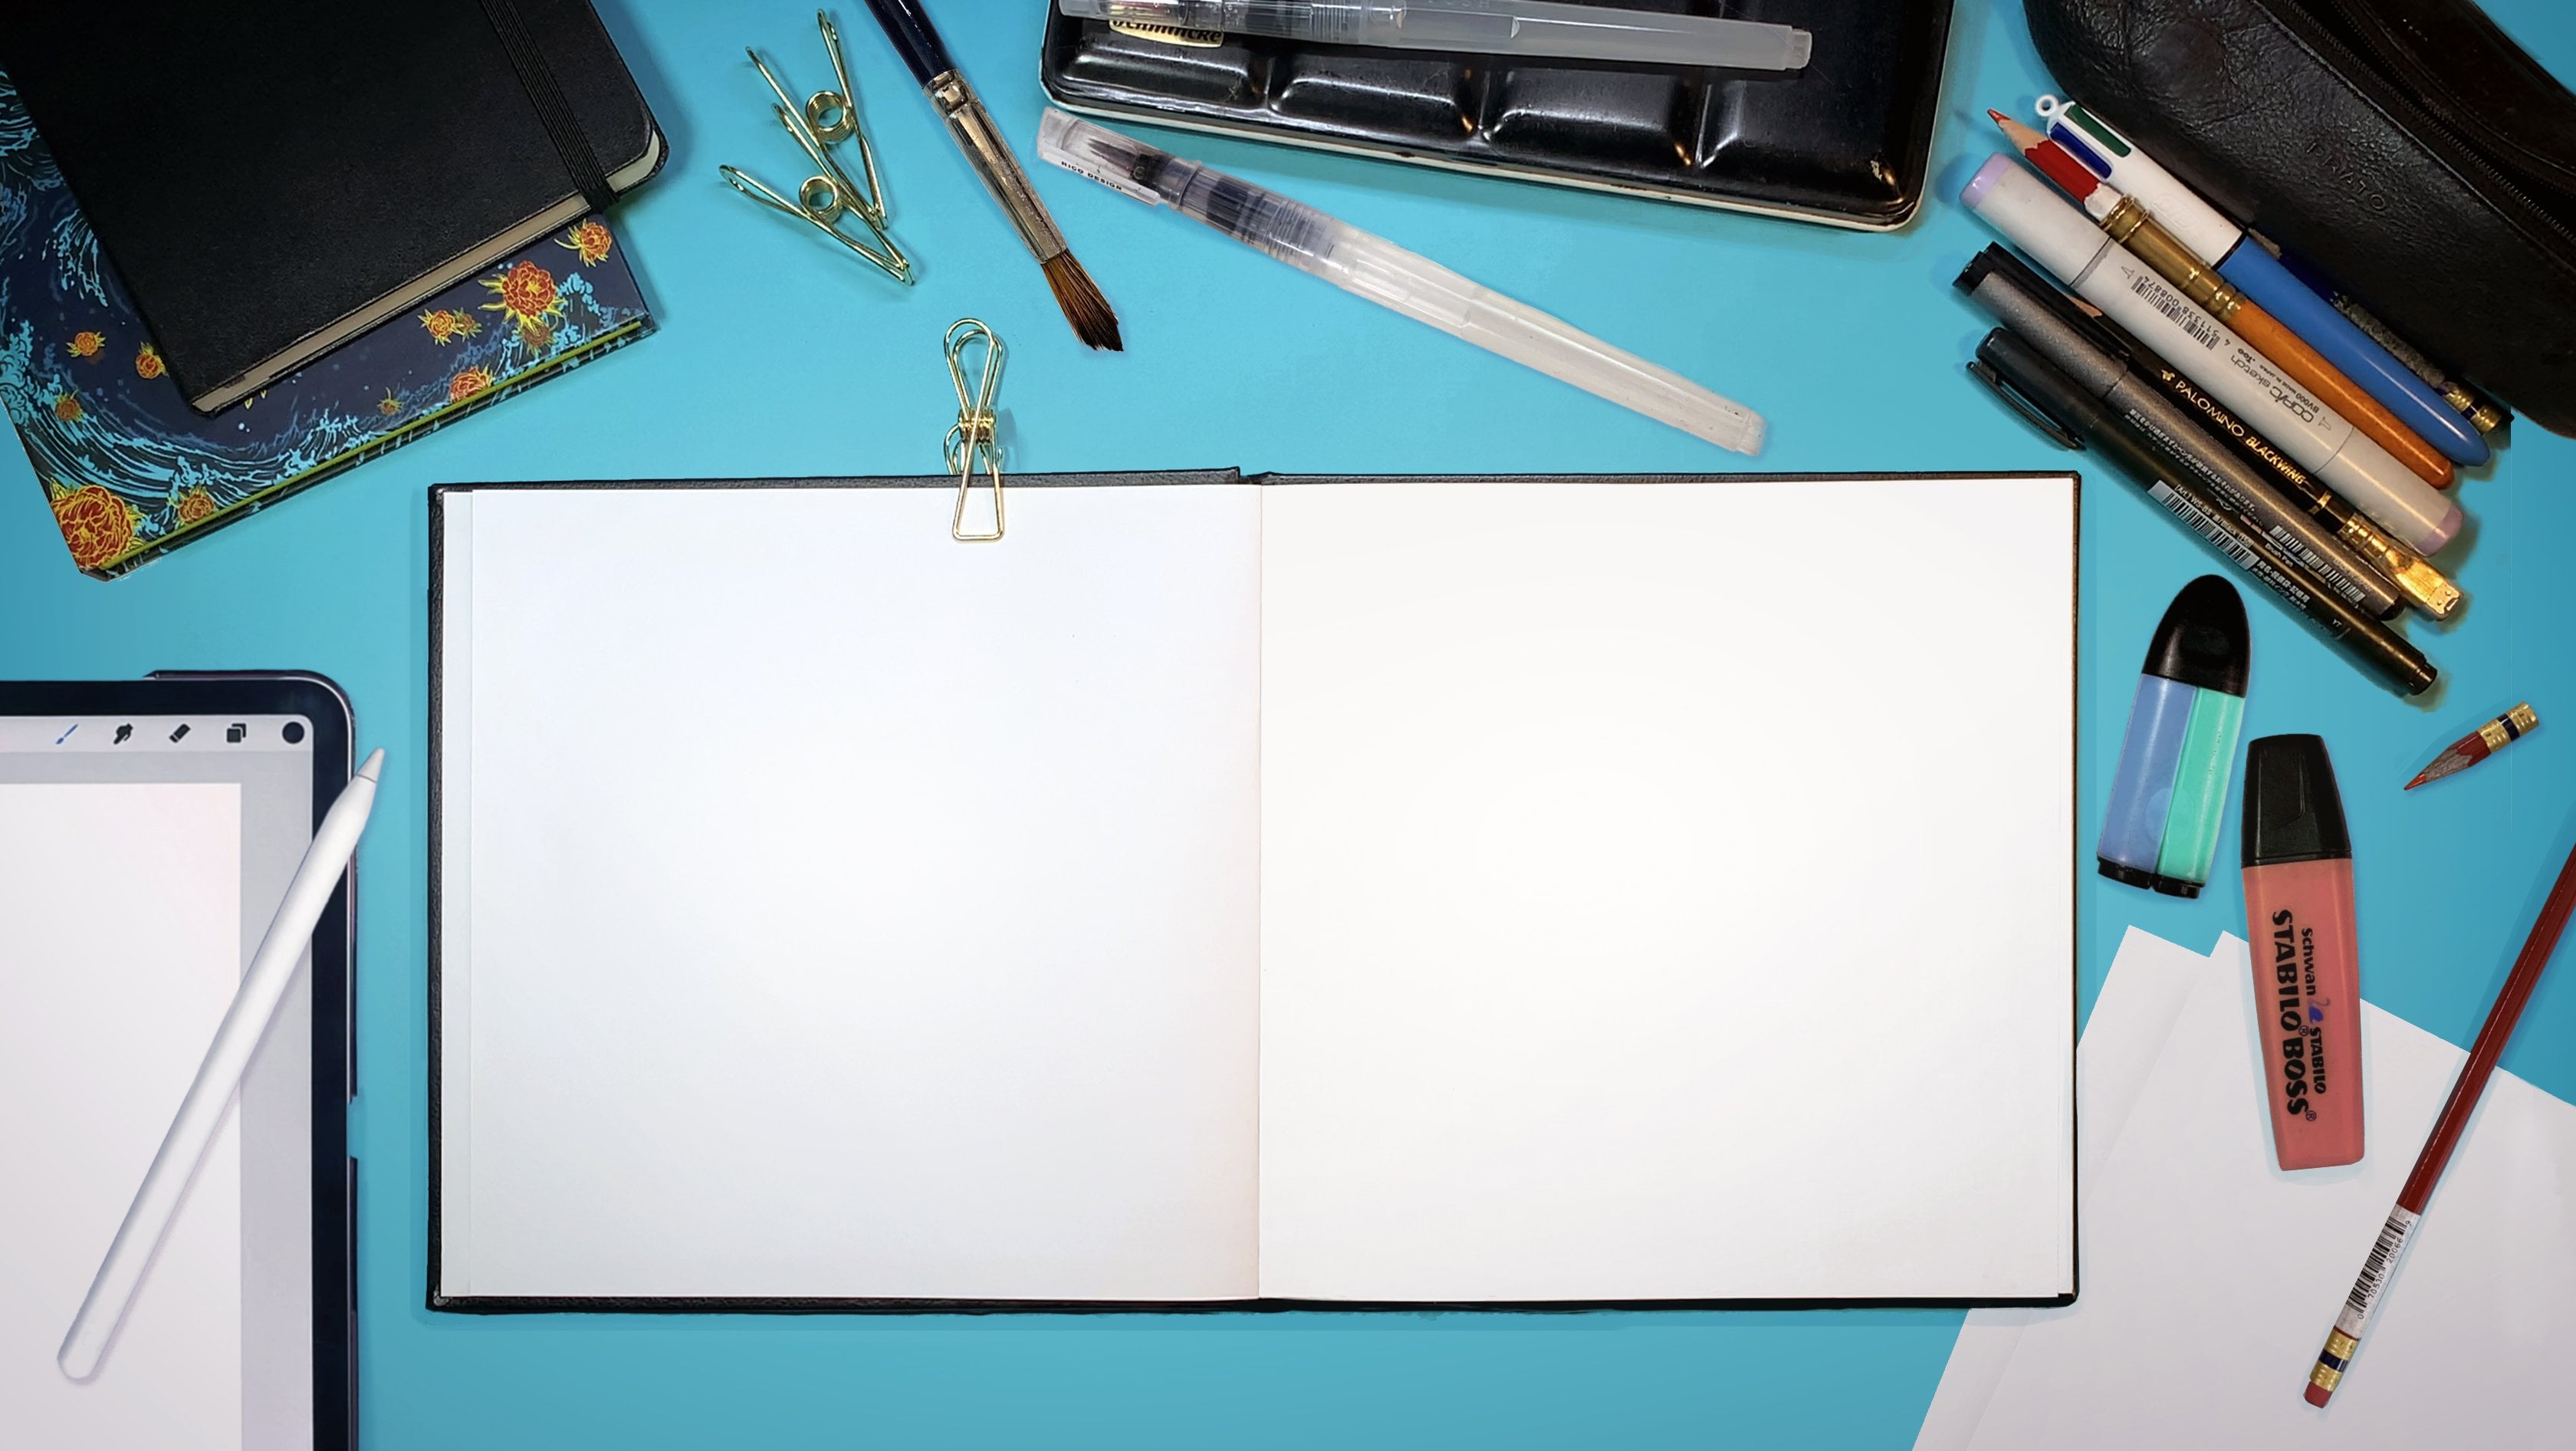
Materials / Resources
Here is what you will need:
- Your Drawing on Paper
- A phone / digital camera
- or a Scanner
- Photoshop
I hope that this quick tutorial will help you out on your way as an artist, and streamline your process.
Meet Your Teacher

I'm Vera!
I have been arting ever since I could use fingerpaints.
After studying Communications Design, Illustration and 2D Animation, I eventually became a freelance illustrator and animator and began teaching on Skillshare in 2019. AND I LOVE IT!
As a teacher I want to help you to grow as an artist, inspire you and challenge you.
With my Classes I am doing my best to be both entertaining and informative, and thus make learning fun and easy!
While teaching is the thing I am burning the most for, I also have the great pleasure to call myself an award winning illustrator for children books. My day to day work includes also visual development for games and animated projects, art directing and making personal art pieces.
Much of my private work i... See full profile
Hands-on Class Project
Let's see your Before and After shots, final artworks and steps in between! I would love to see your art in the Project Gallery, and see how you applied the steps.
It is a good place to receive feedback, help and encouragement.
Here is what we will be doing:
- Set up your Scanner and Scan the Drawing in 300dpi or more.
- Don't worry, if you don't have a Scanner: Lay your Drawing on a flat surface and light it as evenly as you can. Daylight without direct sun is best in case you do not have a ring light or something like it at hand. Take a photo with your phone or a digital camera
- Import / Safe the file on your computer.
- Open the file in Photoshop. The only layer will be locked - duplicate it, to have an editable layer, and to preserve the original.
- By using Adjustment Layers (Curves, Hue/Saturation, Black&White, Levels) turn the drawing into black and white. You also can level out white and black values for the best result and highest contrast.
- In order to work non-destructively, select all (CMD/CTRL + A) and copy/paste visible in place (CMD/CTRL + SHIFT + C, V). This helps you return to former steps if something goes wrong.
- Once you are happy with the result, Cut the Drawing (select all and CMD/CTRL + X) or copy visible
- Fill an empty layer with black
- Turn on the alpha channel by using the shortcut Q
- Paste the Drawing into the black layer, it should appear red on black!
- Now press Q once more to disable alpha channel, it should select everything that's the white of your drawing.
- Press delete to remove the selection.
- You are left with your lineart!
- If needed, add a mask to the lineart layer to clean up specs of color or dirt left from the original, correct litte mistakes or completely mask areas you want to redraw.
- Done!
You now have the lineart isolated successfully.
If you want, you can use it to paint underneath, to color in the lines itself or to add shading to the drawing.
The file can be saved as a PSD or exported as a PNG to make best use of it.
Let us see your work and how you applied the steps! I hope to see the Project Gallery get filled with beautiful art
Class Ratings
Why Join Skillshare?
Take award-winning Skillshare Original Classes
Each class has short lessons, hands-on projects
Your membership supports Skillshare teachers
Learn From Anywhere
Take classes on the go with the Skillshare app. Stream or download to watch on the plane, the subway, or wherever you learn best.