Transcripts
1. Class Introduction: [No Speech]
2. How To Make Interconnected Repeat Pattern: Let's start by
creating a new Canvas. Hit plus and the new Canvas. I will do 4,000 pixels
by 3,000 pixels. No, it does not have to be
a square and hit Create. For this pattern, I am going to turn on
the drawing guide. So just hit the wrench
icon drawing guide, and you can edit
your drawing guide. I will make the grid size
a little bit bigger. So this will not be
part of your pattern. Eventually, when you export, this will just be a visual reference for you
to know where things are. So I'm going to select a
color and start drawing. My Canvas is four by three. That makes the math super easy. I know I am going to have four vertical ribbons and
three horizontal ribbons. They don't have to
be perfectly square. I just like the
organic look and feel. I'm going to wow that is
a little bit too organic. I'm just going to free hand drawing roughly
vertical, not perfectly. And I will color in between so that I
know where they are. I will move these guys
just a teensy bit. I have the snapping
turned on so that I can move perfectly
horizontally. And then I will add another
bar here. All right. From here, you can
actually already start working to make sure the top edge meet
with the bottom. This is a good
time to talk about what makes a repeating
pattern repeat. So the secretive repeating
pattern is that the left edge perfectly meet
with the right and the top perfectly
meet with the bottom. So when you stack them
next to each other, you cannot tell the seam. That's where the
seamless come from. So I'm going to
create a duplicate for this to work on the seams. I still have the snapping turned on and also the magnetics, so I will just use my
finger to move it down. That's the first copy, and then I will move the second copy up until I feel the snap. Sometimes it might
be hard to see because it snaps at
multiple points. I'm going to be a little bit lazy and without creating
the guide layer, if you follow my
previous classes, I'm going to turn the
blending mode of the first one into something that is super obvious,
maybe this screen. So when I move the
second layer up, I can tell where
the boundary is. Keep going. Keep
going, keep going. Boom. And then I'm going to turn the blending mode back to normal and then
merge these two layers. Our next step, we're going
to work on the jagged part. So when the two layers met,
they don't really match. So we're going to
smooth it out by using our eraser or the pen tool if you need to draw
or the brush tool. If you want to have
a bird's eye view, you want to turn on the canvas and then hit this reference, and you can even zoom out a bit, so you have a bird's eye view of what the pattern looks like. This will save you from having to zoom in and out constantly. Seems like this part would
make more sense if I just fill in with a brush
instead of erasing. Okay. Now, if we
look at our canvas, our top edge meet
perfectly with the bottom. We're going to
repeat the same step for the other direction. If you want, you can use even a different color
just for the fun of it. We want to fit in 3 bars here. Roughly about the same, but you can definitely vary in size. Just color drop it. If you follow my
previous lessons, you know that I like to create a guide layer to move things around to make sure
they move perfectly. But for this one, we
don't really have to because our motif already
touched the edge, so we don't really need
the guide layer to make sure we move at
the right distance. Before I move, actually, I'm going to use the
freehand selection to move my second bar to
the left a little bit. So now I'm going to create a
duplicate of our green bars. I'm actually going to turn off the red ones because it's
kind of distracting. I will move one of the copies up you can change the
blending mode if you want, and I'm going to move
the second one down. Perfect. Depending on
the blending mode, what I used was color dodge, that kind of make
them disappear. You can use hart light, which will still make
the top one show. And once they meet, you
can turn the blend mode to normal and then merge
the top and bottom layer. Just like what we did
for the first one, I am going to make sure the
connection point is smooth. There you go. So now we know the top perfectly
meet with the bottom, and then we can turn
on the red one. From here, I am going
to use the eraser tool to create the illusion of
things weaving in and out. So I will select either the
top or the bottom layer. In this case, I will select the bottom layer
and then just grab my eraser tool to
erase part of it. You can make it bigger
to make the gap bigger. You can increase
the erasers size if that's easier for you
to work through it. So we just finish
erasing this part. I'm going to skip this
line to work on this part. And similarly, you can work diagonally as well
to erase this part. And then we skip this one
to go over here. All right. Once you finish erasing
the bottom layer, I am actually going to sample the bottom layer color to
recolor the top layer, too. So from there, we can
erase the top layer. So I'm going to pick my
eraser to work on that. For certain parts,
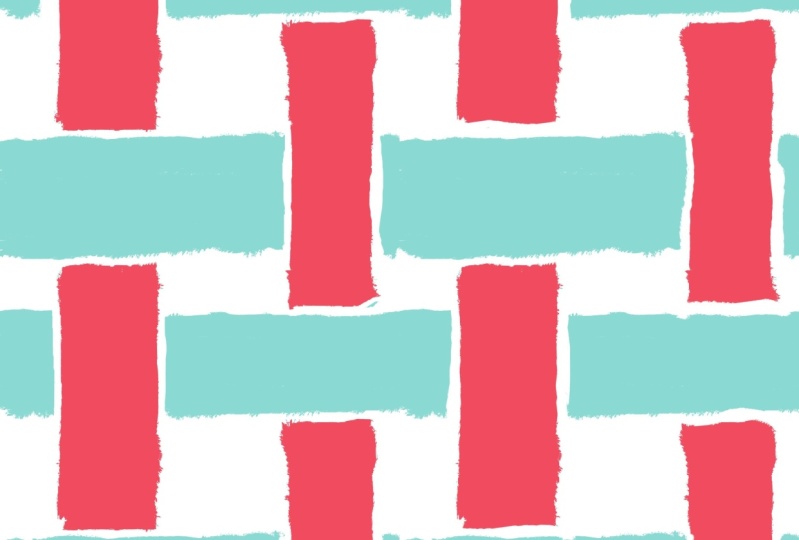
you might have to color it in so it doesn't look too something missing. The brush I'm using comes
from the liner brush from my brush set that is really nice for
this kind of pattern. So if you get lost on, is it vertical or horizontal, you can look at the
reference to figure out. Basically, if your
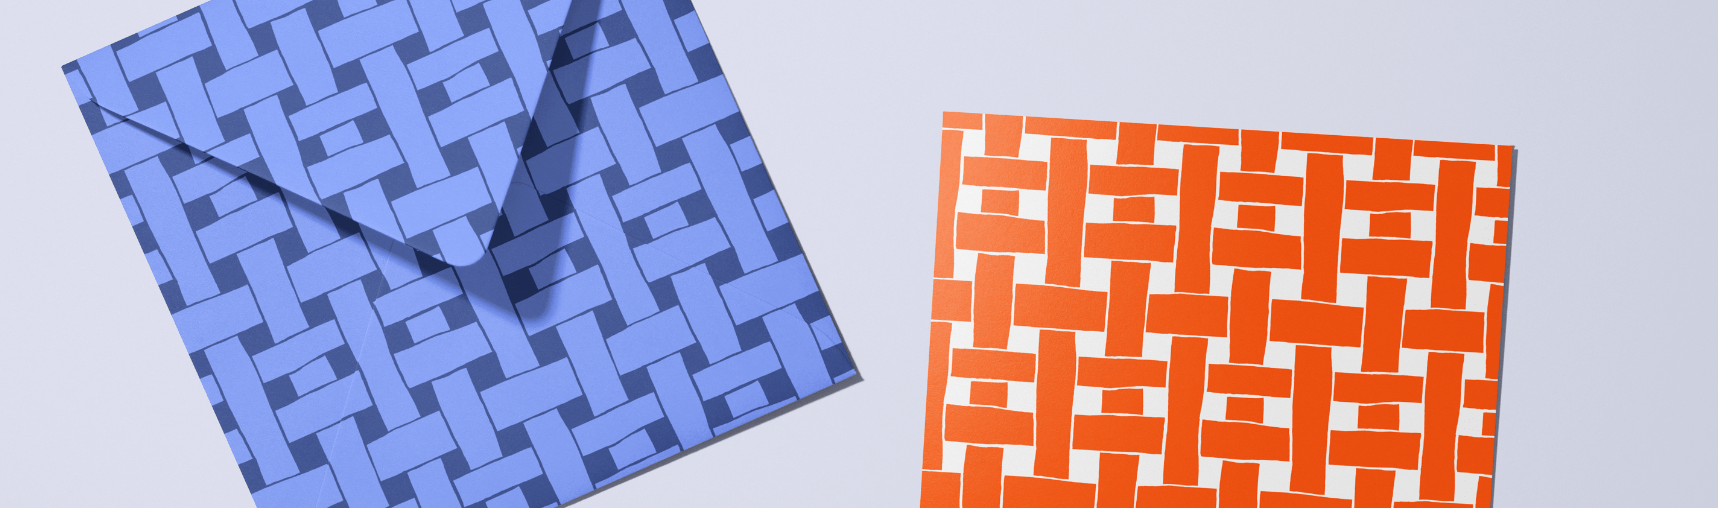
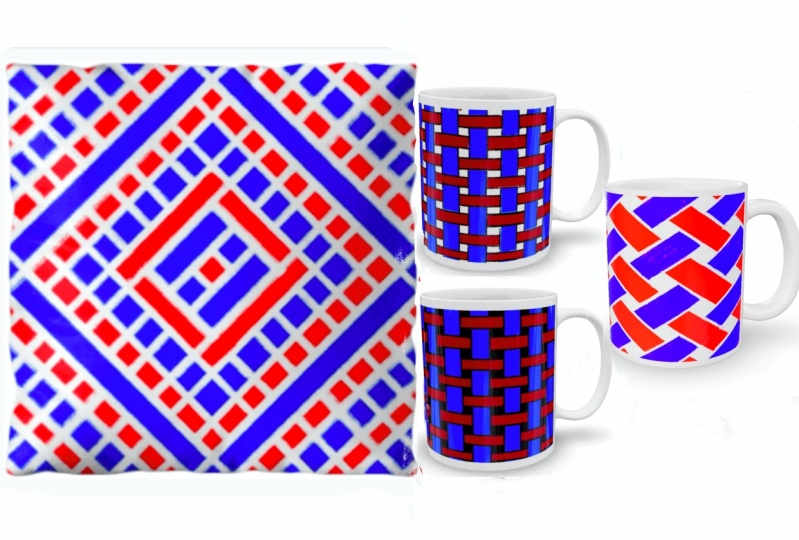
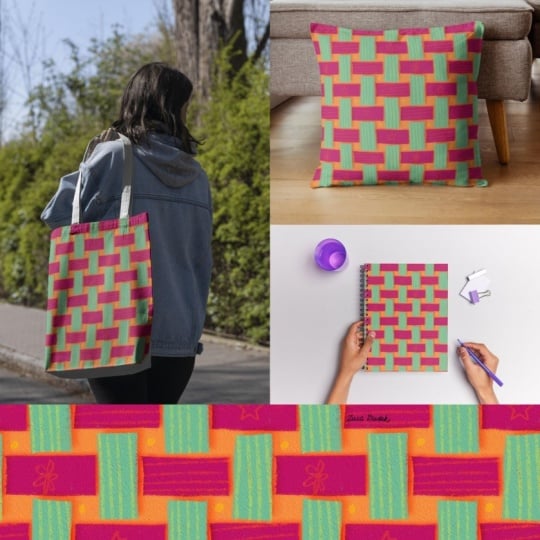
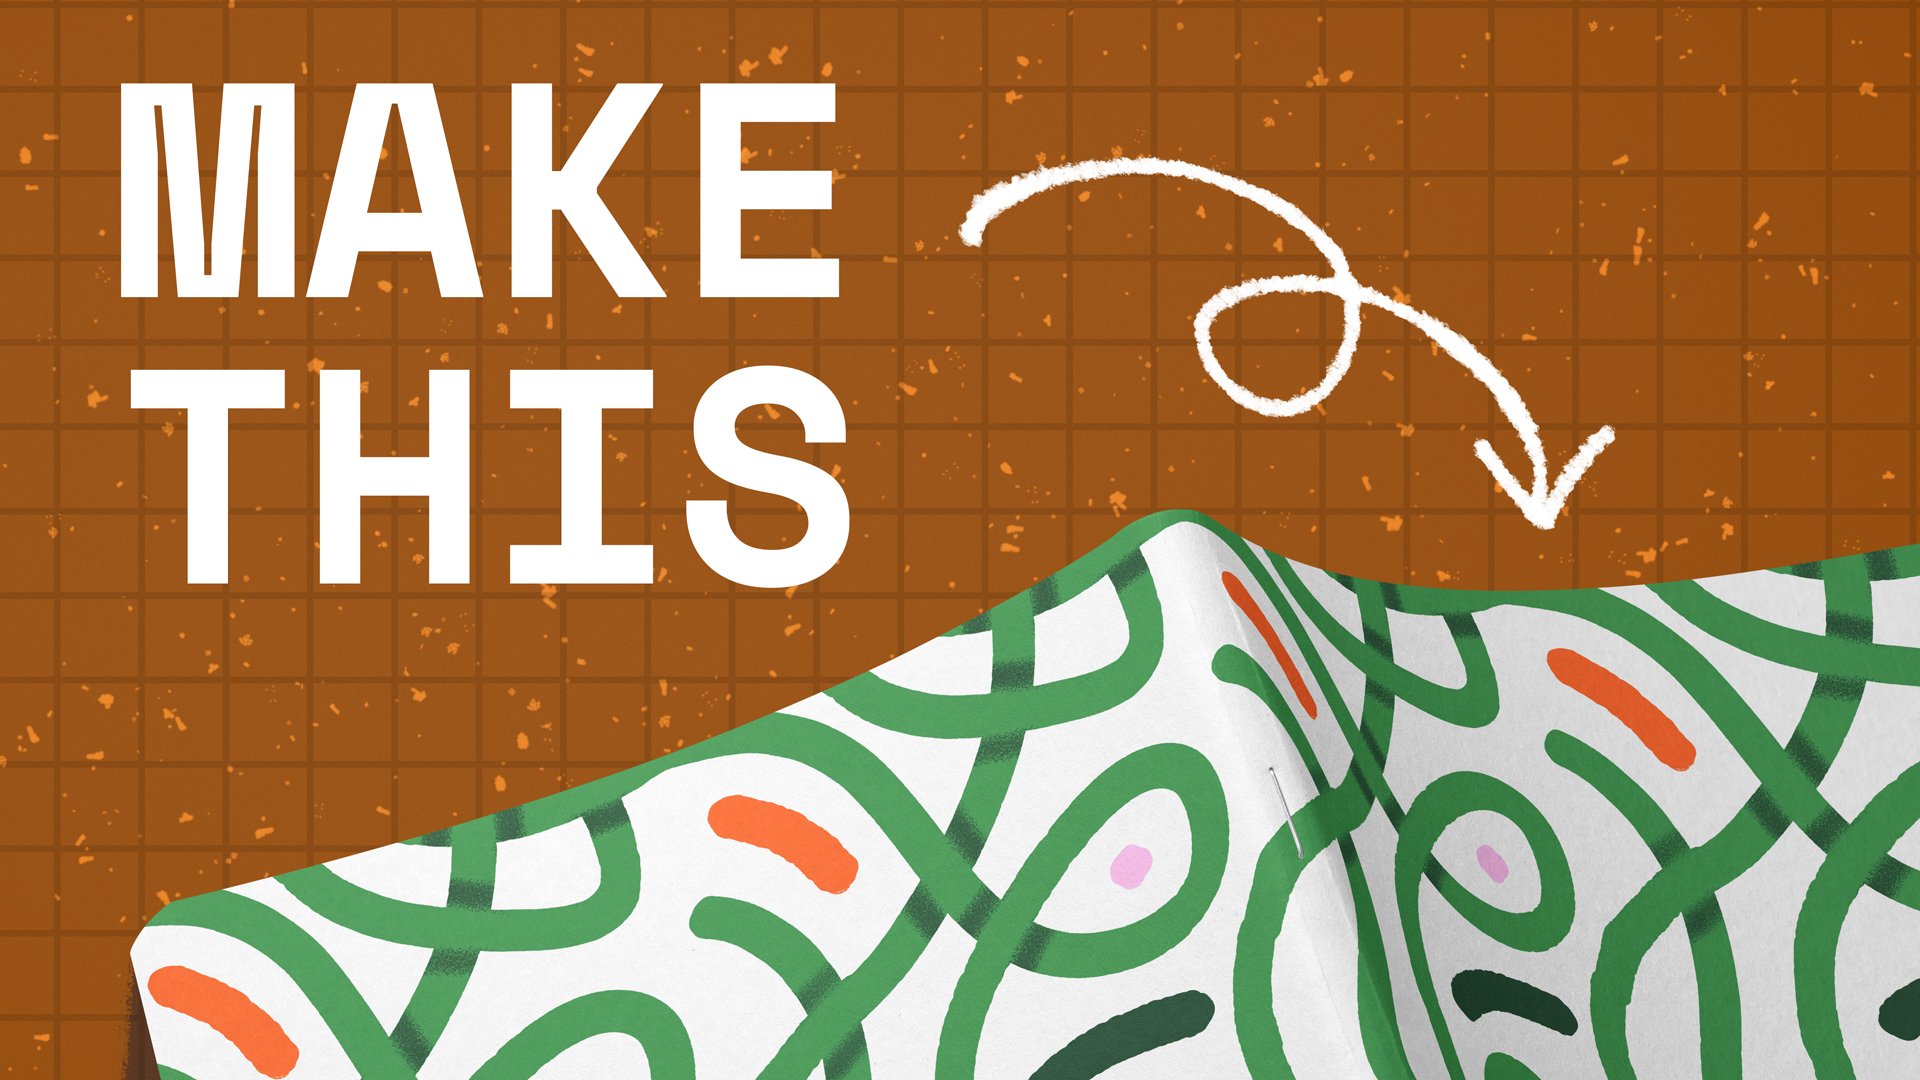
neighbor is horizontal, then you want to be vertical. Okay, I think we're done. This is our weaving pattern. If we put it on a product,
it looks like this.
3. How to Test Your Patterns: In this video, I want to
show you how to quickly test your pattern tiles and save the preview
right on your iPad. First, you want to
take a screenshot of this and then go to
your Photos app, either Lom press the URL
or um press this QR code, which will take you to
the default browser. If you have the Procreator open, you want to put it right
next to your browser. I have all my motifs
compressed into one layer, and I'm just going to
drag and drop here, right on the browser, and you
can adjust the scale here. If you like what you're seeing, you can also download your
preview right on your iPad. Just tap on this button, and you should be able
to either download or print by hitting
this share button. Don't forget to
bookmark this page, so you can come back to it whenever you're ready
to test a new pattern.
 Esther Nariyoshi, Teaching Illustrator based in the US