Transcripts
1. Class Introduction: Oh.
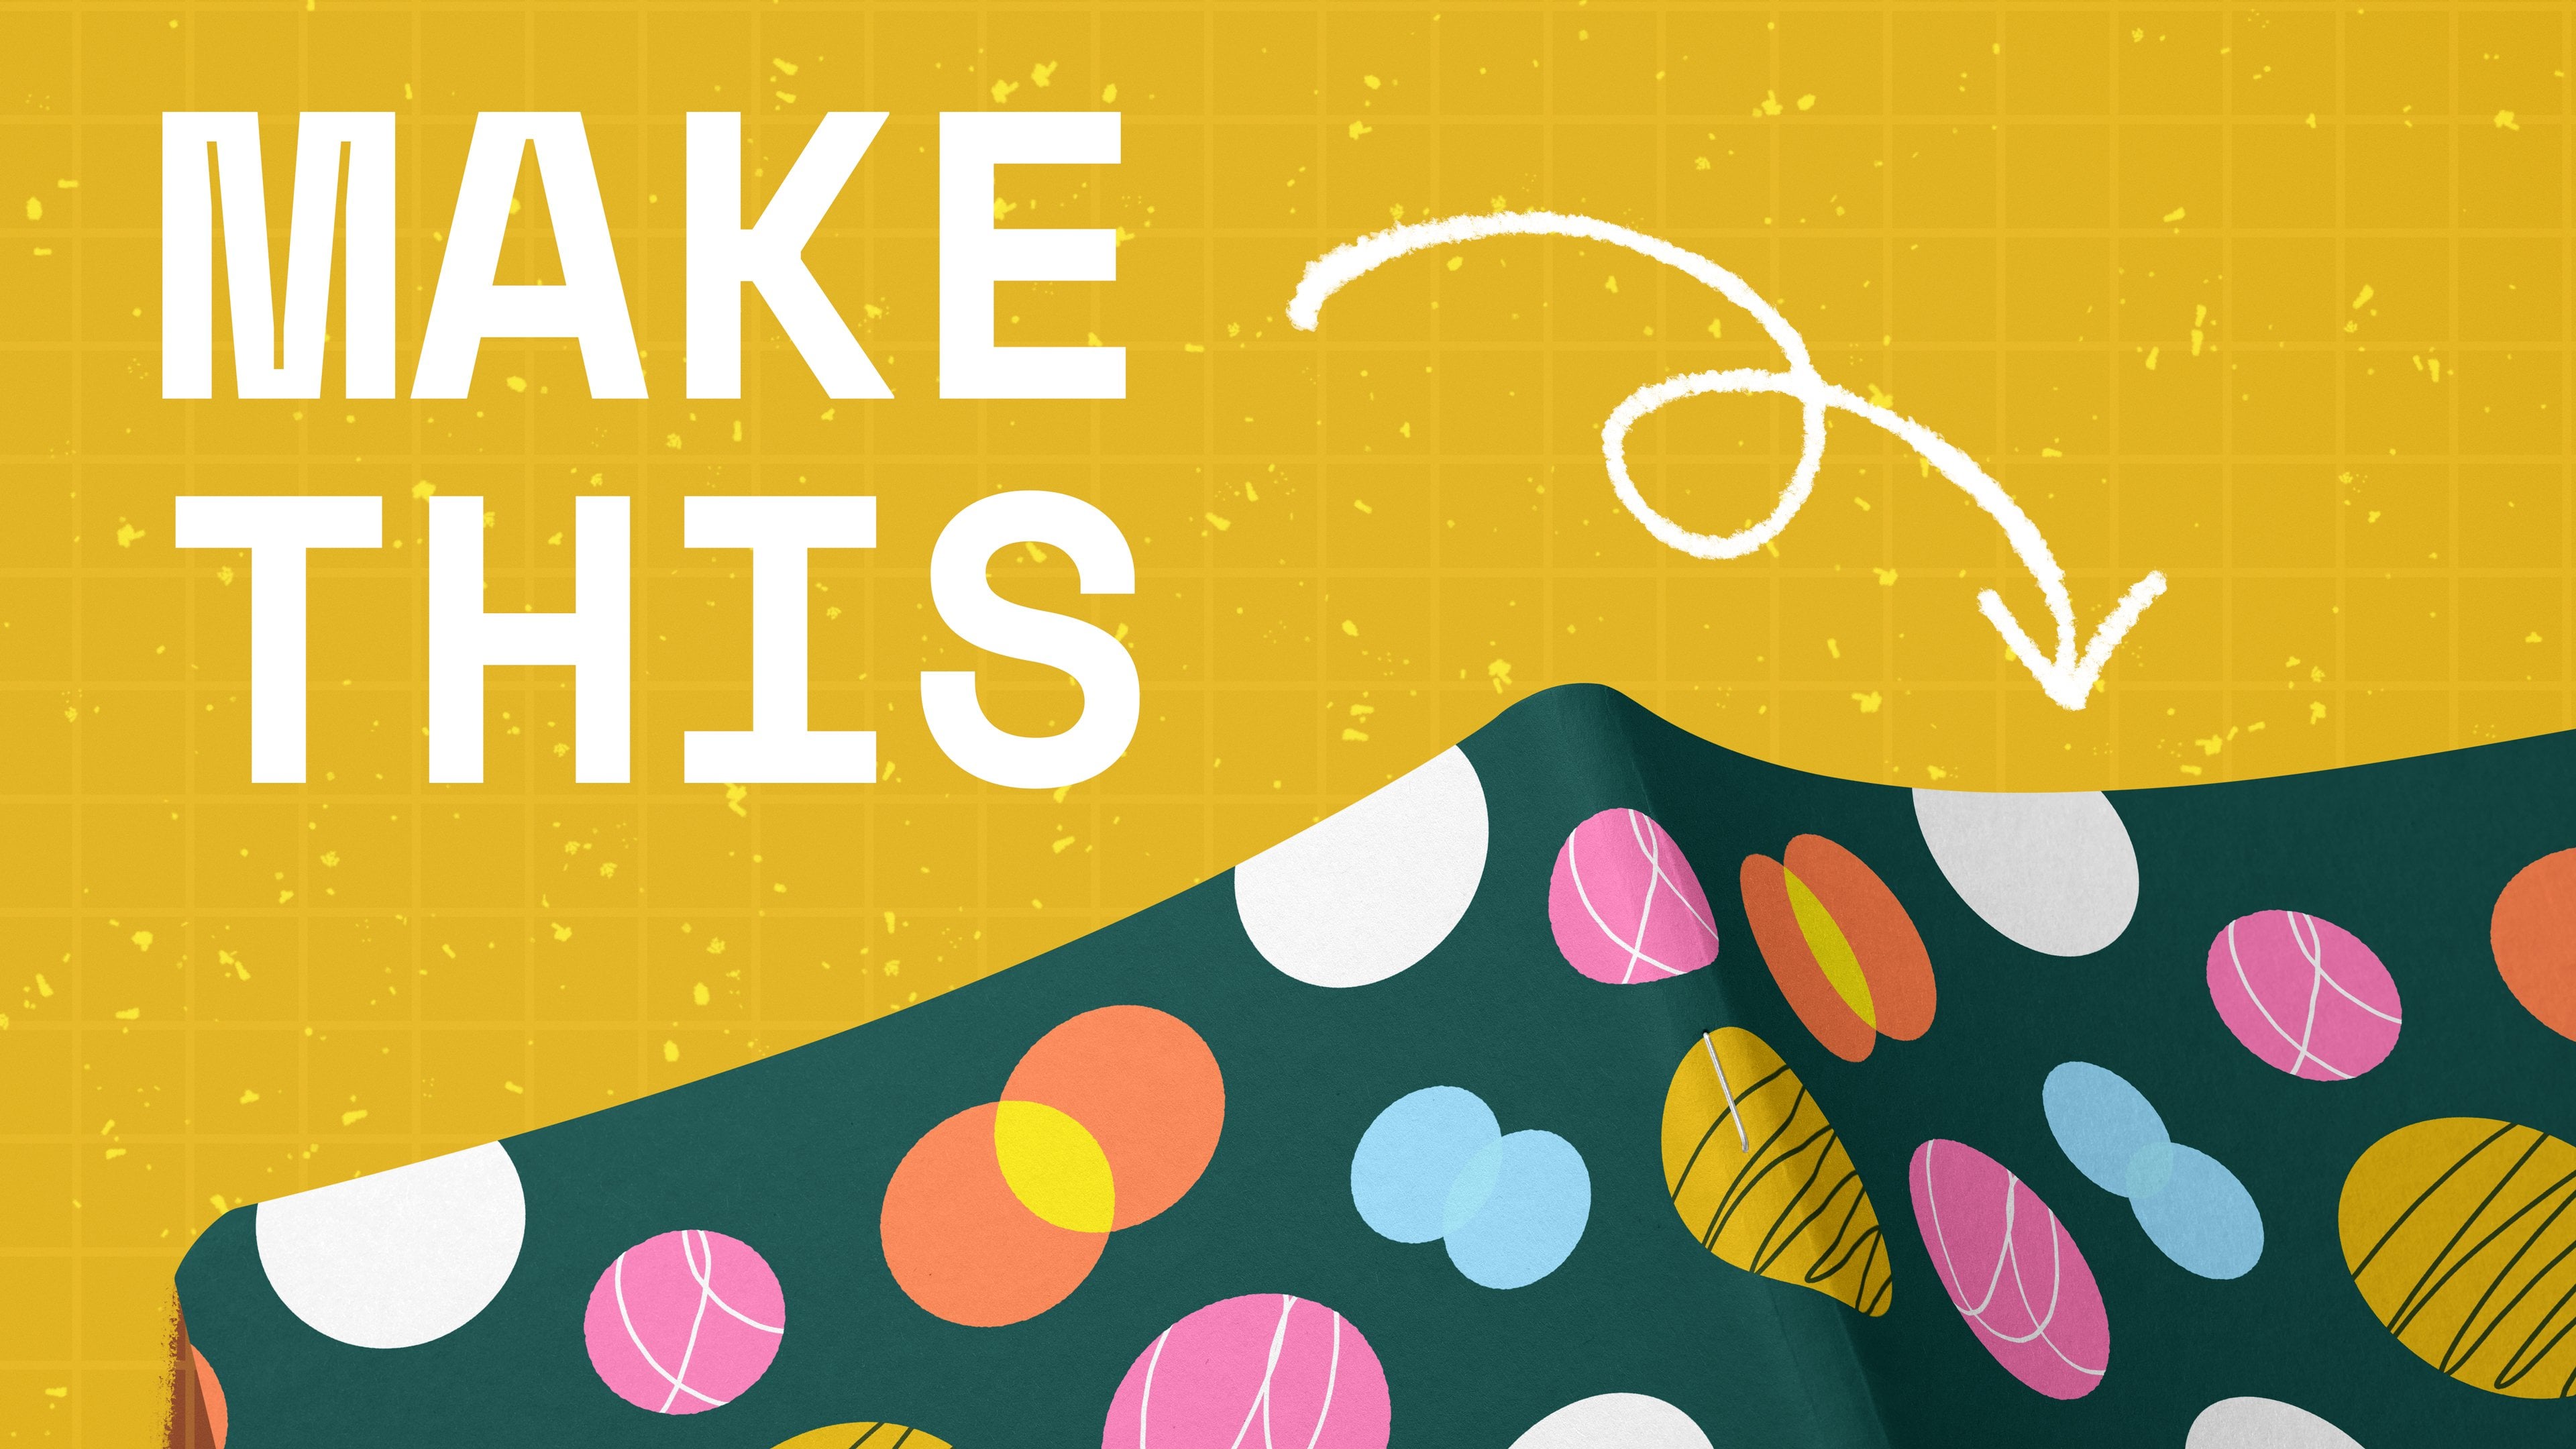
2. Drawing Simple Motifs: Let's get started by
creating a new Canvas. It the plus sign and
then new Canvas. I'm going to do 4,000 pixels by 3,000 pixels with
the DPI being 300. That should be big
enough to give us good application on
various surfaces if you decide to
print your patterns. Go ahead and hit Create. While we're inside the Canvas, I am going to turn on
the drawing guide. Then you can addit it
to a different color, opacity, thickness, and great size. I'm
going to hit done. This helps me to have a visual reference
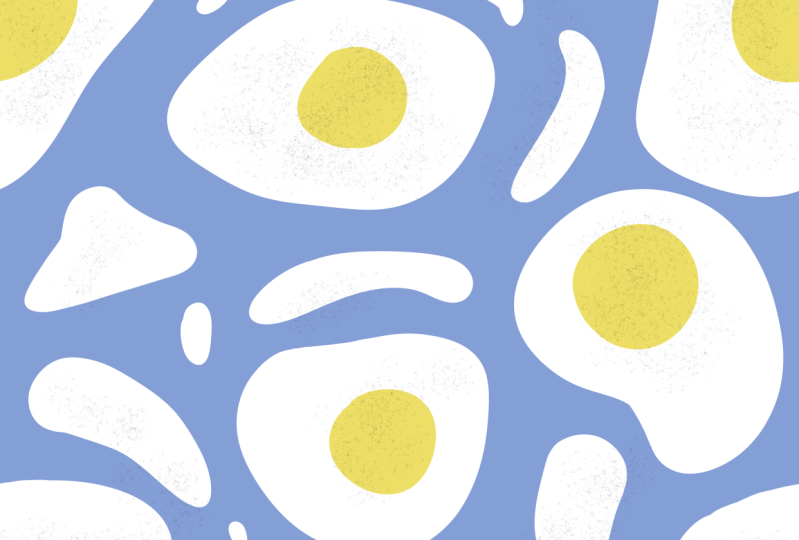
of where things are. For our aggie pattern, I'm going to change
the background color because we don't want
to see white on white. Maybe something purple,
is blue like that, and then hit done, actually
hit the layers panel, and then we're ready to draw. I'm going to pick a white
off white color for the egg white and just start drawing some organic shapes and then
just drop in the color. For this purpose, I would
not use a brush that has too many textural
details because that would make the color drop a little bit
less efficient. You might have to color in certain areas even if you
change the threshold. If this is new to you, just pick a smooth
brush and follow along. Now we have three eggs
and while I'm at it, I will draw some yk as well. I'll keep up with
the organic shape. So these are not
perfect circles.
3. Making A Repeat Pattern Tile: So what makes the surface
pattern tile unique? When we look at a
repeating tile, you will notice
that the left edge meets the right edge perfectly, and the top edge meets the
bottom edge perfectly. That's our goal for
our agg pattern here. I'm going to create
a guide layer to help us with this purpose. I'll just pick a random
color and then just drop it. Then I'm going to hit
this to lower the pacity. I will create a
duplicate of the solid, the semi transparent layer and a duplicate of
our aggie as well. Eventually, I also
want to move this up in between the solid layer. Now we have two pairs. Each pair has a solid layer
as well as our motif. I'm going to grab
the top two layers by swiping right on both, hit the selection tool. Make sure you have the snapping and the magnetics turned down. We're going to move
it to the left. It doesn't have to snap
right in the middle, then we're going to select the bottom pair and
move it to the right. You notice that if you have
the snapping turned on, you should be able to feel the snapping when
the sides meet. Then I'm going to delete the guide layer and
merge the motifs. With the help of
the guide layer, it helps us to shift our motifs horizontally at a distance that equals to the
width of our canvas. Now we have our left edge perfectly matches
with the right, and also this step
expose the gaps in the middle that we can fill
in with more organic shapes. I'm going to draw a
smaller one here. And I'm going to hit the ribbons tool and maybe move this egg a
little bit lower. So we have more even
gaps between the eggs. Okay. And then I'm going
to go back to the color. To add some yolks to our group. There you go. Now we're ready to
shift the top and the bottom at a distance of
the height of the Canvas. I'm going to create
semi solid layer first and then duplicate the
motifs and the solid layer. Select the top pair
to move it down, and then select the second
pair to move it up. And then we can delete
our guide layer and merge the motifs altogether. Now we have opportunities to work on our motifs
in the middle. Obviously, this one is cut off, so I'm going to finish
this edge to round it up. Also. Let's see. Maybe I want to move this guy. Actually, instead
of moving it up, I'm going to expand this
omelet a little bit. The gaps looks more even. Now it seems like this
part is really empty. I'm going to move
this egg down a bit. What I will do is to select the left part of this egg and the right part
simultaneously. I'm going to just go ahead
and make a big, one key loop, and I will have to be
careful not to touch other eggs and then hit the selection
tool to move it down. The reason why I like
to do that is because we still like our left edge
to matches with our right. When we move them simultaneously
at the same pace, we're able to achieve that. And then you can spend some
time to figure out the space. The basic gist is that whenever you change
anything on the left, you want to match
it with the right by using the guide layer. Same with the top and bottom. At this point, I have all my motifs touch all
four edges of my Canvas. If that's the case for you, you don't have to
use the guide layers anymore when you move. I'll show you a quick example. This is my motif layer
and I'm going to duplicate it and move
the top one to the left. I do still have my
snapping turned on and then move the bottom
to the right. You can still feel the snap when the two edges meet
and from here, I am going to merge
down my layers. For a space like this, I'm
just going to fill it up with just teeny bits and pieces. It's not too unbalanced. Same here. I'm just going to
go around and fill it up. If you want, you can grab a texture brush to
sprinkle some pepper. In fact, I'm going to do that. I will pick out a darker color
that resembles the pepper, and I will use one of my gentle speckles
bruh for the pepper. I'm just going to go a Well, this looks a little too spicy. Maybe something
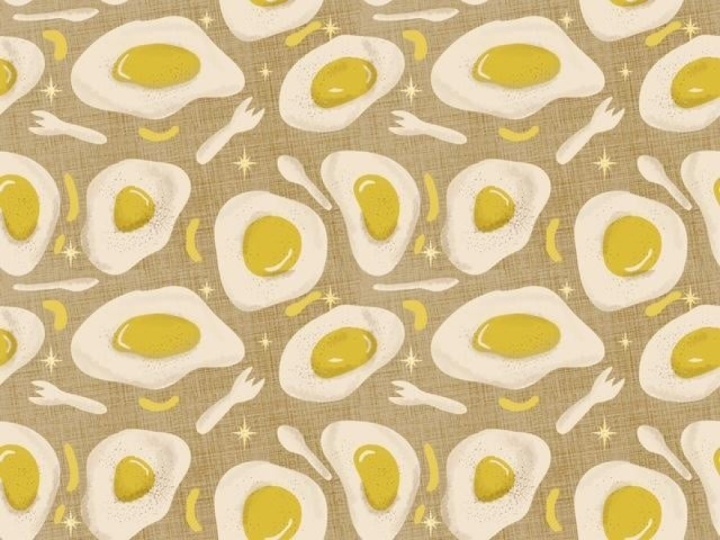
that is more spe. Let's try this. Okay, better. All right. Here is our pattern. I hope you have enjoyed this process and go
make something fun.
4. Test Your Patterns: In this video, I want to
show you how to quickly test your pattern tiles and save the preview
right on your iPad. First, you want to take
a screenshot of this, and then go to your photos app, either Lum press the URL
or Lum press this QR code, which will take you to
the default browser. If you have the P created open, you want to put it right
next to your browser. I have all my motifs
compressed into one layer, and I'm just going to
drag and drop here, right on the browser, and you
can adjust the scale here. If you like what you're seeing, you can also download your
preview right on your iPad. Just tap on this button, and you should be able
to either download or print by hitting
this share button. Don't forget to
bookmark this page, so you can come back to it whenever you're ready
to test a new pattern.
 Esther Nariyoshi, Teaching Illustrator based in the US