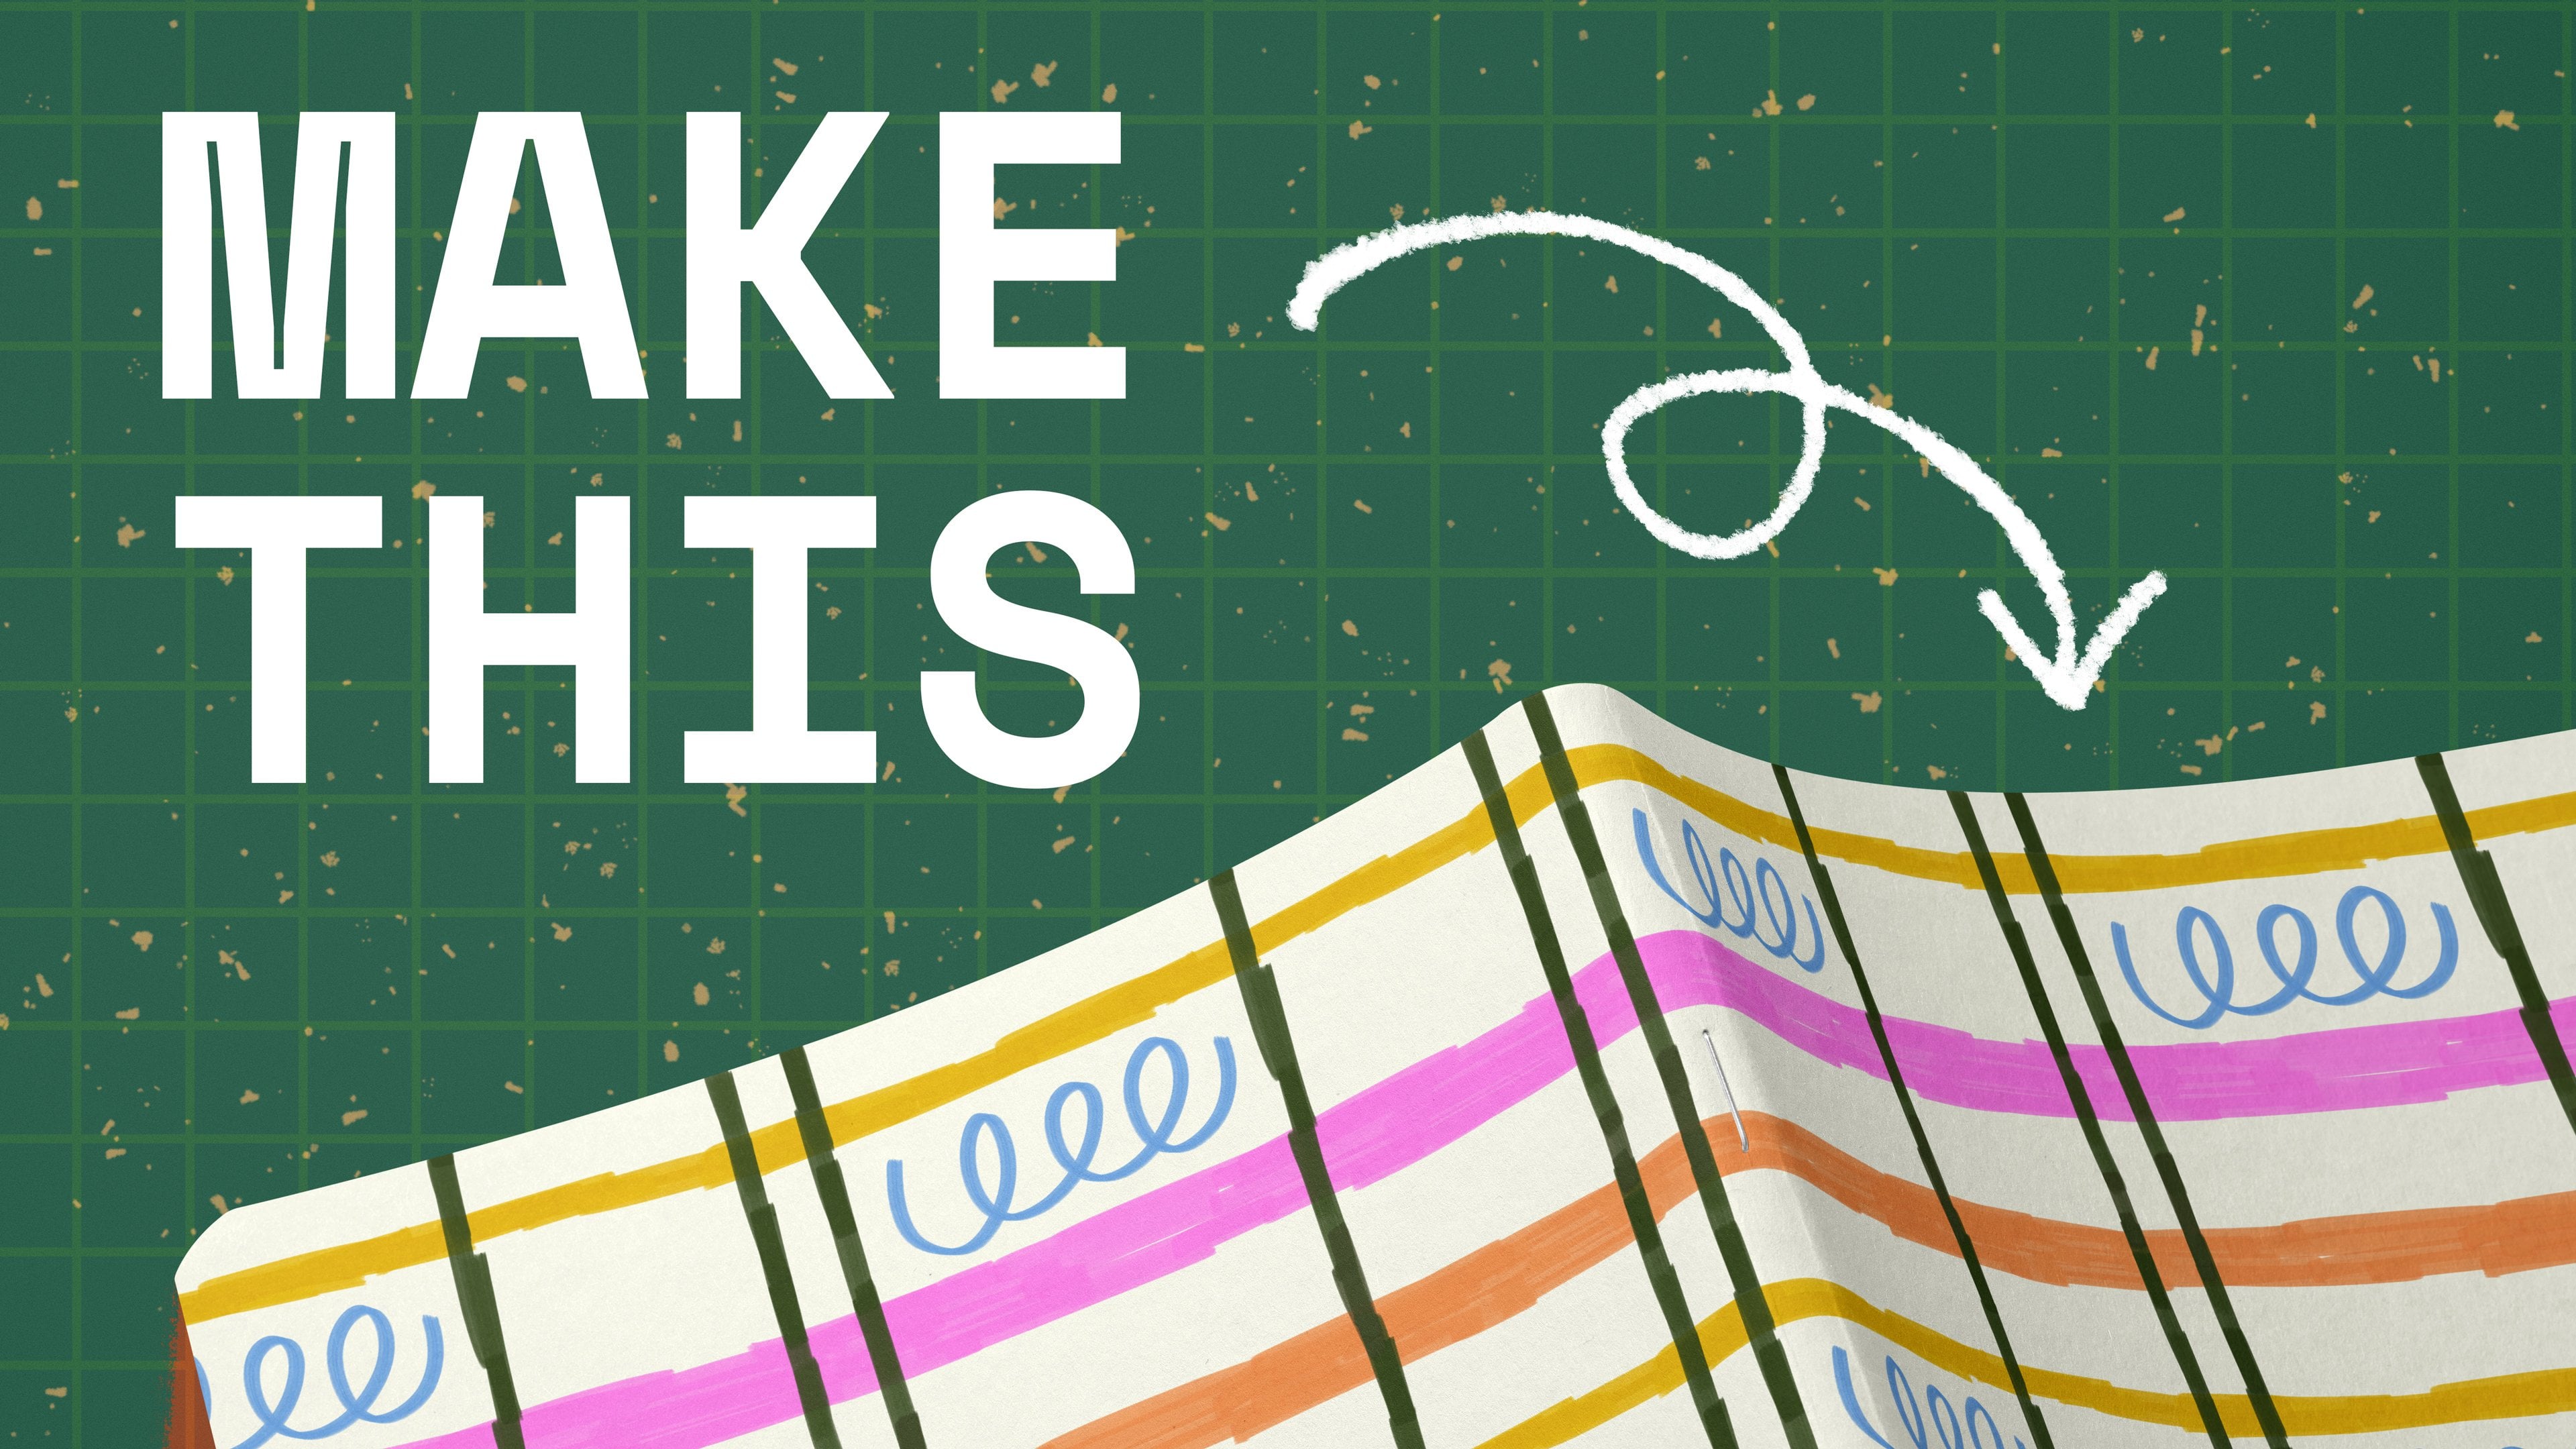
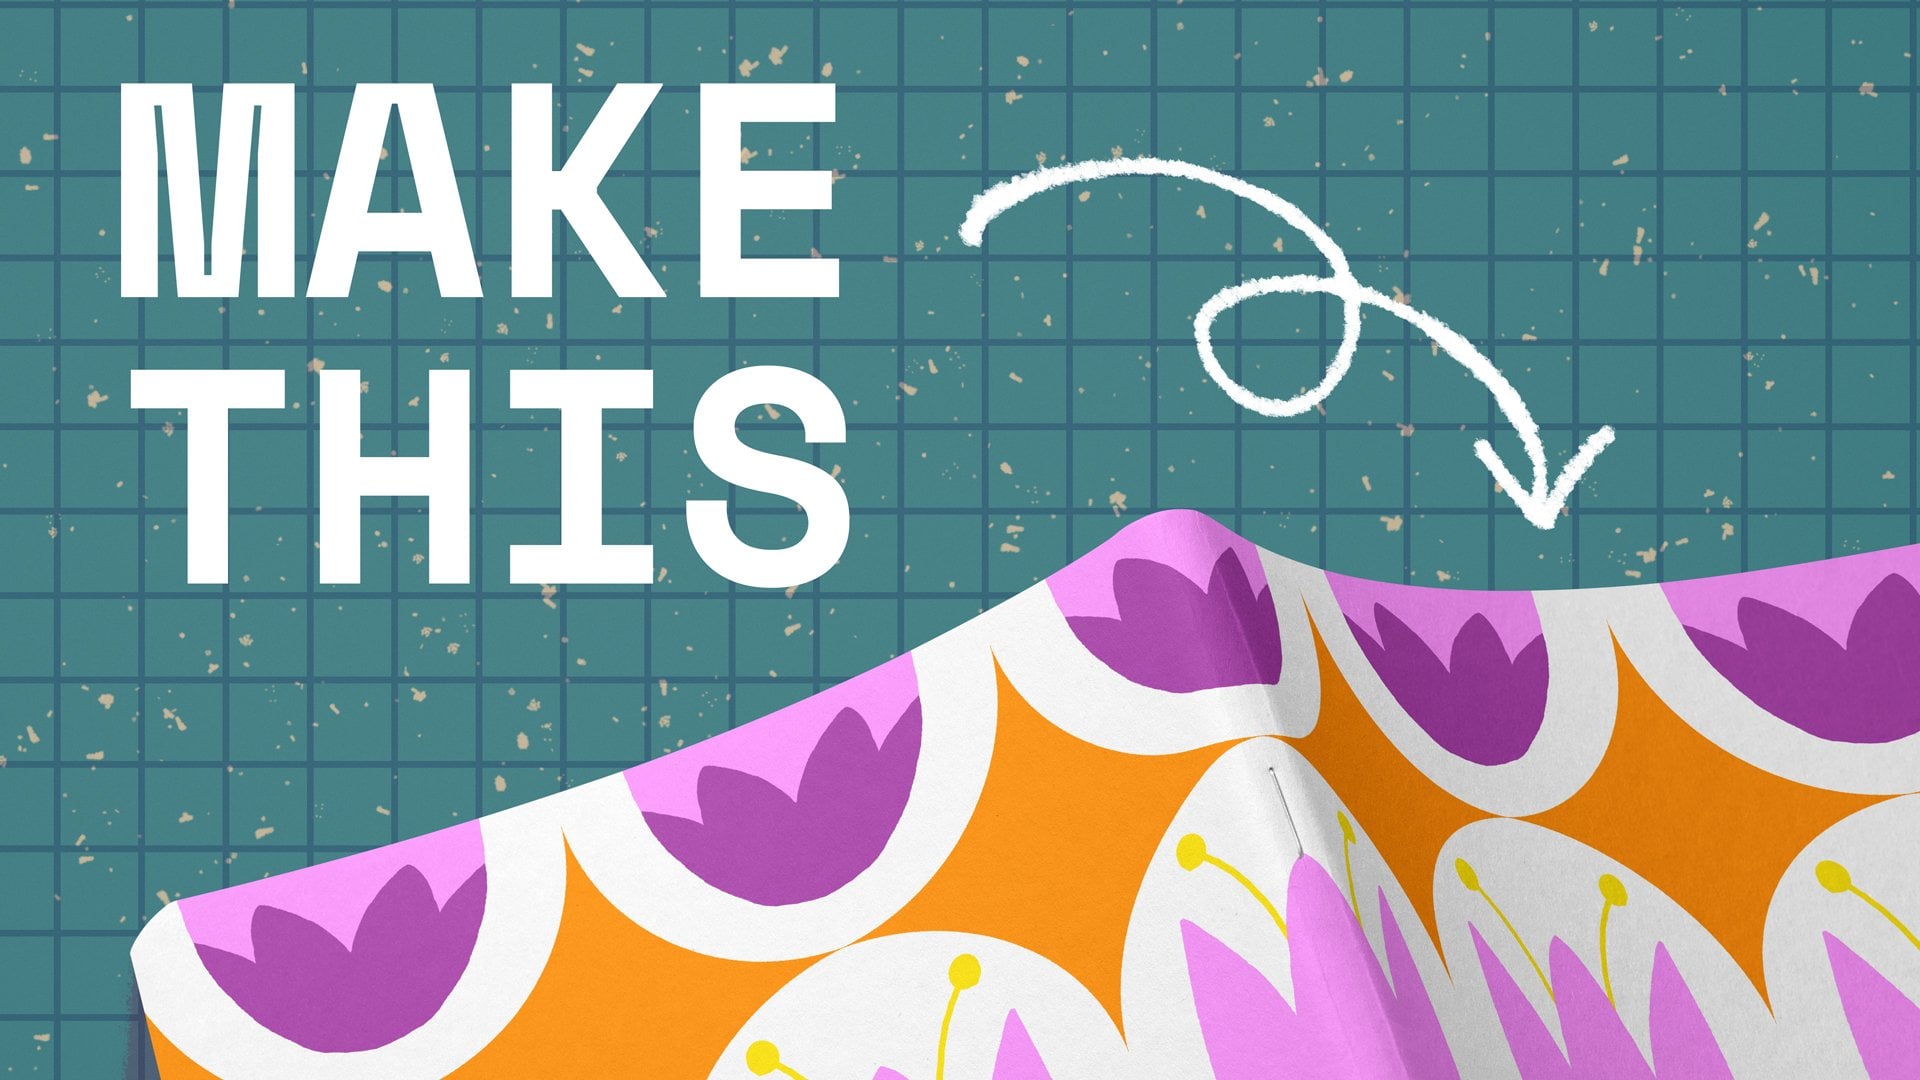
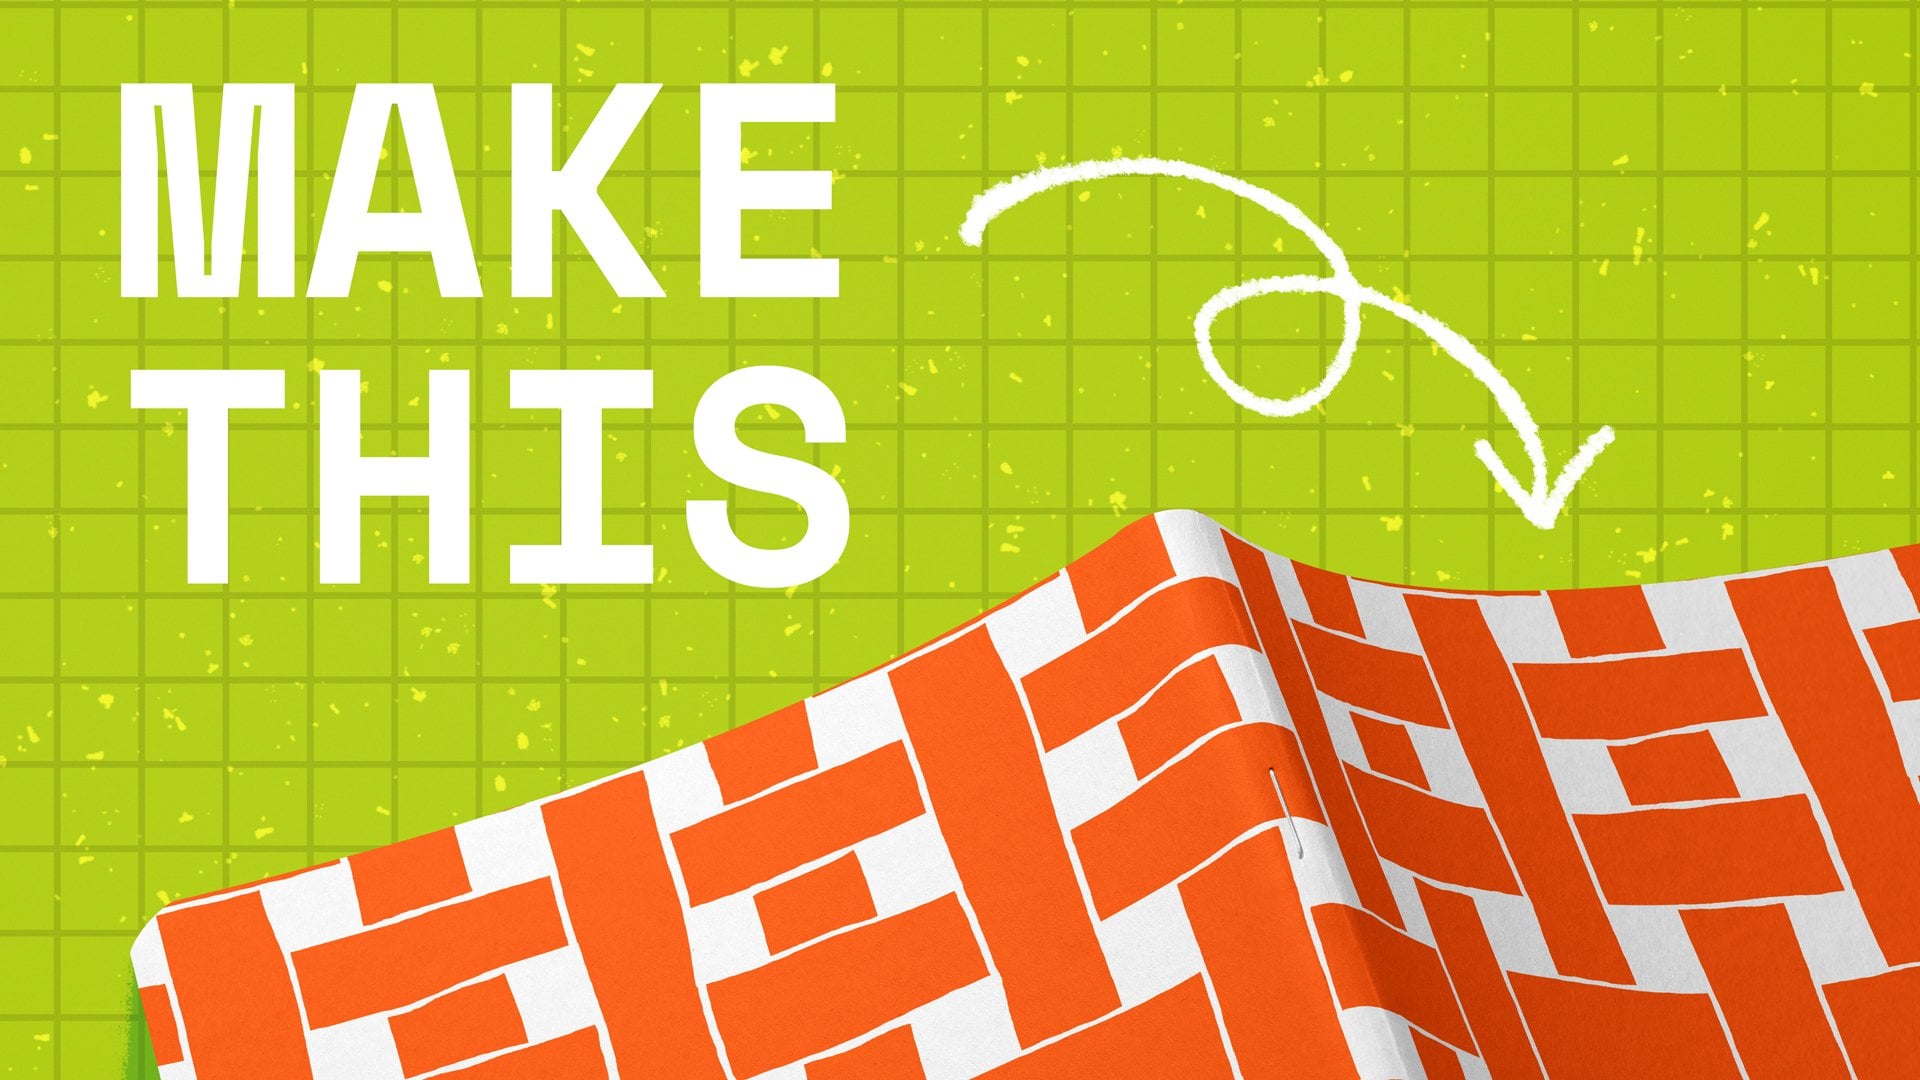
Transcripts
1. Class Introduction: [No Speech]
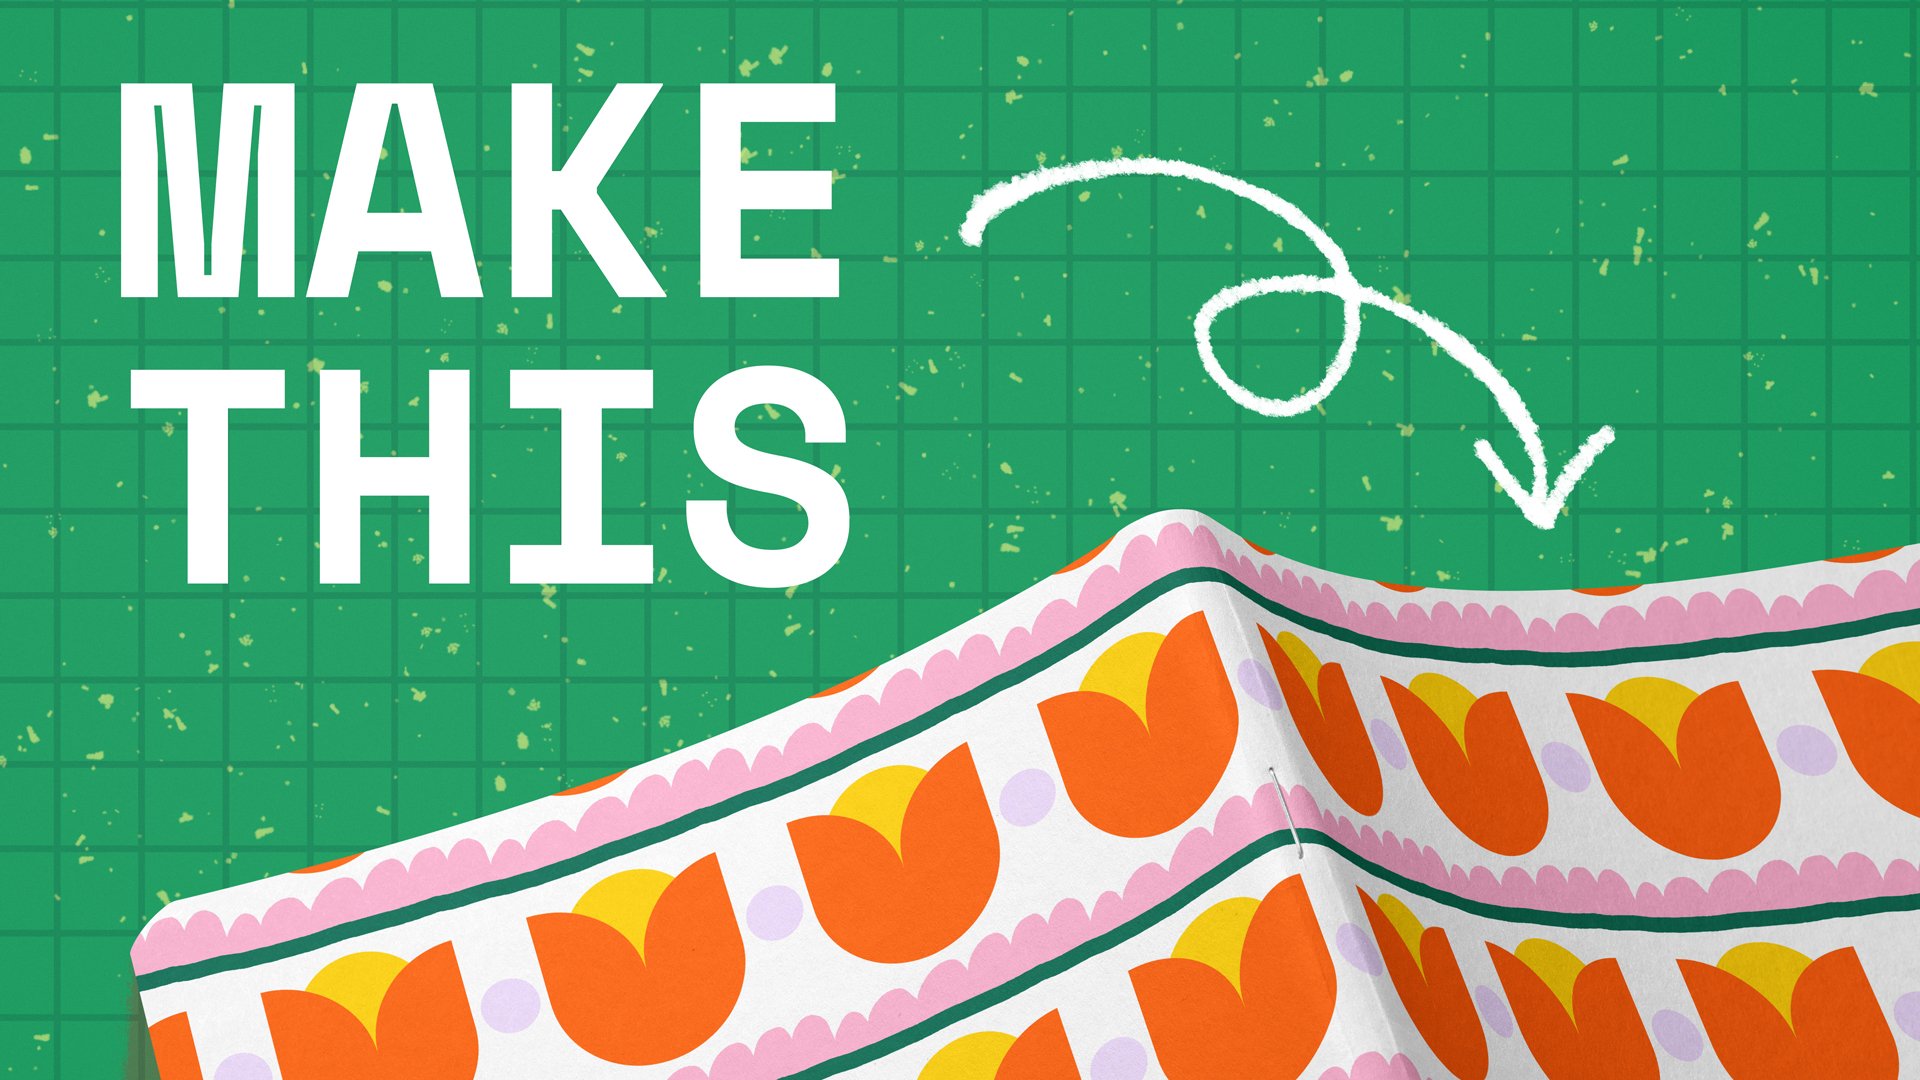
2. Drawing Basic Motifs: We will start with a new Canvas. I'm going to hit plus and
then create a new Canvas. Your Canvas do not
have to be square, so I'm going to go with 4,000 by 3,000 with the DPI
being 300 and create. For this pattern, I'm going
to turn on the drawing guide, which is hiding under
this wrench icon, and then Canvas
and drawing guide, and you can add it your
drawing guide as you wish, I'm going to make
this a bit bigger, and then just hit done. This will not be part
of your final pattern. This is just a way to
give you a reference. I'm going to change my background color
to something warm, slightly warm, and then I will start drawing
on a new layer. I'm going to pick a color that is good to get
started and then find a brush that is pretty solid because I want a
nice line across. When we create this
part of motif, I want to be careful not
to touch any of the sides. Then I'm going to close up
the shape at the bottom. It's roughly level, but
still pretty organic. I'm just going to drop this color and then
start another one here. Maybe this yellow, roughly
around the same size. You can use the quick shape to snap if you want your level
to be completely angle. Then just drop the color, and then I will work
on another one. Maybe this orange, brighter
orange, almost like red. There you go. That's
basics of our motif. If you want, you can add
any motifs in between. Just to prove that your canvas
doesn't have to be square. I'm actually going to
hit this ranch icon and go to Canvas to crop my
canvas even further. I'm going to bring down the distance between
the top and the bottom. The Canvas is even more
skinnier along the x direction. It done. That's our motif part. In the next lesson,
we're going to talk about how to
make this repeat.
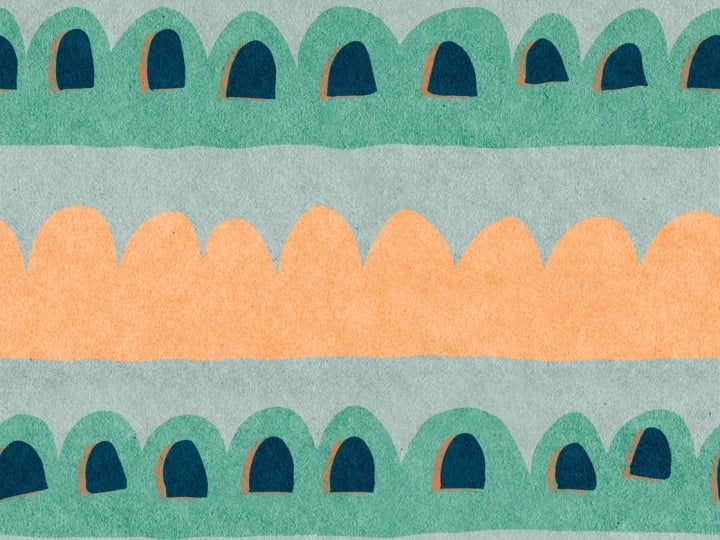
3. Making A Repeating Tile: You haven't made a surface
pattern tile before. The secret of it is to
make the left edge, perfectly match
with the right and make the top perfectly
match with the bottom. It's hard for us to do it now because we don't really
have both sides available. We're going to change
that by shifting our pattern left or right to the exact distance
of our size of our canvas. It might sounds complicated, but it's really
easy to practice. We need to do is to
create a new layer and color it with whatever
color you have up there, and then change it
to semi transparent. Then we want to duplicate this semi transparent layer
as well as our motif, and then just sandwich our
motif between the two solids. We have two pairs
of solid and motif. Solid layer serves as a guide. I'm going to tap on this
arrow icon and make sure I have the magnetics
and snapping turned out. From there, we can
start moving things. You want to right
swape the first pair, and then tap on the arrow
again to move it to the left. By the way, you don't have
to stop right in the middle. As long as both edges
match, you should be fine. Then we want to select
the second pair. And then move it to the right. The key for this
action is to make sure the solid layer meet
perfectly in the middle. Then we don't need
the guide layer anymore that you can delete it, and then you can even merge
the two halves of motifs. The action we just
did helps us to shift the motif horizontally to
expose the gap we have between. I'm going to sample the
green color and then just finish my drawing
to bridge the gap. Maybe we can fit two right here. And then if you need, you can erase it. And then sample
the second color. By shifting with
the guide layer, we have made sure our current
left and right has met. Now we're just focus on the
gap in between. Right here. Notice that we have shift our pattern horizontally to
make sure our edges match, but we haven't really
dealt with it vertically. That is because this
pattern is pretty unique. If we look at our pattern, the top and the bottom
has already matched. That is because we
don't really have any motifs that is
being cut in half. But if you need to move any
of the motif up and down, you can just use the ribbon tool and make sure you
have the free hand and add to select any of the motif you
want to move around. And be sure to select all the way to include both
edges on the left and right, and then we can tap on the arrow tool to
move it up and down. Right now, I still
have the snapping and the magnetics turned down. I'm just going to move
it up a little bit. Make sure you move
along the edge. It doesn't shift left or right. There you go.
Here's our pattern.
4. How To Test Your Patterns: In this video, I want to
show you how to quickly test your pattern tiles and save their preview
right on your iPad. First, you want to take
a screenshot of this, and then go to your photos app, either Lum press the URL
or Lum press this QR code, which will take you to
the default browser. If you have the P create open, you want to put it right
next to your browser. I have all my motifs
compressed into one layer, and I'm just going to
drag and drop here, right on the browser, and you
can adjust the scale here. If you like what you're seeing, you can also download your
preview right on your iPad. Just tap on this button, and you should be able
to either download or print by hitting
this share button. Don't forget to
bookmark this page, so you can come back to it whenever you're ready
to test a new pattern.
 Esther Nariyoshi, Teaching Illustrator based in the US