Transcripts
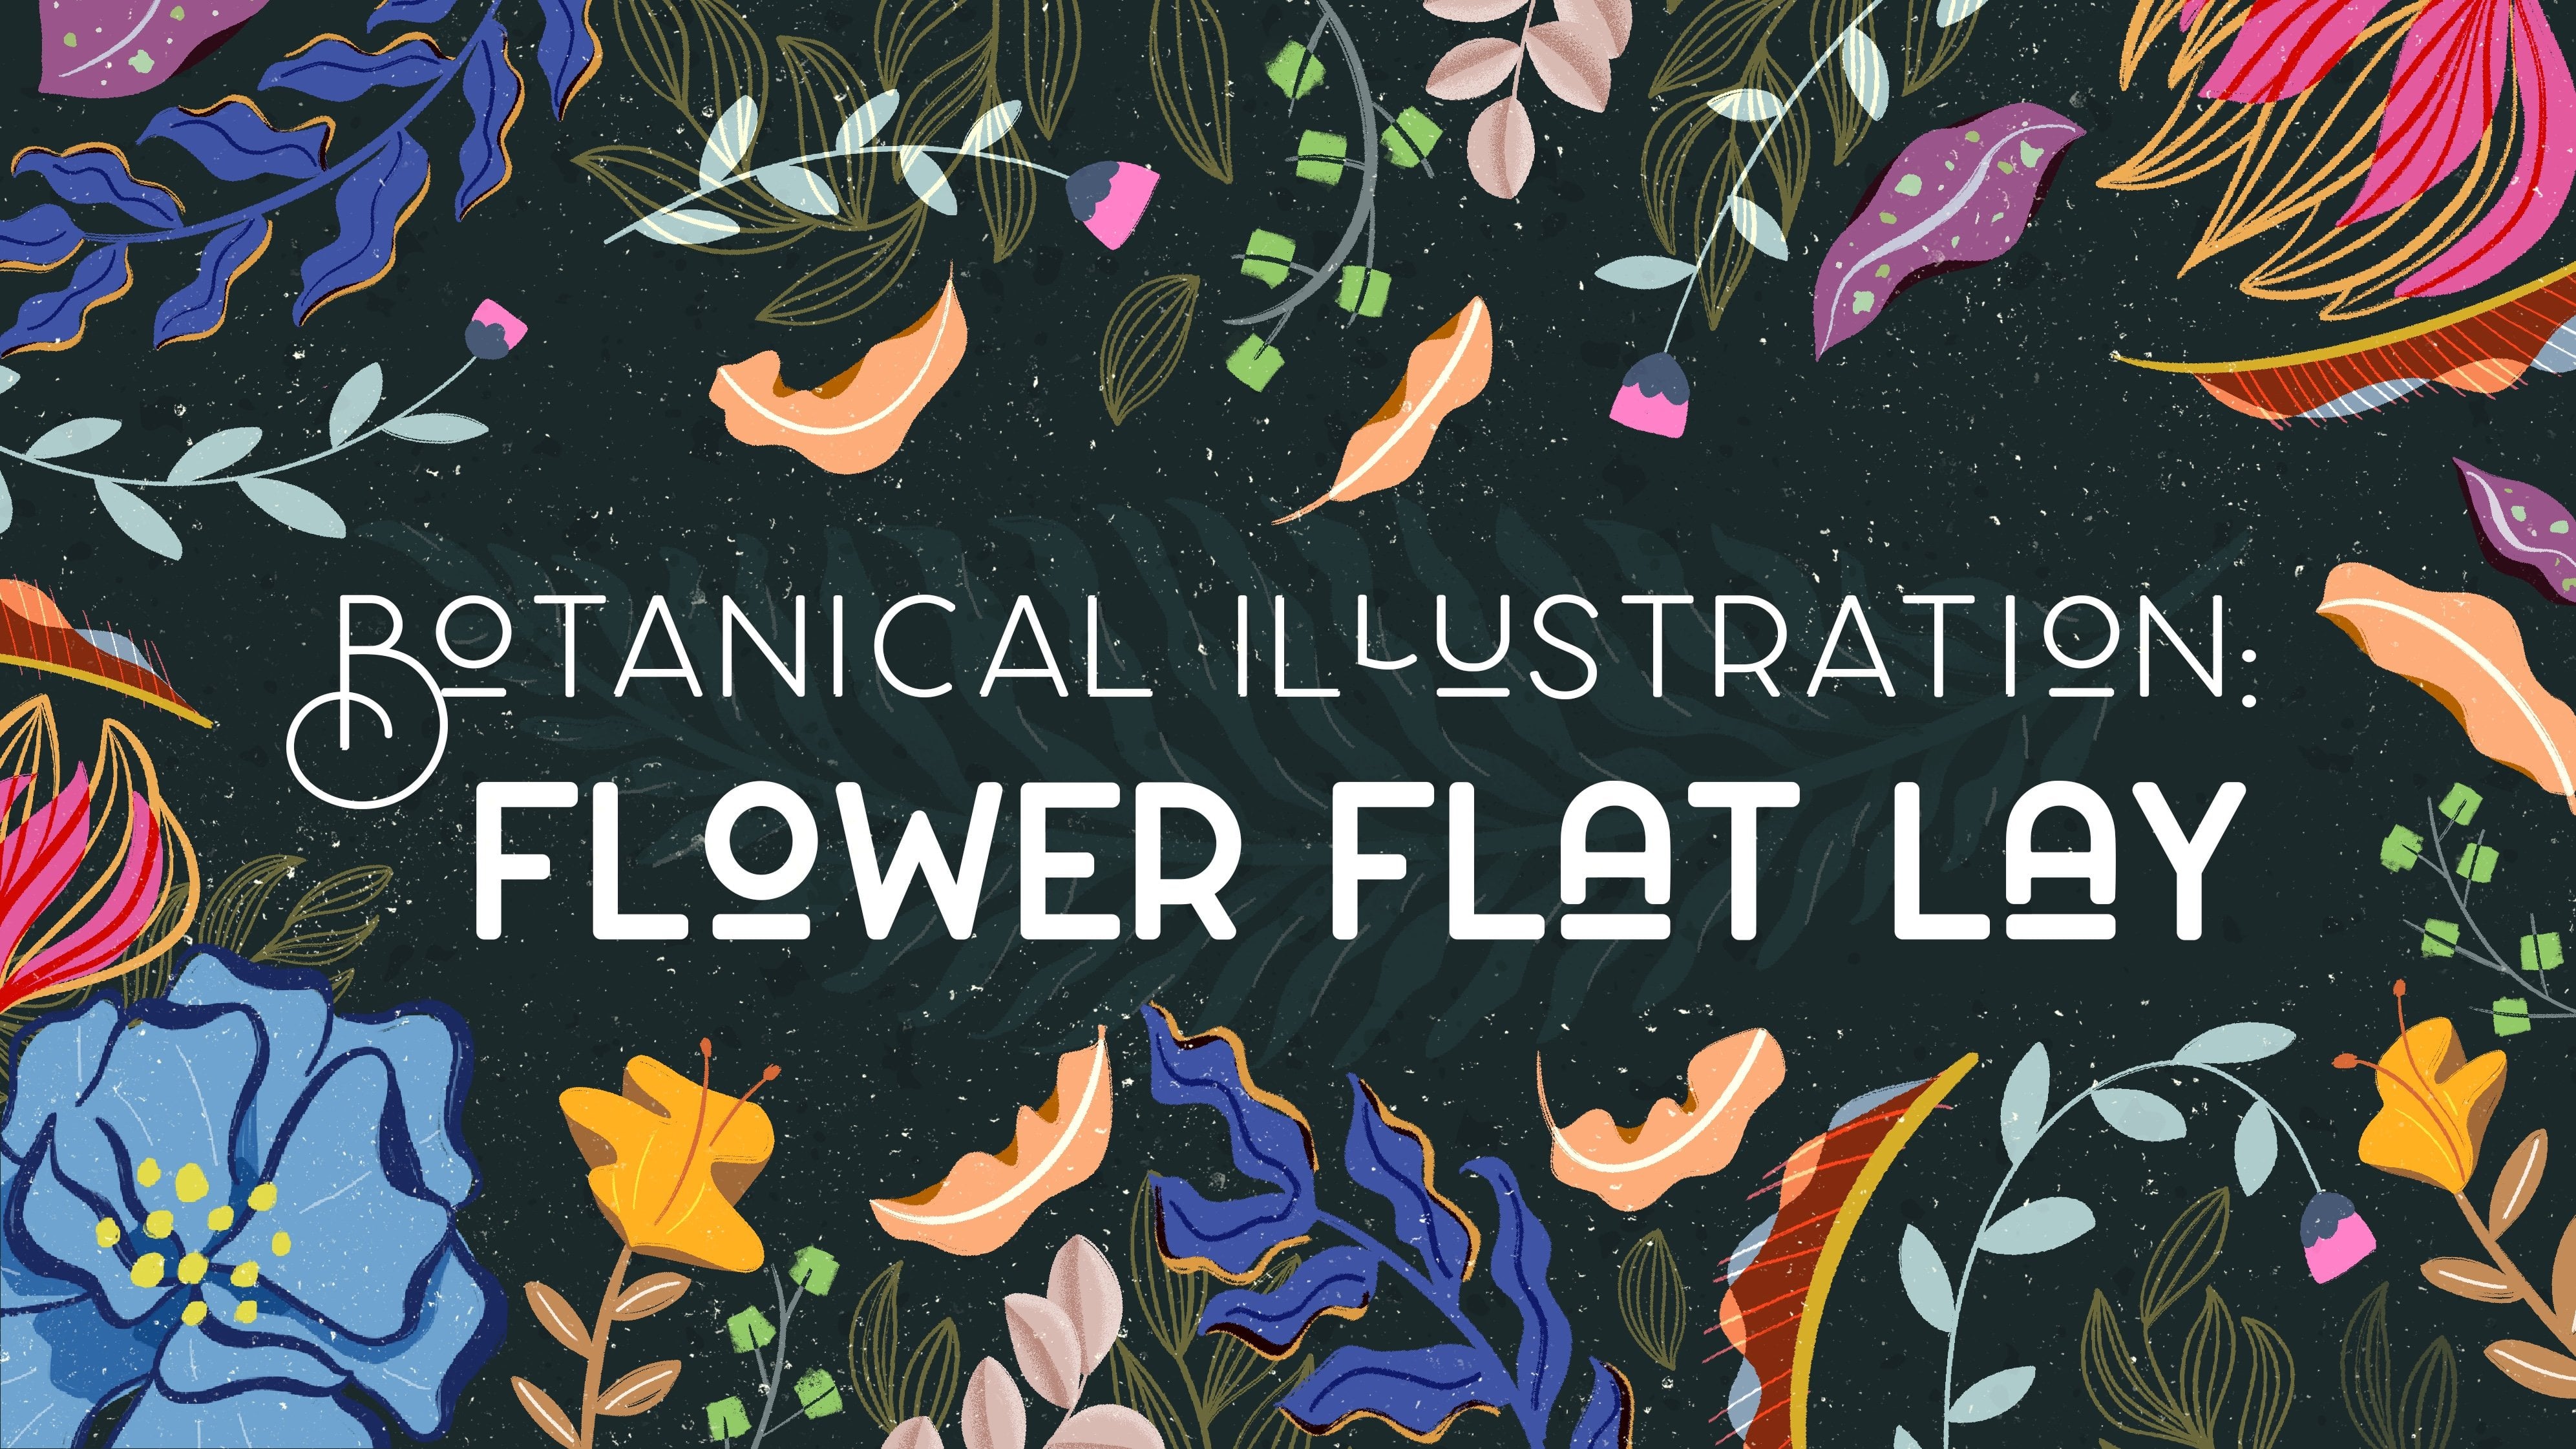
1. Class Introduction: I
2. How to Make A Simple Repeat Pattern: Let's create a new
Canvas first by tapping on the plus sign
and the new canvas. I'm going to do 4,000
pixels buy 3,000 pixels so you know that it
doesn't have to be a square. For the first part
of our pattern, we're going to do some
like shape gymnastics. So pick a color
that you like that is going to be the
frame of our pattern, and then let's draw circle. So make sure you have a
nice brush that you like. Draw circle, but without lifting
your pen from the screen and then add another finger
on screen to make it perfect. Then from here, we're going
to create some duplicates. I am going to actually
make this guy a bit smaller so that
we can fit multiple. And then I'm going to make
a duplicate to move it. By the way, I have the
snapping turned on. That's why we can make this
precision move horizontally. You just tap on the
arrow and then tap on snapping to turn on the
magnetics and snapping. From here, we're going to merge this layer by tapping on the
top one and then merge down. There is a tiny gap
that I just noticed. I'm going to make sure these two perfectly touch because it
will make sense in a bit. So merge down, and then I'm actually going
to make this one a bit smaller because we
need to be able to make four of them stacking
right next to each other. Then we want to
create a duplicate of this new shape and
then move it down. And I want to prevent the
gap being happening again. If you click outside,
you see that the two circles
completely touch, and then I'm going to
merge these two layers. So now you should be able to have something
that looks like this. For the next step,
I'm going to use this shape we just made
to create a new shape. So I'm going to tap
on the thumbnail of this layer and then
just hit reference, and we're going to
create a new layer. So what reference layer does is that it will basically
become a ruler of some sort. I'm going to choose
a different color that contrasts well. So from here, if I just
drag this color dot into this shape and then hide
the original layer, data. That is the shape that we want. We actually do not even
need the first layer. And then I'm just going to work with this shape from here. For the first move, I am going to still have my
snapping turned down, move it to the right
until it snaps right in the middle,
and then move it down. So what I just did help us to use the boundary
of our canvas to cut our shape in only
a quarter of what we had. So if we tap on our layers, you can see that's
our new shape. I am going to go ahead and make this about half the
height as the canvas. And from there, we
can make duplicates. We need four of them
for the four corners. So I am going to use the
arrow tool, flip it, and then just move Again, arrow tool, flip it vertically,
and then move it up. The last one is a bit tricky. Actually, I am instead of
using the original corner, I'm going to pick one of
these corners to flip it. So the snapping doesn't make it weird when we move
things diagonally. So now we should have a
framing of our motif. So I'm going to merge
all these four layers by pinching them together. All right. From this point, you can pretty much
draw whatever you want. I am going to turn on
the drawing guide. Instead of using the grid, I am going to use the symmetry tool and then
just draw from there. Once you turn on
the symmetry tool, your layer should say assisted. And if you want to
create on new layers, you want to make sure
you also turn on the drawing assist so that we can take advantage
of the symmetry tool. And this petal,
something like that, and then you can color drop it. It didn't work because the
bottom is not fully closed. Now it should work.
There you go. And you can also use your
eraser to fine tune the shape. So when you work in the details, you can zoom in and out
to see how it looks like in a larger scale
or in a smaller scale, or you can also turn
on the reference. So this should give
you the whole view of the canvas without having
to zoom in and out. I'm going to just
clean up a bit. So that is the general
shape, and from there, I am going to create let's see. I'm going to use the yellow to create I'm pretty sure
it's not called Antenna, but I also don't know what's the right biological
name for it. Maybe something like that. So there's this, and
then I want to add another layer on top to break
up the color a little bit. I also want to turn on
the drawing assist and use some kind of
green. And let's see. Okay, not bad. But
also not great either. Let's see what we can do. I do want this green shape to be nested under the general
shape of our flour. So I'm going to turn this into a clipping mask and then maybe
change the blending mode. The green seems a
little bit too yellow. Okay, this is better. And you can also make it bigger. Now, it seems to be working. I will merge all three
layers and then turn off the drawing assist because
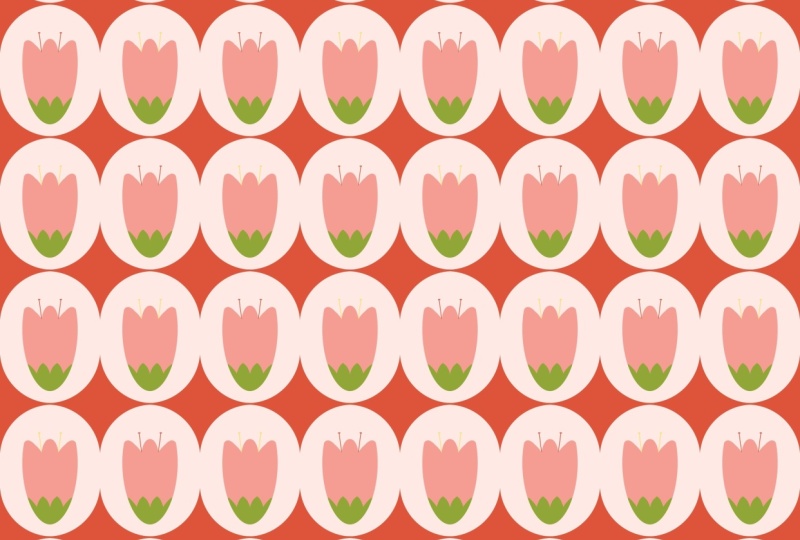
the drawing portion is done. Now we have a repeating pattern. You might be thinking,
wait a minute. What makes a pattern repeat? So the secret is
when our pattern tile left edge matches
perfectly with the right, the top matches perfectly
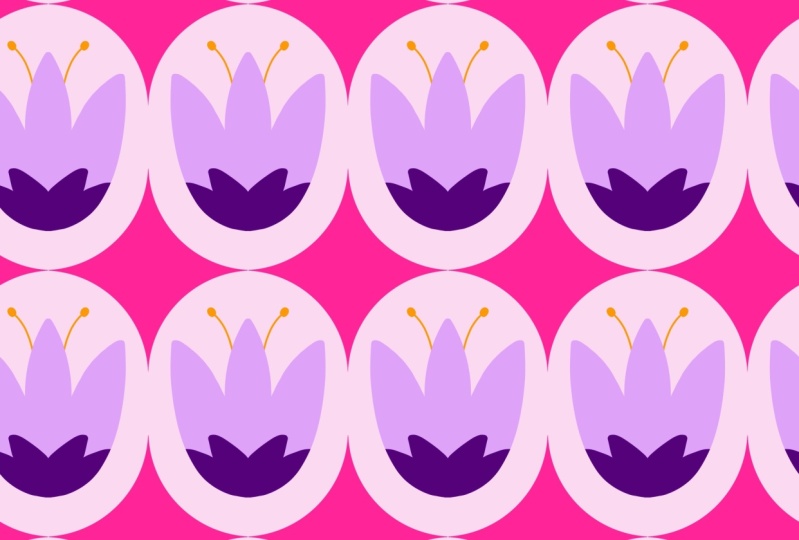
with the bottom. Our tile will repeat seamlessly. In this pattern, particularly, we do not have to work too
hard because we know that the left edge already met with the right and the top
already met with the bottom, because this little wedge
thing is symmetrical. So when we use all the snapping
to move things around, we know the left
would meet right. Going to do a quick
experiment so that you can see that
we're not wrong. So I'm going to still have
the snapping turned down. I want to create a duplicate. So we have two copies. Move the first one to the left and grab the second one
and move it to the right. Da, you see that we
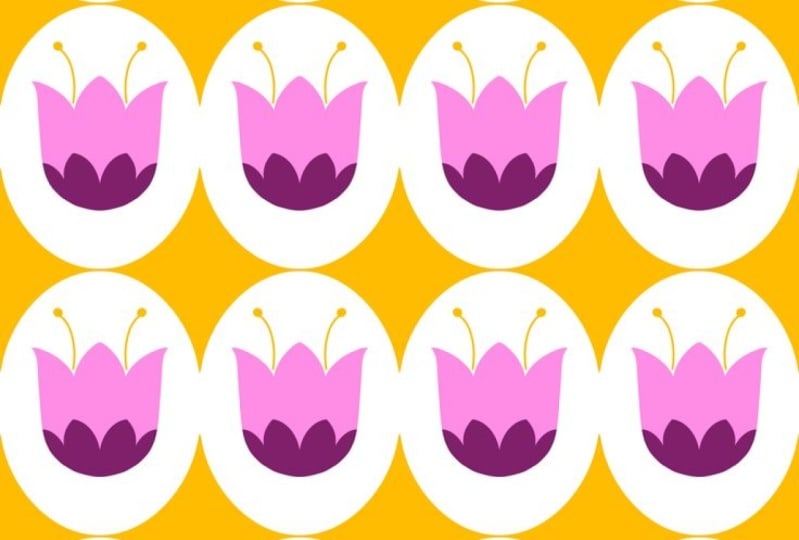
already have the edge met. For this pattern, we have
done our work upfront. So you don't have to do
anything additional. It's already repeating
and enjoy your pattern.
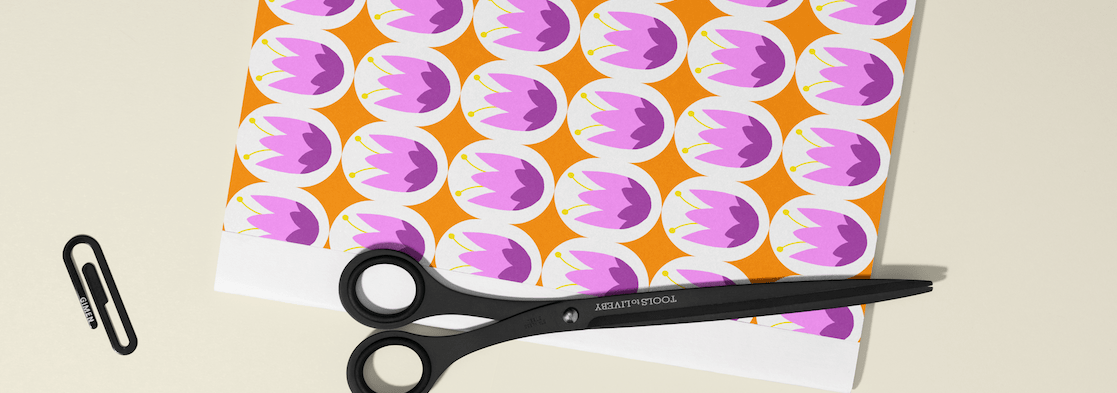
3. How to Test Your Patterns: In this video, I want to
show you how to quickly test your pattern tiles and save the preview
right on your iPad. First, you want to
take a screenshot of this and then go to
your Photos app, either Lom press the URL
or um press this QR code, which will take you to
the default browser. If you have the Procreator open, you want to put it right
next to your browser. I have all my motifs
compressed into one layer, and I'm just going to
drag and drop here, right on the browser, and you
can adjust the scale here. If you like what you're seeing, you can also download your
preview right on your iPad. Just tap on this button, and you should be able
to either download or print by hitting
this share button. Don't forget to
bookmark this page, so you can come back to it whenever you're ready
to test a new pattern.
 Esther Nariyoshi, Teaching Illustrator based in the US