Transcripts
1. Introduction: Hello, and welcome to
Beginner woodworking, building a quick and
easy photo backdrop. I'm so Cal Woodgw and I'm
so glad you're here today. You can make this eight foot by eight foot backdrop
in just a day or two, and it'll only
cost you about $75 plus the cost of wood and paint. Or you can just lean it against a wall and forego
the wood. Easy, Psy. This class needs minimal tools, but maximum creativity, and I know you're gonna
love the results. Without further
ado, let's dive in.
2. Design: Photo shoot coming up,
and I knew that one of the looks I wanted would
be Wes Anderson inspired. I love his films and his
brilliant color palette and I really wanted to evoke
that feeling in my photos. I did a bunch of research
on still frames from his movies so I could get an
idea of recurring themes. I noticed symmetry, bold colors, and often living
room style setups. So for my photo, I want to be able to either sit or stand, so I know I need
at least six feet in width and seven to
eight feet in height. I'll be doing these
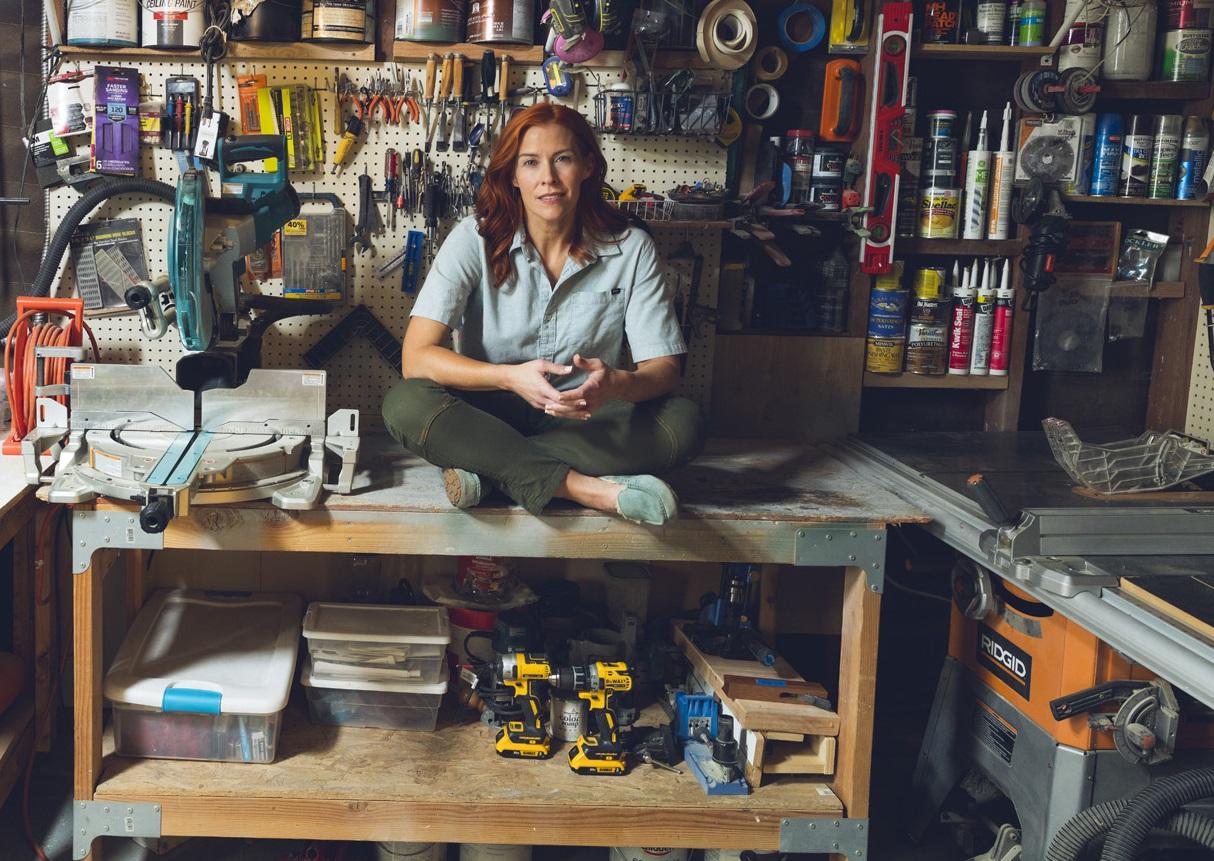
photos in my garage, so I know I've plenty of
headroom to be able to fit a full eight foot by
eight foot backdrop in there. So that's
what I'll be doing. Design yours for the space
that you have to work in. With that in mind, I
drew out my backdrop. I'll be using symmetry as well as the living
room aesthetic. So I decided that molding, so it looks like a
wainscoat or framed out wall would be my
design of choice. I'll use foam boards quarter inch thick so that
I can keep costs down, as well as maneuver the
lightweight backdrop as needed. Since the foam
isn't super rigid, and again, I wanted to keep
the weight and cost down, I found this peel and
stick molding off Amazon instead of using typical wood molding
from the store. It's made of rubber
and can be cut to size and laid out
however you like. What kind of backdrop
do you want? If you're an artist, perhaps you could paint a scene here, say, a rustic field and
sky or a galaxy of stars. Or maybe you just want
a patina covered wall that looks earthy and beautiful. That would really
photograph well. This backdrop world
is your oyster, so go ahead and get creative. I want one focal
point in the center that's larger and big enough
to surround me seated. So I drew that in and placed
a frame on either side. I replicated this above, but in shorter boxes, again, keeping symmetry
at the forefront. Now that our backdrop
is designed, it's time to gather
materials and supplies.
3. Materials: Up is two quarter inch
thick foam boards. I found these for less than $10 each at my local Home Depot. It's in the insulation section. We'll be using a
lot of duct tape so make sure to grab a roll. You'll likely already have this, but a hot glue gun and glue can be helpful, but
it's not necessary. We'll also need about eight, eight foot long, two by twos. We also need about four feet of two by six or two
by eight boards. Of course, we also need
paint and paint brushes or a paint sprayer. And for mine, I need three packs of this peel and stick molding, totaling about 60 feet. I'll also be using a
leftover four foot section of crown molding from
a prior house project. We also need a drill, drill bit, screws, as well as hammer
and nails or a brad nailer. I recommend a
nailer as it really is so much easier than
trying to use a hammer here. We'll also need our saw of
choice to cut down our boards, and a mitre saw is preferable so that we can do some
angled cuts with ease. But you can also do
that with the jigsaw. Now we're ready to start
constructing our backdrop.
4. Construction: Started by gluing my two
foam boards together, but I would suggest
beginning with peeling this labeling off first
so you can reach better. You can likely paint over it, but it would require more coats, so I suggest just taking it off. From the back, duct tape the
seam between the two boards. The hot glue only worked
marginally well here, so I don't think it's
completely necessary for this. You can glue it or not.
It's totally up to you. I also caulked the front seam of the foam boards,
but in retrospect, I'm not sure I would
do that again, or I would do a much neater
job than what I did. It showed up in the pictures, and it needed to be edited out. Now, it's possible, if you have a wall or a big set of shelves to lean this backdrop
against it and have no need to construct
the wooden frame at all. But I needed to be able
to move it around, and I like working
with wood anyway, so I made this backdrop
somewhat transportable. We can't nail or
screw this foam to wood because it'll pull
right through the foam, so I use duct tape instead. Now, please do not that mine is going to look slightly
different because I was using scrap wood rather than full eight foot pieces
of two by twos. Lay out an eight foot two by two along the base
of the backdrop, three vertically,
one on each side, and one in the center, and
one along the top as well. Hot tip, have the foam
just slightly above the bottom wood base so that it doesn't scrape along the
ground when you move it. Cut an equal amount of inches off the vertical
pieces so that you fit within the span of the eight foot tall
foam constructed piece. We also need one to span
the center of the backdrop, measure your distance between the three verticals and cut
two by twos to that length. I kind of taped and
screwed as I went, but you can also construct
the wood frame first, then add duct tape and
attach to the foam boards. It's totally up to
you. I screwed in from the sides of the vertical supports into the horizontals. From the top, I screwed
into the verticals. You can stagger the
middle support so that you can screw or
nail it from either side. Tape it to the foam backdrop
by wrapping it over itself, as well as wrapping
around the wood support and onto either
side of the foam. Then we need for the backdrop
to stand steady on its own, so we'll be making three, two by six or two by eight feet. Cut three of these
about 14 to 16 " long. Before we attach
these to the frame, we want to cut our
angled supports. Place the two by six feet along the bottom rail of the frame
and hold up two by twos or a long piece of scrap wood and mark the angle where
it intersects with both the back end
of the two by six foot and the vertical support. I want it to terminate at the vertical support at
about shoulder height. That should be fine
to hold it up. I'm sure there's some
sort of calculation you can do to
mathematically work it out, but I found it far
quicker and less fussy to just hold
it up and mark it. This doesn't have to be perfect. It's not holding
a lot of weight. It's just helping
it stay upright. You shouldn't ever be leaning
against the backdrop. So this framing,
it can be simple. I found an old shelf support
that I use for the center, but you can just use
another two by two here. Take your marked board
to your mitre saw and move the mitre around until
it matches your angle. Alternatively, use a jigsaw
and just follow the line. Make sure to clamp your wood to a surface and wear proper eye, ear, and lung protection. After you've cut, hold it back up to the
backdrop to check it. If it's mostly fitting, move forward or make another
cut for more accuracy. Then take your two by
six with the angle two by two held in place
against it and nail, then screw it in place from
the bottom of the two by six. Place it back down and
screw through the top of the angled piece into
the vertical two by two. You might want to pre drill here to avoid
splitting the wood. Do this for the other
side as well as the center if you're not using
a metal bracket like me. Now we want to fully attach these feet to the
bottom two by two rail. If you're assembling this before attaching to the foam
board, this is no problem. But if it's already up like
mine, that's fine, too. We can just lift the foam
up where we need it. Remember, it's just
duct tape and screw from the front of
the bottom rail into the two by six feet. Place two to three
screws in each one. With all of these attachments, I find it easier to shoot a nail through first then screw it in. The nail holds it in place so it frees up your
hands to work. Now that your frame is
sturdy and supportive, add any duct tape
where needed and make sure your foam is
flush against your bracing. Our next step is to
draw out our design. I already calculated my
molding frames on paper, so I just needed to
get it onto the foam. Using a measuring tape
and a long ruler, I drew my boxes one by one. Take your time
with this and step back to check your work
every once in a while. Now, take your peel
and stick molding, hold it up a section at a time, and cut a 45 degree
angle on either end, making sure both
are not parallel. This will form the mitre
joint of each frame. I cut this with either
scissors or a box knife. Both of them work fine. Peel off the backing and slowly stick it in place along
your pre drawn lines. You can use a level
here if you need it. Cut a 45 degree angle
on another piece, hold it up to the
pre placed molding, matching the angle,
and mark where you need to cut the
opposite mitred angle. Be careful as you do this. It's easy to get confused and cut your angle the
opposite direction. You'll do this for all the
frames drawn on your backdrop. For my center box frame, I want to have that
piece of crown molding along the top for extra
architectural detail. So after all the
boxes were done, I measured the length
of the opening and cut 45 degree angles on either end of some old
crown molding I had. I temporarily held it where
it needed to sit with duct tape wrapped on itself like we did with
the back framing. And then I had a helper hold the molding in place
from the front while I drove a screw from the
back vertical support into the molding
through the foam. Since this is much heavier than the peel and stick molding, I wanted it to have just
some extra support. Now, step back once
again and lift up and adjust any pieces
that don't look right. The peel and stick will let you do this about one or two times. Now that the backdrop
is constructed, it's time to paint, and
we're almost finished.
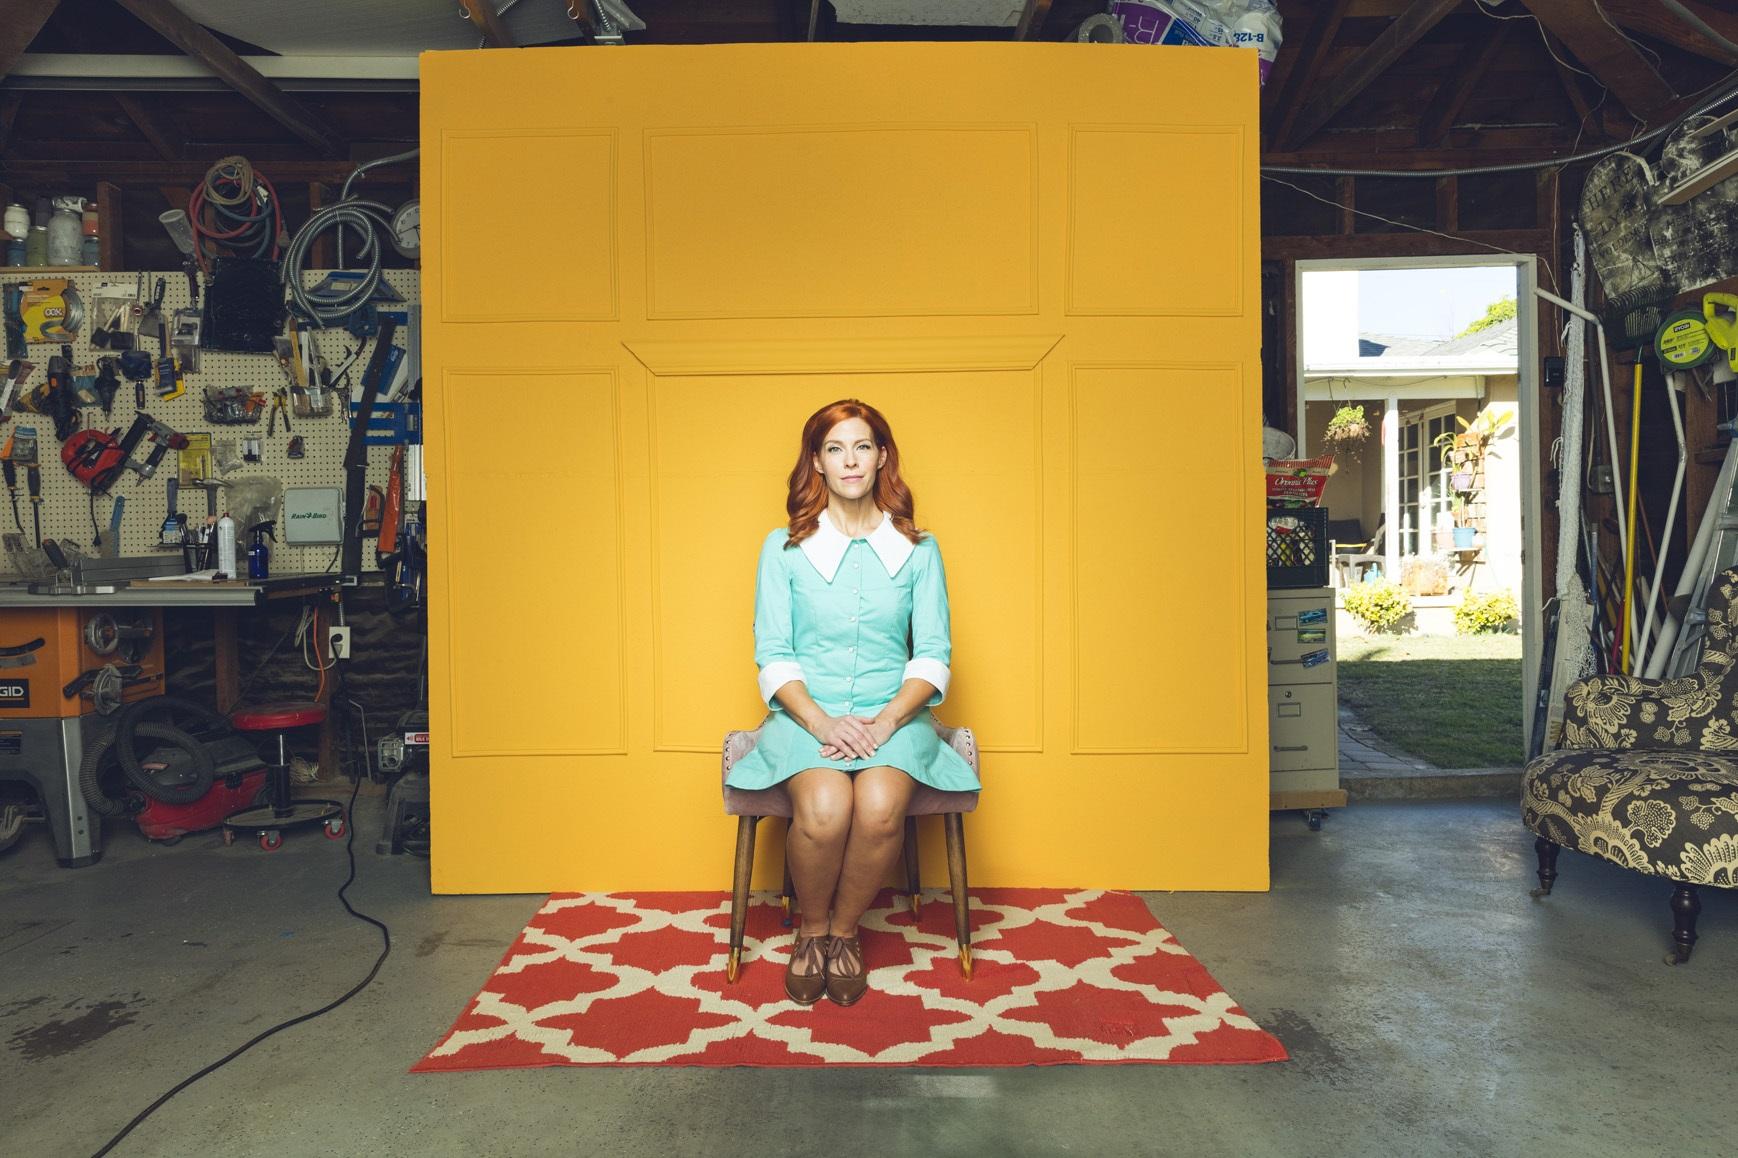
5. Finishing: Found this delightful
shade of yellow that fits right in with the Wes
Anderson color scheme, and I grabbed a gallon of matte sheen from the hardware store. I'm using my high
pressure sprayer, but you can easily use a paint brush or a roller.
It's totally up to you. I put three coats down, but if you're
rolling or brushing, you'll probably do less. Spraying puts down much
finer and lighter coats, so you have to do
more for coverage. Make sure you get the
tops of all the moldings, as well as the sides and below. You don't want to
have missed spots. Look at it in the daylight,
if at all possible. This will show any uneven coverage that needs
another pass. Now your backdrop is finished, it's ready for you to take
some brilliant photos of yourself or someone
or something else. Have some fun with it. Maybe you even film a short
scene in front of it or let your kids
stage a play there. It's yours for the creating.
6. FinalThoughts: Guys, I am so happy with
how my backdrop turned out, and the photographer and I had so much fun doing the shoot. It really bumped the
shots to the next level. And now I know for future exactly how I'd make one
if I needed another. I hope yours turned out amazing, and I can't wait to
see what fun photos you create with
your new backdrop. Please post your project
here so I can see it. Also, if this class got you buzzing and empowered
you to make something, would you mind
leaving me a review? Reviews are so, so
helpful in helping other creatives like
you find these classes, and it helps me to
know that what I'm putting on here
is useful to you. I really appreciate
it. Thank you so much for watching and making this world more beautiful
and whimsical with me.
 Brittany Joyner, SoCal WoodGal