Quick Binding Tutorial - Japanese Hemp Leaf Binding
 Ido Agassi, Book Artist
Watch this class and thousands more
Watch this class and thousands more
Lessons in This Class
-
-
1.
Introduction
0:36
-
2.
What You Need For This Class
1:21
-
3.
Hemp Leaf Sewing Tutorial
11:26
-
-
- --
- Beginner level
- Intermediate level
- Advanced level
- All levels
Community Generated
The level is determined by a majority opinion of students who have reviewed this class. The teacher's recommendation is shown until at least 5 student responses are collected.
123
Students
3
Projects
About This Class
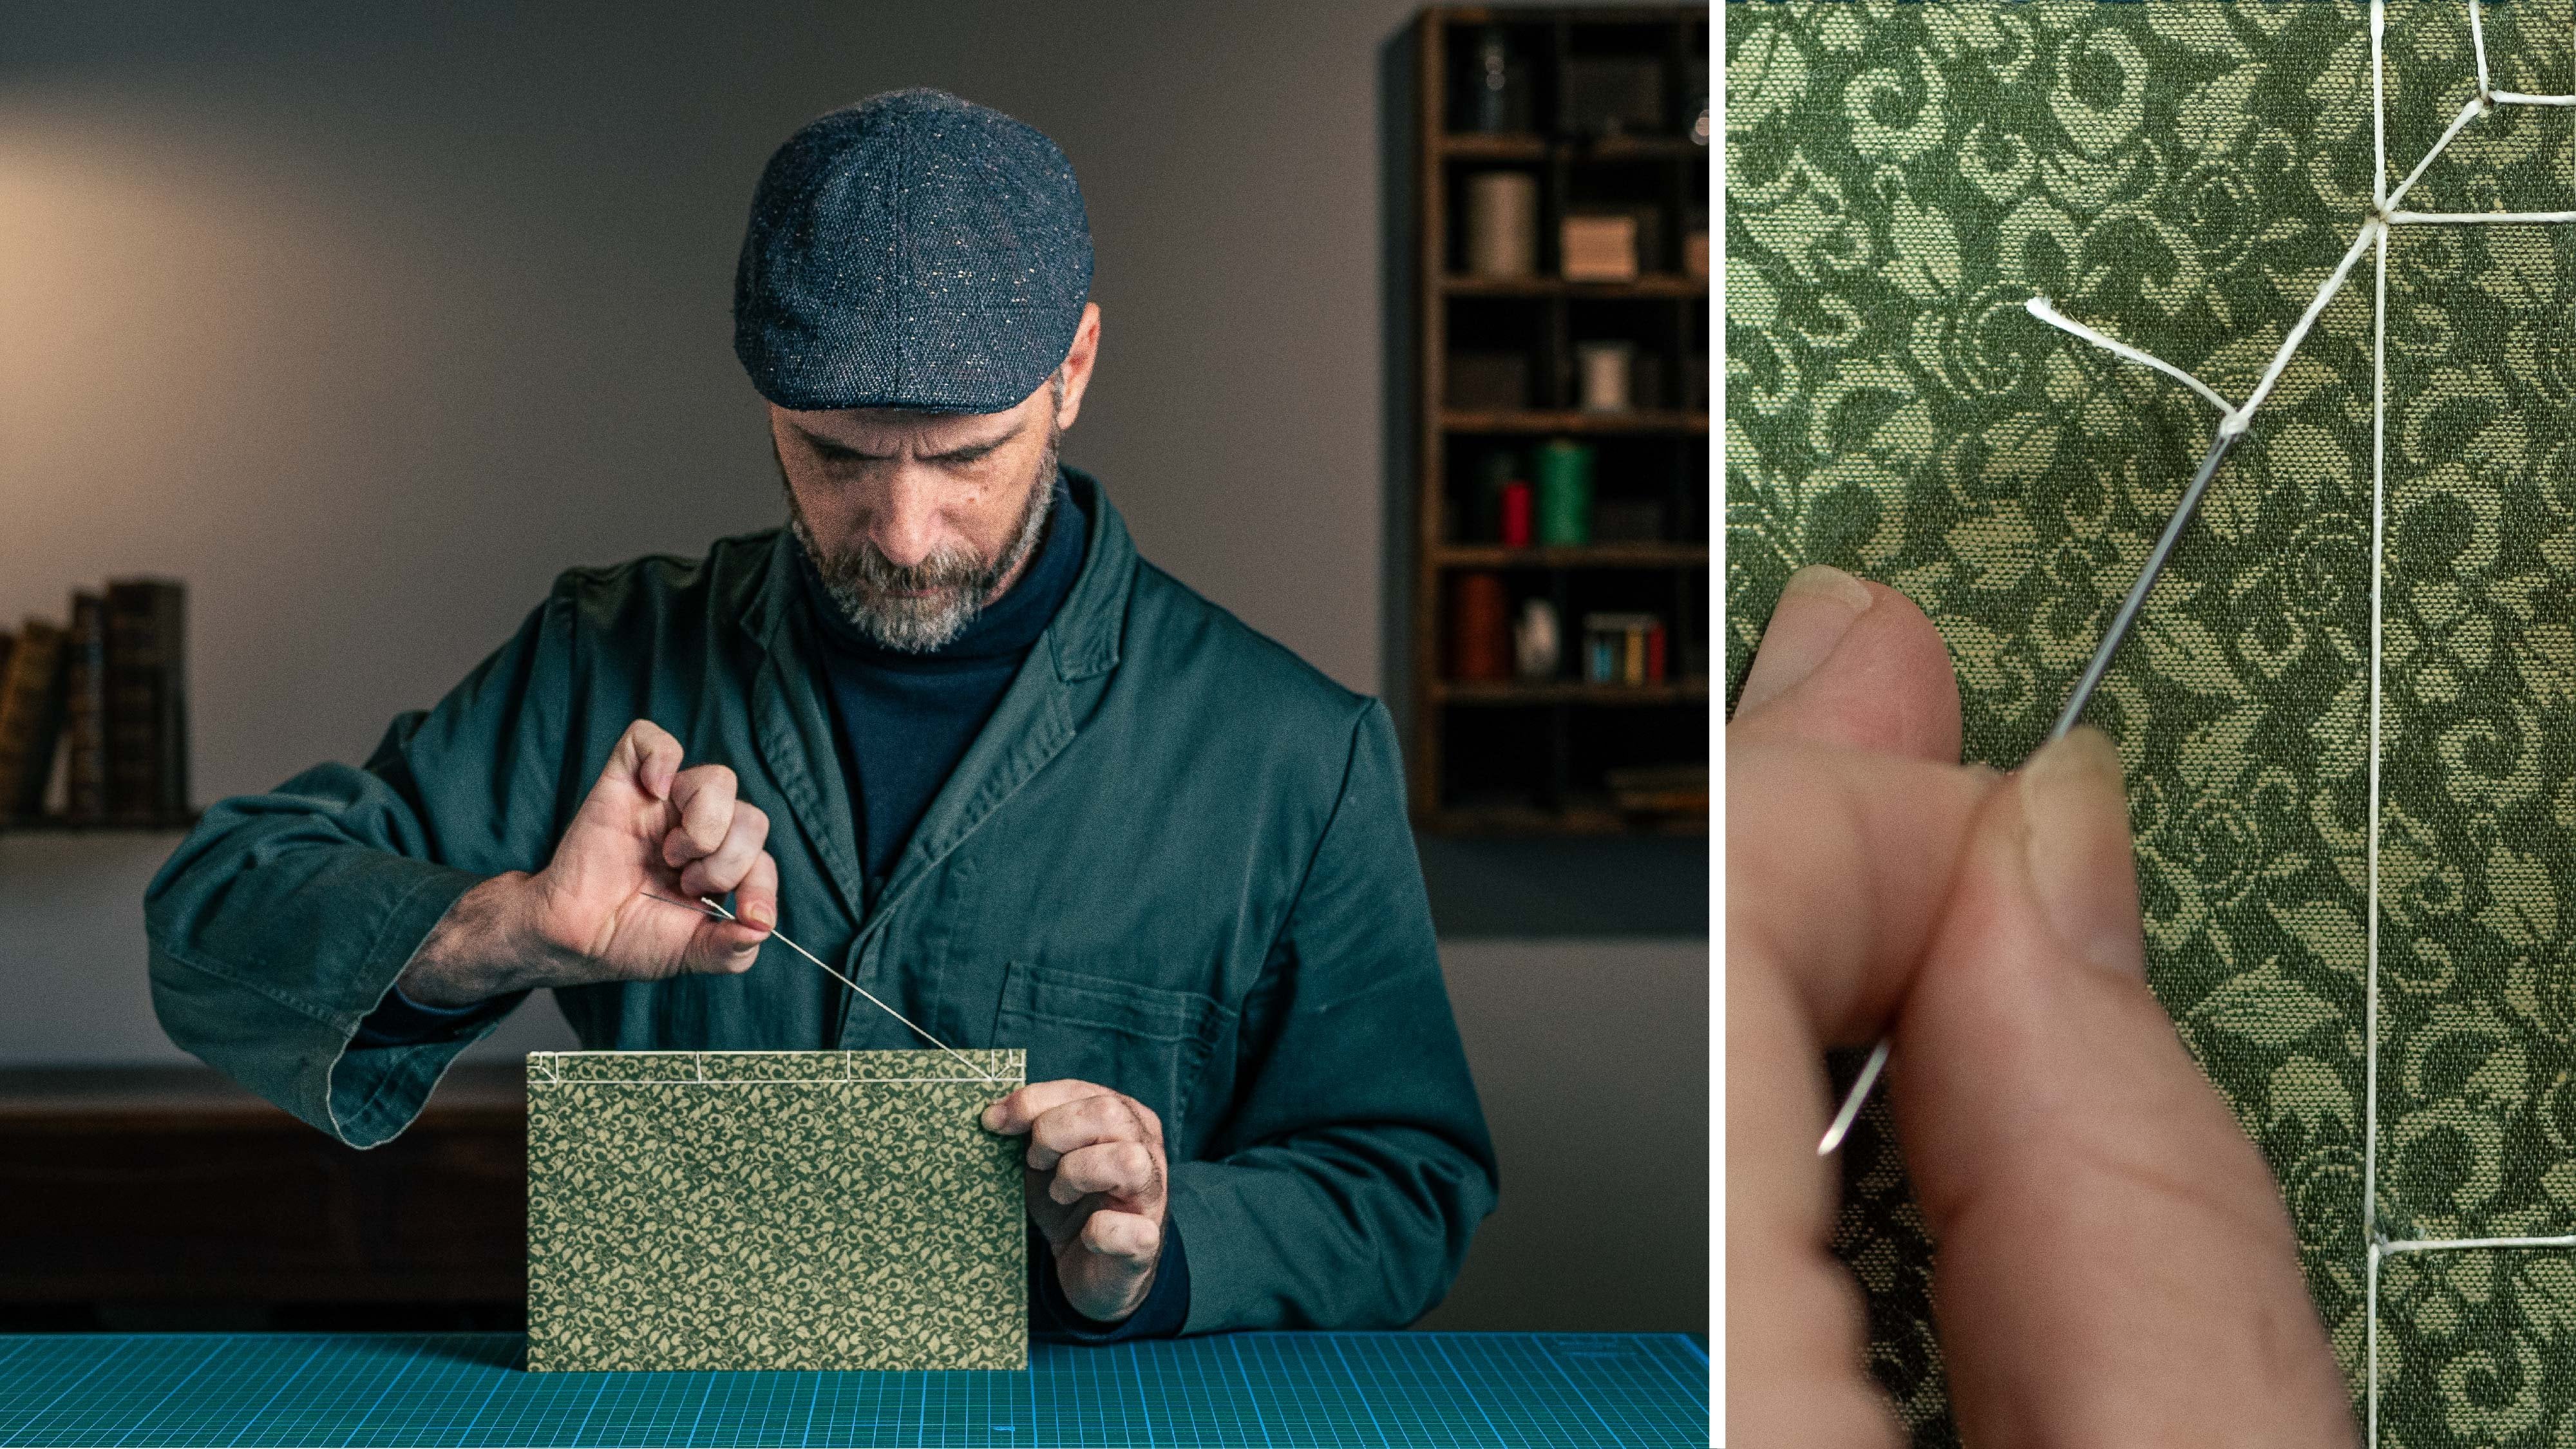
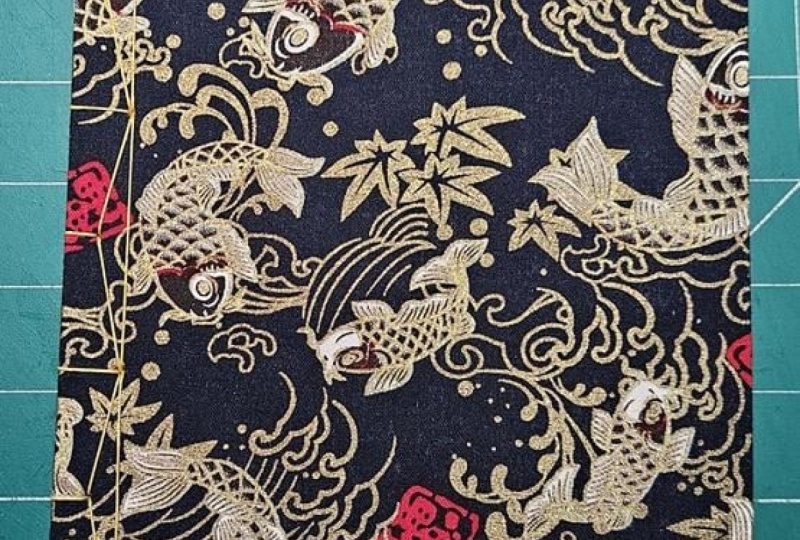
In this class, I will show you how to sew a Japanese Hemp Leaf Binding, also known as Asa-No-Ha Toji. This binding technique is very useful in our digital age as it allows you to bind single sheets of paper in different thicknesses and sizes.
My earlier class, Making a Japanese Binding, acts as a prerequisite to this class. If you need guidance, you can get started with your paper and covers by taking lessons 1-6 of that class before you start on this tutorial.
In this tutorial, I will take you step by step through the sewing process with clear explanations and detailed shots to give you a better understanding of this sewing pattern.
What's great about the Japanese binding structure is that it can hold single sheets of paper, you pile them up in the order you want them to be and you can start binding.
You can make this binding with a paper cover, offering the simplicity of binding with simple tools and reused materials.
In this class, we will learn how to place the book between the covers,
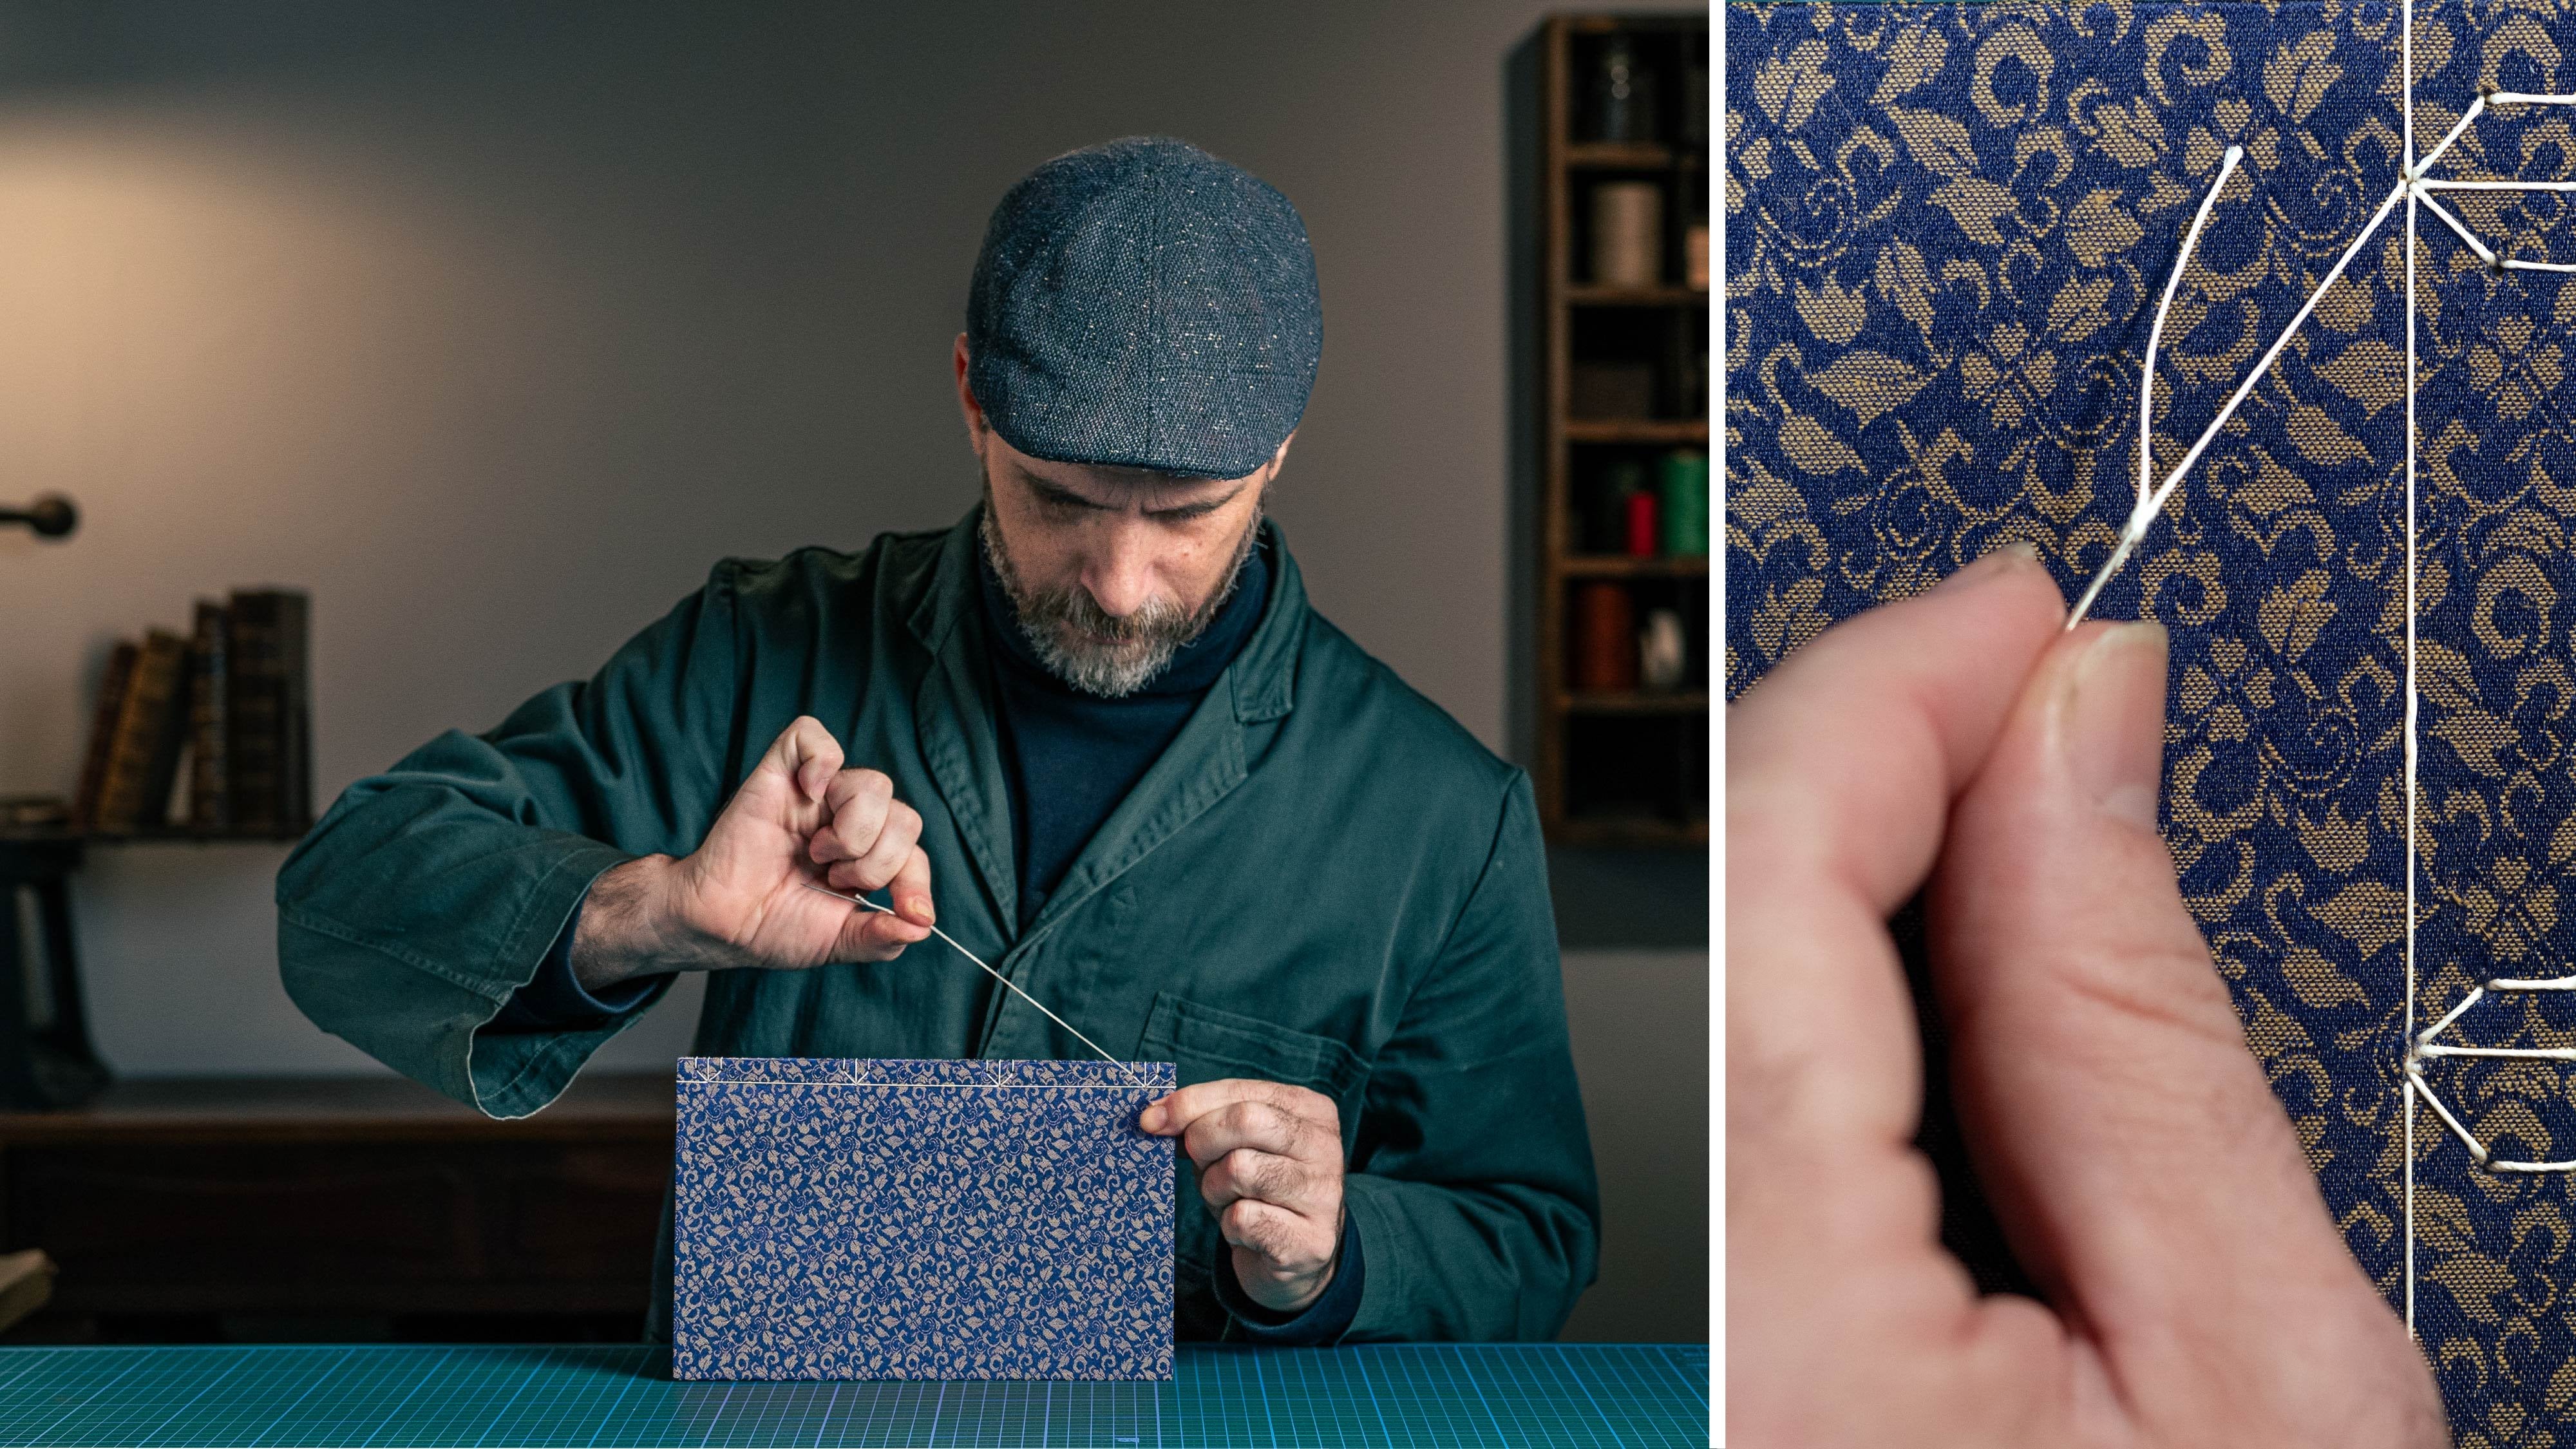
How to Pierce holes for sewing and learn how to sew the book.
This beautiful binding technique is a great solution for so many projects, from students submitting their papers to artists binding their selected works
I invite you to join me and together we will bind a book.
So are you ready?
Let's start working
Meet Your Teacher

My Name is Ido Agassi and I am a Book Artist,
Combining the crafts of Bookbinding, Letterpress printing and Box making to create my art in the form of a book.
I have the pleasure of making books most of my life, nearly 30 years.
I invite you to join me in this wonderful journey to the world of books
Instagram YouTube
See full profileHands-on Class Project
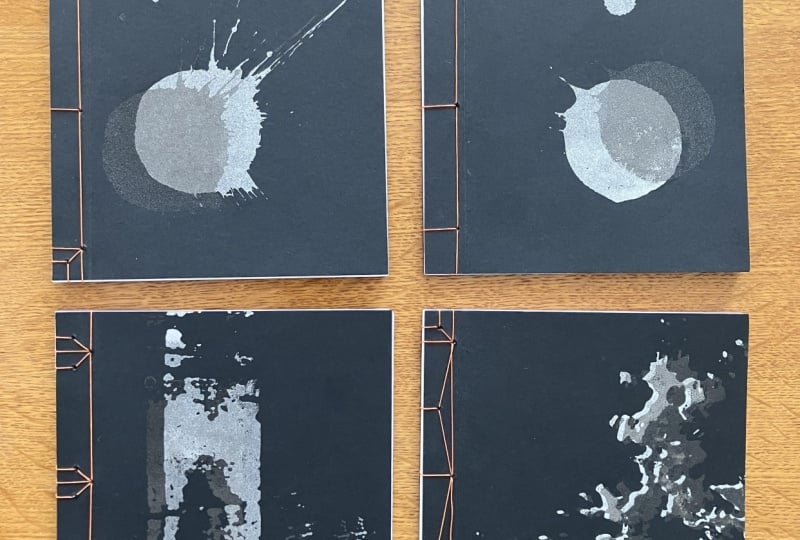
Your class Project is to bind your own Japanese Hemp Leaf Binding and then share it with us in the class Projects.
If you can, please add pictures of the process. I love watching those.
In this Class, you will learn how to:
- Place your book block between the covers
- Pierce holes for the outer binding
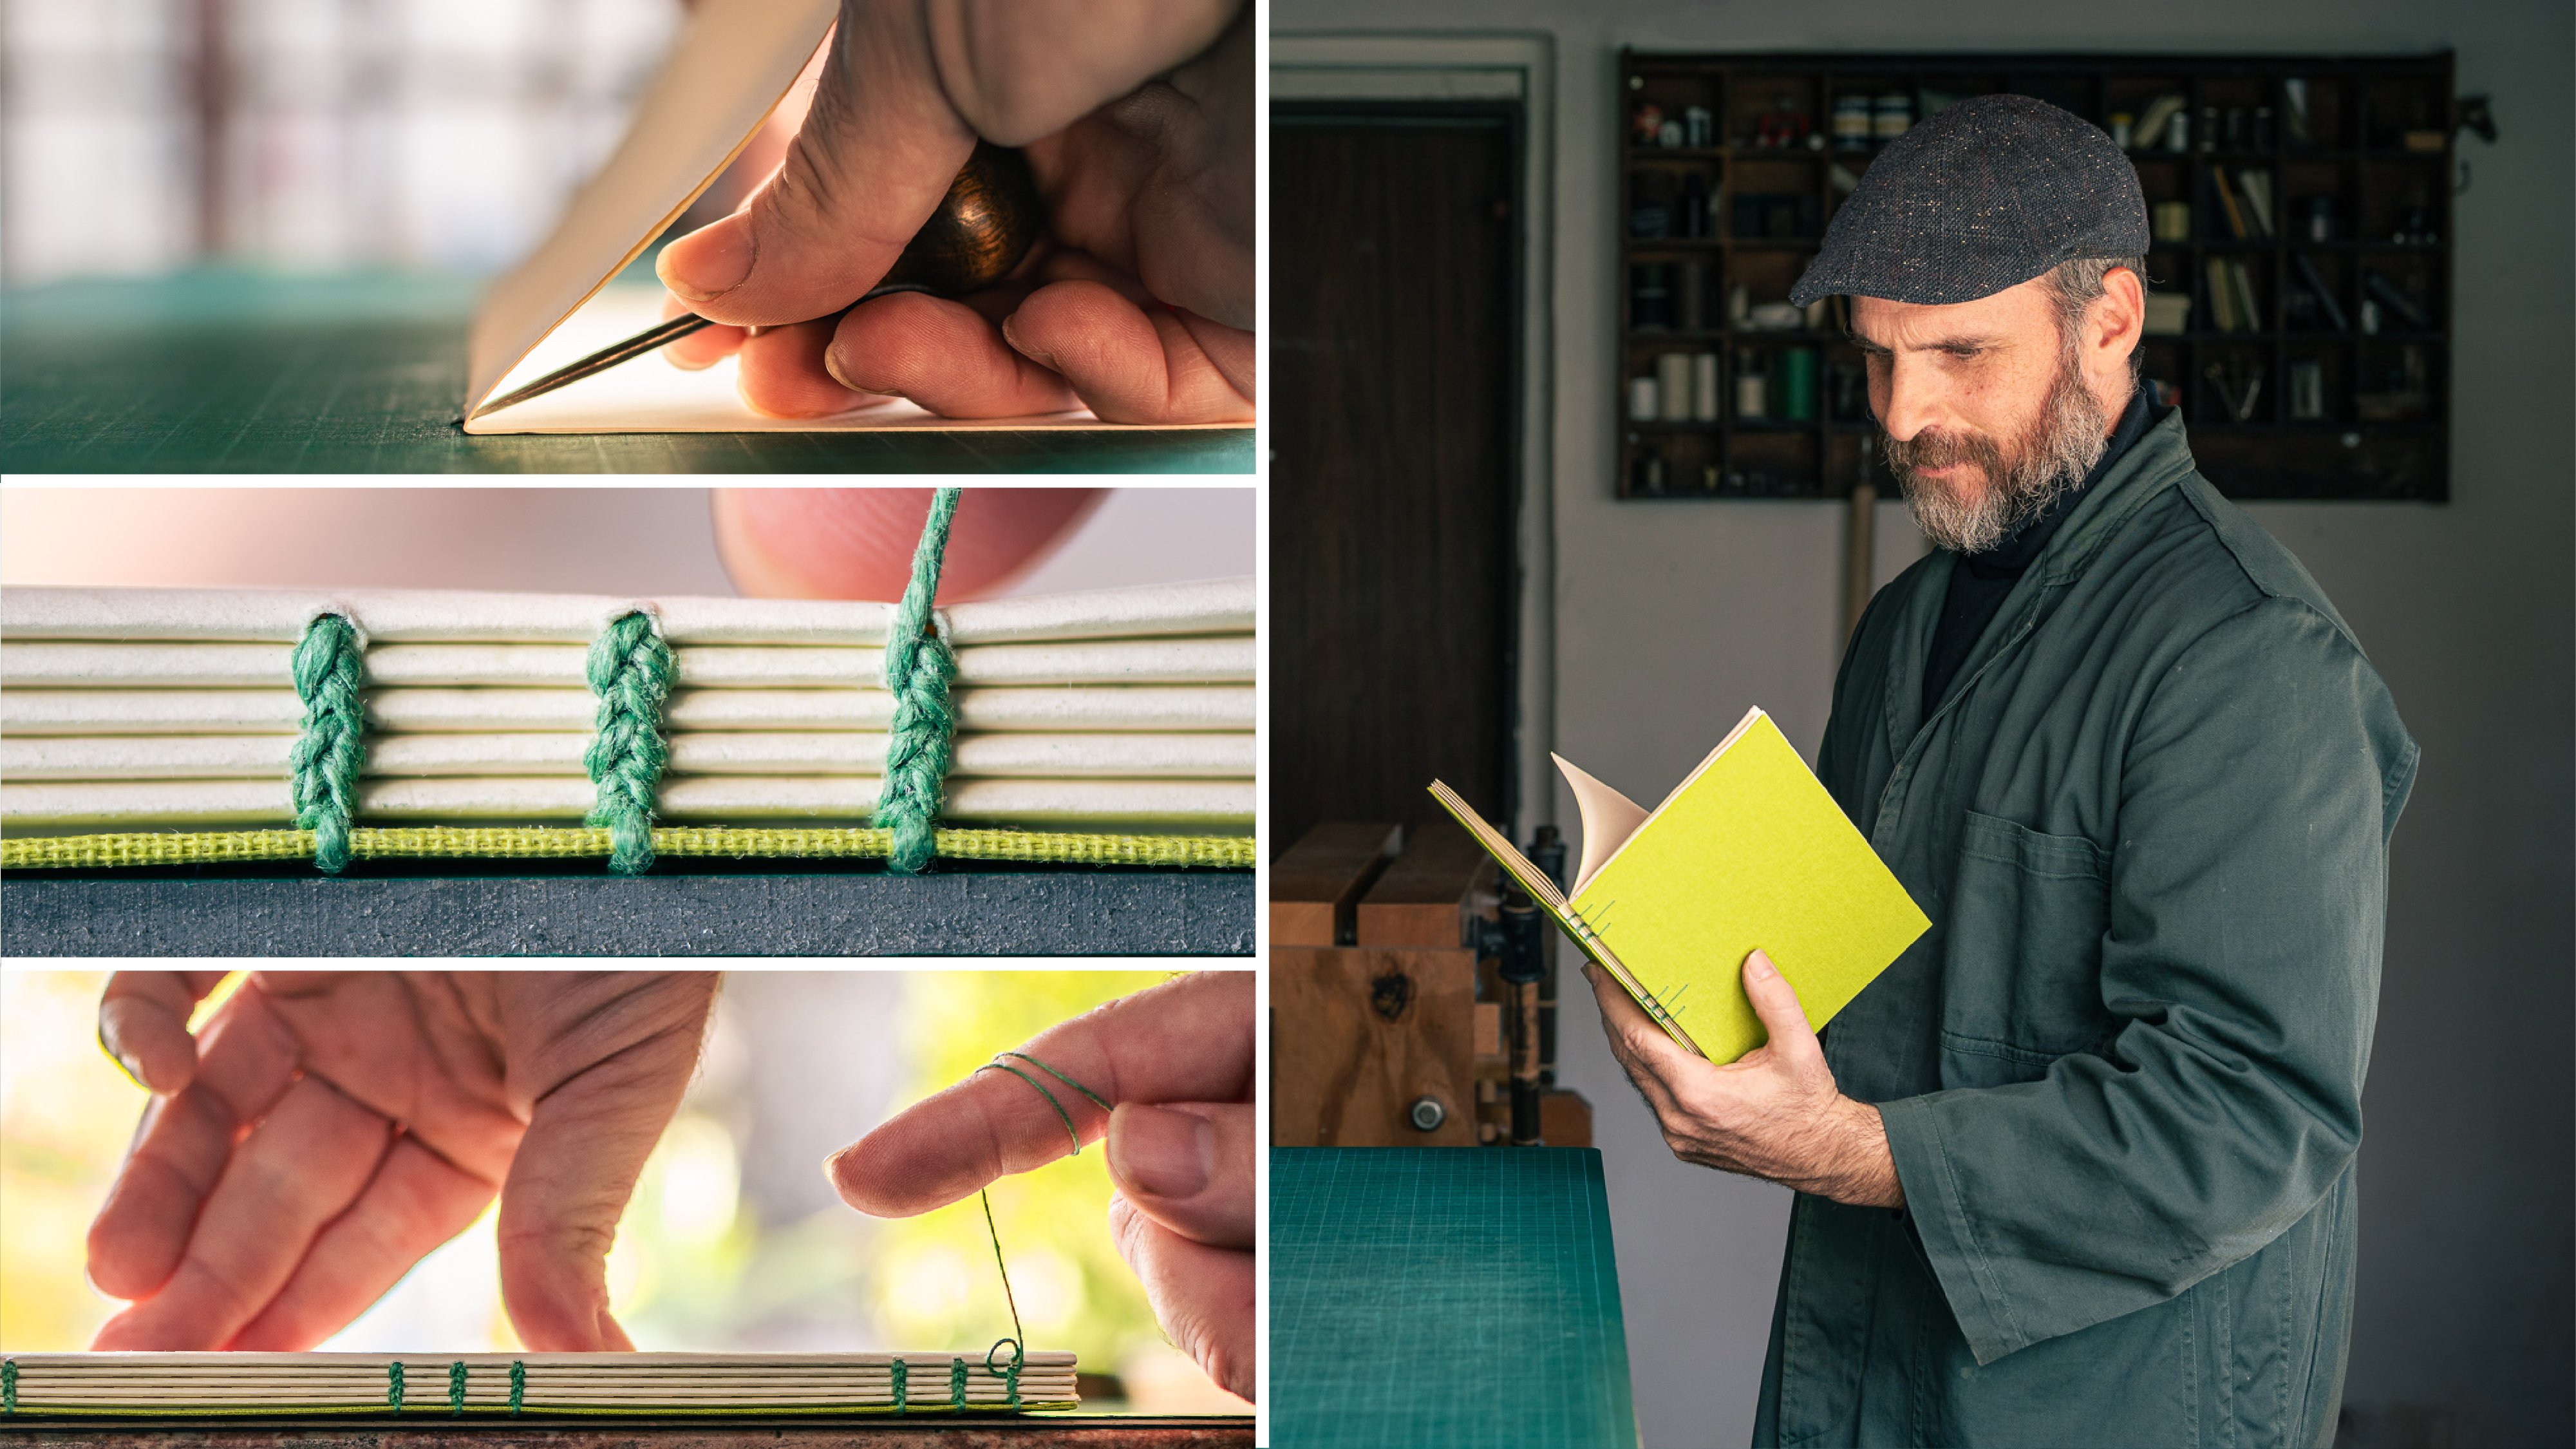
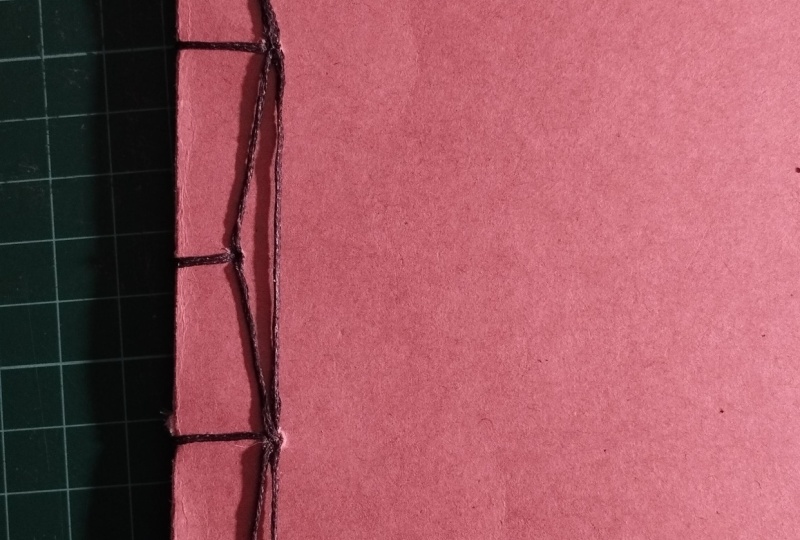
- Step-by-step process of sewing the binding
- Hiding the end knot
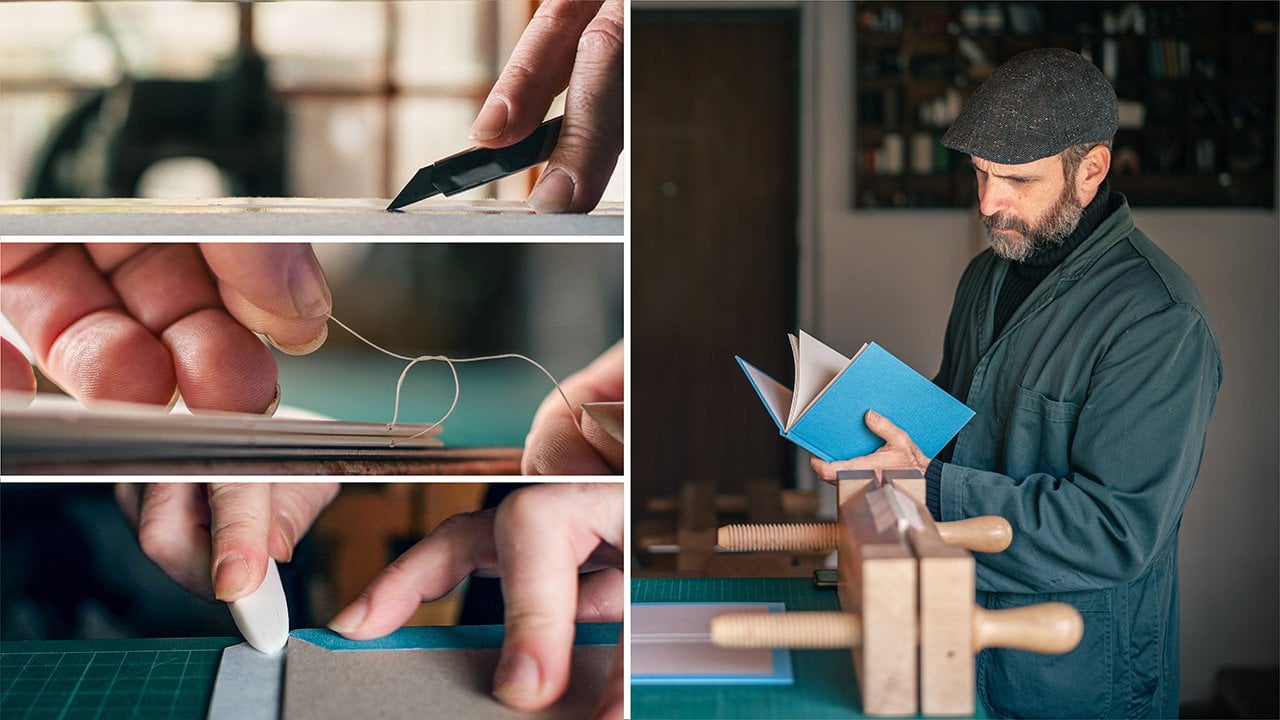
For this class you will need very simple tools:
- Awl
- needle
- Scissors
- Thread
To assist you, I’ve attached a PDF file in the Class Resources with a Template
So are you ready?
Let's start working
Class Ratings
Why Join Skillshare?
Take award-winning Skillshare Original Classes
Each class has short lessons, hands-on projects
Your membership supports Skillshare teachers
Learn From Anywhere
Take classes on the go with the Skillshare app. Stream or download to watch on the plane, the subway, or wherever you learn best.