Transcripts
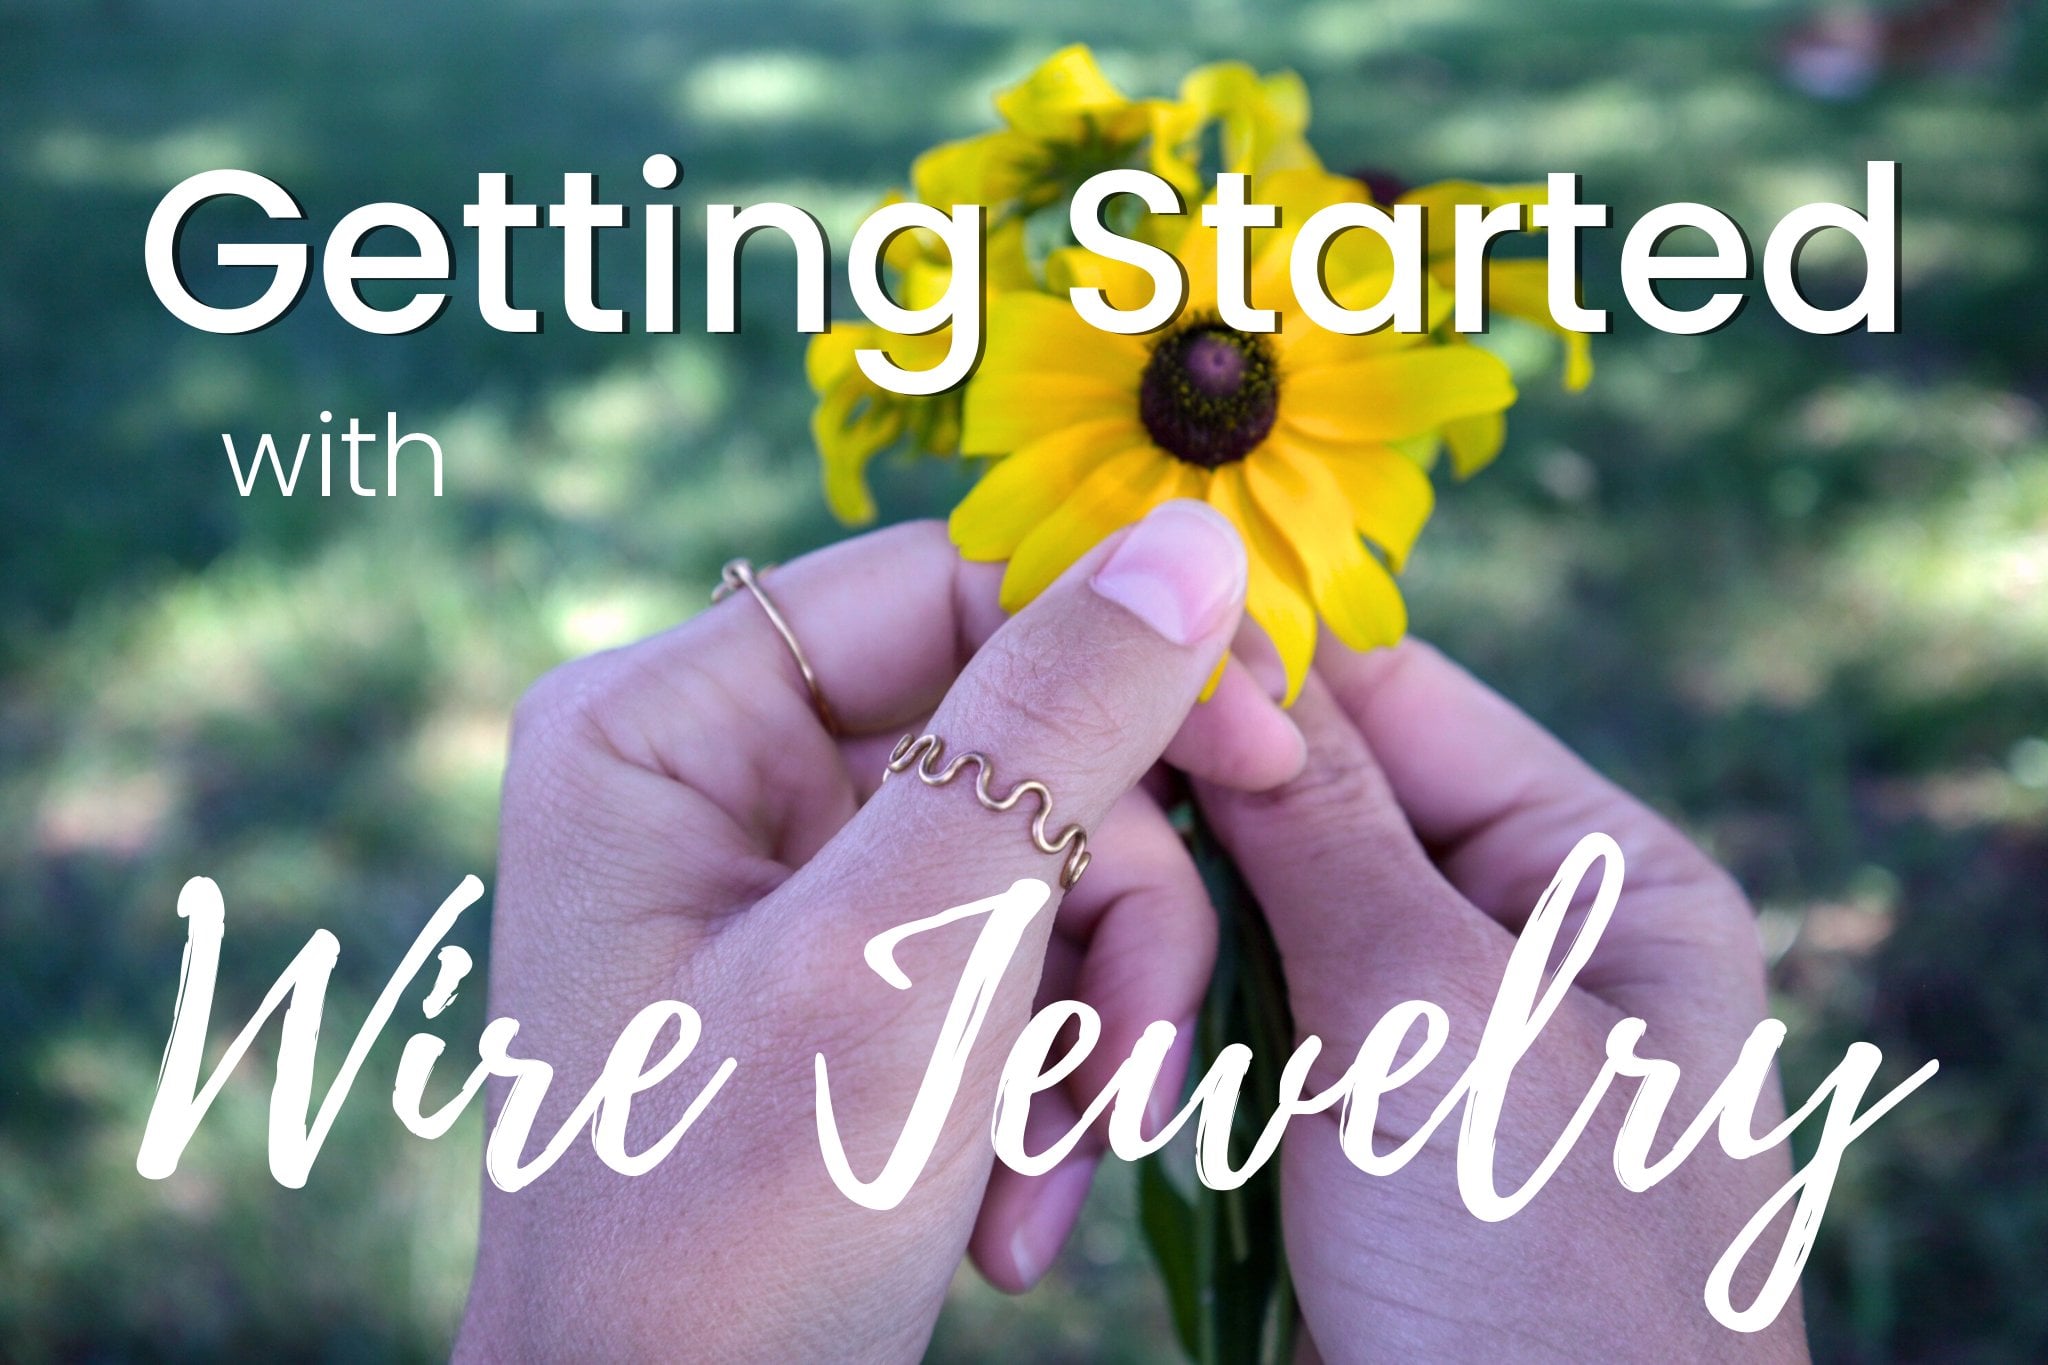
1. Introduction: Hello folks, Katrina here and
welcome to another class. We will be making
three rings today, two of which work perfectly together to create
a stacking set. Some of the things that
we will be going over in this class is how to twist wire to create the
band of a ring, as well as creating
loops at the end of wire so we can attach
other wires to it, will also be adding
beats two wire and using a ring mandrill to shape
our wire into rings. After watching all
of the videos in this class would be
super helpful for me. If you could leave a review and let me know how
it went for you, giving me some feedback
on how I might be able to make these
classes better for you. If you created one of these
rings or all of them, please attach pictures
to your project. I'd love to see what you created and how you
made it unique to you. Thanks for watching, and I'll
see you over in the class.
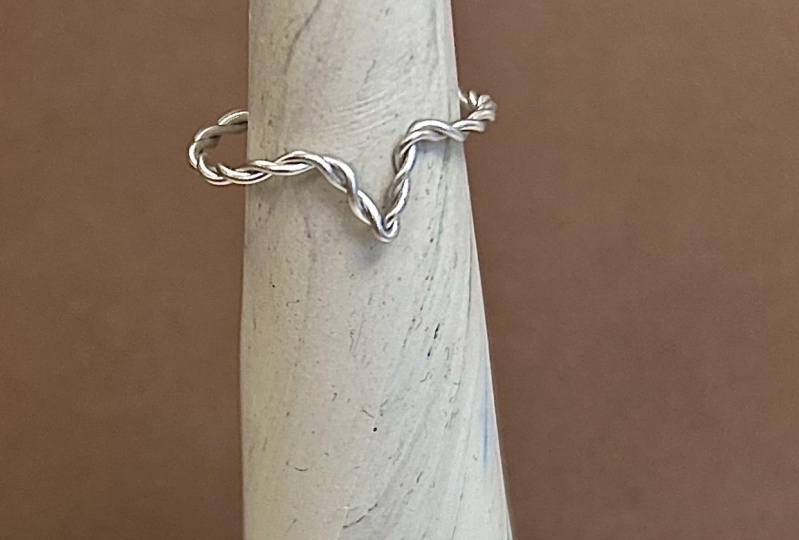
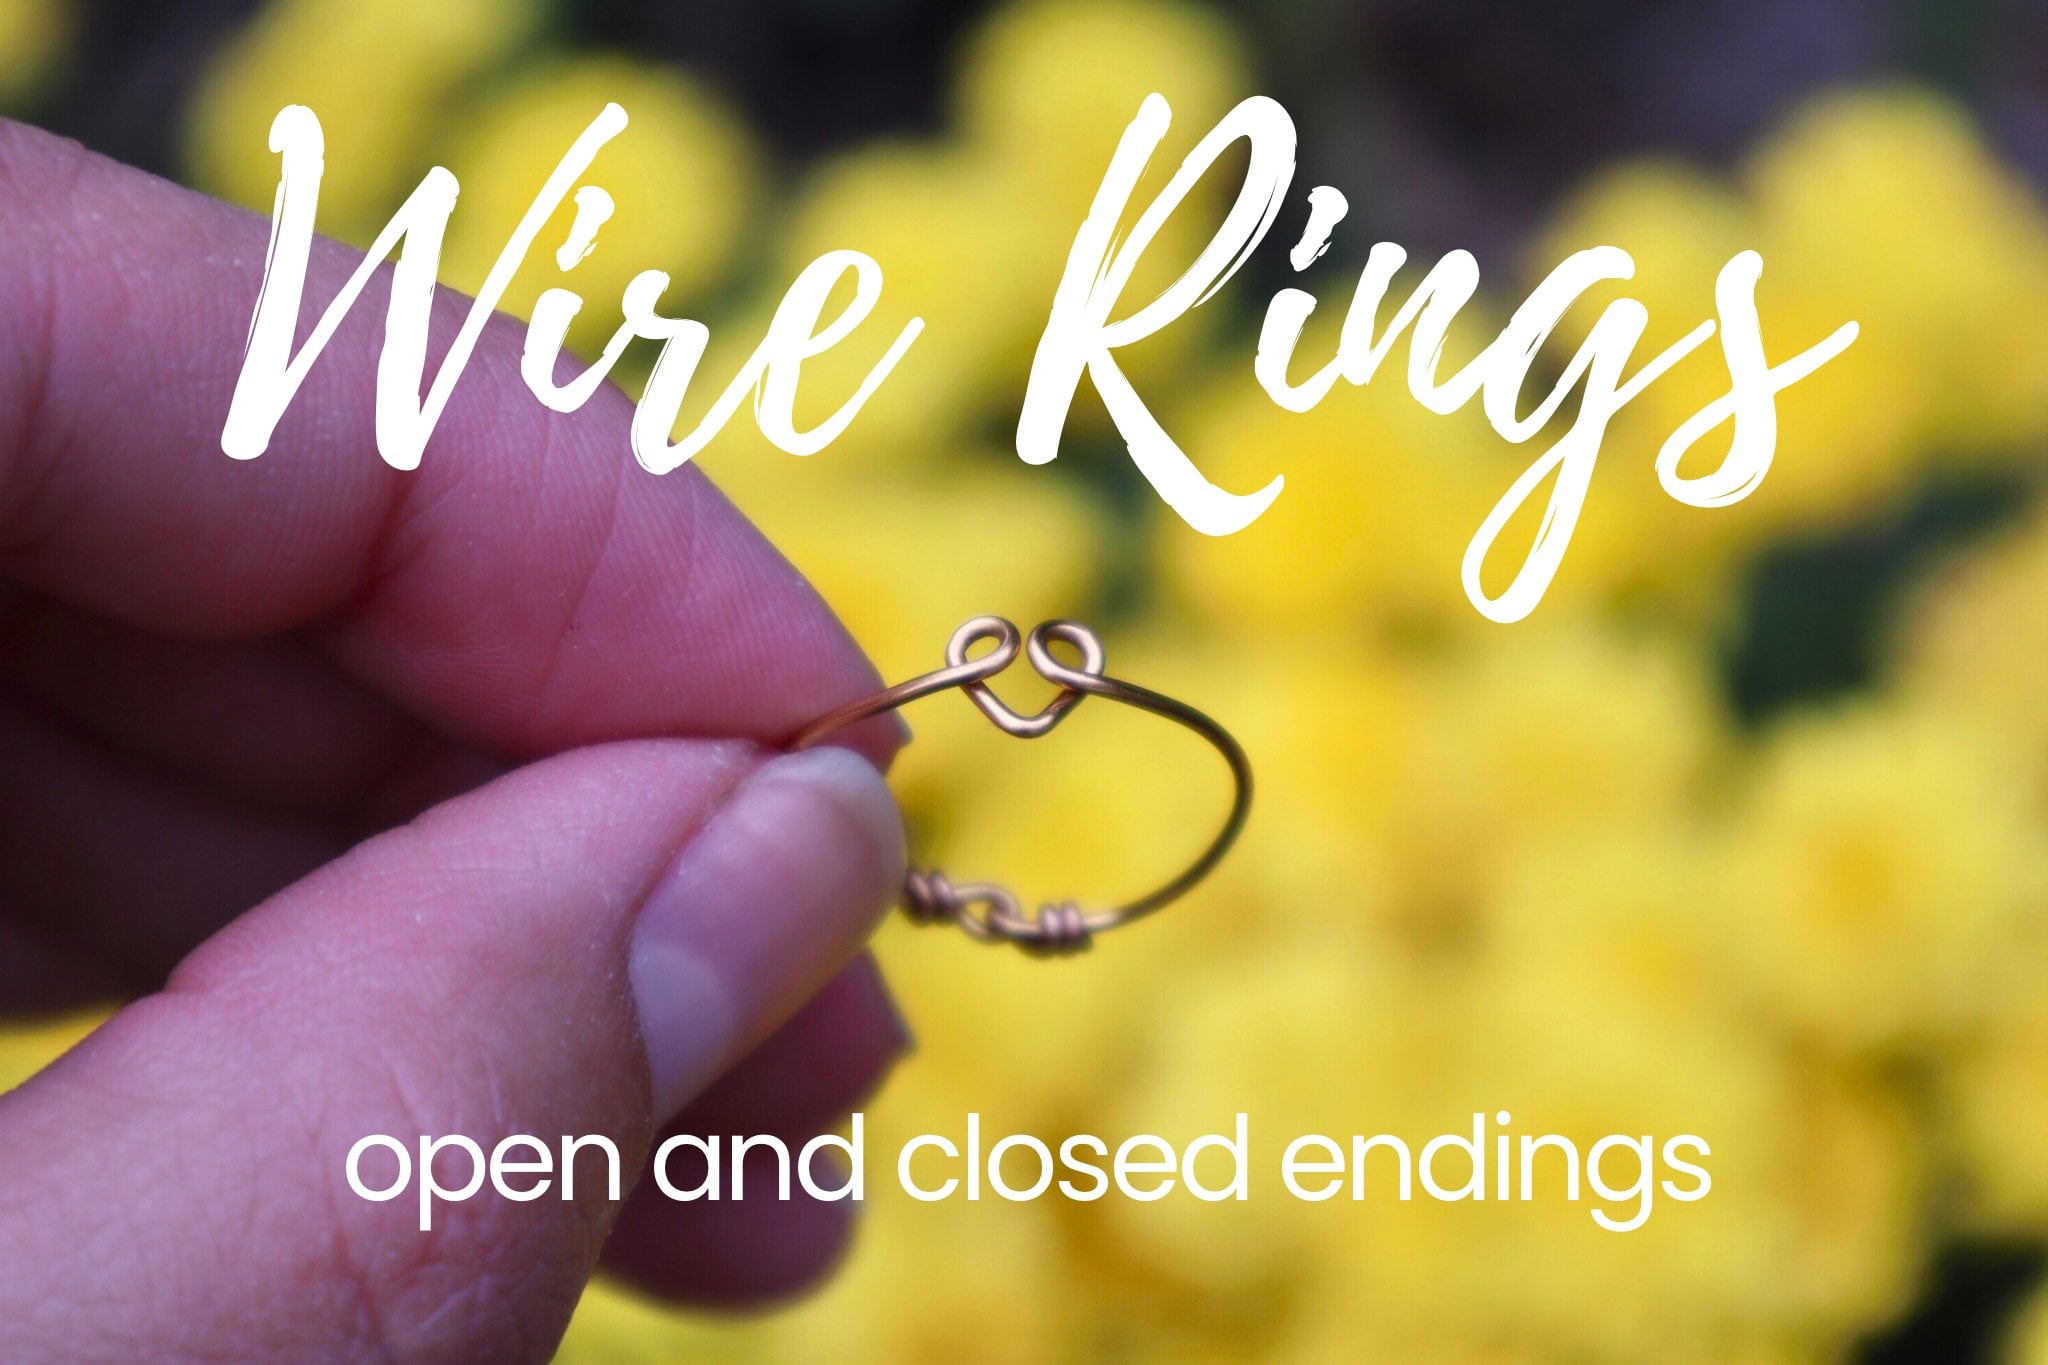
2. Twisted Band Ring: The first ring we're
going to be making is this super simple twisted band. For the twisted ring,
we're going to be using this silver plated
20 gauge wire. We're going to begin by
straightening the wire to make sure it is all smooth
for creating the ring. I'm making a size seven
ring once they've been in the wire and half that length
is about three or 4 " long. It's always better to
cut off access wire then did not have
enough and have to recur a whole length of wire. So give yourself a little
extra room to work with when creating different
designs like this. We're going to use the wire
straightened are again, smooth out the wire before
we begin twisting it. Next we're going to
take the wire and cross it over itself to
create a small loop. Using the needle nose pliers, we will place them inside the
loop to hold it securely. When we begin twisting the wire. As you twist the wire, try to maintain the angle
that the wires are spread at so that the twist is
even all the way down. Twist the wire all the
way down to the end. And then we will place it
on the ring mandrel to determine the length we need for the size of the ring
that we are making. This is why you want
to make sure you have enough wire so that you can have a little extra to work with when you are
creating a design. Using the wire cutters, we are going to cut
off that extra wire at the far side of the loop. Using the flat nose pliers, we're going to untwist
the very tip of the wire. Once we have untwisted it, we will also use the pliers
to smooth out the end. Then at the very
tip of our pliers, we are going to
create a small bend at the end of the wire, making sure that
it is long enough to be able to hook
through the loop. And then you can tighten it
down and close off the ring by squeezing the ends of the wire back over
against itself. You will probably be
able to begin by bending both of the wires
at the same time. But as you get the wire
tighter to the ring, you will probably need
to switch between both sides of the ring
going back and forth, bending each end of
the wire separately. Make sure that the
wires are even to each other and
centered in the loop. Using the flat nose pliers, tighten the wire
from the top and the sides so that the
ends are secure and well hidden underneath itself using the file to make sure that
there are no rough edges. Lastly, using the ring
mandrill to adjust the shape, makes sure it's round,
and also check our size. Well done on finishing
this twisted wiring. Be sure to check out the
next video where I'll be showing you how to add beads
for a fun pop of color. I'll see you there.
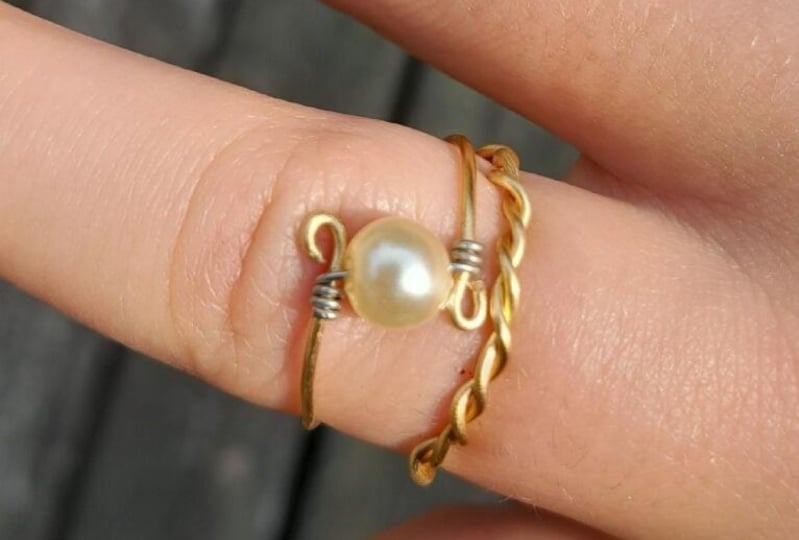
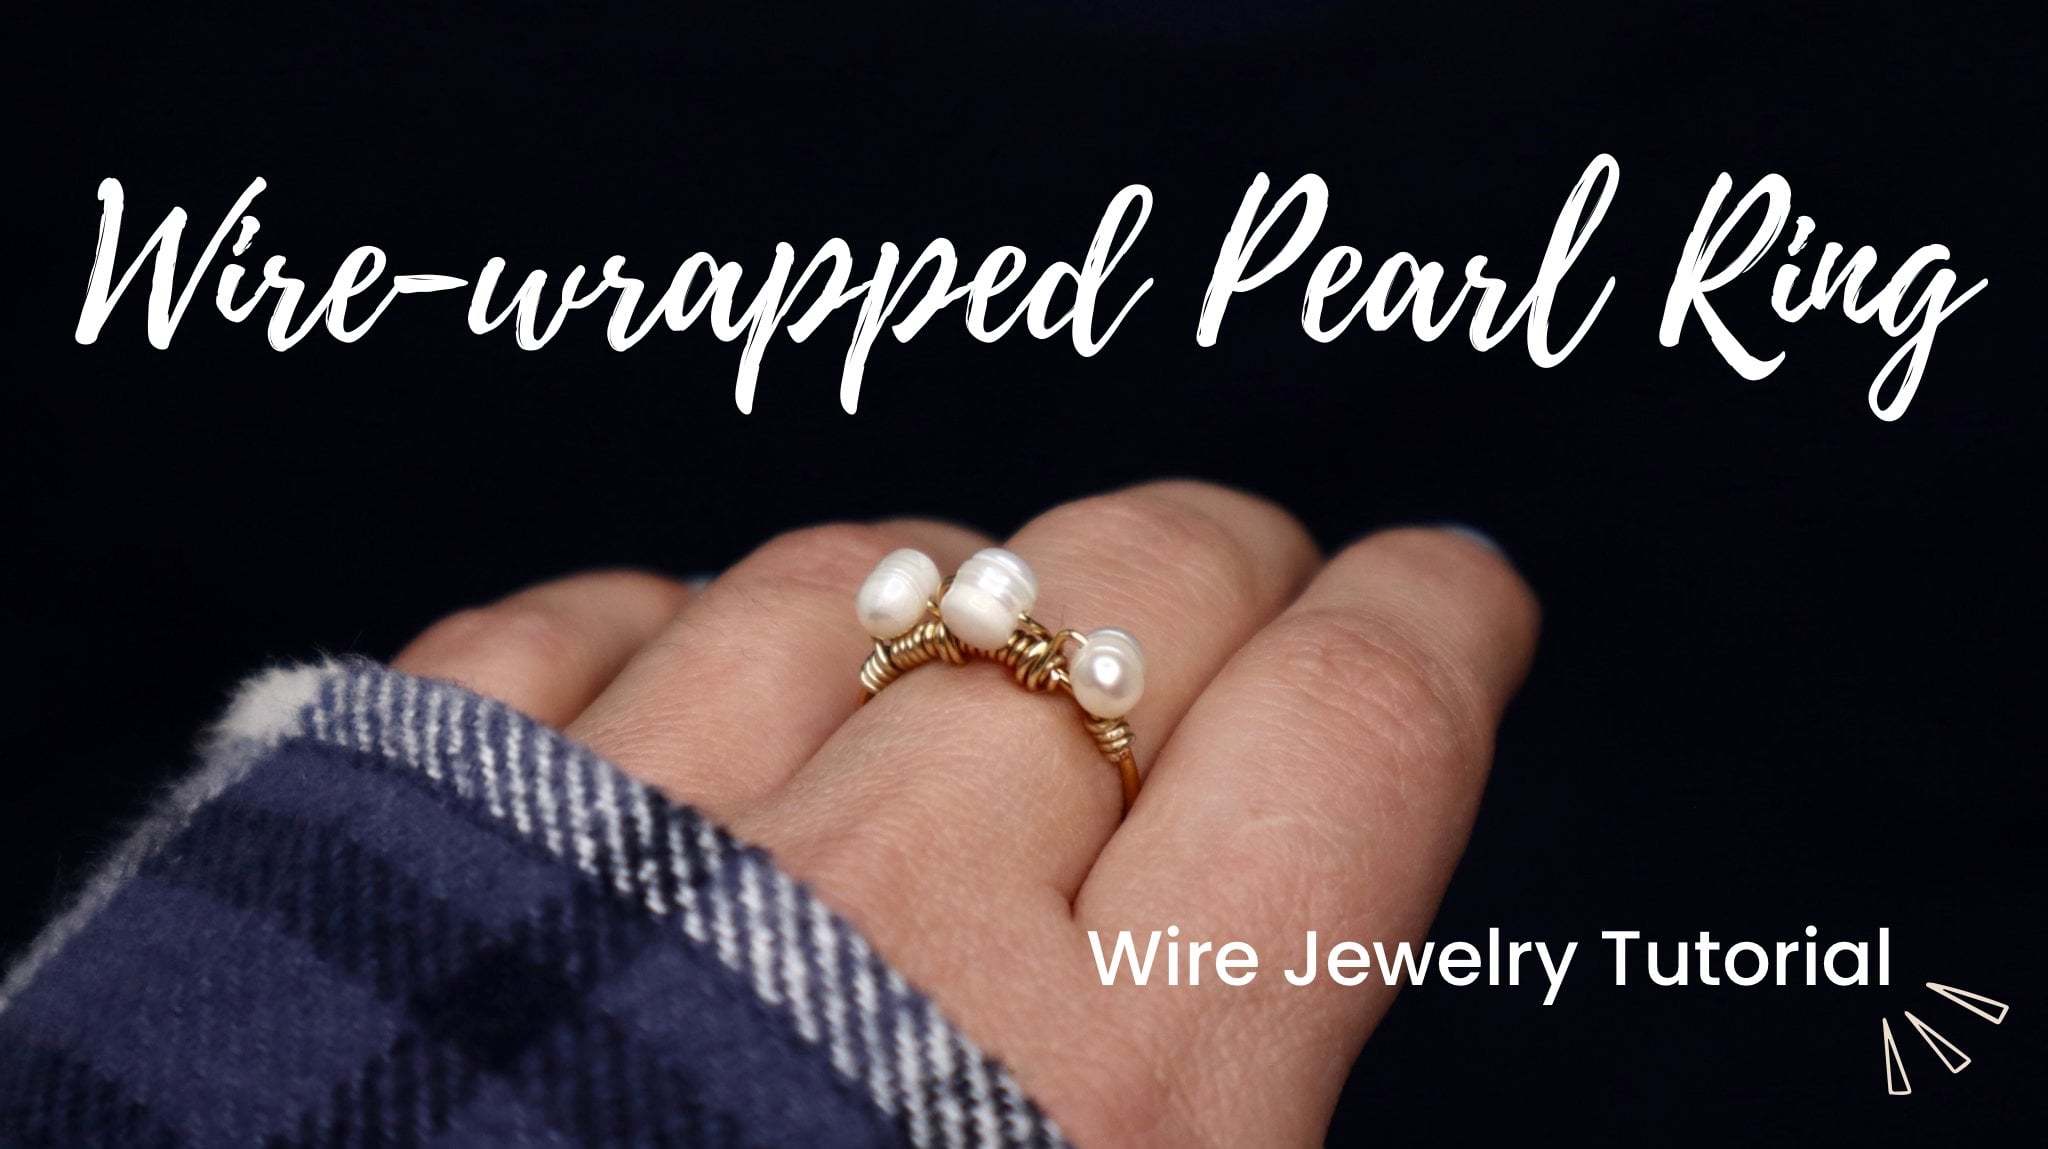
3. Beaded Twist Ring: Next we're going to add beads to the basic twisted
ring design. I'm going to make
a matching set, so I'm going to use the
same 20 gauge wire. Then we need three seed beads. And for tools we need a file
as well as ring mandrel. And for the pliers
we will be using the wire straight
news wire cutters, flat nose pliers and
needle nose pliers. We're going to start by creating the beat, its centerpiece. So we're going to take
the wire straight news and smooth out a bit of wire, leaving it attached
to this rule, we will add our
beads onto the wire. With a bits on the wire. We're going to
create a small loop at the very end of the wire. Placing the wire into the
very tip of the pliers. We will twist it to
create a very small loop. Once we have created the loop, we want to get back a
little bit so that it is centered over the
long end of the wire. Now I want to create
a second loop that matches the first one. So a bend the wire at 90 degrees and then
using our pliers, wrap the wire around the
pliers to create a loop. Readjusting your
pliers as needed. Wrap that long end of the wire around to create the loop shape, making sure that it is in
the opposite direction. As we wrapped the first loop. Adjust the loop to
make sure that it matches the first
one that we made. Then using the wire cutters
cut off the excess wire. Use the flat nose pliers
to tighten down the loop. We will also use the pliers
to create a slight curve in the wire so that it matches the curve of
the rest of the ring. Next, we will be making
the band of the ring. We're going to be making
this in the same way that we made the
first twisted ring. Folding the wire and half. We will then cut it off and
use the wire straight nurse to smooth out the wire
before we begin twisting it. Crossing ends. But before we begin
twisting the wire, we need to add our
baited centerpiece. Once we have added the beads, we can then close the
loop the rest of the way. Next we're going to use the
wire straight nurse to hold our wire in place as we
begin twisting the wire, maintaining the angle so that the twist is even
all the way down. Now that we have the band
of the ring twisted, we're going to use the
ring mandrel to measure how much wire we need
to complete the ring. Once you have determined how much water you need
for the band of the ring, mark that spot and
hold it tightly and twisting wire all the way down to the spot
that you marked. Once we have straightened
the wire out, again, we will pick the
wire that is on top and wrap it around
the other wire. Pulling the wire
tightly so that as well secured against
the first wire. We will then cut it off
flush with the wire cutters. Having secured and cut
off the extra wire, we're now going to create a loop with this
last piece of wire. Bend the wire over 90 degrees, and then using the
needle nose pliers, we'll wrap that
short end of wire around to create a loop. And excuse me, as I go to frame, sometimes it's a little
difficult to remember to keep it in the shot while
I'm wrapping the wire. Cut off the excess wire. Then before closing
the loop completely, we will attach the beads
to it and then use our flat nose
pliers to close off the loop and secure the
beads onto the ring. Then if you need to use the file to smooth
out any rough edges. The fun part about this design is that you can
change the color of the beads or the design of the bead and get a
totally different look. So play around with it, have some fun and make
it unique to you.
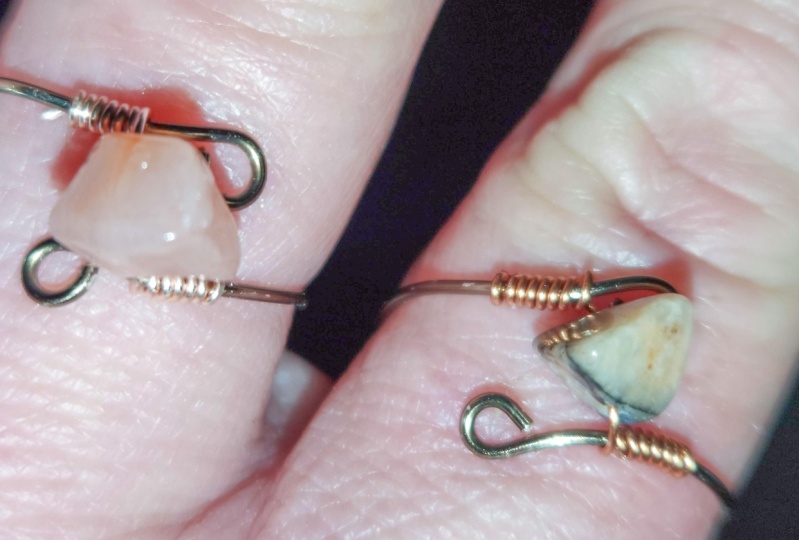
4. Beaded Bypass Ring: For our last video, we will be making this lovely bypass ring. For the beaded bypass, green, we're going
to need a beat. I chose a blue one. And then we will be using a
rig mandrel fingernail file. For the pliers. We have the straightness,
the wire cutters, flat nose pliers, and
the Neo nose pliers. We will be using 20 gauge
wire to create the band of the ring and then a 22 gauge
wire to attach the beat. It's always best to start
with a smooth wires. So we're going to
straighten out our wire first before we get
into creating anything. Next we're going to grab
our needle nose pliers and create a small loop at
the very tip of the wire. Then we want to make
sure that that loop is centered over the
long end of the wire. Next, we will be placing
the wire onto the ring mandrel so that we can wrap it into the
size that we want. According the wire securely, bring the wire up and around, and then bringing it
past the first loop. We will measure a
space that is wide enough to fit the bead that
we have chosen in-between. Now that we knew
how much space we need in-between the
two ends of the wire. We will hold that
mark with our fingers and create a 90 degree
turn in the wire. Then we can use our
needle nose pliers to create a loop that mirrors
the first one that we made. On the first loop, the
end of the wire is now towards the
inside of the bypass. We will wrap the second loop
to mirror that first loop, bringing the wire
around so that is on the inside of the bypass. Then once we have cut
off the extra wire, we will take the
needle nose pliers again and finish shaping that loop so that it matches
the shape of the first one. Now, using the 22 gauge wire, we can add the beat. We're going to secure the wire onto them
band of the ring. And we're going to start
just under the loop and then wrap the 22 gauge wire
down the band of the ring. Pushing the wire
together as we go up towards the loop to
create a tight spiral. You can make this spiral as wide or as narrow as you like. I like to have it a
nice tight spiral. So I'm going to use my flat
nose pliers to squeeze the spiral together so that all the wire is stacked
against each other. But you could leave it loose
to have a more open look. Once you are finished wrapping, trim any extra wire off, and then secure the end
with the flat nose pliers, allowing as much wire
as you need to create a rap that is the same
width as the first one. We're going to add the
bead and then begin wrapping that wire
onto the band. To match the first side, we want to wrap our wire directly under the loop
and then down the band. Wrapping the wire tightly and pressing it together to
create a tight spiral. Once you come to the
end of the wire, we will use the flat
nose pliers to tighten the spiral as well as press down and secure the
end of the wire so that it is tight against
the band of the ring. You can also tie in the
spirals by squeezing them from the top with the
flat nose pliers. This allows the ring to
be slightly adjustable. I'm going to be making
mine into a size seven. And I'll press down the
loops on either end so that they have the
curved shape of the ring. Lastly, we're going to check
all the ends of the wire and make sure everything
is smooth with the file. Now you have finished creating
the beaded bypass ring. I hope you enjoyed watching all of the videos in this class. Please leave a review. Let
me know how it went for you. Also, I love it if you
attach pictures of the projects that
you've made and I'll see you in the next class.
 Katrina Anderson, DIY wire jewelry and craft tutorials