Transcripts
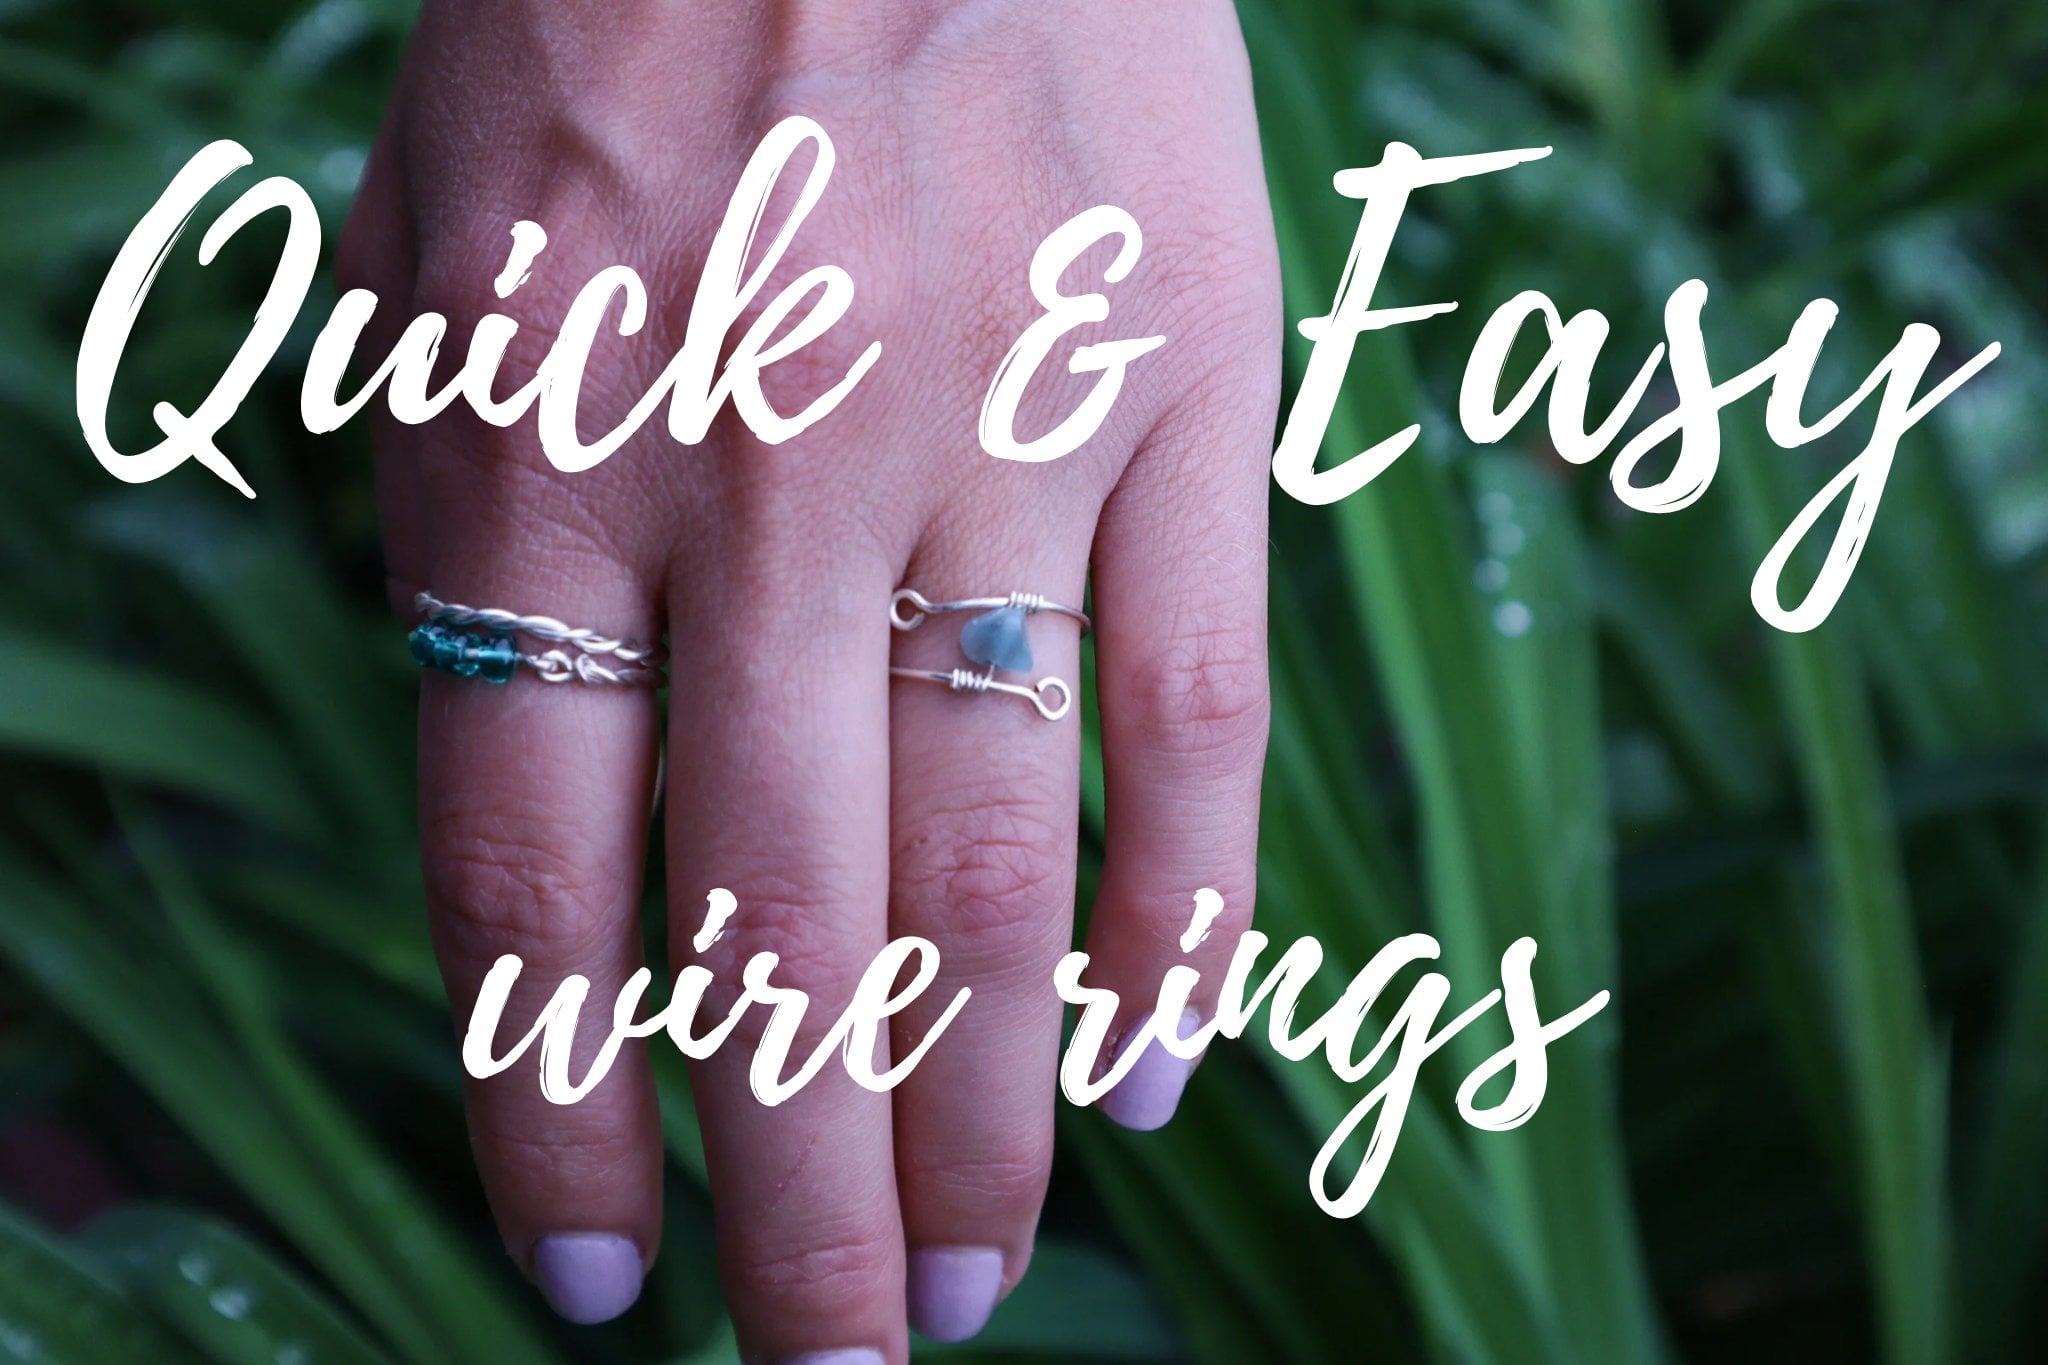
1. Introduction: Katrina here and I want to
welcome you to this class. Here we will be
looking at some of the most simple and
basic things that you need to know about
wire wrapping jewelry. There are so many different ways to make jewelry out of wire, but I wanted to show you what
I do and what works for me. And hopefully that
can work for you too. After learning about
the basic uses of the pliers and tools, as well as learning a little bit about the materials
that we will be using for wire jewelry and using the techniques
that you just learned, we will create two
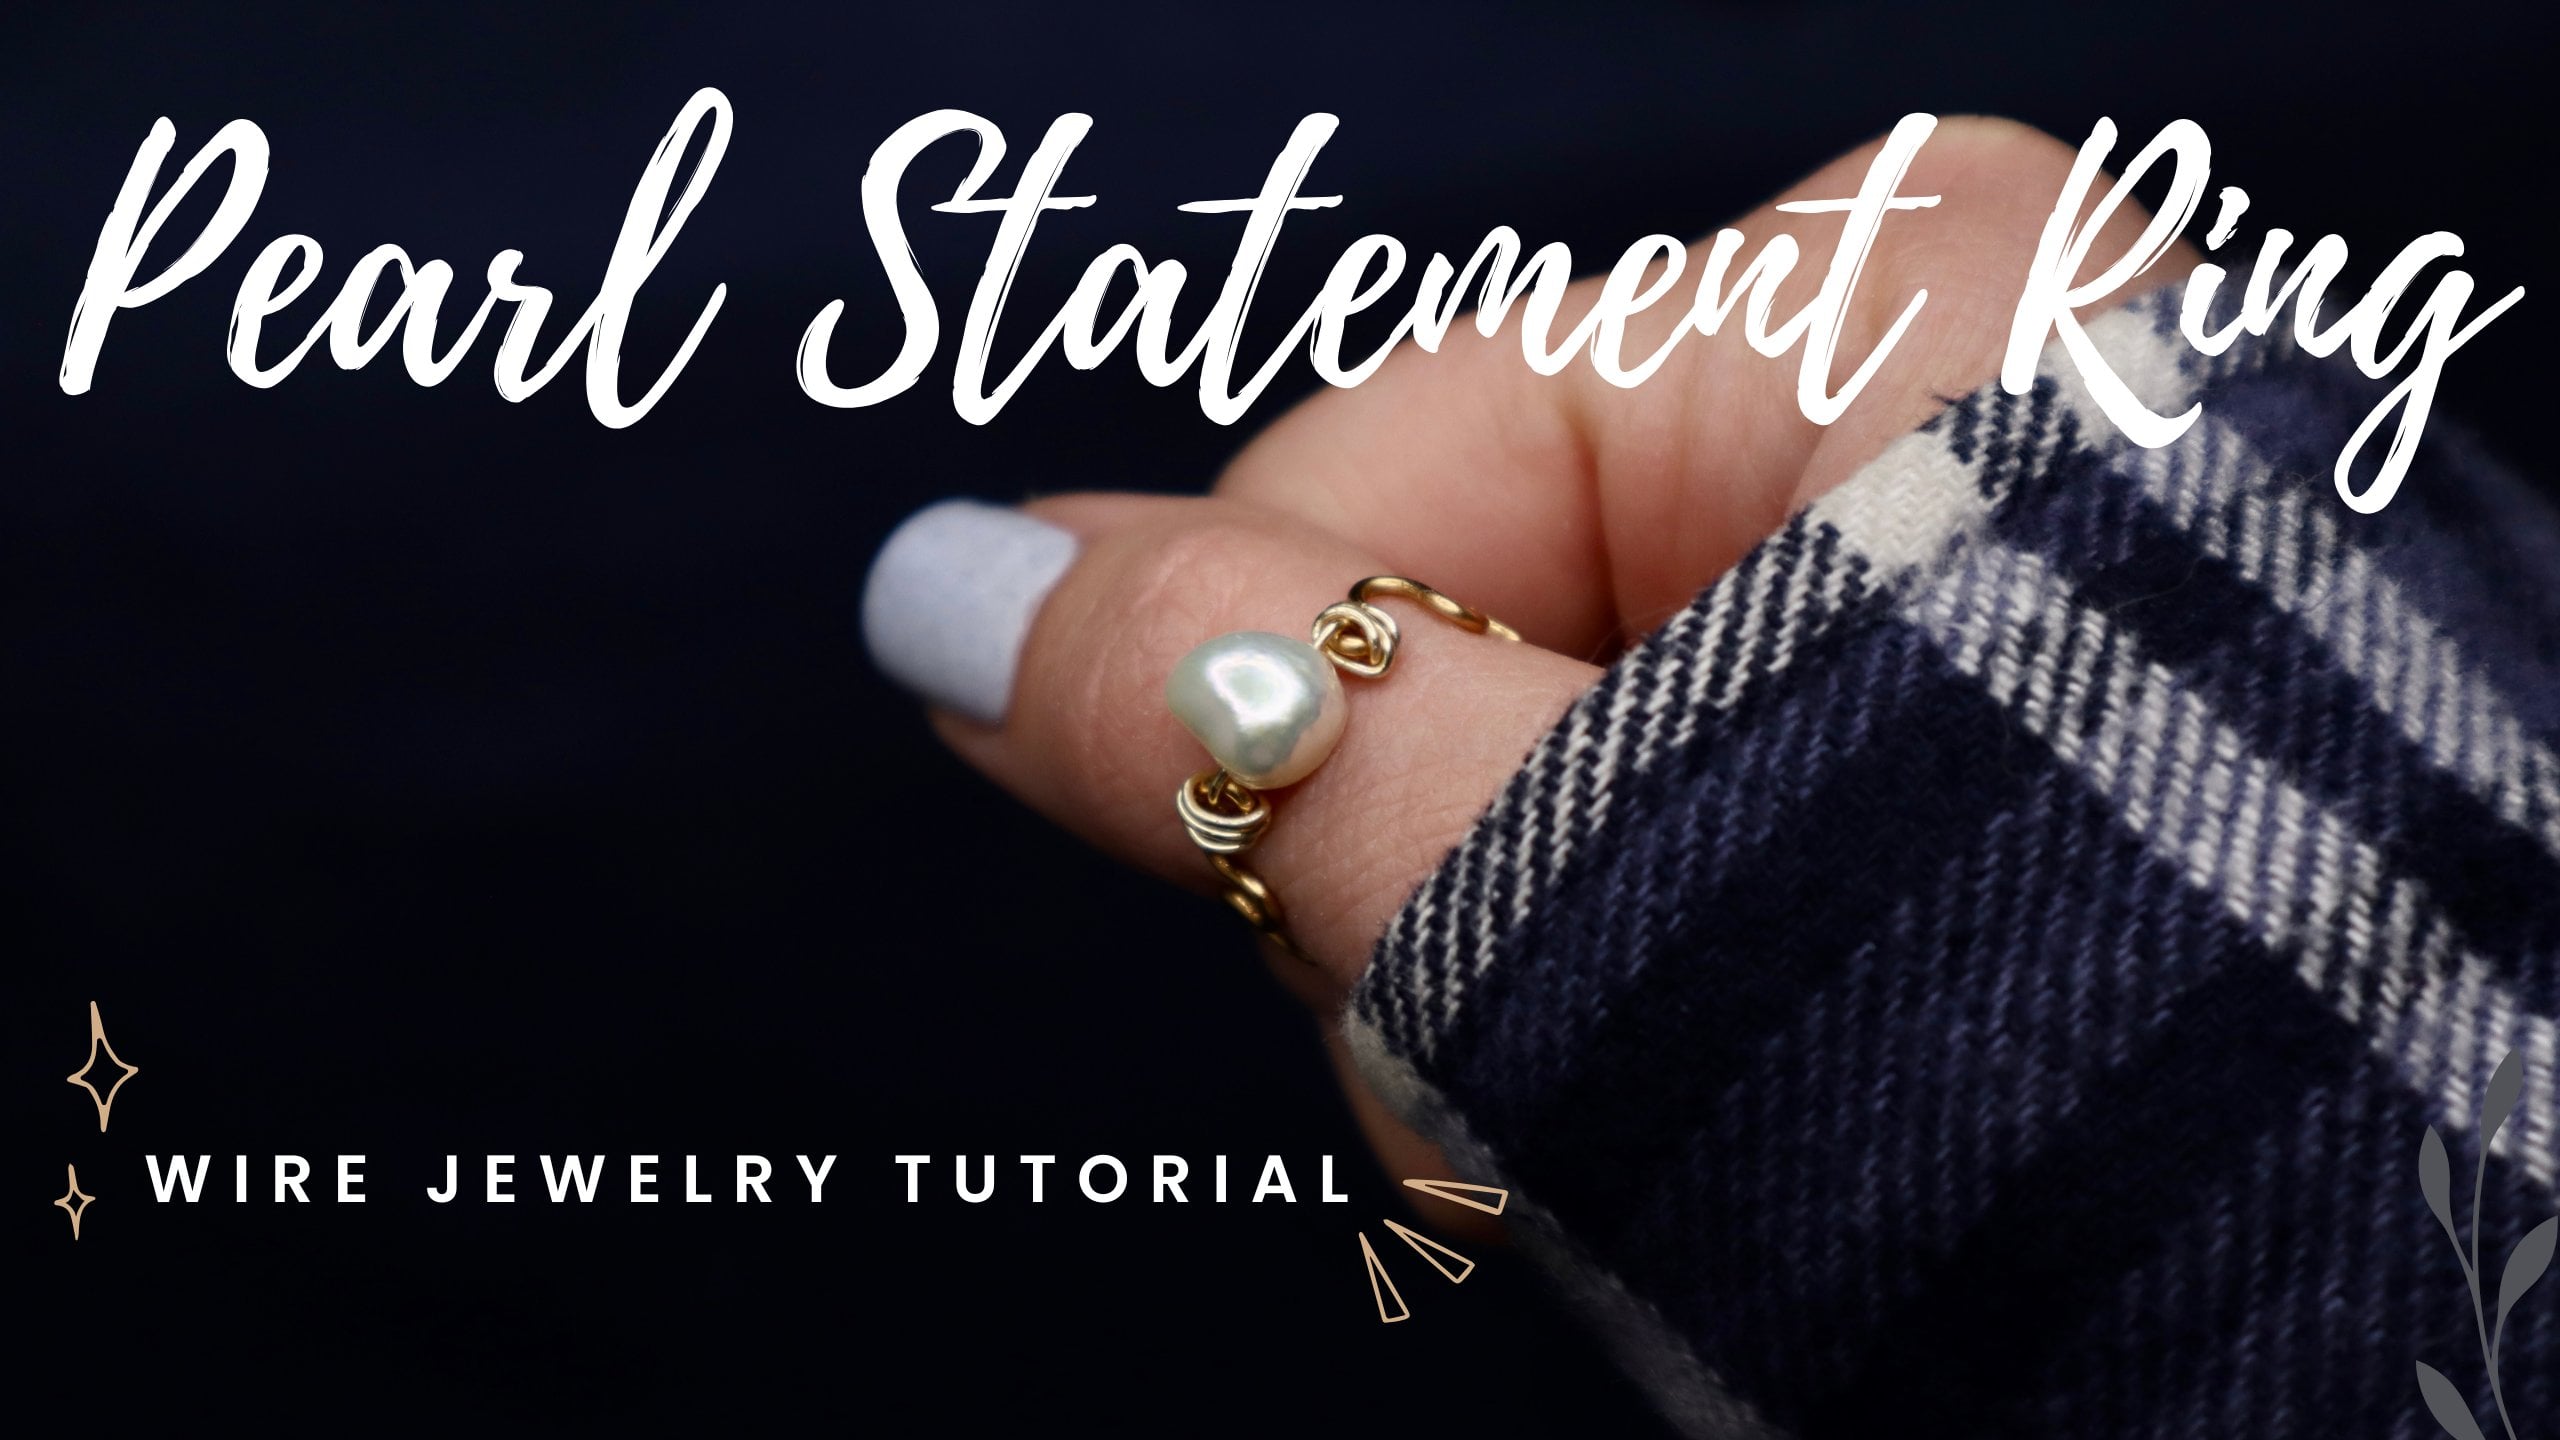
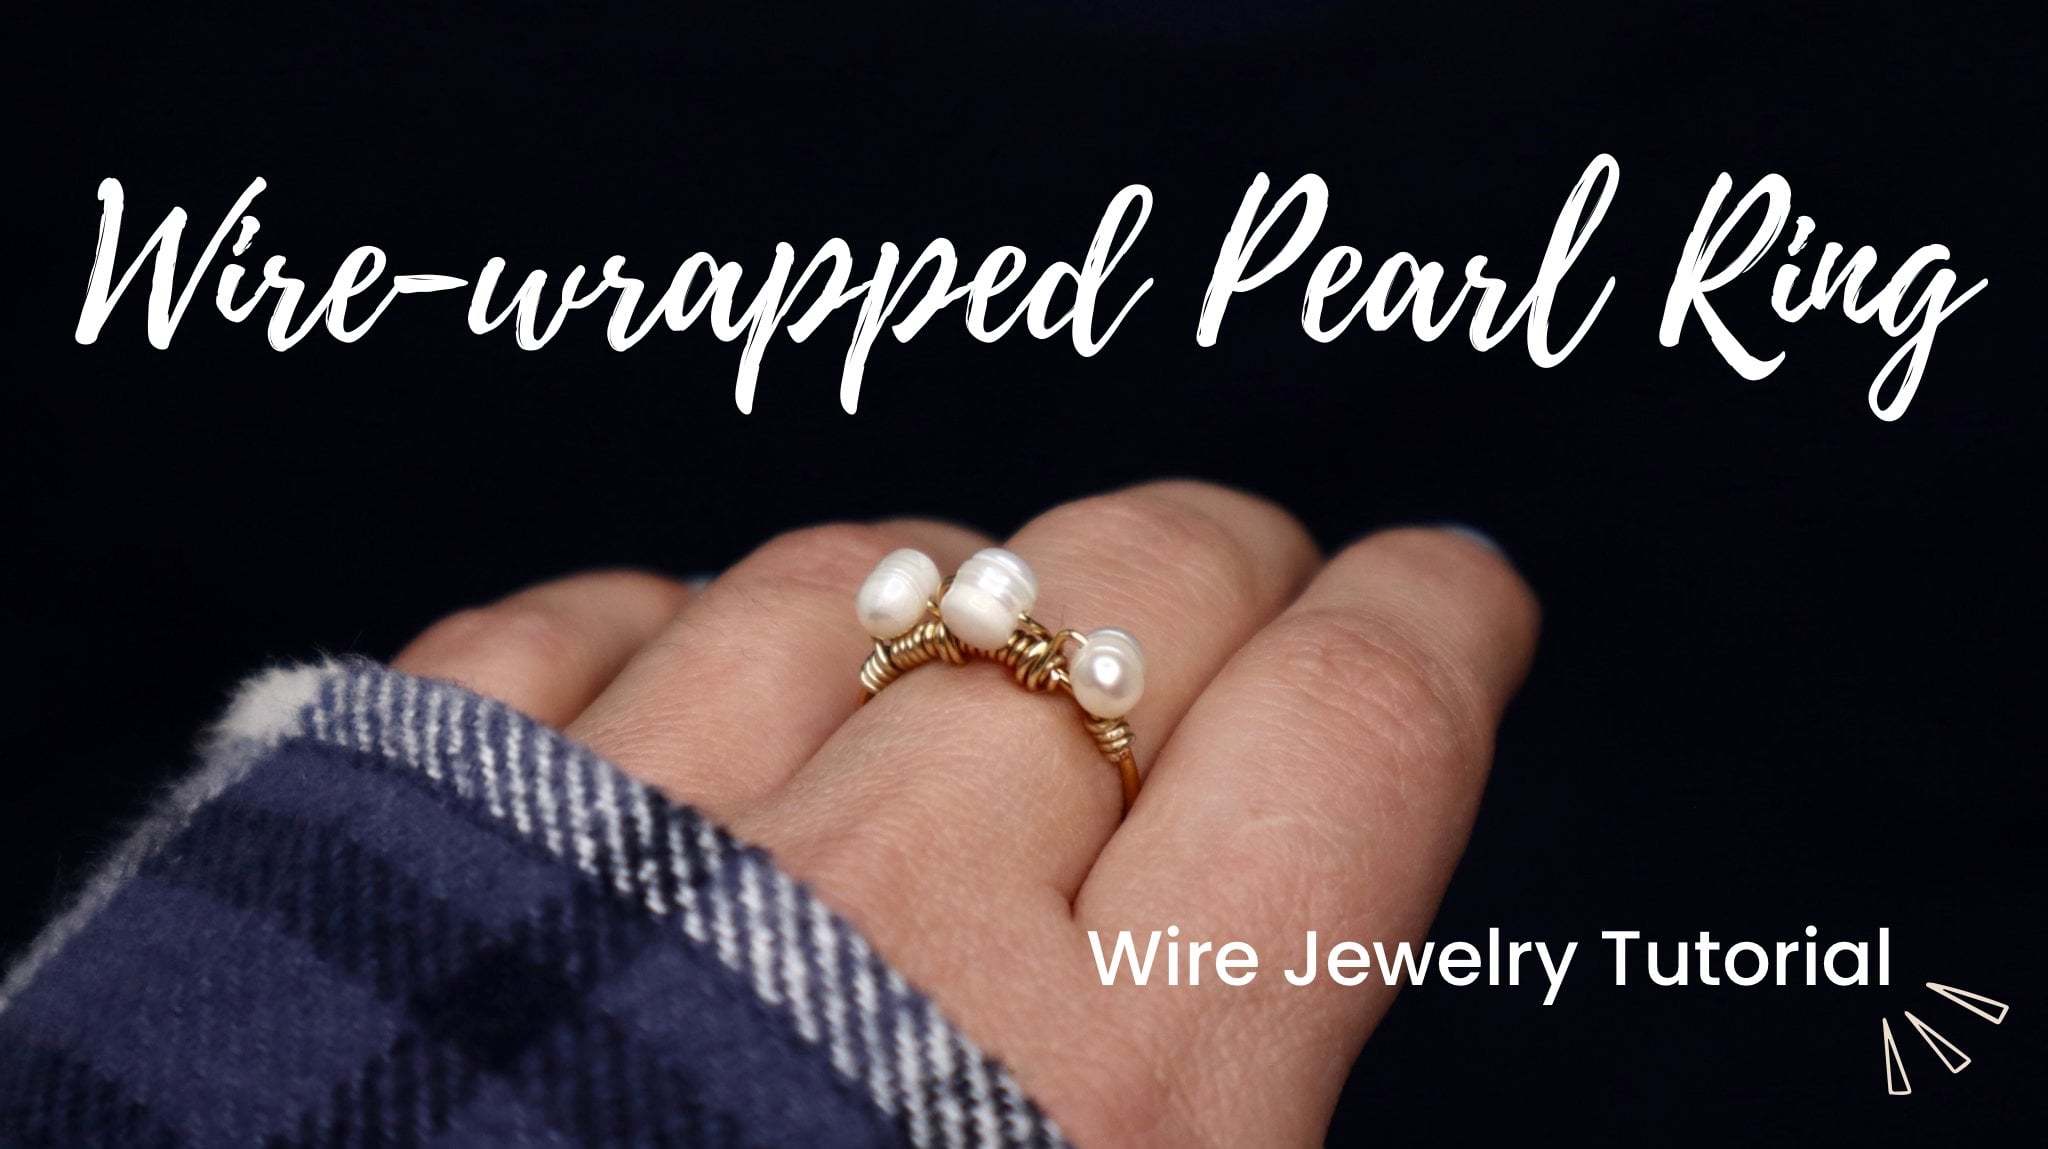
funds statement rings, which I hope you
will enjoy making. After watching this class, you will be totally prepared
to go ahead and watch my other classes and create
even more wire jewelry. Now let's jump into this
class so you can learn how to make wire jewelry that
has like a wildflower, beautiful, unique and timeless. Thanks for watching.
2. Jewelry Basics: Pliers: To begin, we're going to
look at five types of jewelry pliers and the four
basic ones that I use. First off, we're going
to be looking at a pair of nylon jaw players. These are what we use
to strain or smooth out wire while
protecting the wire or the plating on the
wire because of the plastic cover on
the jaw of the player. Next step is a pair of flush
cutters or wire cutters, which is pretty straightforward. We use these to cut the wire. Now we're going to look at a
pair of needle nose pliers. These are tapered, being wider at the base and
narrower at the tip. With these, we can create a
wide range of loop sizes. Next step we have a pair
of flatness players which are also tapered
from the base to the tip. This particular set
has a place to cut wire and we use it to bend
right angles into the wire, as well as crimping and
tightening the wire. Lastly, is a multi-tool and this combines multiple
types of pliers. It not only has the wire cutter, but it also has a small place
for a flat nose pliers, and then it has the
needle nose point. This tool is really
useful for a beginner because it combines
multiple pliers into one. And this is what I started with. As you can see, it's
pretty worn out. I use this one for quite
a few years before I finally switched to the
individual sets of players. Obviously, it does
have its drawbacks because the needle nose do not go all the way
down to the base. You can't create as
wide a range of loops. And the same goes for the
flat section of the pliers. With a separate set
of flatness players, you would be able to
create a wider range of small, tight right angles. Now we're going to just create a small example of what
might be a head pin. And I'm going to go over how
we use each set of pliers. So first we're going to use the nylon job players
to straighten the wire. And we do that by
placing the wire in the pliers and
holding it tightly, draw it across towards
the end of the wire. Now we're going to use
the needle nose pliers to create the loop
of the head pen. And picking which
size I want the loop. That is where I will
place the wire in the pliers and then
bend it around. Another use for the
needle nose pliers is to hold the shape of the loop while we wrap the other end of
the wire around. Once you've grabbed the wire
as far as you can go with your fingers and it is too
stiff to finish wrapping. We will grab the flat nose
pliers to help finish it out. You can hold it by placing
the needle nose pliers into the loop or holding
across the loop as I am here. And then we will use the flat nose pliers to finish wrapping the wire around and tightening
it against the wire. Once we have secured the
spiral onto the wire, we will use the
flat nose pliers to tighten the spiral
against itself. Now we're going to create
what would be the head of the head pin using
the flat nose pliers, we're going to create a bend in the wire in the very
tip of the pliers. And then using the
flush cutters, we will cut off the extra wire. Using the flatness players. We will flatten and then
tighten the end closed. You won't want to miss the rest of the videos in this class because I will be giving more examples of how
to use these pliers.
3. Jewelry Basics: Wire: Next, let's talk about
some of the main things that you need to know
about jewelry wire. Jewelry wire is colored either by the metals
it is made out of, or it has a permanent
plating or coating. The silver gray and
rose gold wire, which I have here, have
a coating for the color. This means that the
center of the wire is likely going to be a different
color from the plating. And you will need to be somewhat careful to not expose
the base metal. Solid copper and solid
brass wire like this. Here are examples of wire
that do not have a plating. These wire types get their color from the metals that
they are made of. When talking about
the gauge of wire, we are referring to the size
or thickness of the wire. The gauge is marked by numbers. The smaller the number, the thicker the wire, while the larger the number, the thinner the wire. Here are three different
gauges of wire. The largest is in 18 gauge, followed by a 20 gauge wire
and a smaller 22 gauge. While the gauge will not change, the hardness or
timbre of wire is affected by the metal
that the wire is made of. For example, this one is a
silver plated copper wire and is more pliable and easier to bend than this solid brass wire, even though they're
the same gage. And this is because copper is
a softer metal than brass. So keep this in mind
when choosing your wire. And to wrap it up, I want to mention that my favorite
wire to work with is this solid brass wire
in a 20 or an 18 gauge. It is a lovely gold color, is durable and it is a
great wire for beginners. I hope this can help you to get started with jewelry wire. And now I'll see you
in the next video.
4. Jewelry Basics: Tools and Findings: Here are a few
other items that I use when creating jewelry. First-off is a number two pencil that is circular in shape. I find that this is
just the right size for creating an air wire and also is great for creating
very small hoop earrings. Then we have a file
or sandpaper which we use to smooth down
the ends of the wire. Next we have a six-inch ruler, which is very useful to have
an in many of my videos, I give you a predetermined
length of wire which you can measure on
a ruler for that project. Having a ring mandrel
is also very useful. We can use this not only
to pent brings into shape, but we can also use
it to wrap wire for hoop earrings or any
other circular object that we need to make. You can find them
in singular ring sizing as well as in a
tapered shape like this, where you can create
multiple sizes from one ring mandrel. It's also very useful to
have a good craft glue. We can use this to
secure thread or beads onto a wire when we
need a little extra hold. Now here we have some of the most basic
jewelry findings and the ones which you
will most often or most likely use in my videos. All of these things can
be made out of wire, but sometimes it is useful
to have them already made. First off, we have a
classic earring shape and this is called
a French hook. They come in different styles as well as different
metal types. Next we have jump rings, and these also come
in different colors, as well as a large
variety of sizes. Lastly, we have a
basic head pin, which you can see it has the
head and then a long shaft, which they do come in
different lengths, as well as a couple
of different colors. Here's one in
antique brass color. And you can see it actually
has a fancy head on the pin, which there are options
like that out there. While there are a ton of different options of
jewelry findings, these are the ones
that I use most often when creating
buyer jewelry.
5. Using Needle-nose Pliers: Now that we have gone
over all of the pliers, we are going to look
specifically at the needle nose pliers and smoke the things that
we can make using them. I'm just going to use a 20 gauge solid copper wire
for these examples. Before beginning wrapping,
I always like to smooth out the wire real quick with
the nylon jaw players. First we are going to create a basic loop shaped
by grabbing the wire in our pliers and giving it
a twist to create a circle. And then we're going to hold
it at the base and draw the long end of the wire down so that it is
centered under the loop. Now we're going to
make a variation of a loop by holding the
wire in our pliers and bending it straight
over to create a 90 degree turn and
holding it on that side, we will then place the
wire into the pliers. And depending on what size
you want the loop to be, is where you will place
the wire into the pliers. And then we will wrap the
long end of the wire back around in the opposite
direction to create the loop. Placing the pliers
back into the loop, we will use them to hold the
loop in place while we wrap the long end of the wire around several times to
create a spiral. Once we have wrapped the wire
as many times as we want, we'll just take the wire
cutters and snip it off. Another thing that these
players are useful to use for is making jump rings. Placing the wire in the pliers, we'll wrap it all the way
around until the end overlaps. And then using the wire cutters, we will cut the wire off
flush to the first end. A good tip you should
always remember when opening jump rings
is that you should push the ends away
from each other when opening it and not pull
the jump ring apart. And then to close it, you
push the ends back together. Because of the tapered shape
of the needle nose pliers, we can create a wide
range of sizes of loops. This large jumping I wrapped at the very base of the pliers. And then I wrapped a
medium-sized jump ring in the middle of the pliers. And I also created a very small jump ring and
the tip of the pliers. Now that we have
gone over some of the things that we can
create with these pliers. We're going to create a fun ring using the needle nose pliers. First off, you're going to need a ring manual and the
size of your choice, I chose a size seven. And then we're going to be using this brass wire in
a size 18 gauge, which is a nice heavy
wire to use for rings. After straightening the wire, we're going to place it into our needle nose pliers about a quarter of an inch
from the tip of the player. And we're going to
wrap it into a loop. Next, we are going to bend
their long end of the wire up alongside the loop
that we just created. Now we're going to create the back-and-forth squiggle
shape of the ring. Placing the pliers
back into the loop, we're going to bend the wire
directly over to the right. And then taking the
pliers out of the loop, we're going to turn them around, place the wire back into the
pliers at the same depth, into the tip of the pliers, and then bend the wire again
into the opposite direction. Now we're just going to repeat this back-and-forth
motion until it's the length that we need to wrap around the ring mandrel
size that we have always holding the wire
in the same place on the players so that
each loop or bend rather in the wire is
always about the same size. Once you think you've been enough of the pattern
into the wire, you can go ahead and
take the ring mandrel, place the wire on it and
wrap it around to check the size and see if you need to wrap the wire any further. Here you can see it
looks like I can add one or two more bins into the wire before I need
to create the loop. So unwrapping it from
the ring mandrel, we're going to grab
the needle nose pliers and create a few more bins. Making sure that I placed
the wire into the buyers at the same depth as when
I created the other bins. Now that we have finished
adding the bends into the wire and it fits
on the ring mandrel. We're going to go
ahead and create a loop on the opposite
end from the first one. We're going to take that long
end of the wire and bend it upwards to match the same
angle as the other end wire. Now we can place the
wire into the pliers and wrap the wire all the way
around to create the loop. Then we're just going to take the wire cutters and
snip that wire off. Now we're going to take
the needle nose pliers again and at the very base, place the loop
into them and make sure that it is
flat and straight. Now that we have closed off both ends and made
them into loops, we can place it onto the ring mandrel and create
the shape of a ring. You may find that this heavy
of gauge of wire likes to spring back even
though you've pressed it tightly onto
the ring mandrel. So you can slide it off
and use your fingers to press it more firmly into
the size that you want. Because the ends are left open. That means this ring is
adjustable so we can press it more tightly together to
fit on a smaller finger. And then we can
also pull them back apart to fit on a larger finger. I hope you had fun
making this ring, and I'll see you in
the next section.
6. Using Flat-nose Pliers: Lastly, we will
be looking at how to use the flat nose pliers. Because of the flat
face of these pliers, we use them to create sharp right angles
and bins in the wire. We can even use these pliers to straight out wire again
and pressing smooth. And Ben, that's in the wire
that we don't want there. Here's an example of
how you might bend a triangle shape into the wire. Placing the wire
and the same depth into the pliers
every time you bend, it helps to keep the size all equal in length in whatever
shape you're creating. Placing the wire into the
very tip of suppliers, we will bend it over
and create U-shape. Then we will pinch that U-shaped close to create what
would be a head pen? Or maybe you just want to finish off the wrong end of a wire. Here, we're going to create a square and a good tip to
keep in mind when bending right angles or any
sharp angle into a wire is to bend the wire past the point
of the angle that you want it to be and then
bring it back as this helps create a more
definitive angle in the wire. Not all flat nose pliers have this feature of a wire cutter, but this one does and
it's useful to have. We can also use these pliers
to help secure a wire wrap. To wrap a spiral. We would place this loop into the pliers and holding
your securely use our fingers to wrap the wire around the other wire or
object that we are wrapping. We can also use these pliers
to tighten the spiral, making sure that
there are no gaps. And to help finish
off this wrapping, we can use the
nylon jaw pliers to hold the loop
securely while we use the flat nose pliers in
our other hand to finish tightening down that wrap
and complete the spiral. And then as I just
showed you a minute ago, we can use the pliers to tighten the spiral
together to make sure that it is secure and
there are no gaps in the wire, as well as securing that end
against the wire itself. Here's a quick tip to
help you get the sides of whatever shape you are bending to be all
the same length. And that is to use a
piece of washi tape and place it in your pliers at
the depth of what you want, the length of the sides of whatever shape
you are wrapping. It will just take a small
piece of washi tape and then place it into the
pliers at whatever depth you choose for the
length of side you need for whatever
project you are creating. Once we have secured the tape
in the jaw of the players, we can now go ahead and get into creating the ring that
we're making in this class. We went to begin
with a smooth bass. So we're going to take the
nylon jar players and strain out the wire to begin
creating the ring itself. We're going to start by
creating the square. We're going to place the
wire into the pliers just above the place where
we marked it with our tape. And then we're going to bend
it over into a right angle, bend in it passed, and then bringing
it back so that it creates a nice sharp bend. After creating this first band, we will again place the wire in the same place in the
pliers just above the tape and create another bend in the wire
to create our square. And continuing around,
bending the wire, holding it in the same place
above the tape as we did before until we have all
four sides of the square. And on the last band
we want to bend the long end of the wire
underneath that short end. After tightening up the
shape of the square, we will place it
back in the players again to create a fifth bend in the wire that will wrap underneath that short
end of the wire. Now that we have the square, we can go ahead and make what will become the
band of the ring. Using the very tip
of our pliers, we're going to hold
the bottom wire. And in the very corner we're
going to take the long end of the wire and bend
it into a right angle, drawing it straight down as
this will be the band of the ring with the long end of the wire straight down
out from the square. We're going to wrap
that short end of the wire around the
band of the ring. We're going to use
the nylon jaw pliers to hold the square
so that it keeps its shape while we are bending that short end of the
wire around the long end. Just using my fingers, I'm going to begin
wrapping this short end of the wire around the
long end of the wire. Once the wire becomes too
short to bend with my fingers, we will take the flat
nose pliers and use it to finish securing that
wrap onto the wire. This 18 gauge brass wire is
a bit stiffer to work with. So take your time as
you create that wrap, making sure that you
hold the wire firmly in your pliers so that
your pliers do not slip as you twist
the wire around. You could also use the pliers in the opposite way of
which I am and hold the square with the
flat nose pliers and use the nylon job
players to wrap the wire. Having secured the main part
of the wrap onto the wire, we want to finish it
off by tightening the spiral together so
that there are no gaps. And also to make sure that
that end of the wire is pressed flat against the wire
on which we were wrapping. Now that we have secured
the square shape, we can create the band
using the ring mandrel. We will place the wire on
it and pressing it firmly, wrap the wire around to
create this circular shape. We want to leave a little space between the end of the wire and the square shape so that we can wear this as an adjustable ring. So choosing the point in which
I want to bend the wire, I'm going to take
the flat nose pliers and hold that point
tightly in the wire, and then take the long end
of the wire and bend it down to create a tight
bend in the wire. Then using the wire cutters, we're going to
leave a short tail and cut off the extra wire. Then taking the flat
nose pliers again, we will use them to secure and tighten that
end of the wire. Next, we want to
take a sandpaper or file to smooth down
both ends of the wire. You can see that this
side of the ring is a little bit more straight
than we want it to be. So we will take the flat
nose pliers and use them to curve that wire a little bit more to give it a
more circular shape. Then turning the ring round, we will do the same
thing on the other end of the wire so that both
sides are matching. To wear this as an
adjustable ring, we simply push the
ends apart before squeezing this circle
to be a smaller size. And we can wear it
on a smaller finger. And of course, all we have
to do to make the ring larger again is to
pull the ends apart. I hope you enjoyed
learning how to use your flat nose pliers to
create this statement ring. Thanks so much for watching. I hope I'll see you
in another class.
 Katrina Anderson, DIY wire jewelry and craft tutorials