Transcripts
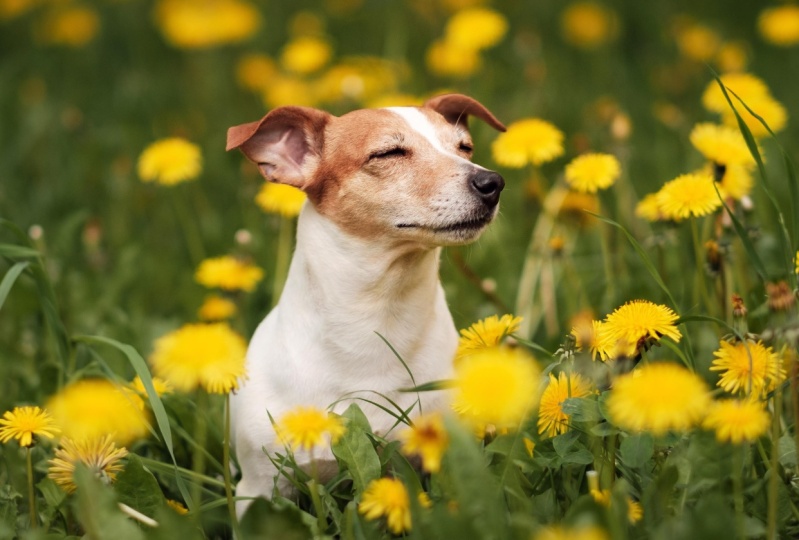
1. Introduction: Blurry, one cat out of focus. Very blurry. Does this look familiar? Follow this class and never
have this problem again. Hi. My name is Aniek.
I'm from Belgium. I'm super passionate about cat photography and cats
in general of course. In May 2018, we got two amazing cats,
Magnus and Stella. We were in love with them
immediately so, of course, we wanted to create lots of beautiful memories when
they were kittens. But back then, I didn't
have a good camera, let alone the skills
to take sharp photos. Result is that most of
the kitten photos aren't of great quality and I have
always regretted this. But now that they
are more grown-up, my photography skills
have grown as well. Together, my cats and I have grown our Instagram
page to more than 22,000 followers and we've had lots of fun
promoting many brands. I'm very happy with the photo collection
I have done so far. In this class, you
learn how to take stunning photos of your pets. I've purposefully structured it to get to the core
of pet photography, that is composition, lighting, and your pet the star. What are you going to learn? We will talk about how you can get your pet comfortable around the camera because this is a super important step
in getting good photos. Then, we'll go over the
fundamentals of shooting a moving object to avoid
that dreaded blur. Towards the end,
we will also take our photos into
Lightroom, desktop, or mobile, and do a few basic edits on them to
make your photos stand out. If you're someone that
doesn't know where to begin or what to
pay attention to, and you keep on getting
those blurry weird photos, then this is the class for you. I am very excited to
share my knowledge with other pet lovers because
with the right skills, everyone can create
amazing photos. Let's make beautiful
memories of our pets.
2. Class Orientation: For this class, you obviously need a camera. A DSLR would be perfect, but don't panic if
you don't have one, you can follow along just fine with a mobile
phone as well. The camera I will be
using is a Canon 80D. My favorite lens
is the 50mm f1.8. It's a super cheap lens which
puts the subject into focus, but has this really nice blurry backgrounds
at the same time. But I'll talk more
about this later. We will also need
some things to keep your pet comfortable
and interested. I'm thinking about their
favorite toys or snacks. Something that makes noise
could definitely help as well. Then last but not least, you will need your subjects. For this class, that
will be your pet. In my case, my cats
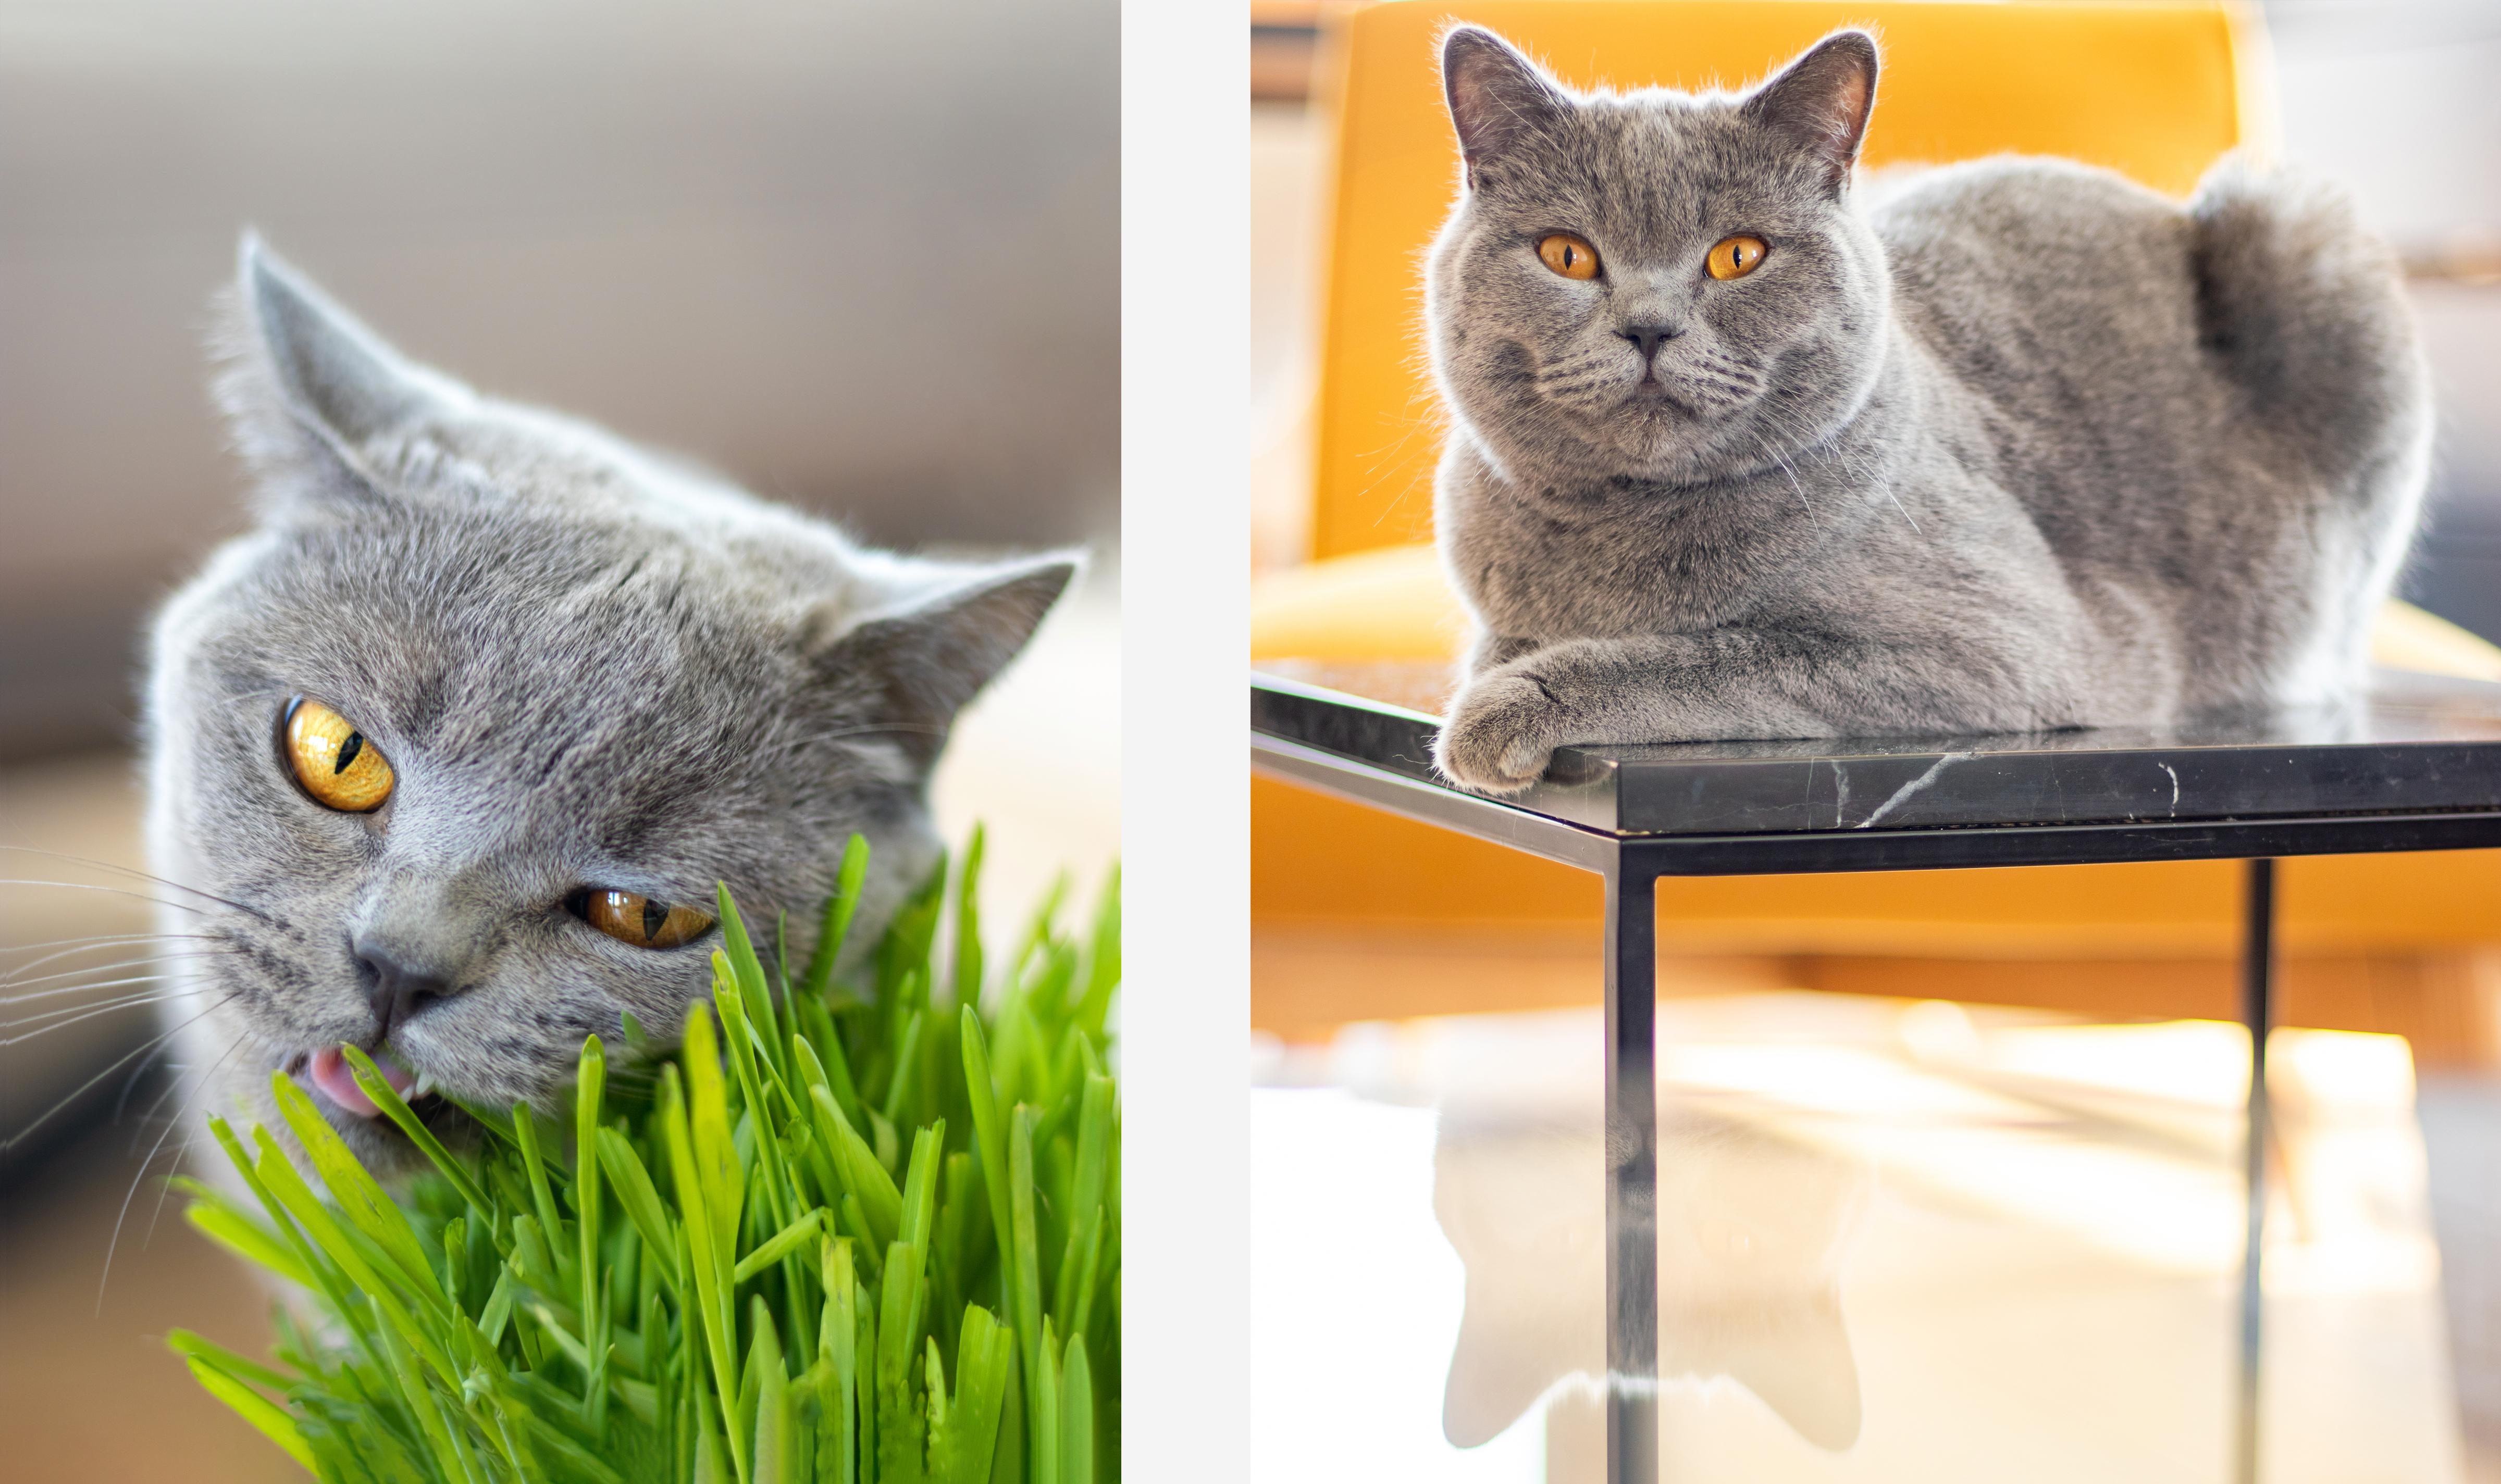
Magnus and Stella. For the class project, you will make a shot of your pet looking straight
into the camera. This is such a personal way
to create a connection with the subject because it draws
all the attention to it. You'll also take a photo
of your pet when it's in its favorite position
or when it's yawning, sticking its tongue out, treats can definitely
help with this one. But just let your
imagination run free. Make sure to show the
transformation of your photos in Lightroom with the before and after photos, because this is also
very interesting to see. I'm so excited to get started, I'll see you in class.
3. What Makes a Good Pet Photo?: Hi, again. Welcome to my
class about pet photography. To start off this class, I'm about to get really
personal with you and show you some of the
bad photos I took when Magnus and
Stella were little. Even though this is very embarrassing for
every photographer, I think it's easier and
more helpful to learn from my mistakes so you can see what makes a
photo good or bad. Here goes nothing. Let's begin with one of
the most common problems, blurriness and especially
blurry tongues. This is what we
call motion blur. In this class, you'll
learn how to avoid this, like in these photos. Here's another blurry
or grainy photo, but in this case, it's mostly caused by artificial light. This also gives unnatural
colors to a photo. Also Stella's cute little
paw is cut off the photo, which makes the photo
not feel right. Here we have the
complete opposite, with beautiful natural light, vibrant colors, and not to
forget, the entire paw. This photo is actually not
blurry but underexposed. This is because the
main light source was behind the subject, and I was shooting
towards the light. There were two windows
behind Magnus, so all the available
light fell on his back. Here, you can see we
switched positions. I'm not shooting towards
the light source. The light is behind me, and now the light falls
nicely on Magnus, which makes the photo
crisp and beautiful. But also be aware
of overexposure. Here you can see how much detail we lost due to too much light. Yes, when Magnus and
Stella were little, they both wore different colored collars to be able to tell them apart. In this photo, a few
things went wrong. Again, the photo is
underexposed because the main light source is
behind Magnus and Stella. Also, the main focus seems
to be on Magnus' body, he's the one with the bow tie, which leaves his head
and Stella blurry. The photo also looks
skewed as there are lines that should
obviously be straight, such as the walls. In this class, you learn everything what
you need to know, and pay attention to when
capturing your pets. We'll break the process down step-by-step and practice
the fundamentals, so you can focus on the fun part, capturing
your pet's personality. There's one last thing I
really want to show you. Although there's absolutely
nothing wrong with this photo concerning
anything we discussed before, I really wanted to
emphasise the power of a photo when the subject looks
directly into the camera. Comparing these almost
similar photos really shows how this one is much more compelling
than the other one. The photo is so
much more personal, and it really draws the
attention to the subject. To wrap it up, I want to
introduce you to three of my favorite photographers
I really look up to. My number 1 favorite cat account is definitely lyo.thecat. These photos are so magical and surreal, they're
very inspirational. Then, of course, this is
a pet photography course, so let me show you my favorite dog
account, lizzie.bear. These two golden retrievers
are just too cute, and all these photos are
so natural and cozy. Then, my number 1 favorite
photographer in general, without a doubt,
is Peter McKinnon. He does a lot of different
fields of photography, but I just love the vibe in each and every type
of photo he shoots. Inspired yet? Let's go to
the next lesson and see how you can create your own compelling photos of your pets.
4. Getting Your Pet Comfortable: A beautiful photo
of your pet means being able to capture
its natural self. This is why it's important that your pet feels comfortable
around the camera. In this lesson, you'll
learn how to do this. Getting animals
comfortable around basically anything has a lot to do with scent,
sound, and light. A camera has a
certain smell to it, which is very
unnatural to our pets. I know my cats are definitely
very much aware of scents. Especially if you
have a new camera, I recommend keeping it out
of the box in a few days. That synthetic smell will
definitely be way less. As an extra, you could also
cover your camera with your pet's favorite blanket or pillow to give it
that familiar smell. When you place the camera somewhere your pet
could see and touch it, do it in a discrete,
non-fuzzy way, and let your pet explore the
camera on its own terms. A camera also makes
different noises. These noises may seem
silent to us but may be very apparent or
noticeable to our pets. Think of the sound
when a camera zooms in or takes a photo. it's important to
get our pets used to these sounds so they can show their natural selves
in front of the camera. I recommend making these
sounds step-by-step. This means the following; first, make camera sounds
in the next room, then in the same room, then close to them when they
are eating or distracted, and then without
the distraction. Always pay attention to how your pet reacts to the sound. If you think you
startled your pet too much or if it's too
scared in your opinion, then just repeat the same step. Using a camera's flash not
only makes a weird noise but obviously, the immense light will not
be appreciated by your pet. This is why I definitely do not recommend using a flash
on your pet ever. Plus, it doesn't even
look good or natural. If you need more light, just make use of daylight or a soft light like a bedside
table lamp or a softbox. I'm sure these tips can
help you get your pet comfortable around the
camera, like Stella here. Be patient and go to the next step when
your pet is ready. You know your pet the best. Now that you know how to
get your pet comfortable, let's go to the next
lesson and break down the basic rules
of pet photography.
5. The Basics of Pet Photography: In this lesson, we'll cover the basics
of pet photography. We're going to shoot manually so if you're shooting
with your mobile phone, be sure to check out the
camera's settings because an increasing amount
of mobile phones have the ability to shoot
manually as well. There are three controls you can use to determine the amount of light or also called
exposure that is: aperture, shutter speed and ISO. This controls are linked, they complement each
other and together they form the so-called
exposure triangle. If you adjust one
of these settings, you have to change at
least one of the other two to maintain the
same level of exposure. The shutter speed is a light-tight curtain before
the sensor of the camera. You can determine
how long the curtain should stay open before closing again. This is how a super fast shutter speed
can freeze a movement, or how a slow shutter
can blur movement. Aperture is about the
opening of a lens. You can regulate how much light passes through the
lens into the camera. With a wide aperture, the opening is bigger so this means much more
light is coming in. With a small aperture, the opening is smaller,
so less light. With a wide aperture like f/1.8, you will get those
shallow backgrounds with all focus on the subject. This is called a
shallow depth of field. Like in this photo here, Magnus is in focus, but the couch is blurry. If you want both subject
and background in focus, you can use a small
aperture like f/22. This is called a
deep depth to field. Like here in this photo, both Magnus and the stitchings
of the couch are sharp. Did you set the perfect aperture
and shutter speed, but you still need a
little more light, then this is where ISO comes in. The ISO determines how sensitive your camera
should be to light. If you don't want
or can't change the aperture or shutter speed, then you can increase the ISO
to get a better exposure. But be aware if you jump
up to number too high, then your image can
become noisy or grainy so just try to
find a good balance. How does this all apply to pets? Well, I like to start with the aperture because I really love those shallow
depths of field. As mentioned, a wide
aperture brightens the image so we can leave
the ISO as low as we can. This makes it possible to
play with the shutter speed. As you're dealing with a
live and moving subject, it's best to keep
the shutter speed mid-range for portraits and
fast for action shots. If you don't have enough light, just bump up the ISO. Don't be scared to
jump up that number, it's definitely
something I have to remind myself as well. Just play with the settings
and keep on practicing. We have now learned the
basics of pet photography. In the next lesson, we'll
put these rules into action. Grab your pet's favorite
toys and snacks, and your camera and
I'll see you there.
6. Pet Photography in Action: Now that we have covered the
basics of pet photography, you're almost ready for the
photoshoot with your pet. What are the things that makes a photo a compelling pet photo? What are the things you
should keep in mind and pay attention to during
your photo shoot? As our pets have such
sentimental value to us, it's important to capture
your pet's personality. Is your pet a little quirky
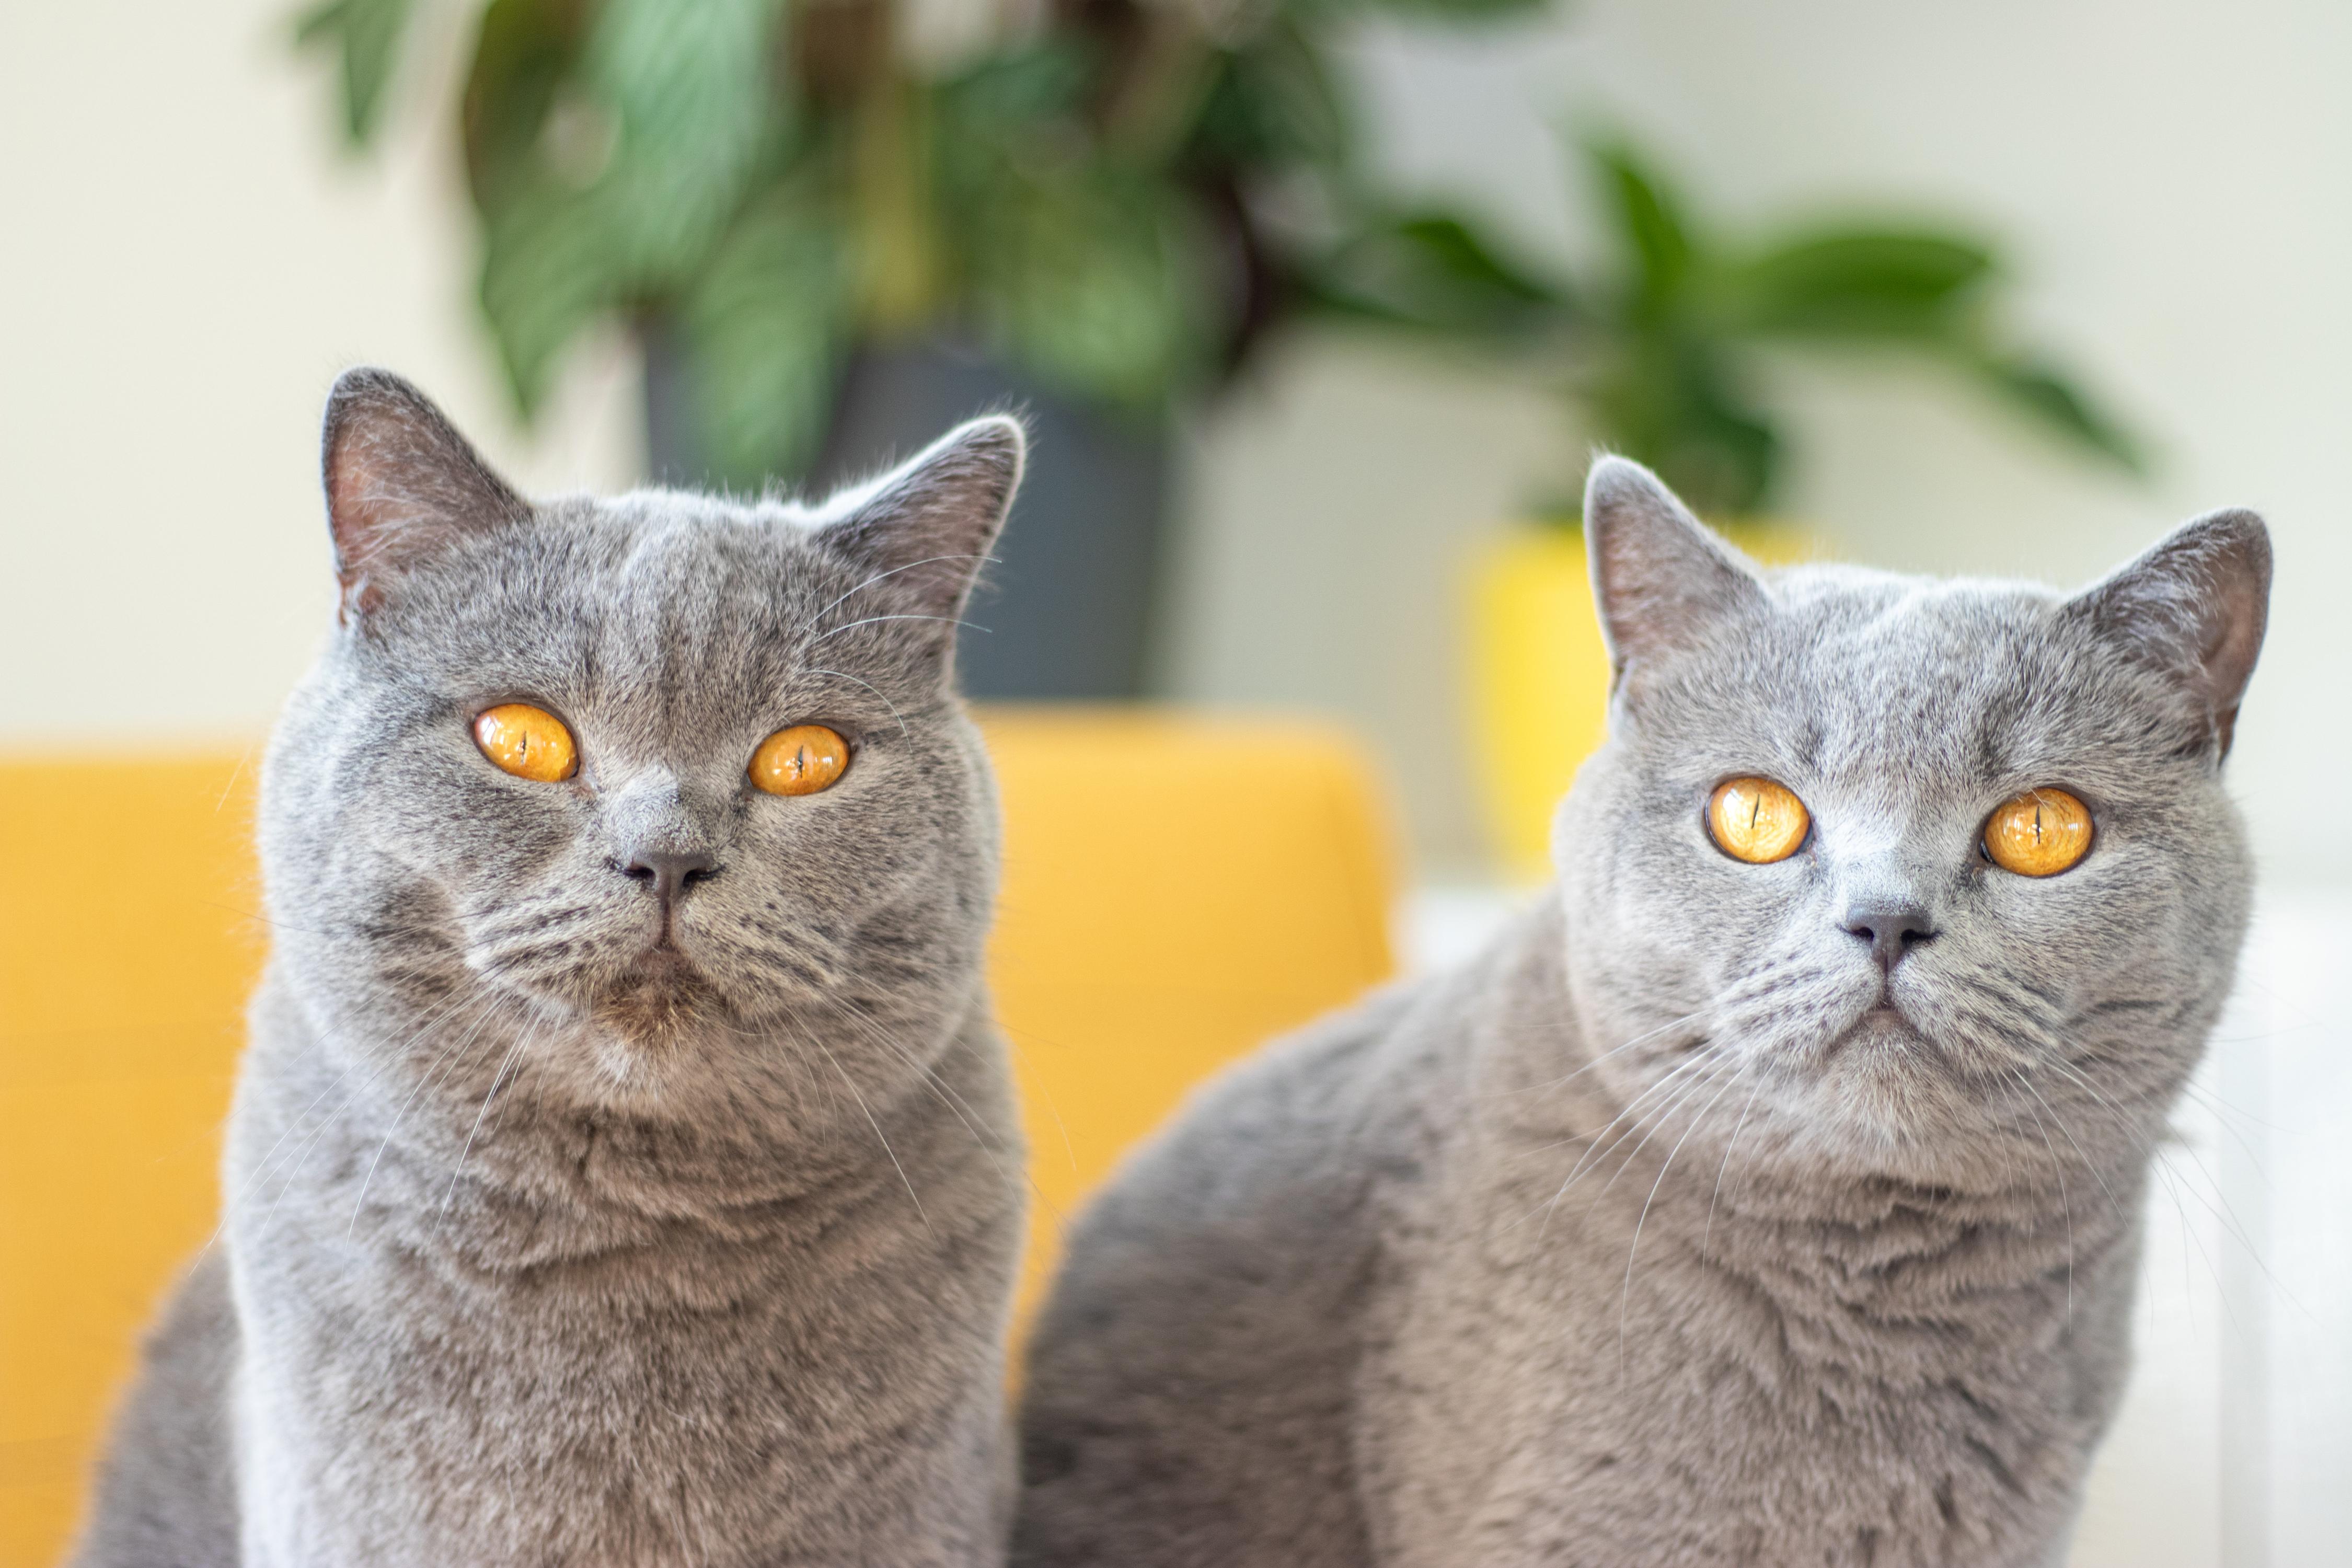
or charming like Magnus here? Or is it more like a diva
or funny like Stella here? All our pets have their
own characteristics. It's important to have these
highlighted in our photos. This is why I showed you
in the previous lesson how to get your pet comfortable and at ease during
a photoshoot, so they can show
their true selves in front of the camera. To get a compelling pet photo, we have to get our conditions
right for our camera, we will have to pay
attention to our aperture, shutter speed, and ISO. You want to have enough
light to be able to get nice and crisp
photos, preferably natural indirect sunlight as our pets are not used to
studio or flashlights. We have to keep in mind that our pets are moving
and live subjects, so this will need a
different approach than shooting a landscape,
for example. Also being able to have our subject into
focus together with a blurry background will make your subject pop and draw
all the attention to it. If necessary, all these
things can also be optimized in post-production with software like Lightroom, which I will tell you all
about in the next lessons. Furthermore, I have
a few tips and tricks to really get
those stunning photos. The first and maybe
the most important tip is getting the focus
on your pet's eyes. Especially when
your pet is looking straight into the
camera really makes for powerful shot, because eyes tell a lot about their
mood or emotions. This always makes a photo
interesting or mysterious. Another tip to create highly appealing photos is getting your camera at
your pet's eye level. Yes, this often means laying
on the floor with them. These photos evoke
empathy from the viewer because this way they see the world from your
pet's point of view. Last but not least, is to consider the composition and background of your photo. First, make sure there's not too much clutter or
distraction in the background. This will ensure that your pet is the center of attention. Yes, this is a good reason to finally clear up some
of that clutter. Then think about how you
want your pet in the frame. One of the most common types of composition is the
rule of thirds. It's simple but very effective. Here you mentally divide
your photo into thirds, making a grid of
nine equal tiles. Aligning your subject along
these lines will help direct your viewers to the main focal
point of the photo. Here Stella's nose almost falls exactly on the
left vertical line. Then a second element
to consider for your composition
is negative space. When your pet is gazing
in a certain direction, be sure to add some space where the pet is
looking towards. If not, the photo might
feel a bit cramped. Another way to create an
interesting composition is when your pet is laying on or
behind objects or furniture. Use this to create interesting
lines in your photo or make it look like your pet is peaking
behind something. Whatever composition you go for, make sure to not cut off
their ears still or joints, otherwise, in some photos, it might feel like there's
something missing. With all this in mind, you have everything you
need to get started with your photoshoot and create your own compelling pet photos. Let me get Magnus and Stella and my camera and show you some
of the behind-the-scenes. Magnus, Stella, my
cats are ready, I have my camera, let's get started
with the photoshoot. I chose this room because
I have a lot of light coming from two big
windows on the left. Also at this time of day, there is no direct sunlight, which otherwise would be
too harsh on my cats. I have a white wall on the right, so it will reflect the light coming from the
windows on the left. This way we have light on
both sides of the subject. Try to find the brightest room in your home and if needed, use a reflector or
a white surface on the opposite side of the main light source
to bounce light off. I wanted my cats to pop
up from behind the chair. Also, I used these
plants to create a nice background and add
some color to the photo. This is why I also
love taking photos of my cats on this
bright yellow couch. Go ahead and look in your home, which interesting backgrounds or colors you can add
in your photos. I immediately set my aperture
as low as possible as I prefer those blurry backgrounds where the subject pops
out of the photo, I can set the aperture to F1.8. It depends on every
lens or device, but just use the lowest
number possible. Then we have to see how
much light we still need, but we also have to consider
how active our pet is. As you can see here, Stella is moving pretty fast, so we'll have to keep our
shutter speed fast as well. Here, I set it to 100th of a second because if
I set it slower, I will get motion blur, but if I put it even faster, I will have less light and I don't want to
bump up the ISO too high to compensate for that because the image
would look too grainy. As Stella is moving fast, I use automatic focus so
I don't miss the moment. But when your pet
is laying still, you could try and go
ahead with manual focus. As we still need a
little more light, I increase my ISO to 200. I know it's still
a little bit dark, but I prefer to perfect it
later in post-production in Lightroom to avoid that a higher ISO would
make my image grainy. If possible, it's also nice to have someone else
working those toys and snacks so you are able to fully focus on taking photos. Remember to try and get
your pet to look straight into the camera using
a toy or a treat. This makes your photo
much more personal. Also get your camera at
your pet's eye level. This way you can show what life looks like from your
pet's perspective, making it much more interesting. Of course, be sure to reward your
pet for its hard work. Now that we have a
bunch of photos, we can go ahead and
edit them in Lightroom. Make sure you upload
your photos to your desktop or
your mobile phone. The next two lessons
are about Lightroom. One is to edit photos
on your desktop and the other one is to edit photos on the free
Lightroom app. I can't wait to see
what we have shot.
7. Editing Your Photo in Lightroom: Hi, guys. Here we are in Lightroom. Let me show you how you can do some basic and quick edits to make your photo look amazing. Here are the photos
of our photoshoot. I already went through
them and sorted them out. You can choose your favorites by giving them a rate or a flag. You can press a number
from one to five to give your photo a star
rating like I did here. You can also pick or reject photos by pressing
the letter P to flag the image as a pick or the letter X to mark it as
rejected like I did here. This way, you can
easily filter through your photos right here
in the above tip. I'm going to choose photos
that are at least four stars, and these are the ones I picked. Let's start editing
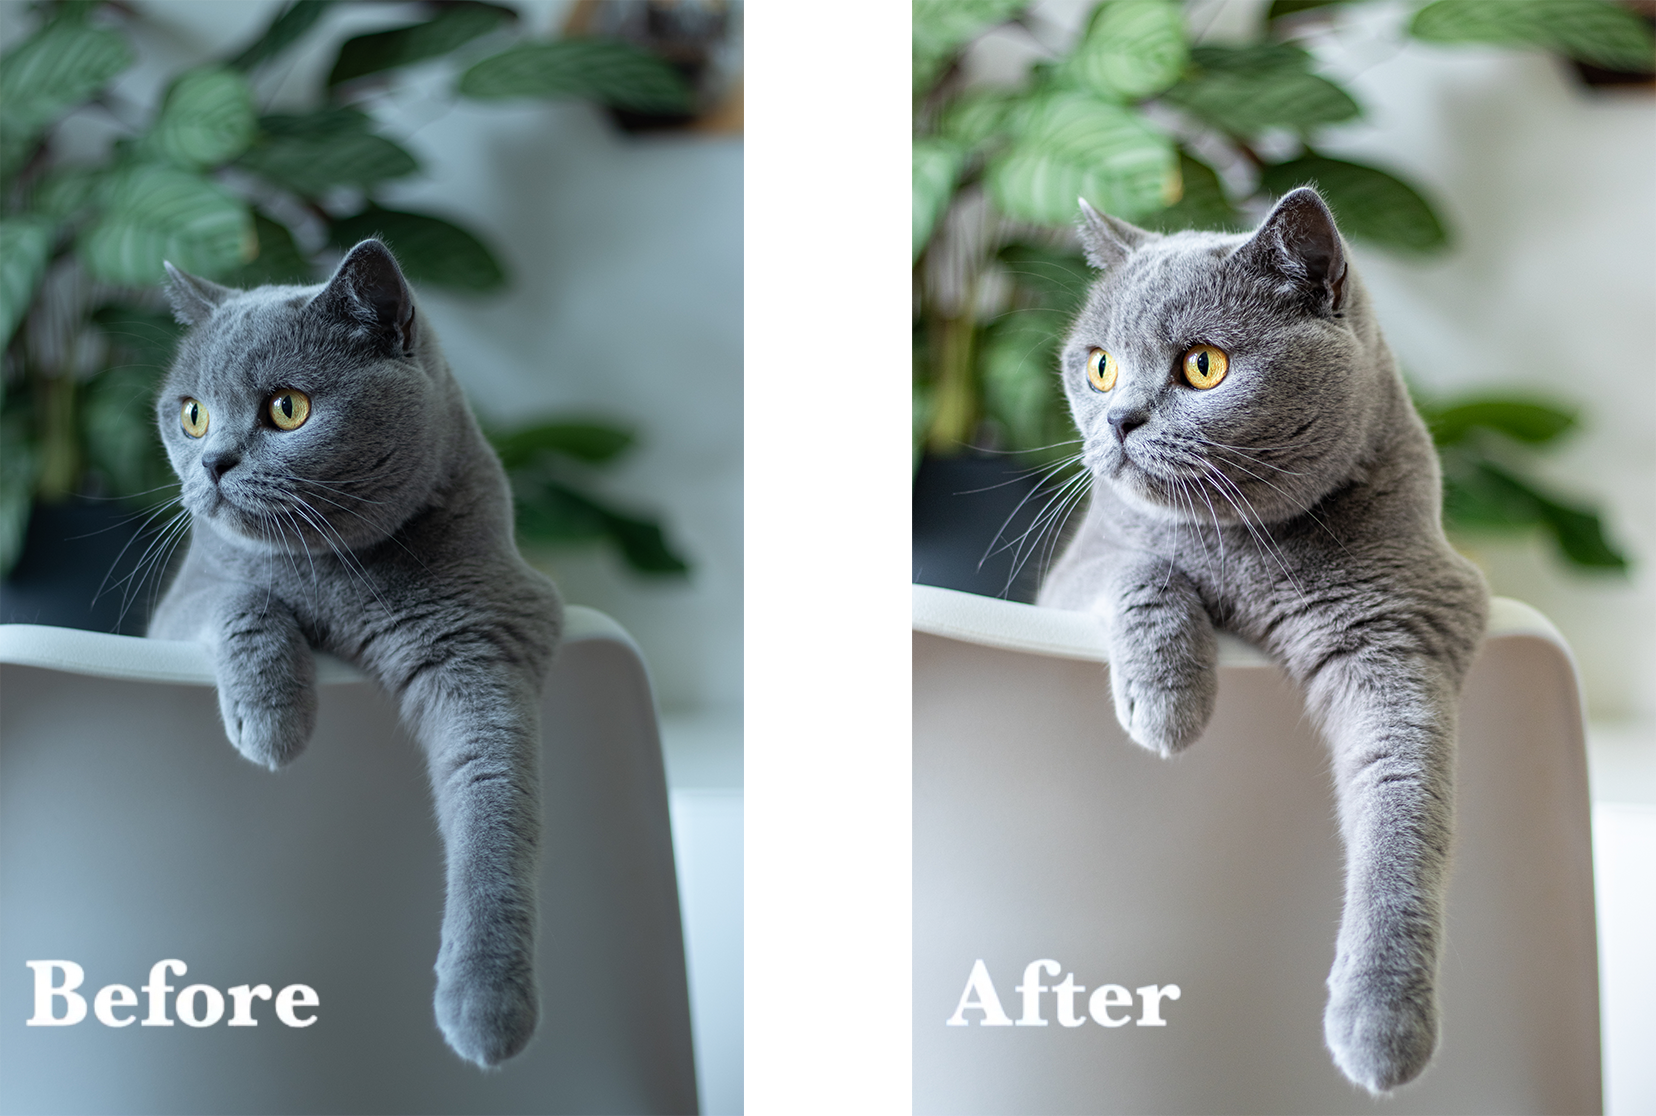
our first photo. I'm going to choose this one. As you can see,
this photo is very underexposed and the
colors look a bit dull, and everything looks
cold and blue. Let's go ahead and fix this. Open the editing panel
here in the right corner. Then we'll first go over the lighting conditions
of the photo. On the right, you have
several sliders to optimize the exposure and
contrast of your image. This will influence how crisp
and clear your image is. The first setting of
the lighting conditions is the exposure. This will decrease or increase the overall brightness
of your photo. In this photo, I will
increase it a little. Then we have the
contrast slider. This will increase
the difference of the dark and light
areas of the photo. If we decrease it, it can make your photo
look really dull, so let's not do this. But if we increase it, it just doesn't look good
so don't exaggerate it. I'm going to put it on 15. With the highlights
and shadows slider, we can bring back details
in light and dark areas. Moving the highlights
slider to the left will make the bright areas darker. Moving it to the right
will make them brighter. In this photo, I will slide
it to the left to make it darker to get the details
back in Stella's shoulder. The same goes for
the shadow slider. If we move it to the right, it will make the
dark parts lighter. If we move it to the left, it will make them darker. In this photo, I'll
make them lighter to get the details from
the plant back. Using the whites
and blacks sliders, we can edit the contrast
of the photo more precisely than just the
contrast slider here. When we increase
just the whites, we can add some vibrance
and sparkle to the photo. Darkening the blacks will
make the dark tones richer. Then let's see and press the backslash to see
the before and after. This already looks
so much better, but the photo still
looks a bit cold, and Stella looks very blue. Let's go to the color
tab to adjust this. The temperature
slider regulates how warm or cool the colors
of your photo are. Let's move the slider to the right and make
it a bit warmer. Then another slider to adjust the colors of your
photo is the tint slider. This will determine how green
or purple your photo looks. I think the photo
looks a bit too green, so I'm moving this one to
the right. Much better. To give your photo that
extra pop of color, we can use the vibrance
and saturation sliders. They both enhance the
colors of your photo, but while the
saturation slider just affects the color intensity
of your entire photo, the vibrance slider will only intensify the duller
colors of your photo. I'm going to use that one. Again, don't exaggerate because it will make your
photo look really bad. Just a little bit to give
that extra pop of color. Then under the effects tab, you can give your photo
a more personal style. Just also make sure not to
exaggerate these effects, otherwise, it will
look too edited. The texture slider enhances the fine details of your photo. I'm going to increase
this a little. The clarity slider will enhance
the medium-sized details. Both these sliders will help
sharpen your photo a bit. Dehaze to boost the contrast
again and remove haziness. Haziness is like a
mist over your image. Then the vignette
slider will make your edges darker or lighter. But I'm not going to
use this one right now. Then let's check our
composition of the photo. I'm looking at this photo
tile in the background. It looks a little askew, so let's straighten that. Let's go to the crop
tool and then just drag until it's straight. Keep in mind that
we keep the paw in the photo and don't cut it off. So this looks fine.
Hit ''Enter.'' Then I like to do
a little extra for the eyes to make
them really pop. Let's zoom in. Let's go to the brush
tool or press ''B.'' I like to enhance the
white and black parts of the eyes because this really draws more
attention to them. Select the eyes. You can see they're selected
with this red mask. Then let's go to the
whites slider to increase the white parts and increase the blacks to make the
dark tones richer. I'm also going to bump
up the contrast a little and then also increase
exposure just a tat. Then again hit backslash to
see the before and after. Look at that. This
looks so much better. Let me show you how I
would edit another photo. Let's go to the grid again. I'm going to pick this one. Again, this photo
is underexposed. The colors look dull. Let's do something about that. Go to the editing panel here. Just go over all these
sliders step-by-step. If you don't remember
what they are for, just drag them to the far left or right to
see what they do. So let's increase the
exposure a little. I can already see some
haziness coming up but we can adjust that later. Then increase the
contrast to increase the difference between
the dark and light parts. Then let's bring
back the details in the dark and bright areas. I'm going to decrease
the highlights. I'm going to increase
the shadows just to get the details from
that plant back. Then just give a
little more contrast with the whites
and blacks slider. Increase the whites to give
more pop to the photo, and decrease the blacks slider to make the dark tones richer. Then we go over the
color of the photo. The temperature and tint of
the photo look pretty good, but let's check
out what it does if we increase it a little, I think it looks pretty fine. Maybe we could increase the vibrance just to give
that extra pop of color. Then last but not
least, the eyes. Let's go to the
brush tool again. Select the eyes. Increase the whites
and the blacks parts, add a little more contrast
and increase the exposure. Then let's move
to Stella's eyes. Select the eyes again. Increase the whites
and the blacks, add some contrast and
increase exposure. Then let's check again
the before and after. Don't they look cute together? I'm very happy with
this photo of them. And that's it. Look how stunning
our photos have become just with a few simple
and basic edits. One last thing before we
go to the next lesson is to always check out
your photos the next day. If you're editing for hours, your focus might be decreasing. You'd be surprised
how sometimes you don't even like your
edits after all. It's good to check them out again with a fresh pair of eyes. With that said, let's check out how you can edit your photos on the free Lightroom app with your mobile phone or tablet. Perfect for when
you are on the go. Let's install the app, and I'll see you in
the next lesson.
8. Editing in Lightroom Mobile App: Hi, everyone. In this lesson, I'll show you how you can
easily edit your photo with the free Lightroom app on
your phone or tablet. I'm not going to explain every slider in detail
again so if you need more guidance then
just go back to the previous lesson about
Lightroom for desktop. Here are our photos again. Also in the app you can
choose your favorites by giving them a star
rating or a flag. Go to the review section here and then just swipe on
the left side to give you the star rating or swipe on the right side to
mark your photo as a pick or as rejected, then you can also go and
filter your photos here. I will choose at least
four star rating. Then I will go and edit
this photo of Magnus. Again, the photo
is underexposed. The colors look blue and a bit dull so let's go
ahead and fix this. You can go to the
editing section here and then you can see all the tabs here below
with all the sliders. Let's go to the light tab
and increase the exposure. Then let's also bump up the contrast to give
it a little pop. Then I'm going to decrease
the highlights to get some details back in
the bright parts. I will do the same for
the shadows so I will increase the dark parts. Then let's also increase the whites to give it
a bit more sparkle and vibrance and decrease the blacks to enrich the dark tones. Then let's go over
to the color tab. As said, this photo
looks a bit too blue, so let's move this slider to the right to make
it a bit warmer. Then l will also
move this one to the right as the photo
looks a bit too green. There, much better. Then to give all your colors
that bit of extra pop, let's increase the vibrance
slider just a little. Then let's go over to
the effects tab here and increase the fine details and the medium-sized details to
make your photo look sharper. Then we also have a little
bit of a mist going on in our photo so let's increase
the dehaze filter. There, much better. Then if you want to
crop your photo, you can do that here. Let me just adjust this. For the rest, I
think it looks okay, but you can also
rotate it here if you would like. Hit "Okay". Then in the previous lesson, we also did some extra
finishing touches on the eyes, but unfortunately, that
is a premium feature. For the app, this is it. Let's check the
before and after, you can do that here. Here's the before and
after, before, after. As you can see, it's
super easy to do some quick edits when
you're on the go. Now that we have our
stunning photos ready, let's go to the next lesson
and see what I like to do with them.
9. What Next? Posting & Printing!: Now, that we have followed
every step of this class, we've got so many beautiful
and good-quality photos of our pet. What can we do with them? You can share your newly
acquired skills and amaze your followers
with cute pet photos. Choose and upload
your best photo. You can also share some behind the scenes or photos of
before and after editing. Also, think of an
engaging caption, add some hashtags, and boom, you have a super engaging and stunning
post about your pet. Who wouldn't stop scrolling, seeing such cute pet photos
on his or her feed? If you really want to get
into growing your account, keep in mind that
the algorithm of social media changes
all the time. In any case, each
platform really wants you to post regularly and
engage a lot with others. I'm not an Instagram whiz, I just take good photos that I enjoy and add a fun
caption to them. For example, here are some
of my favorite posts. Of course, you're
immediately drawn to these two eyes staring at you. But I also like this caption
because I used a quote from a famous artist and
also explained why this quote was so fitting
for this photo with Stella, adding so much sentimental
value to this post. Here's another favorite. I think it is a
successful post because this photo has an
unusual perspective. Also, the caption using
a familiar quote, but making it
personal and fitting to Magnus gave it
that little extra. Another favorite
post is this one, a fun quote together with some personal details
about Magnus' personality and asking about your
followers' experience makes for a fun
and engaging post. If you want to know more about how to grow your social media, I would recommend checking out these Skillshare classes
and also this handy site later.com that's full
of free resources on the latest info on
social media marketing. Or how about you eternalize your pet in a cool
print like I did here. These days, you can make your own print on
anything you'd like. I'm not just talking
about posters, but you could also
make stickers, mousepads, placemats, or even your own
Christmas postcards. The possibilities are endless. Just make sure you use a high-quality photo and a
highly rated printing service. Join me in the last video
of this class where I do a quick recap and explain
the next steps to take.
10. That’s a Wrap!: Congratulations. You've done it. Look at those beautiful photos of our
pet. Throughout this class, you've learned how to
get your pet comfortable around the camera so you can
capture it as it truly is. The basic rules of pet
photography and how to get the best exposure and how to edit your photos in Lightroom
and make them look amazing. If there's one thing I hope
you take from this class is that with these fundamentals
and a little practice, you can create beautiful
memories of your pet. Just believe in yourself and
don't forget to have fun. If you have any questions, don't hesitate to ask them in the discussion section
of this class, and I will get back
to you when I can. Thank you so much
for following along. I hope you learned a lot and
that you enjoyed this class. Don't forget to follow
me here on Skillshare and Instagram so you can stay
up with the latest news. Now let's see those pictures. You can upload them to the
project section of this class. It would also be very
cool to see your posts on social media and see what else you've done
with your photos. Make sure to tag me
@magus_and_stella and @skillshare. Don't forget to use the
hashtag avpetphotography. I'm very excited to
meet your pet. Bye.
 Aniek Vaesen, Pet Photographer