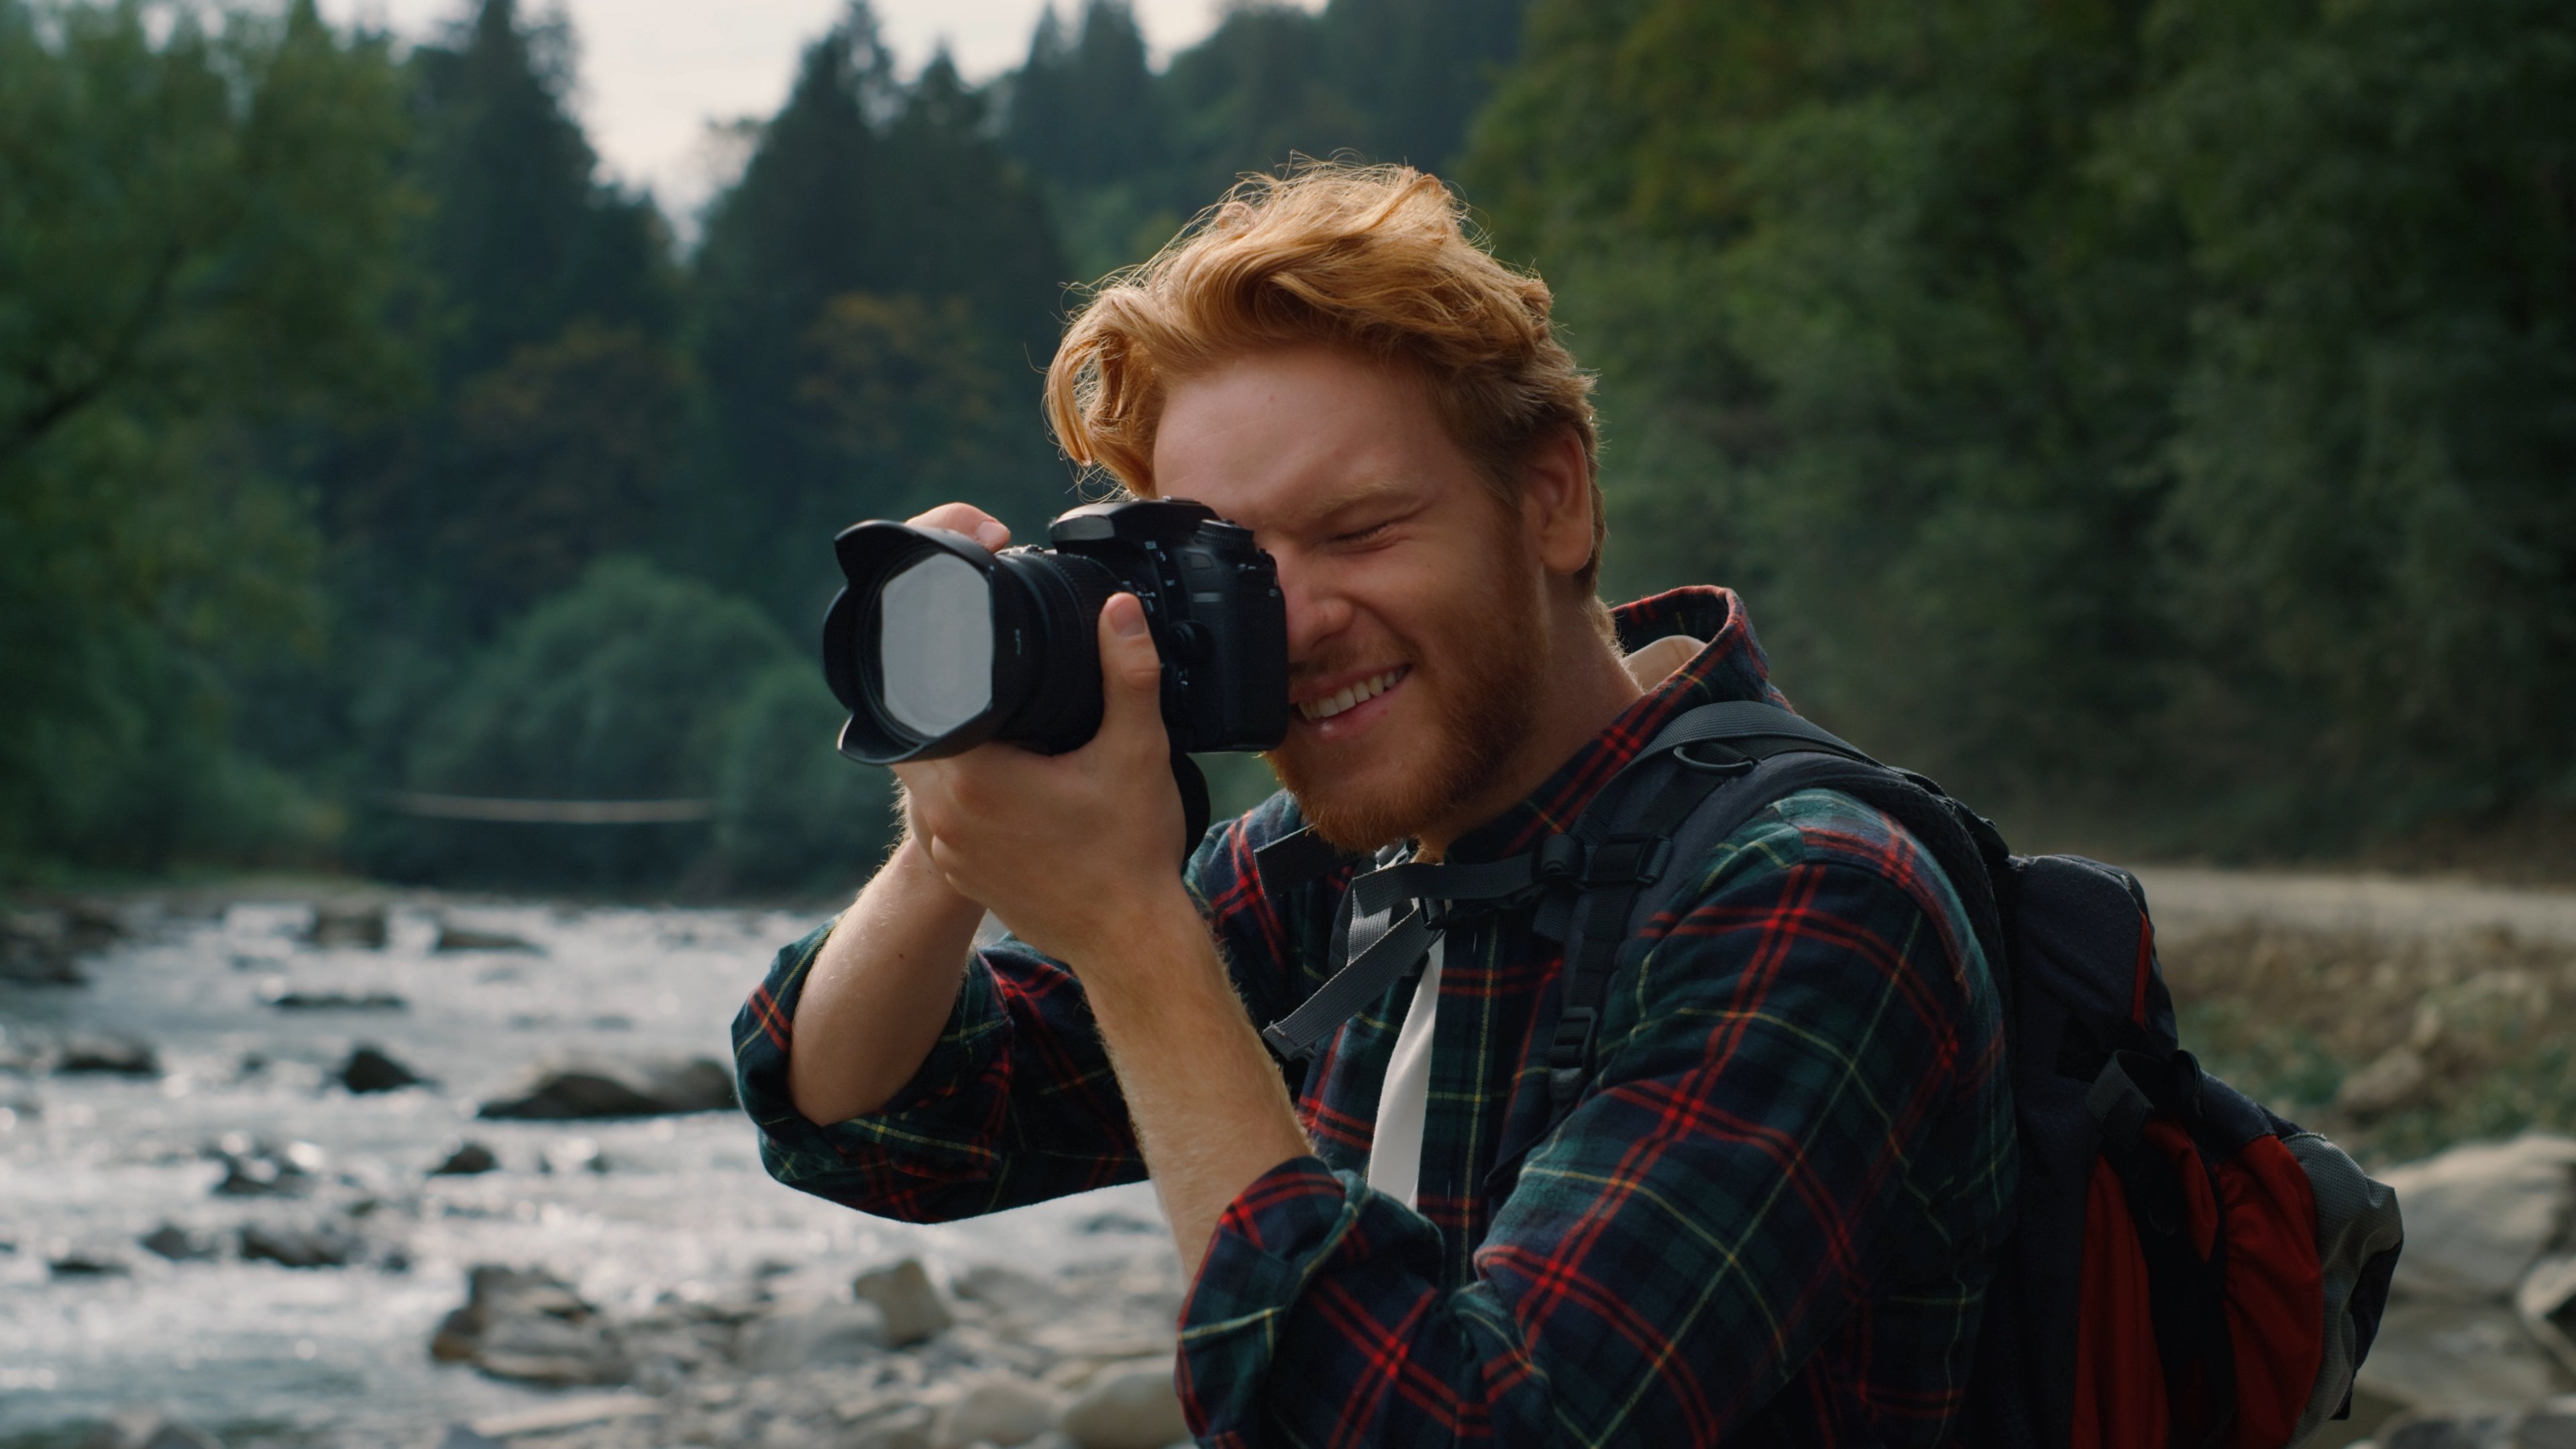
Transcripts
1. Introduction: Becoming a skilled action sports photographer is all about creating a personal
toolkit that can be adapted to any scenario. It all starts with the
mastering of fundamentals and closely analyzing the
environment that you're in. My name is Jeff DO Helio, a sports and lifestyle
photographer with a decade's worth of
experience under my belt. And throughout my career, I've had the incredible
opportunity. Photographs events with big name organizations
like Red Bull, the international world games, and the World Championships. I earned my MFA in photography
from the Academy of Art and received honorable mention from international
photography awards. But what really sets
my work apart are the concepts I've developed over the years of photographing
different sports. This concept has become the
cornerstone to Microsoft, allowing me to step into any sports arena and focus solely on capturing the
energy of the moments. By having a strong understanding
of these fundamentals, I'm able to create
impactful photography that speaks truth to
the hardened sport. In this class, you'll
learn how to create proper exposure for action
sports photography. Improve your composition,
basic postproduction, and selecting your best
photos that tell your story. This class is geared
to photographers of every level that want to have a better understanding
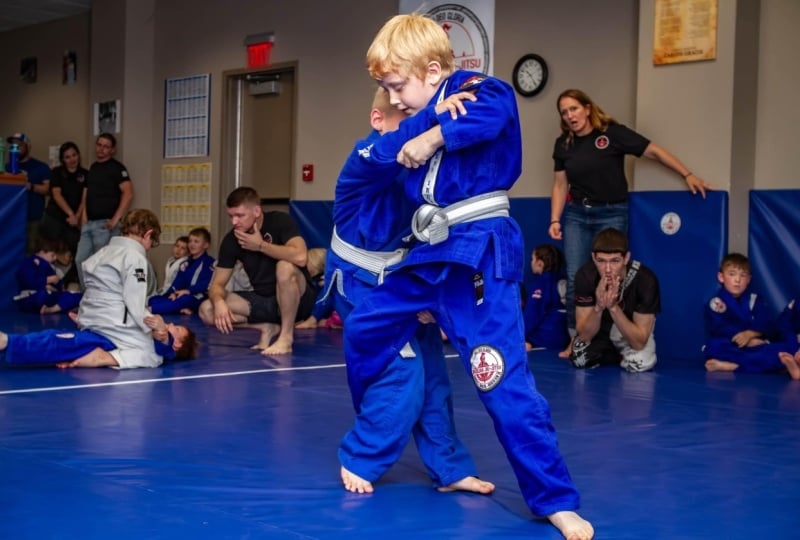
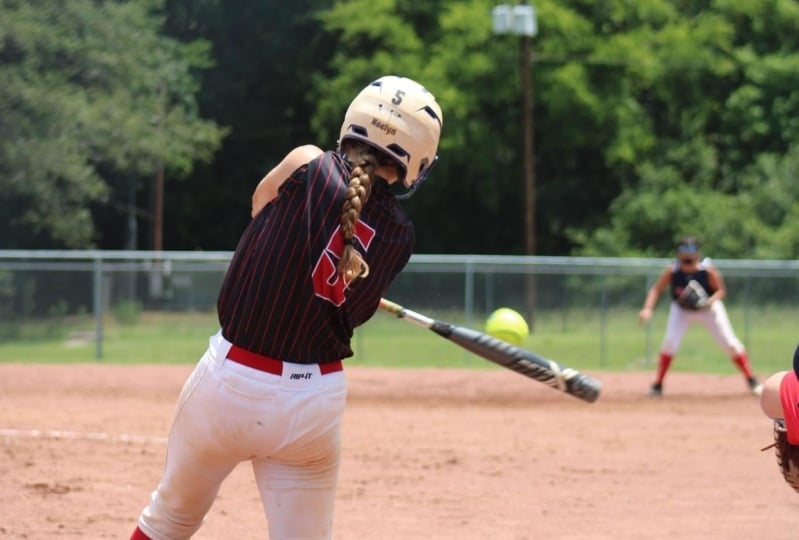
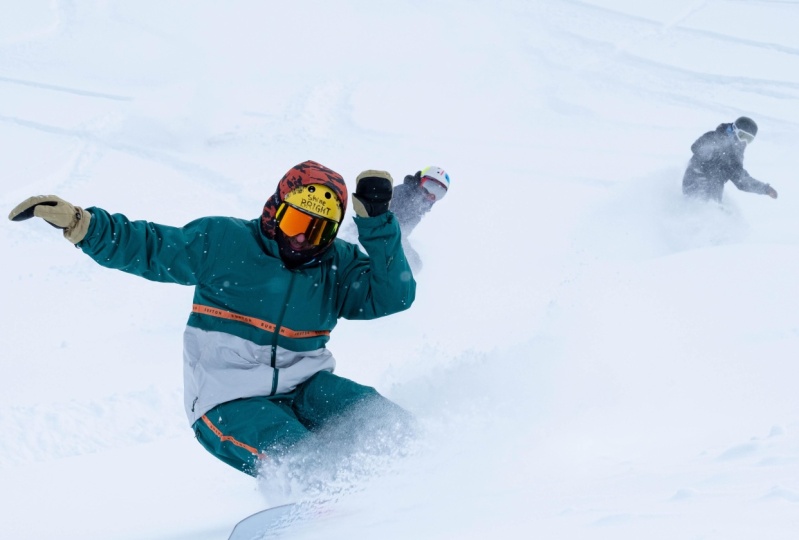
of Crabtree movements. These skills can be applied to indoor and outdoor photography, children's sports,
Motorsports, track and field, fitness, and so much more. Learning these
fundamentals can enhance your overall skill
level in photography. Are you ready?
Let's get started.
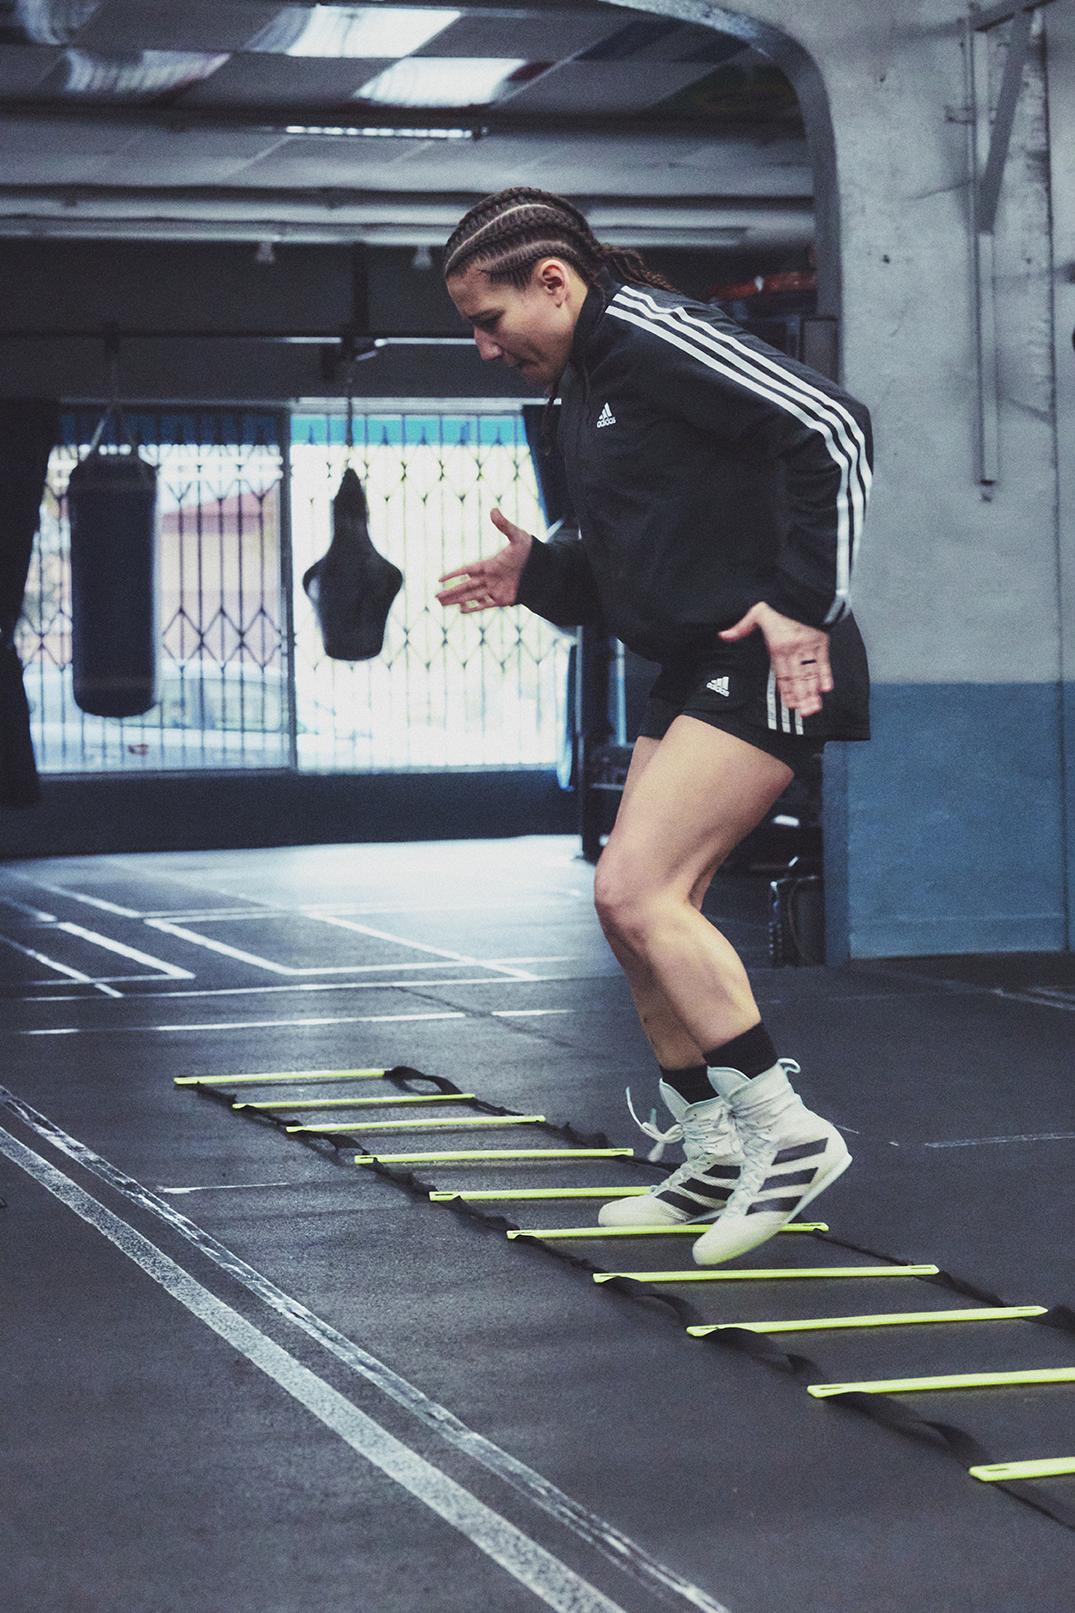
2. Class Project: Let's talk about
the class project. I would like you to photograph
a person processing their favorite sport
workout or sports activity. It can be running,
CrossFit, hurdles, boxing, martial arts, dancing,
anything with movement. We will freeze action
in its place and create powerful photographs with the right framing
and composition. I chose this project because learning how to
freeze time is one of the most important tools you
can learn as a photographer. Being able to use the
correct shutter speed will not only freeze time, but it will help
create sharper images. Shutter speed is only
one ingredient in the recipe for the perfect
action sports photograph. Applying the proper
aperture setting will also provide sharp details. And depending on
your lens selection, it'll give you the ability to
separate your subject from the background or capture
detail in the overall scene. This project will help
photographers of every level, from beginners to
seasoned veterans. This class project
will strengthen your foundation as a
photographer who this project you'll learn
a few key skills such as choosing the
correct shutter speed, ISO, and aperture, and basic importing
and post-production. Once you grasp with
the understanding of these valuable tools, your photography workflow
will change dramatically. I'm excited for you to learn these skills and apply
it to the class project. Are you ready to jump in? And let's go?
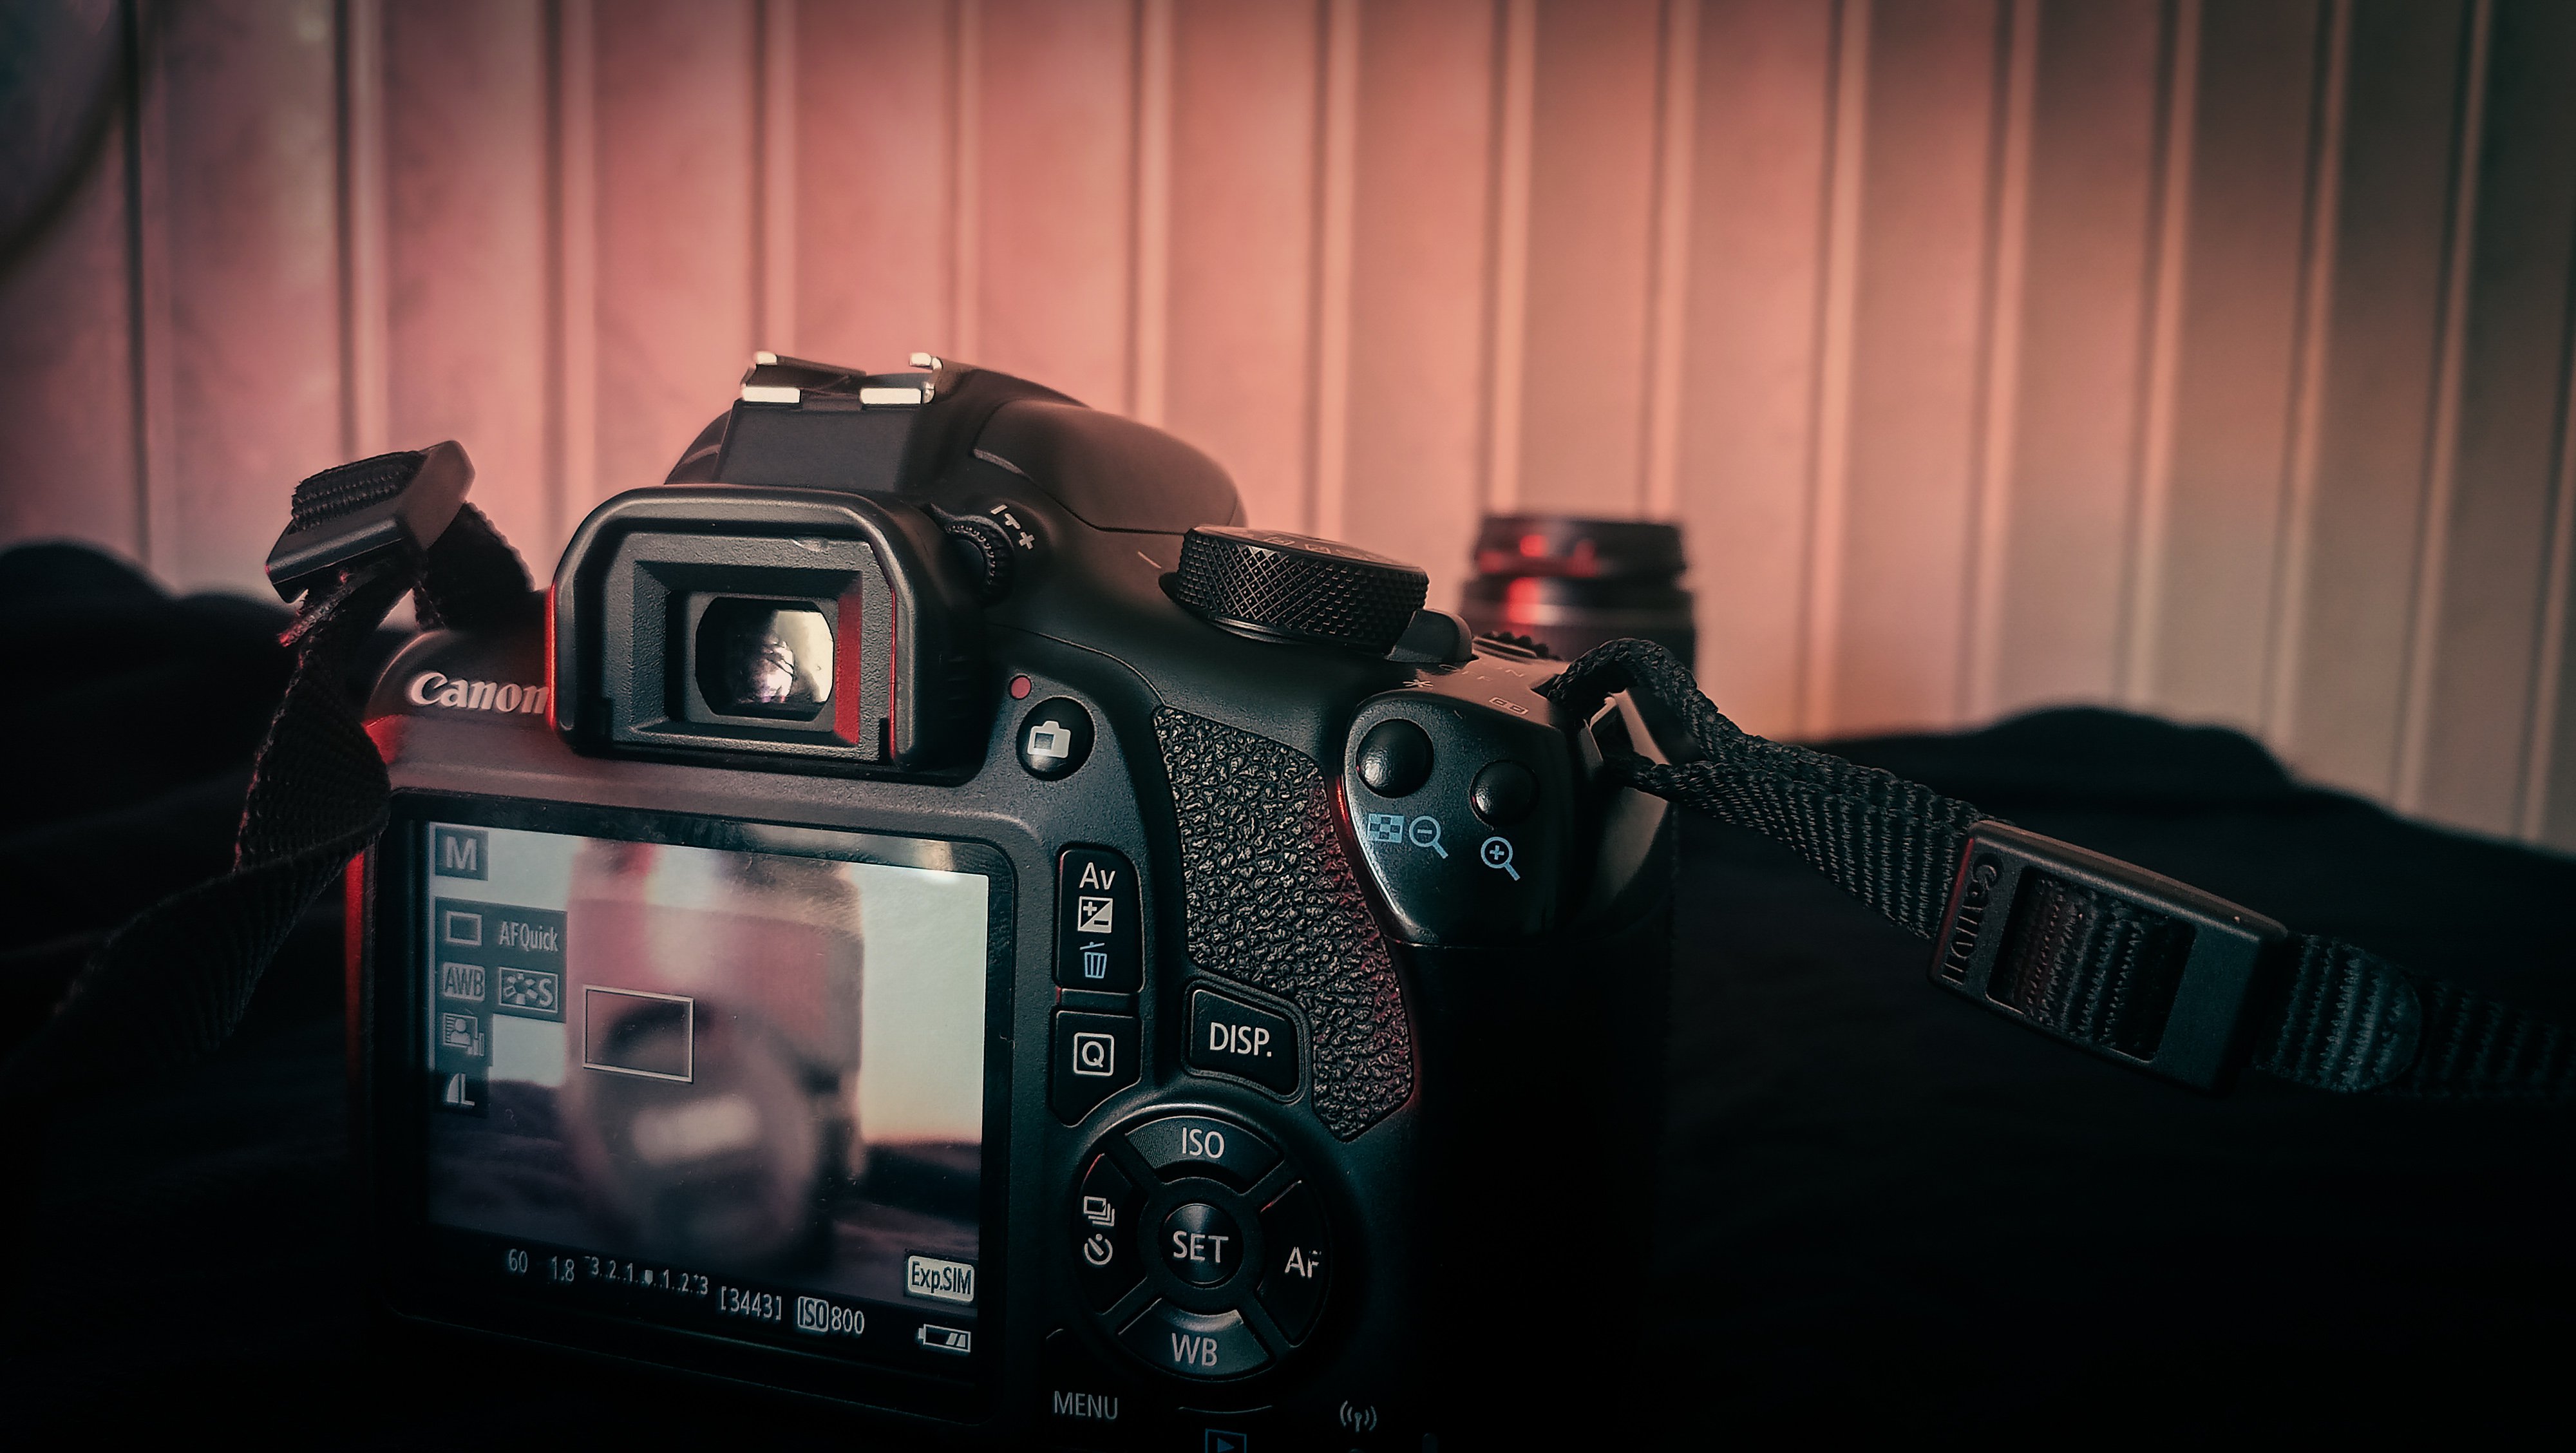
3. Supplies and Materials : In this section, we'll
go over what you need to complete
the class project. You will need the
following things. A camera like a manually
control shutter speed, aperture, and ISO. Usually a DSLR or mirrorless
camera will work. A camera that can shoot
RAW would be preferred. High-end point-and-shoot
cameras can work as long as you have the ability
to control it manually. A lens, if you're using a DSLR or mirrorless
interchangeable lens camera. Fixed lens cameras are
acceptable as well. You will need a memory card
and a memory card reader. Some laptops have
internal card readers. If you don't have one, you can always find an
external card reader. You will need image
editing software such as Lightroom or capture one. For this project, I'll
be using capture one. You only do computer or
laptop to edit these images. Here are some tips. If your camera has
different focusing options, that would be a bonus. Ideal cameras have full
frame or APS-C size sensors. A selection of zoom
lenses, 18-24 mm, 24 to 70 mm, 70 to 200 mm would be awesome. But you can also use
fast prime lenses. Here are some things
to think about. Think about the type
of action sports you like shooting indoors. How close are you to the action? Is it during the day or evening? Is their constant motion? Is there a one-person
involved or is it a group? What is the main objective
of your sports photography?
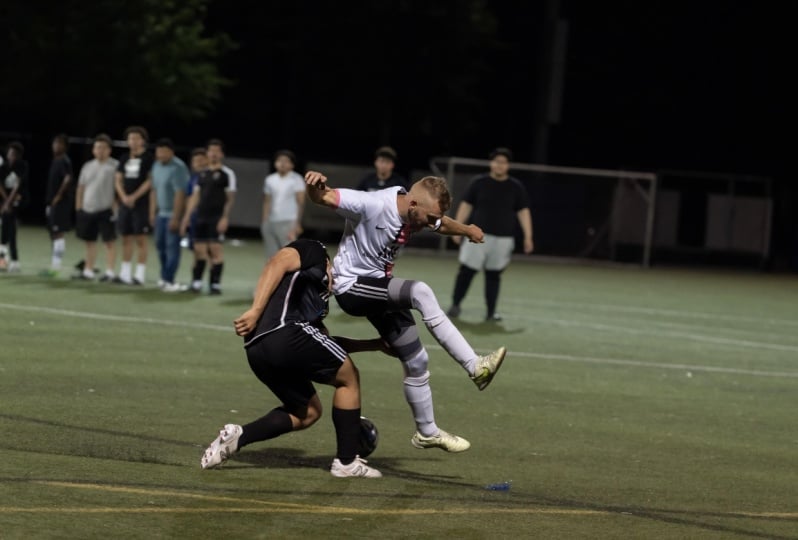
4. Understanding Shutter Speed: In this lesson, we will talk about the importance
of shutter speed, how it works with light, and the effect it has
on your photography. In order to freeze action, we must understand that shutter
speed plays a major role. As photographers. We need to make sure we choose a fast enough shutter
speed to freeze action. Shutter speed denotes the
amount of time the shutter is open to let light in to hit
the center of your camera. So the faster the shutter speed, the more light is needed
for proper exposure, the slower the shutter speed, the less light is needed
for proper exposure. When shooting action sports, your shutter speed
will vary depending on the sport or activity
you're photographing. For example, someone
playing billiards will differ from off-road
racecars in sand dunes. Let me show you
how shutter speed works through a
live demonstration. So what we're gonna
do is I'm going to have her go really fast
this time, super-fast, ready on 321 and go stop. And as you can see here in the shots that we
can't freeze time, we're seeing that
she is out of focus. There's a lot of
hand speed here. So what I'm going to do
is I'm going to increase my shutter speed to make sure that we can freeze
her in time well, as fast as you can book
with a lot of action. Okay? Focusing and go. Right. You, we doubled
the shutter speed from 50th of a second to 100 and we still see that there is blur happening on her feet. That means she's faster
than 100th of a second. So I'm going to
double that a 200th of a second. Focusing. Right Hudson. Now, when we look, we still have a little
bit of drag from her. She's still faster
than 200th of a second, which is pretty insane. So now we're going to go to
for hundreds of a second. Alright. So when we look at her
now at 400th of a second, we're actually getting
a full sharp image of the athlete with a little
bit of blur in the hands. For me, this is
acceptable because we can see her
freeze the motion. If we wanted to get a
little bit crisper, I would say we would go
to 500th of a second. So let's try 500th of a second. Alright, Ready 12.3 and go. So now when we look at the
image I 500th of a second, C-sharp shoes or sharp hands
have a little bit of a drag. I'm okay with that
because the logos are good. Faces, good. So now we know that
at 500th of a second, that's the fastest
that we can go to. Slow her down and
capture good movement. Here are some tips. The available light is a major variable when it comes down to choosing
shutter speeds. Always test different
shutter speeds to find the right one to
capture your subject. What matters most is
real life testing. If you do not have the
correct shutter speed to freeze motion, the subject of your image
will have motion blur and the background will become
the focus of your image. With practice, you can
track your subject, but there will be a
huge amount of blur in the image and the subject has
the potential to be soft. But this can be an
artistic choice. Always use the fastest
shutter speed you can. Here's a recap. The faster the shutter speed, the more light is needed
for proper exposure. The slower the shutter speed, the less light needed
for proper exposure. Here's some things
to think about. Where is the action happening and what is
the quality of light. When shooting boxers
and combat sports? I found out I need
a shutter speed of one-four hundredth
of a second. When shooting racecars
for Red Bull, I needed one 800th, one-one thousandth of
a second to freeze motion. What's shutter speed? Do you need?
5. Understanding Aperture: When shooting action
sports photography after plays an important role in
how you capture your image. Aperture is how wide the lens
can open or closed down, and the amount of light
that it your sensor. Depending on the
quality of your lens, you can open up to F14 and closed down
all the way to F22. The more you open up the lens, the less amount of
light you need, the more you close
down your lens, the more light you will need. When working with an aperture, you deal with the
depth of field. Oxford Dictionary
defines depth of field as the distance
between the nearest and the furthest objects that give an image judge to be
in focus in camera. So the wider the aperture, the shallower the
depth of field, the more narrow the aperture, the deeper the depth of field, meaning more things
are in focus. Here are some tips. Having a shallow
depth of field is a beautiful thing
when separating your subject from
the background. But there's no room for
mistakes when focusing. Having a deep depth of field can ensure your images are in focus, but will also ensure that distracting elements will
be much more noticeable. Your lens has a sweet spot
for being the sharpest. It's usually a couple
of stops down from wide open texture
lens apertures and figure out what
stopped you like the most at the distance
you shoot your subject. And remember, what matters in
life is real life testing. Here's a recap. The
wider the aperture, the shallower the
depth of field. The narrower the aperture, the deeper the depth of field. Shutter speed and aperture
form a marriage that is an everlasting
relationship and finding the right exposure for
action sports photography. What is your favorite
combination?
6. Understanding ISO: When shooting options
sports photography, ISO is important to the
quality of the photograph. Iso in analog photography relates to how sensitive
the film is too light. In digital terms,
it relates to how sensitive your sensors
are too light. There's a major
technological explanation to this about signal
amplification in converters. But I want you to understand
what's most important, how it affects your work. Let's go to a live demonstration and show you how this works. Now when we look at this image, there is almost like
no grain existence. We can see her pores. Very beautiful shot
eyes are sharp. It's a little dark, but right now I'm
trying to show you what ISO does in
regards to your film. Now let's go to 12th 20, 12,000, 800,800 is where we can we can actually use the shutter
speed to freeze her. So we're going to bring
this down a little bit. Same F2 focusing 112.3. Now going back to this one,
it's properly exposed. We can see more of
the grain, sorry. You can see more of the green in her eyes compared to here
where it's much smoother. So you're going to sacrifice the quality of the film when
you go into higher ISO. So depending on the
quality of your camera, ISO ranges anywhere 100-300
thousand and beyond. The rules are the lower the ISO, the less digital
noise you will have, the higher the ISO, the Granger and digital
noise it will produce. Each camera has a native ISO. A native ISO is the
highest ISO range before the image starts
to break down in the shadows showing artifacts. Cameras have extended ISOs, but I do not recommend
using this because it'd be difficult to
bring back details. Some cameras like Fujifilm and Panasonic have dual native ISO. These sensors have
the ability to split low light
and bright light. Iso to create even
more usable image is pushed to higher ISO values. Here are some tips. Visit your camera manufacturer's
website or manual, and look up the
native ISO range. Always try your best to use the lowest possible ISO
to capture the moment. What matters most is
real life testing. So let's recap. The lower the ISO, the cleaner and sharper
the image will be. The higher the ISO, the more digital noise
an image you'll have. Iso is what will balance
out your entire exposure. Finding the sweet spot of your exposure will
always depend on the available light and
how much you can push your ISO before the
image starts to degrade
7. Lens Selection: Finding the Right Tool : When shooting action
sports photography, lens selection is
very important. The quality of glass,
the fulcrum range, and the type of lens will
affect the way you take images. Depending on the type of sport or subject
you're photographing, you will need a specific lens. If the action is very close
to you, like ringside sports, you may benefit from
a zoom lens that has a 25% to 70 millimeter
focal range. When shooting motor sports, or sports that have a
long field of play. And you're unable to move
from a certain location, a 70 to 200 millimeter
or even longer, maybe the right
lens for the job. Lenses that have wide
apertures help with extremely low light situations like indoor events
with dim lighting. Lenses with an aperture of f, 1.2 can really shine
and low-light. But we must remember when
opening up our aperture, we may not be able to
hit critical focus. Lenses shot wide open
tend to be soft. And the edges of your
image can vignette. Especially wide angle lenses. Lenses are usually sharper stopped down if you
stopped from wide open. And this can eliminate
the vignetting. Prime lenses are a
fixed focal length, but tend to have better
optical glass in their design. This would work well
if the action doesn't vary and you can move
around the subject, this would be perfect for photographing a private
workout session. Here's some tips. Lenses are sharpest, close down a few stops from wide open. Lenses shot wide open tend to be soft and the edge of your
images can vignette, especially with
wide angle lenses. It can be wise to
have a wide Zoom of 24 to 70 and along
zoom of 72, 200. If the actin changes
is distance and you're unable to move yourself
to get a better shot. Prime since have great
glass and sharpness. But what matters most
is real life testing. So let's recap. Lens selection will need to be determined by the action
you are trying to capture. Think about where you'll be
when the action happens.
8. Understanding Shooting Modes: When shooting action sports, some photographers can benefit from the automatic
shooting modes. Depending on the situation. They're very shooting mode
you can take advantage of. Shooting loads should
be used and you know their specific variables
and controlled. Let's talk about
shutter speed priority. Shutter speed priority is
a mode where you can set your desired shutter
speed and the camera will adjust your aperture and ISO to create the
proper exposure. This works best when there's
enough light and the camera will select the aperture range
you're comfortable with. I suggest using this when you're shooting in
bright daylight. If the available light
does not change much, your ISO and aperture should
meet your desired exposure. Shutter speed priority also
works when you know how fast you're shuttered
needs to be in a dimly lit situation. This also can work
if your aperture is something that you're
not concerned about. Auto ISO. Now, we have a better understanding of ISO and how that
affects our photos. Setting our ISO at
a specific range. We'll bring our aperture
above wide open. You can lock down your
shutter speed and aperture. And the ISO do all the guessing. Hi frame, continuous burst rate. Some high-end cameras can
shoot anywhere between 12 frames per second to
30 frames per second. Having this luxury will help
you capture the option. This is what I call
spray and pray. This is a term used when you point your camera at a subject, hold the shutter down and
track the subject shot. There's nothing wrong with this. But the more you spray and pray, the faster your memory
card will fill up, the more you shoot
and continuous burst, there's a chance
that your camera will blackout due to buffering. This happens when the number
of files transferring to the memory card freezes
your camera for a second. Basically, you're
shooting faster than your camera can write
the data on your memory card. This results in you
missing the action. Here are some tips. Get the biggest fastest
memory card you can afford. And what matters most
is real life testing. Shutter speed,
priority mode works best when there's a lot
of light available. Setting your ISO to
a specific range, or bring your aperture
above wide-open. Continuous high frame
burst mode is okay. But some cameras with
small buffers can blackout if they cannot write fast enough
to the memory card
9. Live Action Demonstration: Since we have an understanding of shutter speed, aperture, and ISO, Let's put it all together in a
live demonstration. Now we're going to
create a sports action shot of photography
with my friend brooke. Well, we need to
figure out is what the total lighting
style is like here. We have overhead lighting
and I want to make sure that I get the
cleanest looking shot. F18 is still dark. So when we look at
the screen here, you can see it's
heavily underexposed. In order to compensate for that, we have to bring up our ISO. One of the only ways to
really, in my opinion, fix this exposure issue
when shooting sports. Because in post you can
bring the ISO back down. But I don't want to go
past a certain ISO. 1,600 is still pretty native
to what my camera is. When looking at native ISO, you're going to have to look at your cameras profiles to figure out what is the
best range of ISO. Certain cameras can only go to certain limits of ISO 6,400
before it breaks apart. So let's take a test with this. So when we look now, we can see that she's
properly exposed. I'm freezing the moment, even though I'm not actually getting hard hitting the bag, but there isn't any
movement that is blurred. We can tell that it is stopped. So now what I need to do is make sure that I get
the correct timing. Alright, Brooke, so
let's say on one side, let's stay on that
understanding. Install that overhand right
for me harder and faster. Right. Okay. So now she fit through that
really hard and really fast and I'm still missing it. So what we have to do is understand timing of
what she's doing. So I'm going to watch
your thought again. Wap, keep it on,
go do your thing. Clam. Set it up with a jab. Yeah. So one jab thought up, yep. There you go. She's
free styling. So what I wanna do is I want to snap before I hear
that punchline. So when I shoot, now, she has hit the bag because
there's an audio response to timing when you when someone hits something in regards
to combat sports. So you automatically saw
combat sports normally want to shoot once you see the punchline or when you hear the sound. But you have one split second on my camera for you to snap the shot before the
actual punch lens. So go ahead again, Brooke. Keep going. So I think my timing was
off just a little bit. Yes. Again, so go ahead. Boom. I shot before that Punch was that I saw
actually hit the bag. But my timing of my camera, that split second is that
window for me to pause time. So now when we look at ISO
together on my screen, we're looking at 1600/200
of a second at 1.8. See, we see that there is a little bit of
noise, but it's okay. When you're wide open, you're realizing that this
shot is a little software it needs to be we need
to make sure that her gloves and her head is sharp. So what we need to do is we need to change
our focus settings. Can you go back to
where you were at? Thinks we want to make sure
that your focus setting is is a specific
point where you know, where she's going to land. Right. So I know that she's
going to probably land right in front of the bag. Alright. Go ahead, Brooke. So now that I've focused
where she was supposed to, I miss the landing of the punch, but I think that's okay
because it adds it shows that that's
where we were going. But now you look
at where my focus was compared to the last. You see her glove is
out-of-focus is because at 1.8 you have a hairline. Amounts of focus shift. If she breathes incorrectly
or your focus is off, you're going to miss focus. If you even look
how much focused, like the depth of field is, it's going pass her
glove into her nose, which is really, really, really high amount of detail
10. Basic Post Production With Capture One: Okay, everybody in this module, I'm going to show
you what I use to edit images and it's
called capture. Whatever he is going to
start a brand new catalog. Skillshare. I'm going to choose the desktop. I'm going to choose
a folder called S H. And we're going to go there
and we're gonna go, Okay. Looking at this, this
is the user interface. Without any images
added to capture one. To import images, we go
to the left corner here. We click Import, and then
we will choose the folder. We'll go to the desktop, which is Brook,
where my images are. And you'll see four images
here that I've chosen. Because I was shooting this
for a commercial projects. I'm unable to give
you my raw files, but you can use your raw files and do the exact
same thing here. I chose for images from
the shoot with Brooke. And I wanted to show you what
I can do with these images. So you click Import. At the bottom, you will see all of the thumbnails
of the images you have. Depending on your
user interface, it could look very different. It could look like this, where you scroll up and down. It could be a list
of images here. I chose a film strip because I like going
from left to right. So if we look at
this image here, we will show you what
each module does. On the right, we have
different modules. This is the histogram
to show you the data of your
image that you shot. It'll tell you your ISO, your shutter speed, and your f-stop, which
is really cool. Here, are layers. And depending on how
you edit your images, you can have different
layers here. And you could adjust the
opacity of each layer. And it can be really, really nice to fine-tune this. This module is called
white balance, where he could change
the color of your shot, meaning depending on
the light sources, if you have interior
lights that are warm or you're
outside in daylight, you could fix that
with this module. The exposure module is
the most powerful part where you can control exposure contrast,
brightness, and saturation. The high dynamic range module, you can control your highlights, your shadows, kind of like clear white points in
your black points. Clarity module is where you can sharpen up your images
a little bit more. The curves module
is pretty complex, and that's something that
you will have to learn to either Photoshop
or taking a class to cap for capture one specifically where it
affects your blue, red, green, and brightness
of the overall scene. Where you can adjust contrast
by fractions of a point. You can add color
into the shadows, mid tones and highlights. And you could create
different types of color combinations to customize your image levels
does the same thing, where you control fine
points of shadows, mid tones and highlights. But we will not be going
over those right now. So we're going to close those. The color editor also is a powerful tool
where you can select different colors of the image
and you can adjust them. But that is an advanced
level technique and we will not go
over those right now. Color balance, you can
work on your shadows, mid tones and highlights, and put any type of color there. Again, that is more of
an advanced technique. We will not work
with those modules. We will be working
with sharpening, noise reduction, lens
correction in vignetting. So let's go into a demonstration and see what this looks like. So since this image is
underexposed a lot, we will take the
exposure, bring it up. And you could see that
you can recuperate a lot. You'll see how the
histogram changes up here on the top right
when I move this slider. So you want to bring
your exposure as high as you can before
you start clipping. Clipping, meaning blowing out highlights where there's no z. So this is what
the contrast thus, you can either really have a
high contrast where you'll see the color saturate more
and give it a vibrant pop. But you'll be starting losing
details in certain areas. Or you can soften
the entire image. It really depends on what you want your images to look like. I like mine with a little bit of contrast, just a tad bit. So I'll leave it at ten. The brightness slider
opens up the image in a little bit more
compared to exposure, but brings down the
brightness and everywhere, but does not affect your
shadows or your blacks. I kinda like it right here. That's a little bit bright,
but I think this is perfect. Saturation is really
cool because you can read increase the
saturation to make it really pop and
be very vibrant. Or it could even pull
it all the way down to make a really gorgeous
black and white image. I like mine a little under, I let a little under zeros. So about seven is where I
like my images to be at. The dynamic range module is powerful because it
controls highlights where could bring tonality
down or you could increase the brightness
and highlights. But I think right
now I'd bring it down just for just a tad bit. And then the shadows I like
the shadows just a little bit darker because it's
overhead lighting and I like trauma in my image. So I like to have the
shadow details come back. The light is also the ability to bring down the hot white
parts in the image. If you see her skin tones
starting to pop in her shoes, we should bring that down and bring more detail
in tonality there. The blacks, we would
probably be her clothing, her socks, and her hair. I bring that up
just a little bit, just so we can get detailed
back into the fabrics. Clarity is really good
because it can help pop, make the image pop and
sharpen a little bit. To give more detail
into the subtract. Sharpening is just mix a little
bit of micro sharpening, which gives it a little
bit of a 3D pop. Sophie pulled this amount slider to the right a little bit. You can see pop so much. I think that really
makes the photo look really dynamic with a little bit of separation
from the background. You can control that by
controlling the radius and how far you want the
sharpening to go. Remember, use this sparingly. Just a little bit
like a final touch. You have threshold. And
sometimes if you have too much of sharpening, you'll see like a
halo come around. This. We'll do halo
suppression to make sure nothing gets
out of the ordinary. But again, that is just
really over-the-top. I honestly would
probably bring this up to maybe under 200. And I think that's
good enough for me. Noise reduction. If you bring these sliders up, you will see that the
noise reduction will, will decrease. If you notice here, everything has a lot of grain. I bring the luminance slider up. It disappears, which
is really good for those that have really noisy
images due to high ice. Now, let's reset that,
bring that up a little bit. The lens correction
module is really cool because the data
in your raw file will automatically notify the
software what lens you're using an automated correct its flaws like
chromatic aberration, diffraction, corruption, and high distorted areas,
which is super cool. And then you could,
you could actually manually change
this if you want. But I usually leave it as that. The vignetting module is something that I would
like to address too. Because sometimes when
there is a lot of vignette, because you shoot wide-open. This slider can help
correct the dark edges, which is what I think
is should be corrected. But again, it's very subjective to what you want
your images to look like. Let's try another image. This was the image
that we liked, that I personally
liked of brook. If we look at what's
happening here, we're going to just
reset everything. Now we're starting from scratch. For me, I think the highlights, I think the exposure
is pretty good, but the highlights
are pretty hot. So I'm going to take the
highlights down to tablet. And now we have good tonality. I would like to bring the
contrast up a little bit. I think that's
really good there. I think we do bring
a shadow values down just a tad bit more. That's good there. I think the brightness is good. Let's see, Let's see if
we bring the brightness down a little bit to
see what that does. Not bad, but I think the
brightness could come up a little bit more.
That's good there. Then let's add some clarity. I'm going to sharpen
that a little bit a little bit
to the structure. Now you can see her
face popping out that you could see what's
really sharp is really sharp. And I liked that. You can see that the Logos
or sharp here, or shoes or sharper
face is sharp here. And then for the amount of sharpening, overall sharpening, I'm just going to go up
like maybe ten points. I think that's really good. That's great. And then we don t
have noise reduction, but I don't know, I don't really see too much noise
reduction here. Let's try and let's see
what happens when you do that to this nose area. So if we do reduce it, it is reducing a bit. I liked that. So now we have a nice clean shot and it's
super sharp lens correction. We leave it as that. And now I think we have
a really nice image. So this is a basic
runthrough of capture one. This is such a powerful tool. And I would suggest you take a course on just
capture one alone. Because there's so
many things you can do in regards to image editing, cataloging, and making a
final output for your images. Capturing the images
is one thing, but fine tuning it and exporting it will help you
create your own style.
11. Conclusion: Alright everyone, you made it. Congratulations. You have successfully
completed this course and alphas us a better understanding of action sports photography. Let's recap the more important
parts that we've covered. Once you've mastered
the technical aspects of action sports photography, you can shift your focus to the story that you want to tell. The perfect recipe for
actions, of course, photography includes using the fastest
shutter speed available, lowest possible ISO, and apertures that aligns
with the style of photography you aim to achieve. Additionally, the
selection of lenses is crucial and should be based on the type of sport
you're trying to photograph. A key takeaway from
this course is that action sports photography is all about being in the moment, not just behind the camera. By engaging with the
community you're shooting, you can get closer to the action and capture more
impactful shots. Remember, photography's
of visual language, and it's up to you
how you choose to communicate
through your work. Alright, now it's the
time to call for action. Don't forget to
upload your work. I would love to see how you all apply what you learned
in this class. It's important to share
your photographs with the community and continue to grow as an API
supports photographer. I really hope you all
enjoyed this class. Take the concept of finding the perfect exposure
for sports photography, which includes shutter
speed, aperture, and ISO, and apply to all
your photography endeavors. With continued practice
and exploration, you can create even
better photographs. I hope you all
enjoyed this class. I want you to
remember one thing. What matters most is
real life testing. Thank you guys for your time.