Transcripts
1. Introduction: Hi guys, I'm Clara and I've
been doing bullet video and photography professionally
for more than seven years. I've collaborated
with various clients shooting different kind
of photos and of course, making a lot of
mistakes underway. But I believe these mistakes made me a better photographer. If you're just starting
and don't know how to get your photography to a
more professional level. Watch this video. It's took me a few years to figure out what I'm doing wrong and why my photo RFID
doesn't look professional. In this course,
I'll share with you ten pips how to immediately improve your photo where F is skills and gets to a new level. We'll talk about best
camera settings. How to shoot in different
light conditions. Or about composition rules. Let's look waste
anymore time and let's dive into the first step.
2. TIP 1: Use the gear you already have: Tip number one, use the
gear that you already have. I've listed this tip as a
first one because I think it's the biggest problem for most of the beginner
photographers. They just spent hours
and hours in front of the screen researching
about the new gear. Both both camera with
lenses are lights to buy, but it doesn't really matter. You should just take the
gear that you already have, go out and focus on learning
how to best utilize it. I remember when I first started and I realized
that I would love to eat. A professional photographer. I've invested in this sheep Nikon DSLR camera with this
50 millimeter 1.4 lens. And it was a game
changer for me. I just loved that the lens so much because for most
of the beginners, I will super excited about the beautiful blurred background because I loved it so much. I was just carrying the camera always on my shoulder,
wherever I went. And I think this is
the most important. Just go out and shoot and try to understand
your camera settings. Tried to understand the light. It doesn't really matter
what gear you have. You should just be using it. When you make your first money
doing photography chops, you can slowly upgraded
the gear over time. If you really want
to spend money, I would suggest that you invest
in classes and workshops. It can be online classes
like this one on Skillshare, or you can do your own research, a look what
photography workshops are happening in your acidic. Is it the best way to learn? Because professional photo
reference where once exactly at the same spot
as you are right now. And they can help you to avoid the mistakes because they
were ones doing them as well. I'm trying to say is that
the gear is important, but it's not everything. It's more about you, your vision, your creativity, and how you see the
world around you, and how are you able
to get through it? Grab your camera or smartphone, go out and shoot.
3. TIP 2: Important camera settings: It's finally here you're holding your brands new
camera in your hands for the first time and you're so excited to give it a try. But there's so many buttons, dials and numbers, and you're overwhelmed and just don't
know where to start. That's why most of the beginner photographers
start shooting in auto mode. There's nothing wrong
shooting in auto. But on the other hand, you shouldn't be
scared to experiment. You don't have to
start shooting in fully manual mode
at the beginning. I think it wouldn't be too much, but you can use one of those semi auto modes
that your camera has. You can use either
aperture priority or shutter priority mode. That means that you will
either set your aperture or a shutter speed and your
camera will do the rest. Using auto mode puts limits on what you can
achieve with your camera. Camera has to guess what the
right exposure should be by evaluating the amount of light that passes
through the lens. Understanding how ISO shutter speed and
aperture work together allows you to fully
take charge of the situation by manually
controlling the camera. Let's talk about
exposure triangle here. It consists of ISO shutter
speed and aperture. Shutter speed is length of
time that camera shutter is open and the sensor is exposed to light
depending on your camera, the slowest shutter speed that
is allowed to use without using a remote release control
is usually thirty-seconds. The fastest one is about one eighth thousandth
of a second or faster. Slow shutter speed
allow more light into the camera sensor
and are used for low light and night photography. Well faster shutter speeds
helped to freeze the motion. Be especially
careful with slower shutter speeds under
100th of a thickened. Avoid blurred images because this is the most
obvious mistake. Let's talk about aperture now. Simply said, aperture
is a hole within a lens that will which the light travel
through the camera. It is expressed in
F numbers like F1, 0.4 or eight and so on. To express the size
of the lens opening. Lower f-stops give more exposure because they represent
larger arbitrators. While higher f-stops
GIF less exposure because they represent
smaller apertures, the larger the hold, the more light passes
through the camera sensor. Aperture also allows you to
play with the depth of field. Depth of field in your images is the part of a scene that
appears to be sharp. When you are using a wide
aperture such as 1.8, you're creating a
shallow depth of field. That means that show part
of your image is in focus. A beginner photographers, thanks to use the
widest aperture possible because they just want this beautiful
blurred background. But it's not the best, especially if
you're a beginning, because the depth
of field is really shallow and you may
have one eye in focus, but the other eye and
nose out-of-focus, and it just doesn't
look the best. So try to avoid using
the lowest numbers. When shooting portraits
start using F2 or 2.8. And of course, if you
shooting landscape, you want to have everything
sharp and in focus. So use narrow aperture, like eight or 16. The last element of
exposure triangle is ISO. Iso is the sensitivity
of camera's center, and it's the last of the three elements that are
used to control exposure. Iso gives you a possibility
to brighten your photos if you can't use longer shutter
speed or wider aperture, it's perfect to use in
low-light conditions. But be careful with a higher ISO because raising it
comes at a cost. With higher ISO rises
also visibility over grain and noise
in your images. I'm especially careful with
ISO because this was one of my biggest mistakes when I was starting with photography. I remember that I went for a holiday and I had
this brand new camera, which I didn't really understand
the stepping stone yet. So when we went for a
walk in the evening, I was just trying to
figure out the settings. And yet I discovered ISO as a
way how to show it in dark. I was using the high
ISO for the whole trip, not just for the
evening because after I just forgot to change
the settings again, the photos looked decent
on small LCD screen. But when I got back home, I will it devastated because
the photos were not usable. It was just so grainy and noisy. Since then, I'm super careful with ISO and you
should be as well. Last thing I want to mention
in terms of camera settings, it's shooting in JPEG versus you've probably heard it so many times before
from other photographers. This battle J Beck
whereas a throw. But if you want to be
professional photographer, you have to shoot in RAW. This is really able
to distinguish beginner photographer from
the professional one. Jpegs are compressed files, which means there is
information lost. So let's say you accidentally underexposed too much or short
with Frank White Balance, and then you try to correct
it in post-production. What happens is that all these weird colors start
to show up in your image. Jpeg doesn't retain as
much information as row. So you can go so far with editing with other the
image falling apart. The only downside when
shooting RAW is that the files are much bigger and takes much
more space in your camera. But it's worth the
extra information in your photos for the extra
flexibility in post-production. Get larger SD card and external drive for your
computer and shoot RAW. You can fix a lot if
you shoot in RAW. But there are still
some things that you can do adjustments to
like shutter speed, wrong focus or a butcher, makes sure that you nail
those settings in camera.
4. TIP 3: Composition - The rule of thirds: If you're just starting, it's important to know
just your camera settings, but also understand composition. In this lesson, I'm
going to talk about the basic rule, rule of thirds. Bed composition is really easy to fix if you know about it. Some examples of that
composition is that you include too much foreground
or too much background. You place the subject to
one side of the image. Or if there's a
distracting background. For example, if a tree is
growing from someone's head, I've seen this mistake
so many times. I feel that every time
when I travel and I ask someone to take a picture
of me, It's disaster. They just crop
parts of my body on wrong spots or displacement
on one side of the image. It's just weird. Maybe you're thinking right now, how should I know that the competition that
I'm using is right or wrong and already use your train your
eye and you'll see it. But from the beginning, I think the easiest way
is to use rule of thirds. Even if there are other
forms of composition, the rule of thirds
generally leads to compelling and
welcome post shots. The rule of thirds is a common
compositional technique, divides your frame into equal
three-by-three grid with two horizontal lines and vertical lines that
intersect at four points. The rule of thirds places
your subject on the left third or right
third of the frame, creating a pleasing composition. For example, in
portrait photography, the rule of third is
applies to eyeline. Professional portrait
photographers almost always play the eye line along the top
third line of the frame. This leaves the appropriate
amount of head room, but also put the model space slightly off-center,
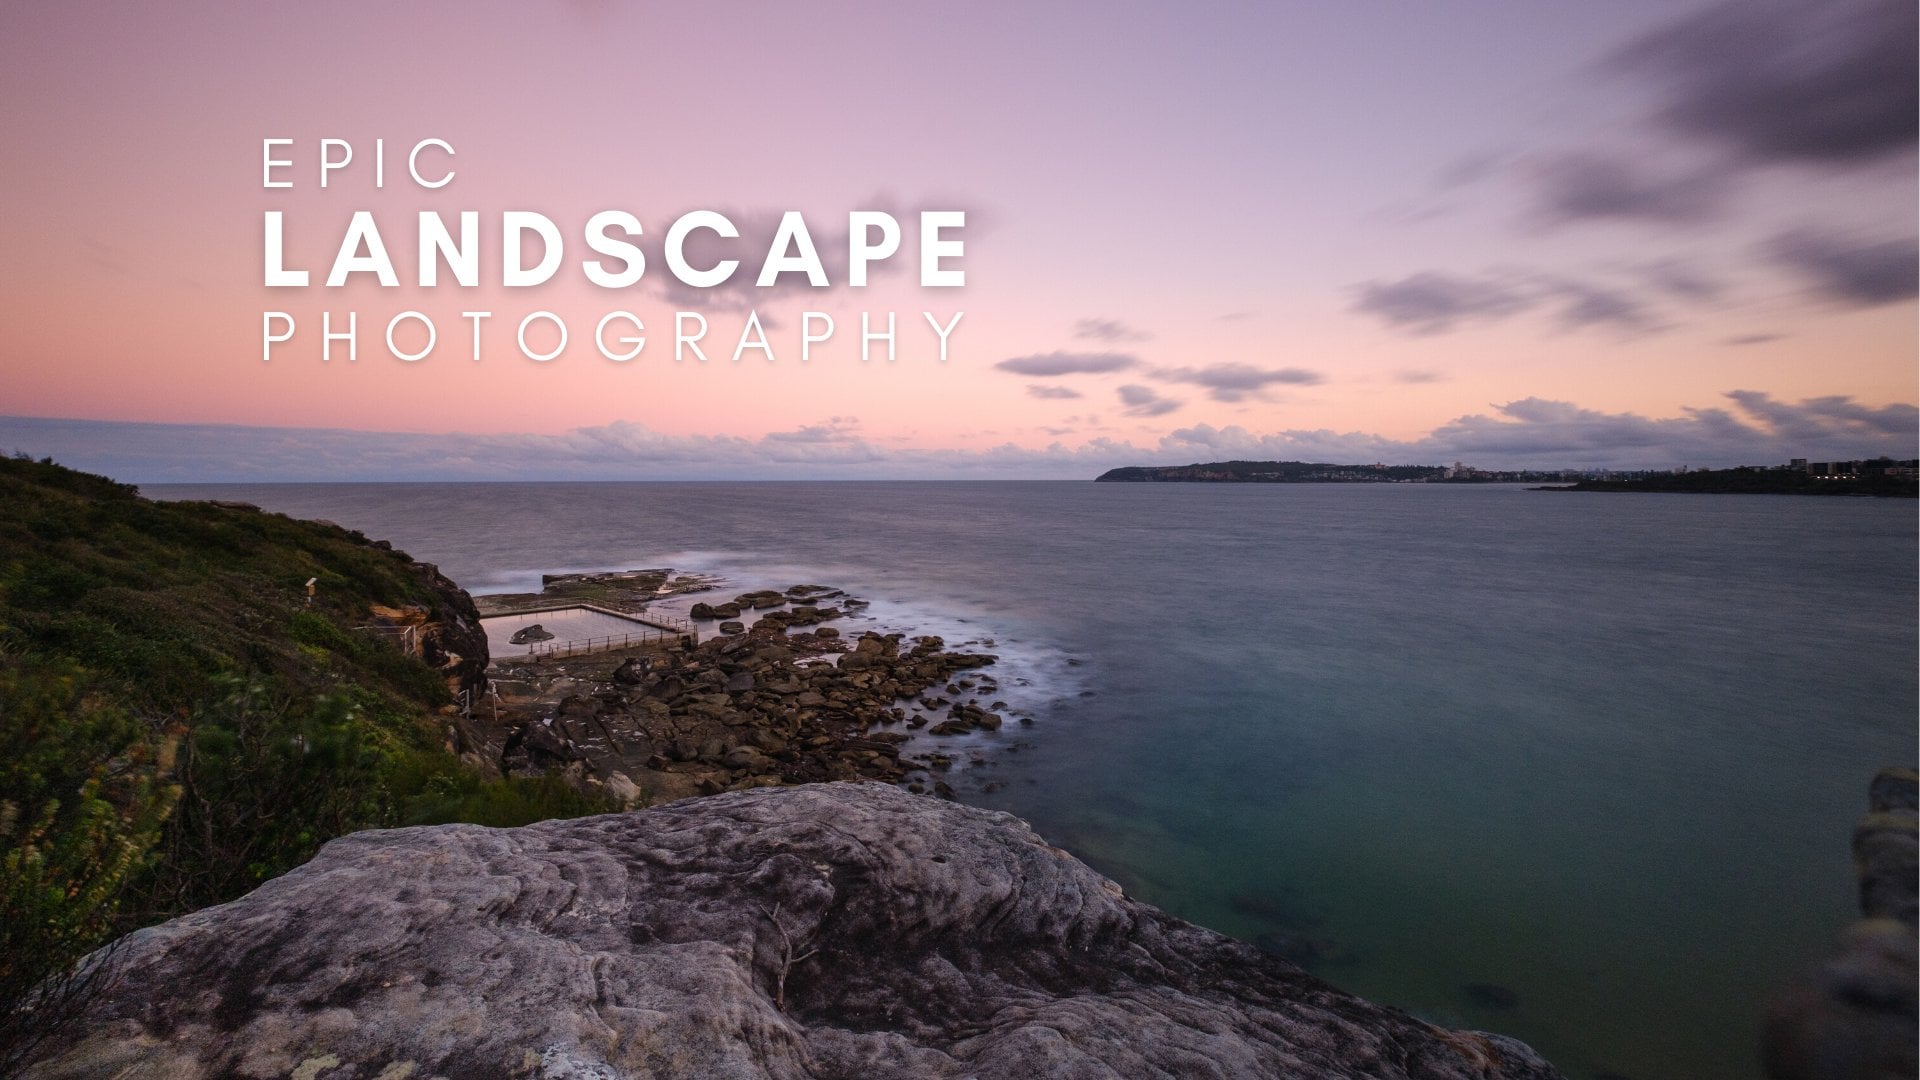
which adds interest. When it comes to
landscape photo with, the biggest mistake with composition is that
the photo is boring, like it's missing something. And the easy way to fix
this is that you place some elements in the
foreground of the photo, the create more depth of field. This is a trick will help your photography to be
much more interesting.
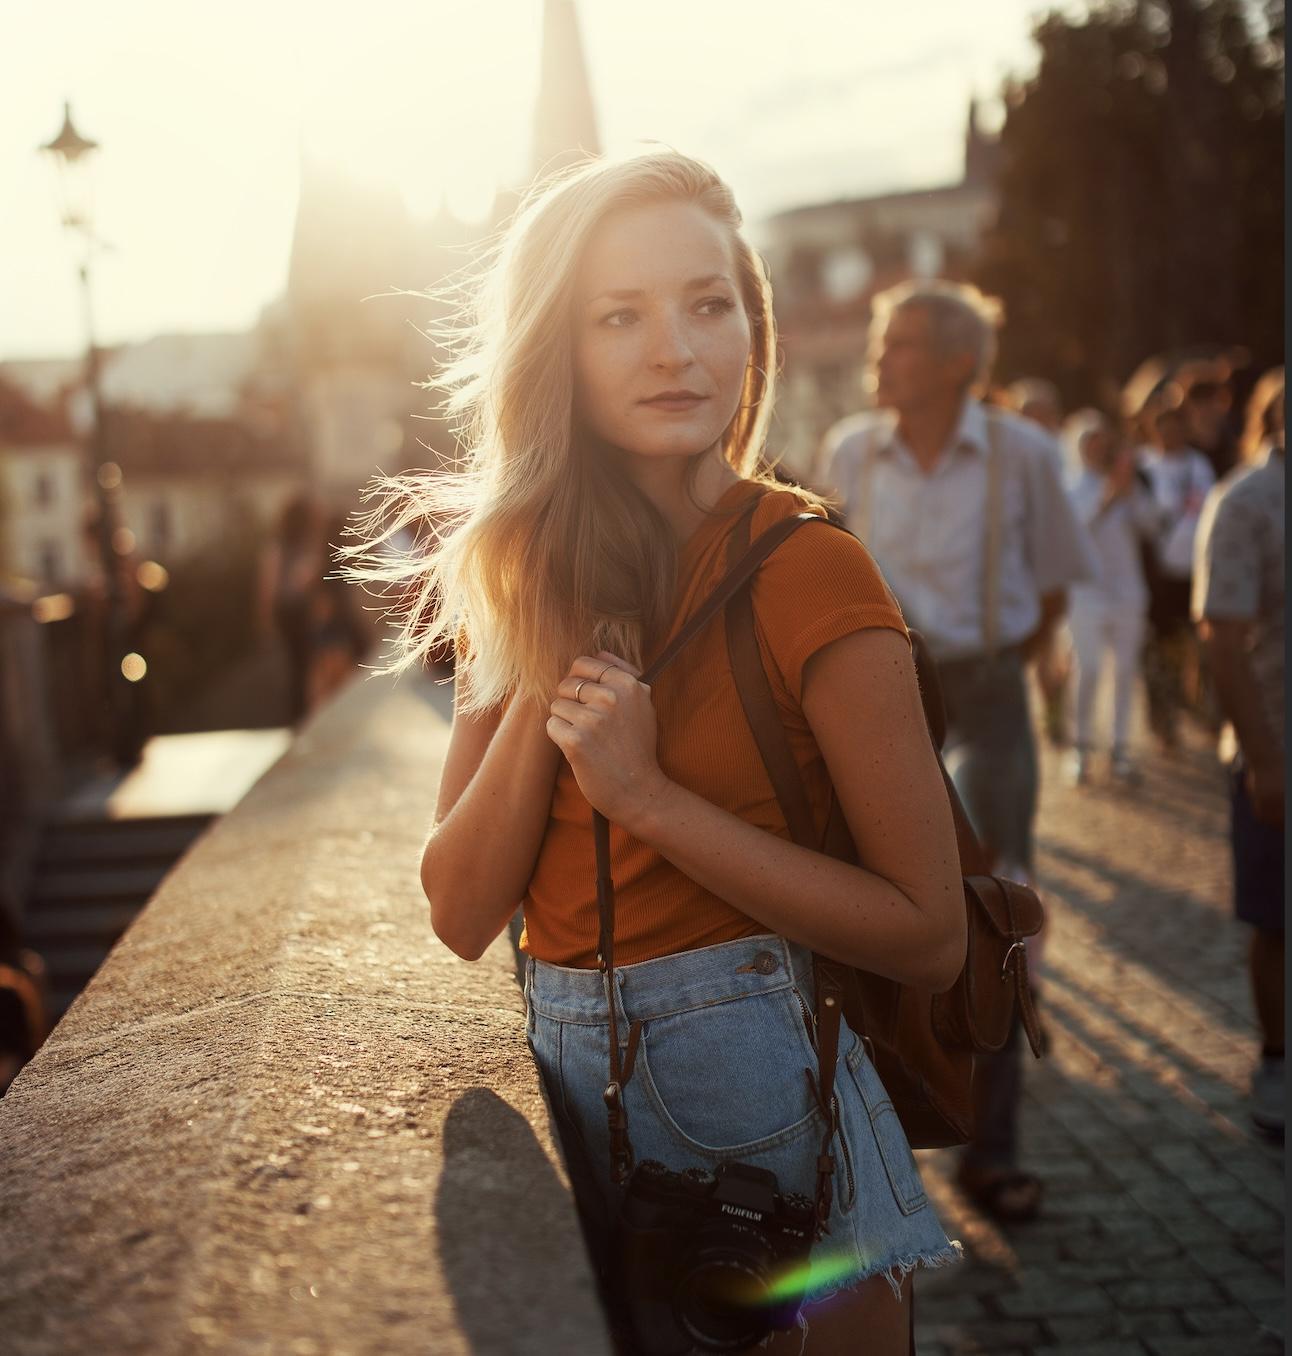
5. TIP 4: Learn to work with natural light: Bed lighting is the most
common mistake that separates beginner photographers from the professional ones. I think that you should first understand natural
light before you start investing in expansive
external light, flashes and reflectors. I've been a professional
photographer for more than seven years now. And until now, I still prefer shooting
with natural light. Of course, that there are
some situations like when you shoot some events
or weddings endorse. You have no other options
than using external lights. But if not necessary, I always prefer natural light. It doesn't matter
if it's sunny or cloudy and habit to
shoot in any condition. And I think that you
should learn it as well. Understanding the natural
light will make you much more confidence shooting
in any situation. It doesn't matter if
you want to focus on shooting portraiture
photography or landscape. The best way how to better start understanding the light is to go out and shoot in different conditions in
different parts of the day. Go out and shoot in the
morning, afternoon, and evening during the sense
that USP the differences. If you shoot in a sunny day and you decide to shoot at noon, sun will be really harsh
and it will create raccoon eyes and your
subject squinting to Sun. On the other hand, glad
to work as a diffuser. So delight is nice and soft. I've had few glands who wanted to cancel the shoot
because it was cloudy and David just scared at the photos
will look horrible. But it's exactly the
opposite and I'm always trying to
explain it to them. Go out to work as a
diffuser and they will always have this beautiful
and soft light under faces. So it is much easier to shoot
when there is a cloudy sky. Another tip if you're shooting
in standard conditions, is to use the sun as
Bakelite rather than formed light for more flattering
light on the face. Don't be scared to experiment. And remember that the most important is to go
out and break this.
6. TIP 5: Focus settings: Wrong focus is a
big enough issue that it deserves its own tip. Because even if everything
else is great in the photo, if it's out-of-focus,
if unusable. There are two main issues that
are causing growing focus. Most cameras by default have
their focus to single point. So this is the settings that most beginner photographers use. It means that the camera
looks for course, once you health press
the shutter button, it basically focuses on a subject bands and
then stops focusing. So what happens if
you press the button to focus on the subject,
but after that, the subject moves or you
move the cameras slightly, the focus gets thrown off. This is the best settings when you're shooting
still subject, because it will give you
more accuracy when shooting a portrait or image where the
exact focus point is vital. But if you're just starting
and there's already so many settings that
you have to focus on. Not a bad idea to
get a little help. If you choose to focus
settings to continuous, this will tell the
camera to adjust focus all the way until the
photo is actually taken. So if you move or your subject most after
the health breaths, it will still be
in focus because the camera is
striking the subject. The second most common
mistake that the image looks blurred is that you
set to slow shutter speed. Let's say about
130th of a second. To blurriness can be caused
by your hands shaking or if there's some moving
object in the images. If you're just starting, I would set the shutter
speed to something about 250th of a second to
freeze the motion and also avoid learners by your hand shaking over the time
when you're gonna be more trained into photography
and you'll be confident you can sit even
slower shutter speed, like 160th of a second, you should still be able
to hold the cameras. But for the beginning, Let's start with
faster shutter speed. Let's stay above
250th of a second to freeze the motion and
have beautiful sharp images. It should be enough for
capturing someone walking, but for faster moving
subtracts or sport events, you need to go even faster. Let's say about one thousandth
of a second and higher.
7. TIP 6: Use the right lens: I know I've said in the previous lesson that
it's not about equipment, It's more about your creativity. It's true, but you still have
to understand the lenses. First thing you have to figure out is what
you want to shoot. Do you want to be a
portrait photographer or landscape photographer? Because for every
kind of photography you will need different
type of lens. For me because I'm
a portrait photo referred to most of us mistake is when someone is using white angle and for
close-up portrait shots. One of the most
favorite lenses for portrait photographers
is the 85 millimeter, 1.4 or 50 millimeter lens. It's really about your
style and creativity. And I didn't want to say
that you shouldn't be using byte angle lens for shooting people because it's not true. Shooting white angle can bring a variety to your final gallery. But the basic rule
is you should use longer lens for the
portraits because bite angle and we'll create this clownish and
distorted look. 50 millimeter lenses
are great for medium Schulz and full buddies. Or if you want to focus more on the surroundings
and backgrounds, you can use even
wider angle lens, such as 35 or 24 millimeters. For real estate architecture
or capturing landscapes, you will need to
go even wider and use between 16 to
20 millimeter lens. Why the opposite
equipment you'll need in sports photography? The biggest takeaway from this lesson is that
some lenses are better for certain types of
photography than the others. But if you're just starting, I would definitely
say don't invest in all the lenses that
are on the market. Just choose one that
somewhere in-between. The favorite lens for most of the photographers is 24 to 70. Lens like this can be the
first one that you buy. And then over the years, if you realize what kind of photography you
want to focus on, you can invest in better gear. The most important is even when you shoot
just on one length. Don't get lazy and don't use the same focal length
throughout the whole shoot, because all we want is variety.
8. TIP 7: Posing tips: In this step I want
to talk more about portrait photography because
that's what I specialize in. I have already created
other class for a couple of photography posing ideas
here on Skillshare. So feel free to have a look. But I still want to talk about some basic posing
tips even here, because it's a big issue. We've probably all seen this horrible photos where
the couple looks like they're in pain and they are just really not
enjoying the shoot. I want to give you
a few tips how to avoid this kind of results. You as a photographer, I have to not only understand your gear and your
camera settings, but the most important is
to talk to your client. I remember when I was just starting taking
photos of people, it was a disaster because they didn't know what to do with
their arms, where to look. And I didn't know it either, so I couldn't guide
them to think we did. I had my phone with all
these pulses that I found online and I
just store them. Look at this photo
and let's try to create exactly this pose. Of course it didn't
work because if you're trying hard
to stage someone, it will look and realistic when you're looking for
inspiration and you see a portrait that captures candid expressions
and authentic modes. You attempted to
recreate that look. But instead of re-creating
a boast right? To direct them to do things
that will naturally and organically created emotion
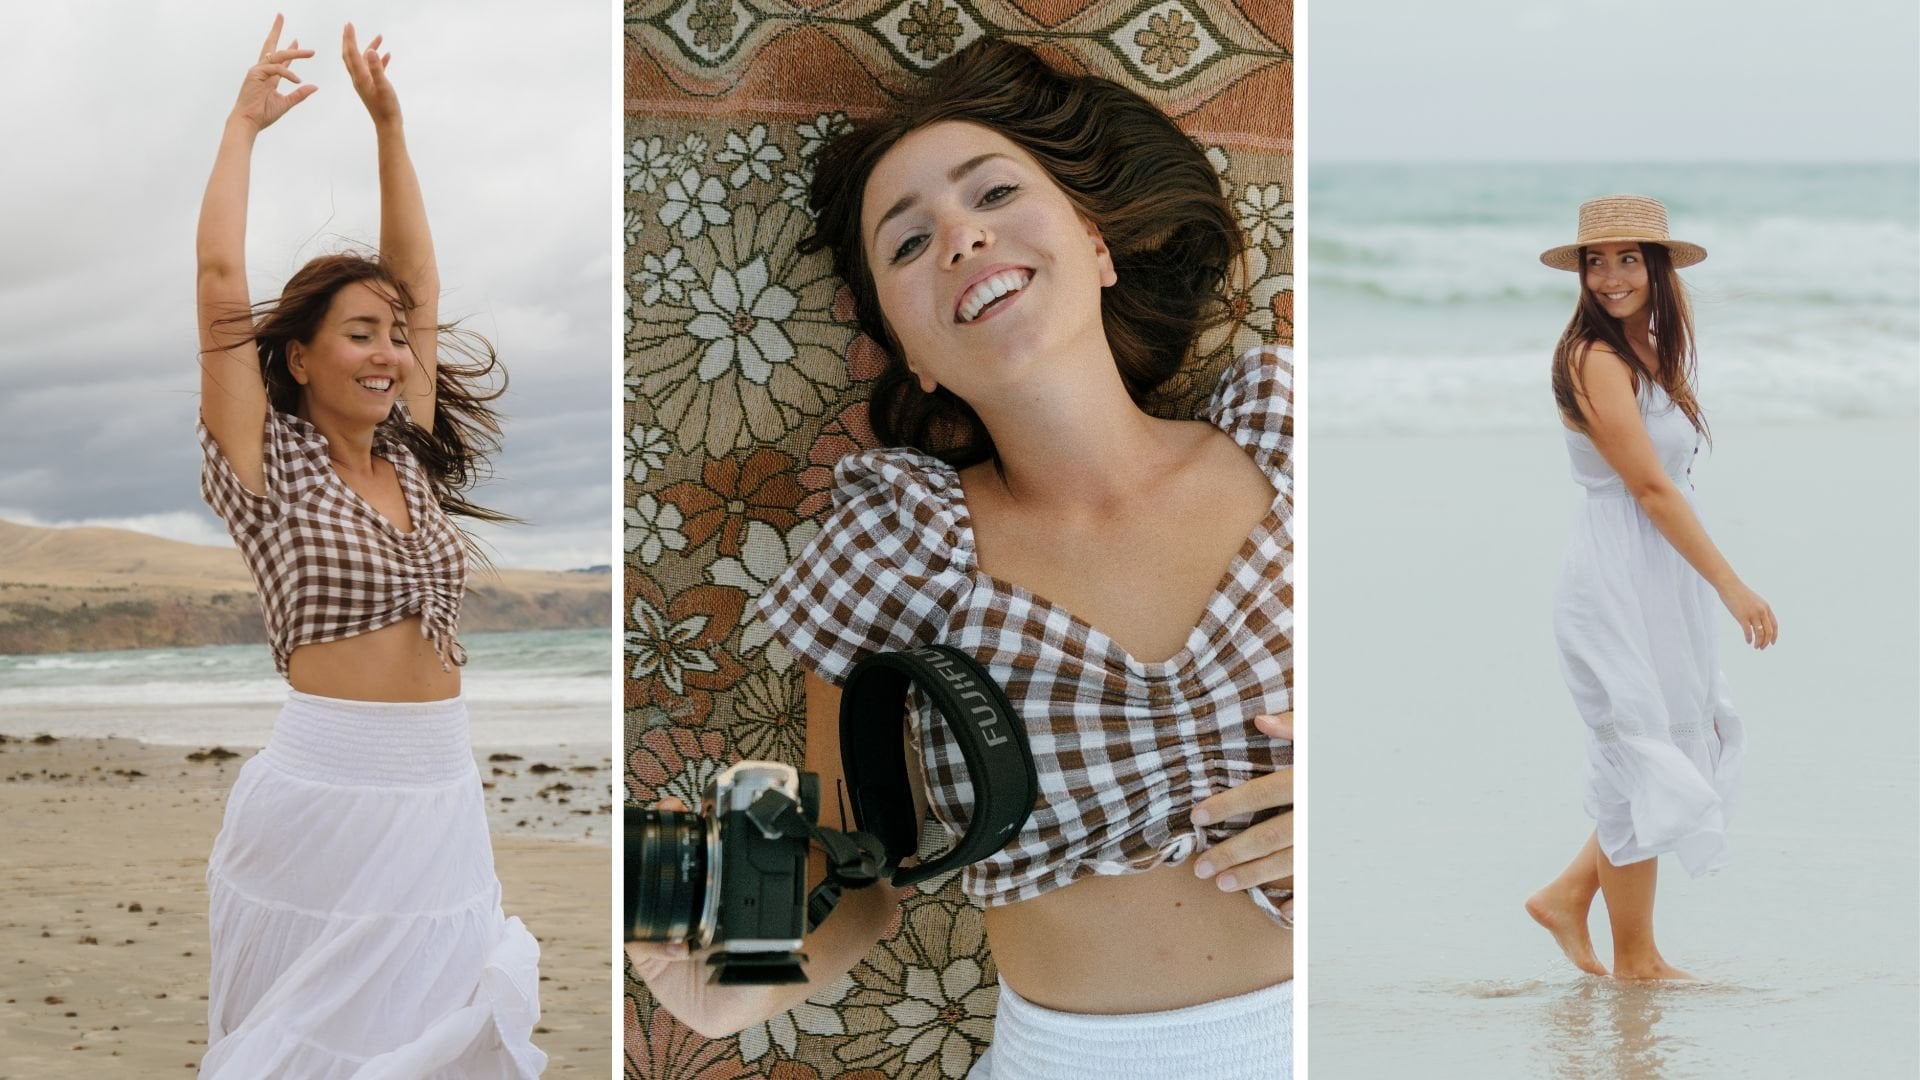
that you're looking for. The great posts for
start is walking. Pose something when they'll do the movement that's
natural to them. Walking, sitting, laughing. Some people are naturally
good at posing, but most are not. So let's say if you have the
scalpel who's really thick and who didn't have professional
photos taken before. I want them to look metal
it and laugh and softly smiling at each other under
photos. How do I do that? Most beginner photographers will make it really awkward saying, now, look at each
other and smile. It kind of makes sense, but to them they're just gonna stare at each
other blankly. You need to lead and guide
them to what you want by establishing a common vocabulary between you and a couple. I like to tell them
to hurt each other tied like it's cold outside and stare into each other's eyes and whisper sweet things. The kappa will feel comfortable because they know
exactly what to do. They're just going to
be in the moment and the real emotions will
start to show up. Your role as a photographer
is to analyze if a couple or person is comfortable in this pose or if
they feel awkward. Because even if one falls can be supernatural for someone, it can feel really
awkward for someone else. So you have to be
always present in the moment and read the
mood throughout the shoot.
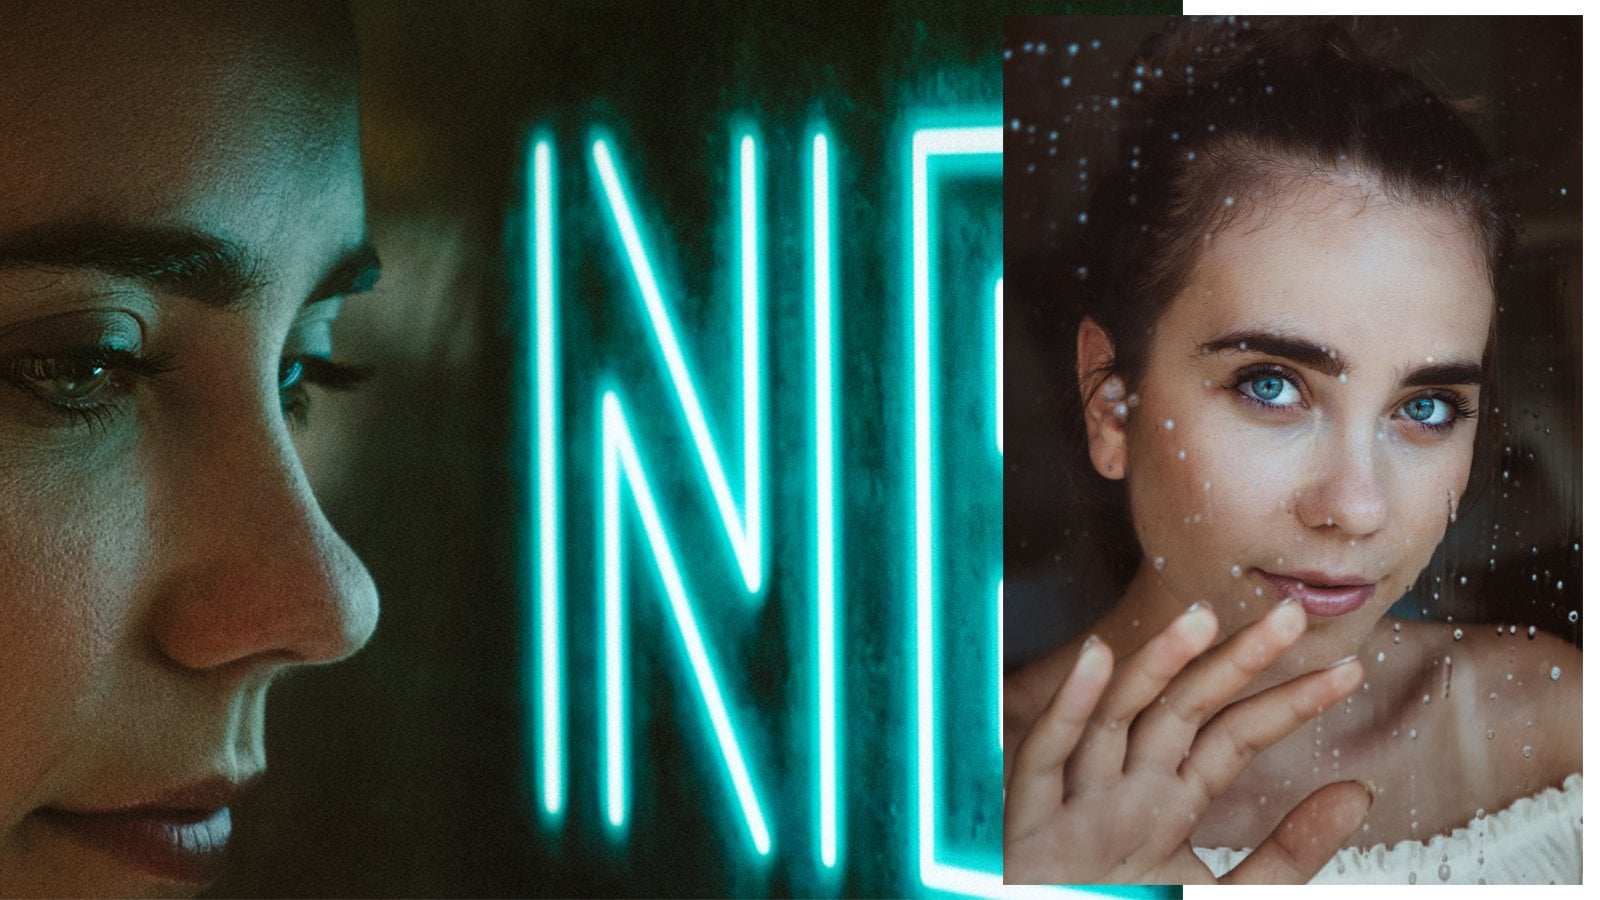
9. TIP 8: Don’t OVER edit: Editing is a vital part of photography and
if done properly, it can make it a photo
really thinned out. On the other hand, if you do it wrong, it can kill even the
most beautiful photo. The biggest problem
if you're just starting is that you
import a photo to Lightroom or
Photoshop and you're playing with all the
settings that are available. But let's save at the beginning. Sometimes less is better, especially when it
comes to editing. Tried to do this simple
edits first and just fix the mistakes that you
did when taking the photo. This is what I do
when I'm editing. I basically just correct
the shadows and highlights. And also I like to have my
photos little bit warmer tone. So I put the white
balance in the yellow. And then if I don't
like some colors, if they really stand out
and are too saturated, I usually put the saturation
a little bit down. I do it. Most lipid greens
and yellows, oranges, but most beginners do
quite the opposite and create this
oversaturated photos. It is true that as
it's subjective and personal tastes
and opinions differ. But there are few
obvious giveaways that you might be
overprocessing your shots. The images that
have way too much saturation or the
portraits that have plastic looking skin pretty much and it affected
that's taken too far, becomes a bad thing. Images start to
look unnatural and character like playing
too much with contrast, saturation, sharpening
and clarity are the biggest
killers of the photos. I understand it
can be tempting to try and stand out
from the crowd, but the truth is
with over editing, the photo will be eye-catching
for all the wrong crazy. The key is learning
to hold back. There are specific trends
that's changed over time. And I remembered that when
I started with photography, it was popular to do high
dynamic range photos. High dynamic range
photography is the method of taking
many pictures at different exposures
and then stitch them together The
create the final image. When they are merged together, the picture provides an
overall correct exposure. This is especially useful when shooting career,
estate or landscape. Fdr was popular amongst
photographers some years ago. And unfortunately,
it got overused and the Internet became
flooded with bed pictures. Result was very sharp and
unrealistic looking photos. This is why HDR has a
really bad reputation now and it became synonym of fake looking over
saturated photos. This is just one example
of when less is better. Be gentle a bit postproduction, especially when you're
starting and be patient, you'll find your editing
style over time.
10. TIP 9: Back up material: I know this step can sound
really obvious, but trust me, it's not and do not
realize it until you make the first mistake with
not backing up your material. Just remember every time
you finished the shooting, take your SD card, put it in your computer
and back it up. You may not think about it as so important and you
may be thinking, why do I have it
in the tips here? I think it happens to most of their professional
photographers, at least one that we thought that we backed
up the material, we deleted it, did another
photoshoot and then big hole. We realized that we didn't do it and be lost audit photos. There are some recovery
programs online or some other options how to recover the photos once you delete them. But they are not working 100%. I wouldn't rely on debt. I can tell you my own example, when I didn't break up the
material appropriately, I was shooting these
documentary style photos for my school project. I was so excited about it. I still think even
noted it was one of the best photos I've ever taken. I took hundreds of photos, stupid him home back it up, edited them, and then I do either the dural files
from the carrot. That's at least what I thought happened, but obviously didn't. It wasn't until later on that I realized that I didn't
backup the raw material. I'm still not sure
until this day what exactly was the problem. But I think I
probably didn't have enough space on my computer
or external drive. And I just edited photos
straight from the SD card, which is a horrible mistake. And because I thought I have all the raw files
backed up under Dr. I've just formatted
as the current and the photos
were gone forever. Now, I have at least
these edited photos, but that's the
only thing I have. And the problem is that I don't like the edit so much now. But as we've learned in
the previous lessons, it's not really easy to fix the wrong colors
from the jpegs. Don't wait for the
disaster to happen. And just take example
from my mistake. Remember to always
pick up your material.
11. TIP 10: Practising to improve: The fastest way to become professional photographer
is practice. Practice photography every day. Go out and shoot. Don't spend too much time
inside consuming social media. Because the only effect
it will have is that you start comparing with
professional photographers. And in most of the cases it will discourage
you to shoot more. You will see the big gap at the big differences between
you and the professional. But the only person that you
should be comparing yourself to is you just look at your
photos from yesterday, from week or month ago and
you'll see the improvement. It will immediately
push you to go out and shoot more
to improve more. If you want to escape began their status and become a pro, you need to do thousands
of repetitions. Here's the tip. If you find yourself hours on Instagram scrolling,
looking for inspiration, it's important to get
inspiration every now and then, but just do it for few
minutes a day and the rest of the time just spent outside
practicing and shooting. If you spend much more
time break the same, then consuming social media. This is the fastest way how it'll become a
professional photographer.
12. Final done: Thank you for staying with
me through the whole video. You made it till the end. But before you go, I would like to give
you a homework. Homework will help
you to understand your camera better as well
as the light conditions. So I want you to
take your camera and find a place
close to your home. You will go to
displace twice a day. You'll go there around noon and also during the golden hour, which is approximately one hour after the sunrise or one
hour before the sense that you can take a
photo of landscape or you can take there someone and make it
beautiful portrait. I just want you to see how the light conditions
change during the day. And remember to avoid auto mode, tried to shoot in semi
auto modes or in manual, because this is how
you'll become most comfortable with
using your camera. Thank you so much again
for watching and I can't wait to see
what you've created.
 Klara Zamourilova, Photographer/Videographer