Transcripts
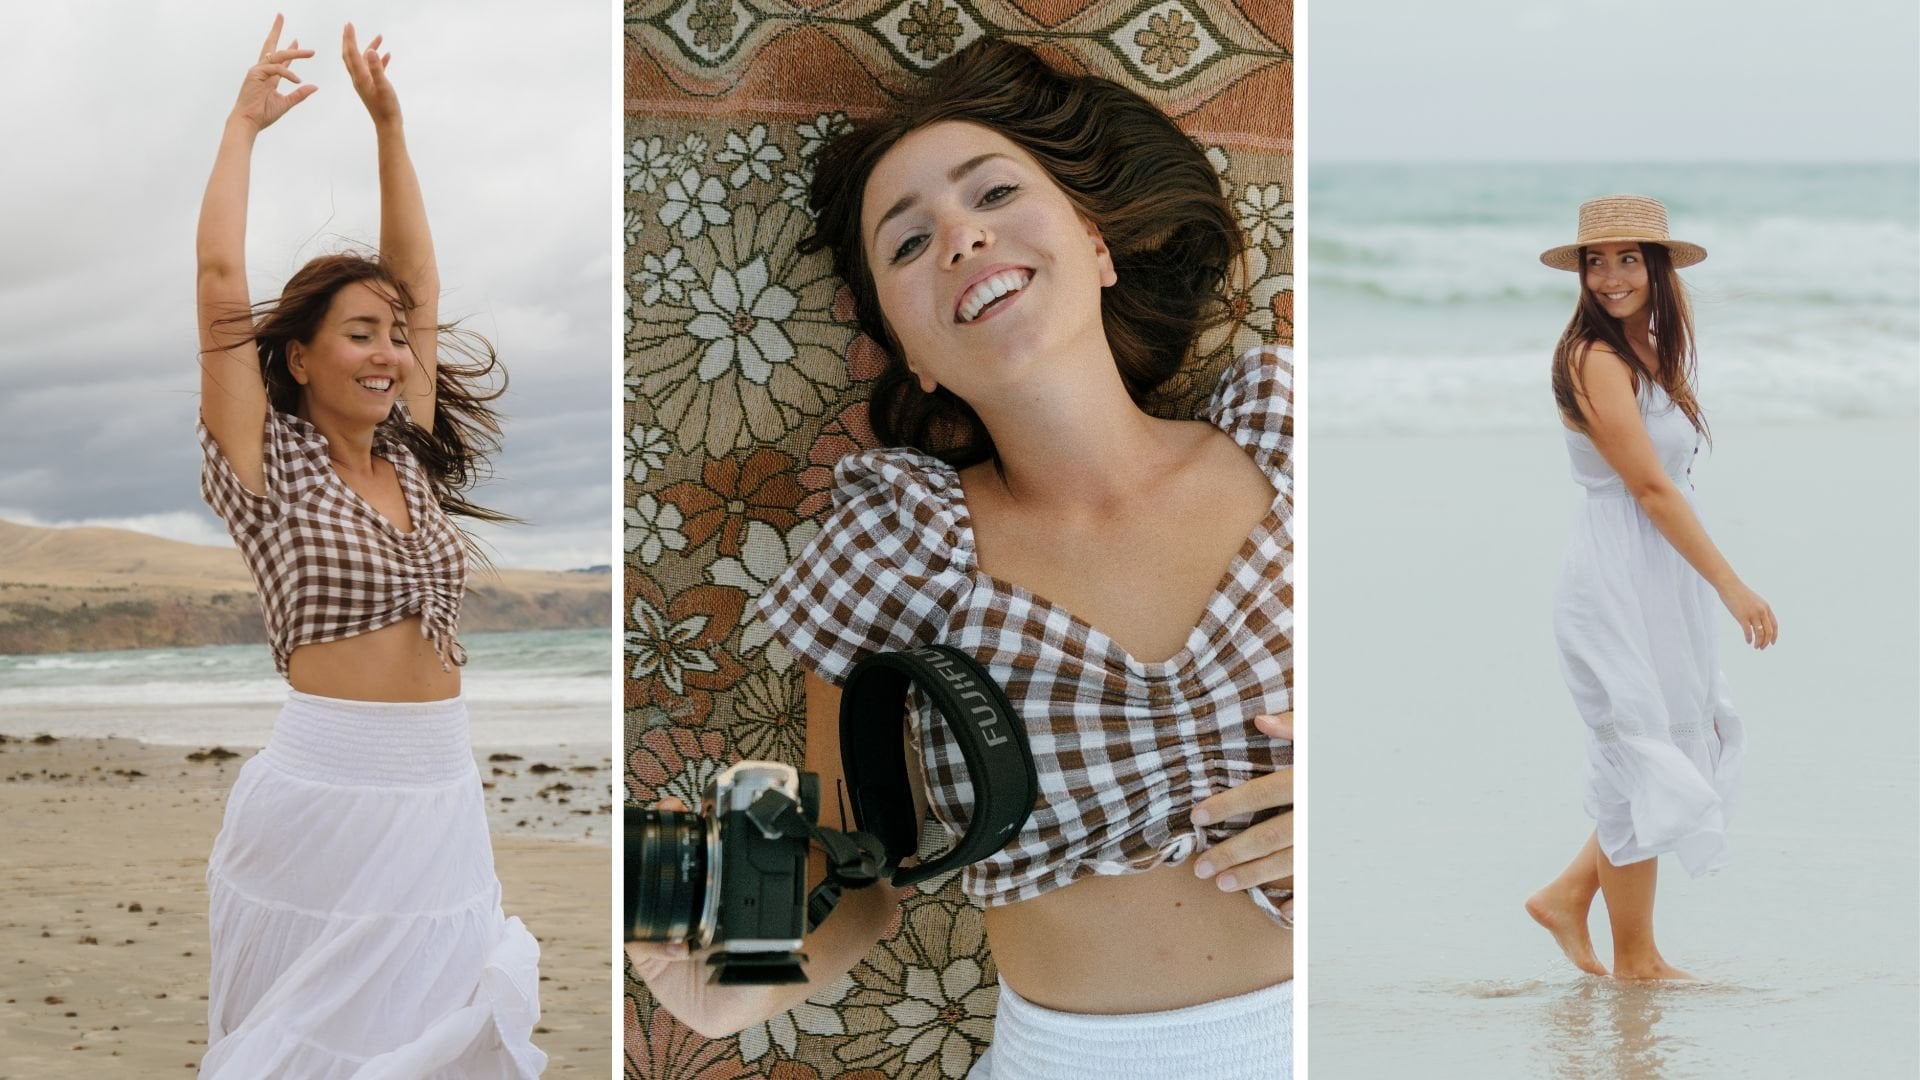
1. Introduction: Hey everyone, It's Clara here and today we're going to spend some time together while creating stunning portrait images at home. I'm very passionate about portrait photography and I'm always looking for ways how to get to the model in a new and creative way. And I also love challenges, and today is definitely going to be one of them. With our stay at home the whole time and use every day probes that we find in our home gunboats. In this workshop, I'm going to show you that you don't need to be in a stunning surroundings to date, a great portrayed come out. Now. You can be super creative just by using things like nice CD piece of glass or Ford read coil. Our goal today is to take at least five creative portraits, each of them using a different but basic procs that be fine at home. Challenge accepted, and I can't wait to be creative. So let's go for a proper handling. Take our cameras and let's be creative together. And come out nice and tight.
2. Create lights&shadows w everyday props: I just went through the whole fled to find them probably could use for shooting. And I'm pretty sure you can find these at your home as well. In this lesson, we're going to play with the lights and shadows. So I was looking for some stuff like strainer, some guidelines or some lace pattern. I think a farm where I want it. So now we just need some source of light. We're pretty lucky today because the sun is shining, so we will use naturalized as our source. You could use artificial light as well. Even basic question, I can be handy, but I still using sunlight is easier cuz I don't need extra pair of hands to help you hold the light and order. I'll do it for a shoot. Of course, a model. This is the range is going to be my model today. So let's start shooting arrows. Ceos we can create together. Because I don't have an assistant who would hold the stuff for me and it'll help myself. So I have to be pretty close to domain. That's why I've chosen 18 to 55 millimeter zoom lens so that I have some variety of ensuring. I mostly use around 35 millimeter. But you see what length two works best for you? I'm really happy the US San an item has to hold the flashlight. I still have to hold the delays though, so I need to get pretty close to her face. That's why longer lands wouldn't be much of a user here. The other thing I've chosen for us photoshoot is a strainer to do more symmetrical pattern. I want to create moody darker log this time. So I'll put domain in shadow with just face facing the sun so that I can make the body almost disappear in the shadows and all the attention will be focused on her face. I have to play with the position of the strainer to see what looks the best. Even if I usually preferred colors in this kind of light and shadows photos, I sometimes prefer black and white edits. I'll do different edits and you can save yourself what works best for you. And here are the results.
3. Glass for reflection and to soften the photo: In this lesson, I'm going to use the simple piece of glass to soften the portrayed a bit and get some reflection. I will use a window because I have access from both sides, so it's easier for me. But if you live in an upper floor apartments, you can use any piece of glass that you'll find at home. It can be a glass table or frame, or even a glass shower. I love shooting food or glands because it gives a portray that nice, soft and dreamy look By the reflection in glass. It gives the photograph scan of the dimensional feeling. At first issuing basic portrait video reflection. And I already loved the results towards. But let's say the MAY the portrait a little bit more special. I'll spread a window by some multipurpose cleaner I've found in the kitchen to create more artsy look. Hello. Calm, calm, calm, calm. After shooting few different poses with dummy and really imprinted voting outcome. And I already have an idea how editing these shots to evolve a search modes in REM. Because editing is crucial for me. Hello, outside the sensitivity. I hope you had fun shooting, and I'll see you in the next lesson.
4. Refract the light by knife, CD, food foil wrap: In previous lessons, we're trying to achieve more dialogue, so it's time to play with some colors. Now, I will use different props to refract the light. I found a CD knife and food for AP at home. So I'll use these to create different effects. First is the rainbow effect. I have the old CD they've seen lying in the keyboard and immediately remember chasing the light escapes and creating those nice rainbows on the wall. So I wanted to try with domain as well. First few tries we're not really successful because I was either shining too much to do with eyes or the rainbow effect wasn't visible at all. It took me a while to realize the right angle to get the rainbow to her face. So don't give up and keep trying. Time for footfall rep. While a hand in the lunchbox or French plastic wrap is also great material to experiment with. Creatively. Plastic wrap stretched over the camera lens results in a misty effect. Law. You've got yourself an institute hazy, retro look. Hi. While I was browsing through the kitchen cupboards, I decided to take one more item of everyday use a knife. I'm going to use it to do a reflection in photo. You have to hold the knife really close to your lens to make the effect visible. Not just to take a picture of knife. Crime.
5. Fake the neon lights & Xmas lights portrait: Pretty dark, well, vivir being creative, but it doesn't have to stop us at shooting. We can use direct or advantage. I always wanted to shoot with no analytes in the streets, but I usually have a problem to find some nice signage that is low enough to position my model next to it. So I decided to improvise and do known photo-shoot at home. Because neon lights are not a basic procs most of us have at home. We need to fake them. We just need a TV screen. The bigger the better project on the screen, the lights you want, and that's it. Our screen is not huge, so I mostly focused on face and do close-up shots. What's even more interesting, we can use the technique from previous lessons to create some reflection. Just hold the knife close enough to the lens and position it to see the signage in your reflection. Or or or, or or or or? No. Because I don't want to wrap up your thoughts day. Let's use one mole prop. I think it wouldn't be real shooting at home workshop without Prisma flight or, or or, or low. You've probably seen a lot of photos with Christmas lights because it became really popular lately, as it's usually ends up in British. She's a result. But why not to have some fun at the end with creating fun smiley pictures.
6. Let's Recap!: I hope you had a lot of fun today about shooting at your homes. I definitely did. And hope that it helped you realize that you don't need stunning surroundings to create beautiful original images for your portfolio. I always tell you just need to have your eyes and mind on point. I think grain away. Really excited to see what you've created today for STEMI or pictures. Thank you for staying with me through the whole video and see you next time.
 Klara Zamourilova, Photographer/Videographer