Transcripts
1. Trailer: taking a picture is just a quick easy. But photography, in a way that is visually attractive, is quite different. It needs technical understandings of cameras, photography and a lot of experience. That's why we made this course to give you the knowledge and move you forward in your journey of photography and making more enjoyable in this course. First, you will simply learn about different camera controls and how the effects your final photo so you can see your image before you shoot and then take the exact photo he wants. Then you will learn about three key factors to successful image, including composition, lighting and the subject to make your later experiences mawr effective. Now let's get to the first lecture camera controls.
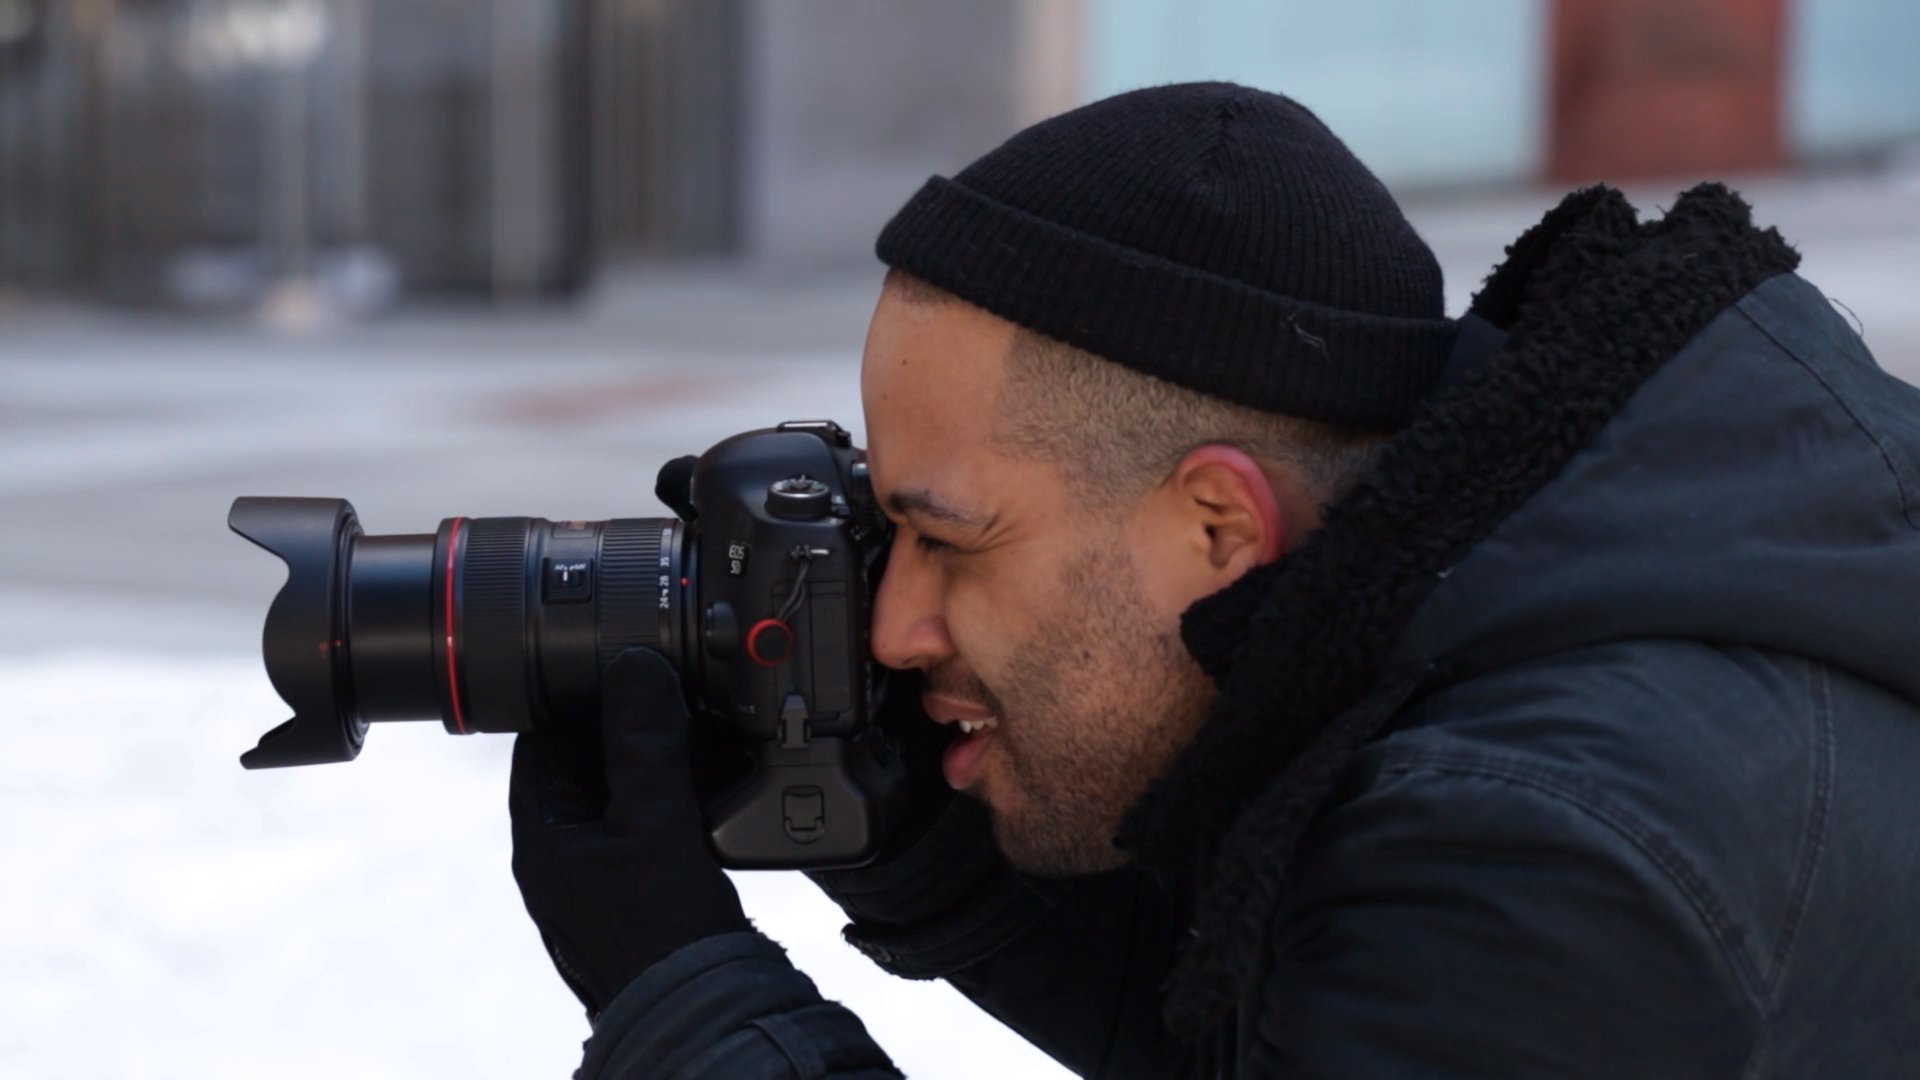
2. Camera Controls: camera controls. Everyone uses cameras to shoot, but not everyone use it wisely. To use it wisely, you have to know about certain camera controls that effects your final picture. But there you're using your phone, a compact digital camera, a digital SLR camera, a mere lis camera or film camera. If you know your camera controls, it makes you in control. It makes you see the world on your subjects. Difference. Lee. When you're photographing, you're distorting the reality, but you have to know how you can distort it that makes you know what she can possibly accomplish. Video camera before shooting. Now let's see what they are.
3. Focal Length: focal length as denoted by the numbers on your lens is the distance between your sensor and your Chamberlain's variance. Focus to infinity. Your choice of focal length will effects what you see and how you see. Let's see what the big effects, our first fields of view, different focal lengths will have different fields of view. Let's just say that they will see the same scene differently. We provide a focal length. You're looking for more big picture scenes, a CD or a crowd. The small details no longer interests you since still get lost in damage. Been a narrower for calling If you're looking for the detail of a scene, Buildings, texture or the expression of a face already are far from your subjects, but she wanted to be large in the picture. Second perspective. Look at these four photos. They are the photos off the same subjects at different focal lengths. The subjects remained in the same position as you see with a wire focal length. The perspective is more visible. Buffet narrower focal lengths. The results will be flatter and flatter. Also, background becomes bigger and bigger. However, it's not exactly the focal length that changes the perspective, it's actually the distance from the subject. The images were all framed. The same differences arise because the focal length is getting narrower as the camera moves further away from the subject to frame them the same way.
4. Focus: focus in photography focuses practically married to sharpness. Animals that is completely sharp is said to be in focus, and it is that's completely blurry, is said. To be unfocused. You can focus manually with the ring on your lens, or we can focus automatically with our focus. In this frame, you can focus on this object or on that object or on the background. You can focus on objects with different distances from your lens, but not too close for focusing on the objects that are really close to your lens. You need a special kind of lens, which is called macro lens.
5. Aperture: aperture. Think about how your eyes work as you move between bright and dark environments. V IRS in your eyes either expands or shrinks controlling the size of your people in photography. The pupil of your lands is called your aperture because shrink or enlarge the size of the aperture to allow more or less lights to reach your camera sensor. In terms of actual camera settings, the aperture is measured with F numbers larger if numbers correspond to smaller apertures, while a smaller of numbers correspond to larger apertures effects. First exposure. A large aperture becomes wide open. It will pass a lot of light, resulting in a brighter photograph. A small aperture does just the opposite, making your photo darker. Second depth of field depth of field is the amounts of your photograph that appears sharp from front to back. Sorry images have a thin or shallow depth of field. Very bad ground is completely out of focus. Other images have a large or deep depth of field. Their balls, the foreground and background or sharp. A large aperture results in a large amount of background blur. This is often desirable for portrait's or general photos of objects for you want a blurry background, on the other hand, and small aperture results in a small amount of background blur, which typically is ideal for things like landscape on architectural images.
6. Shutter Speed: shelter. Speed shutter speed exists because of something known as your camera shutter, which, simply put, is occurring in front of the camera sensor that stays closed until the camera fires. When the camera fires, the shutter opens and fully exposes the camera sensor to delight that has passed through your lands. After the sensor is done collecting the light, the shutter closes immediately, stopping the light from hitting the sensor. Scheller speed is the length of time your camera sheller is open. Exposing lights onto the camera sensor is how long your camera spends taking a photo and has a few important effects in how your images will appear. Effects first motion blur If your shutter speed is a slow moving subjects in your photo will appear blurred along the direction of motion. This effect is used quite often in advertisements of cars and motorbikes, where, since off speed on motion is communicated to the viewer by intentionally blurring the moving wheels landscape. Photograph Furs may intentionally use long shelter speeds to create a sense of motion on rivers and waterfalls while keeping everything else completely sharp. Second freeze motion. If you use especially fast shutter speed, you can eliminates motion even from fast moving objects like birds in flight or cars driving past. If you use a fast shutter of speed while taking pictures of water, each drop that will hang in the air completely sharp, which might not even be visible to our own eyes. A fast shutter speed is typically whatever it takes to freeze action if you're photographing birds that maybe 1 1/1000 2nd or faster. However, for general photography of a slower moving subjects, you might be able to take pictures on 1 2/100 2nd 1 1/100 2nd or even longer without introducing motion blur. Third brightness. The reason is obvious. A slower shutter speed collects the light for significant time on makes me much brighter, but a faster shutter speed makes the image look dark here.
7. ISO: I s O in digital photography, I s O measures the sensitivity of the image sensor Very basic terms. I s O simply camera sitting daughter brighter or dock in a photo effects first brightness as you increase your eyes so number Your photos will grow progressively brighter when you double your eyes. So speed you're doubling the brightness off the photo. So a four r I s 0 400 will be to ice brighter than I s 0 200 which will be try Spider than I s over 100 second noise. The difference is clear. The image that I saw 6400 has much more noise than the one at eyes. So 200 which I bribed him with a long shutter speed instead. This is why you should avoid high i souls vetiver possible unless conditions require you to use them. Generally, I eso is a good tool to help you capture images in dark environments or remorse flexible about your aperture on Scheller speed settings
8. Exposure Triangle: exposure triangle. All cameras should have them either. That tells you how exposed your photo is gonna be. You can see that meter on the cameras, back screen or inside the viewfinder. It has zero in the middle on the left. It has negative numbers on on the ride and has positive numbers. It also has a line that moves around that scale, depending on how bright and dark your photo is going to be. If you shoot. If the line is showing the zero, your photo is well exposed. If it's showing the positive numbers, your photo is over exposed. And if it's showing the negative numbers, your photos dark. But you have to remember, as a photographer, you have to make choices. You have to go beyond what your camera thinks is right. If you wanted to listen to your camera, you could keep on shooting automatically. So you don't always need to set that line under zero. Cause that me there is just a tool to show you how exposed your photo is going to be. It is not a rule. You may wants your photo to be darker or to be brighter. Some photos don't work that Well, when the line is showing the zero, sometimes it's better to keep them under exposed or overexposed. So it just depends on your choices about how you want to portray your subject. But what does move the line of that meter aperture shutter speed on dia. So because they all affect the exposure of your photograph, you can't use only one of them to set the exposure of your photo. Because other than exposure, they all have other different effects on your final photo. So, based on what you have in mind about your final photo, you have to change all of them and balance them in a way that accomplishes what you want from your subjects. Also, your photo would be exposed in the way you desire. I can tell he had a key battle speech mean aperture, shutter speed, and I s O. Because you all used different cameras, have different lenses or in different situations and want to shoot different subjects. But I try to give you a general understanding about how to control those three. Whatever you're photographing along the process of balancing the exposure, you want to think about changing the I s so after deciding about the other two, and you want to try to keep the I S o with the lowest number possible so you can avoid all those noises to appear on your photograph. But that shouldn't make you scared to bring it it up when it's necessary. First, you have to think about what you're photographing to understand your priorities. If it's something that has motion, whether you want to freeze it or make motion blur in the photo, your priority is setting the shutter speed venue Gem bride in your photo by using a wider aperture. But what if you care more about capturing a good background blur or you want a deep depth of field? Your priority is setting the aperture. Then you can bride in your photo by using a slower shutter speed. If you care both about depth of field emotion, you have to balance those two in a way that accomplishes what you have in mind. No, I'm going to give you an example about changing the I S o imagine you want to capture subject in a dark environment. You choose to use the widest aperture possible. You said the shutter speed on one seeks thief, but the photo is still dark. You could use a slower shutter speed to make the photo brighter, but you don't want to make that shutter speed of slower on Durani condition because you think you're shaking hands may make the image blurry. Then you have no choice but to use a high rise so and make Beamish brighter. And that's completely OK because today's cameras have great processors, so even images with high rise ALS to route to look great. But more importantly, noises are not that scary. Remember, less noise doesn't make your image great. It's the way you portray your subject that makes your image great.
9. Lens: lens. A camera lens also known as photographic Linz is on optical lens or assembly of lenses used in conjunction with the camera buddy and mechanism to make images. A lens might be permanently fixed to a camera, or it may be interchangeable with lenses off different focal lengths, apertures and other properties. Prime lenses. Prime lens is one that has just one focal length. Only prime lens has come in a wide range of focal wings, from wide angles through the very longest off telephoto lenses used by many a sports photograph, furs and paparazzi. Traditionally, prime ministers are known for their advanced optics on quality. They will offer the maximum aperture, and because you can zoom with them, you have to move your position to capture the frame you wants so they kind of come by Lazy photograph, furs, syndrome, zoom lenses. These lenses offer you multiple focal lengths by zooming so you can be more flexible about you're choosing your focal length, but they aren't usually as sharp as prime lenses on they generally have variable apertures . This means as you zoom more to capture with a narrower focal length, your apertures F number grows higher, so your aperture will be smaller. So when you zoom, he chance have the largest aperture that's your lens offers
10. White Balance: right balance. Our eyes are very good at judging what is white under different light sources. But digital cameras sometimes have great difficulty with that and can create unsightly blue orange, your even green color chests. Whites Balance is the process of removing on realistic color tests so that objects which appear writing person Orender Dwight in your photo to There are some basic white balance settings you'll find on cameras like Otto Tongue stone, fluorescent daylight, cloudy shade on etcetera. But by far the best Weitz balanced solution is the photograph using Dirac file formats. If your camera supports him, this allows you to set the white balance. After the photo has been taken off course, you can set the white balance another image file formats to, but raw files have great potential for better post production.
11. File Formats: file formats. There are lots of image file formats, but we're gonna talk about two of them. J Pick on Raw J pick. This is probably the best known of all image file formats on what the majority of digital cameras provide as a digital output from a camera. Geopark files are compressed quickly in the camera and thus result in a loss of detail and quality. The benefits are more can be a stored on a memory card. Quick care file transfer times, negatives, loss of quality due to image compression, less opportunity for image manipulation in photo editing software. Raw raw files are generally available on advanced compact cameras and DSL. Ours, and quite simply put, it is the best option if you want to get the absolute best file from your camera. Raw files are compressed using a process that retains all of the information originally captured. This means that adjustments such as white balance, exposure, contrast saturation, sharpness can all be altered in an image editing software after the image has been taken benefits the best quality image. Fire is captured. Extensive options in post processing and image manipulation. Negatives. Time needed to convert and edit photos. You must edit raw files. Bigger file sizes mean mawr, a storage needed and longer post processing times
12. Composition: key factors to successful image composition, lighting and the subject composition. In visual. Ours Composition describes placement of relative objects and elements in a work of art. Composition is a way of guiding the viewer's eye towards the most important elements of your work, sometimes in a very specific order. A good composition is one that has just enough detail to few elements is bad because it drops the work of art off necessary detail that makes correct interpretation possible. On also ruins the balance of an image. Too many elements can be very distracting as well. Arranging elements can be done by actually moving the objects, and it can be done by changing your own position. Remember, a good composition can help make him masterpiece even out of the dollars objects and subjects into plainest of environments. On the other hand, a bad composition can ruin a photograph completely. Despite how interesting the subject, maybe essential compositions Rule of thirds. Imagine that your image is divided into nine equal segments by two vertical and two horizontal lines. The rule of thirds says that she should position the most important Sela Mons in your scene along these lines or at the points ver they intersect. Balancing elements using the rule of thirds can leave a void in the scene, which can make it feel empty. You can achieve a balanced composition and even else the main subjects, visual of eight by including another object of lesser importance to feel the space leading lines when we look at a photo are is naturally drawn along lines by thinking about how you place these leading lines in your composition, you can affect the way we view the image pulling us into the picture two wars, the subject or on a journey through the scene, symmetry and patterns. We are surrounded by symmetry and patterns, both natural and manmade. They can make for very eye catching compositions, particularly in situations where they are not expected, another great ways to use them. It's a break the symmetry or pattern in some way introducing tension on a focal point of the scene. Symmetry and patterns are great for the background in portrait photography. Viewpoints. Before photographing your subject, take time to think about where you will shoot it from. Our viewpoint has a massive impact on the composition of our photo, and as a result, it can greatly affect the message that the shot conveys rather than just shooting from my level. Consider photographing from high above, down on ground level from beside from the back, from a long way away from very close up and so on. Background. The human eye is excellent, distinguishing between different elements in a scene where, as a chamber, has a tendency to flat on the foreground and background, and this can often ruin another wise, great photo. So always look around for a plane and unobtrusive background and compose your shot so that it doesn't distract or detract from the subject. Depth. Photography is a two dimensional medium, but she can create IP in a photo by including objects in the foreground, middle ground and background. Another useful composition technique is overlapping where you deliberately partially obscure one object with another. The human eye naturally recognizes these layers and mentally separates, um, outs, creating on image with more tips. Framing the world is full of objects which make perfect national frames such as trees, archways and holes. By placing these around the edge of the composition, he helped to isolate domain subject from the outside world. The result is a more focused image which draws your eye naturally to the main point of interest cropping. Often a photo will lack impact because the main subject is so small it becomes lost among the color of its surroundings. But cropping tides around the subject you eliminate the background noise is showing the subject gets the viewers on divided intention, experimentation with the dawn off the digital age. In photography, we no longer after worry about feeding, processing costs or running out of shots. As a result, experimenting with our foes composition has become a really possibility became fire off tons of shots and delete the unwanted ones later, at absolutely no extra cost. Take advantage of this fact on experiments with your composition. You never know. Veteran idea will work. Unseal you try it.
13. Lighting: lighting. Lighting is another key factor in creating a successful image. It determines not only brightness on darkness but also tone mood and the atmosphere, by distributing shadow on highlights accurately can create a stylus. Professional looking photographs. These are some elements of light. You should practice on intensity of light intensities, the brightness level of lights on your subject for both natural light and studio lights. You can modify the light source to change the intensity. The intensity of lie changes with the change of the distance between the light source and the subject in an inverse proportion, dynamic range, dynamic range and a stops have a very close relationship. Dynamic range is the difference between the lightest and darkest tones of an image, and the stop is the measurements off this range diffusion off light diffusion relates to hardness and softness of light. It also determines the intensity of the shadow as a general rule, the bigger the light source and the closer it is to the subject to soft of the lights. Hard lights means there's a rapid fall off between bright and dark areas in the photograph , creating harsh, sharp edged shadows. But soft light has mild fall off between bright and dark areas in a photograph. The light is evenly spread, and it looks like it wraps around the subject. Reflection of light. Lies is only going to travel in von direction until it reaches a surface. Dens reflects off at the same angle it hits. The amounts of lights being reflected is going to be determined by the color and texture of the surface. Why is it important? Once you understand lights behavior you condemn, modify to control how much light you want for your subject. For example, if you want soft lights and you have no other equipment, you can bounce lights off the wall. Direction of light. The position of your life source is very important because it determines how light it's your subject. It has a great effect on the quality of your photograph. On a few of small inches of light. Displacement could bring your shutdown to snap shirt. There are famous techniques of lighting like split lighting, loop, lighting, Rembrandts, lighting, butterfleye, lighting, broad lighting, shore lighting and etcetera. But if there's one technique that you should know about, it's the three points lighting technique. The three point sliding technique is a standard method using visual media such as video feel still photography and computer generated imagery. It is a simple, ball versatile system which forms the basis off most lighting. The technique uses three lights called the key light. Fill light and backlight. Naturally, you will need three lights to utilize the technique fully, but the principles are still importance, even if you only use one or two lights. As a rule, if you only have one lights, it becomes the key. If you have two lights, one is the key and the other is either to feel or the back fights. Key light is the main light. It is usually the strongest and has the most influence on the look off the scene. It is placed to one side of the camera or subject so that this side is well, leads on. The other side has some shadow fill. Light is the secondary lights on its place on the opposite side of the key light. It is used to feel the shadows created by the key. The field will usually be softer unless price than the key. To achieve this, you could move the light further way or use some Spohn. You might also want to set the field light tomb or of a flood down the key. The backlight is placed behind the subject. Unlike sit from the rear rather than providing direct lighting. Its purpose is to provide definition on subtle highlights around the subjects outlines. This helps separate the subject from the background and provide a three dimensional look.
14. Subject: subject in photography. The subject is simply the object personal creator that is shown in the image. But a single photograph can show several things. Which one is the subject? The subject is a focus on the image, both literally as the sharpest point in the photograph. And in a more figurative sense, the subject leads the photograph er's decisions about aspects like lighting, composition, exposure settings and mawr. Sometimes the subject is chosen for you and sometimes nuts. When you're hired to shoot senior photos, for example, the subject is a graduate to be, but often the subject is left up to the photograph for both in what the object is and how it is portrayed. It's true that the subject is essential turn image. Yet amazing photographs have been shut off things as every day as a raindrop or a spoon. Subjects don't necessarily have to be extraordinary to create a special image. Will the photograph for may have to work harder to find a unique way to portray that ordinary object
15. Conclusion: conclusion. Now you know the fundamentals of manual photography and photography itself, and it's not enough. There are a lot more to learn and can only learn them by practicing what you've learned to now cause it's obvious that knowing these doesn't make you a great photographer. You have to practice what you've learned to massive them to make better choices on making faster and faster. If you practice them and challenge yourself to do craziest stuff with your Chammah ra, you will understand photography deeper like by heart. You learn the things that chance we learned from any book, so I wish you guts and creativity. If you have any questions, I'll be happy to answer them for you. If we lack the scores, follow Skip through 60. We'll have Mawr courses in different categories for you. Good luck and have fun.
 Absolute Quest