Transcripts
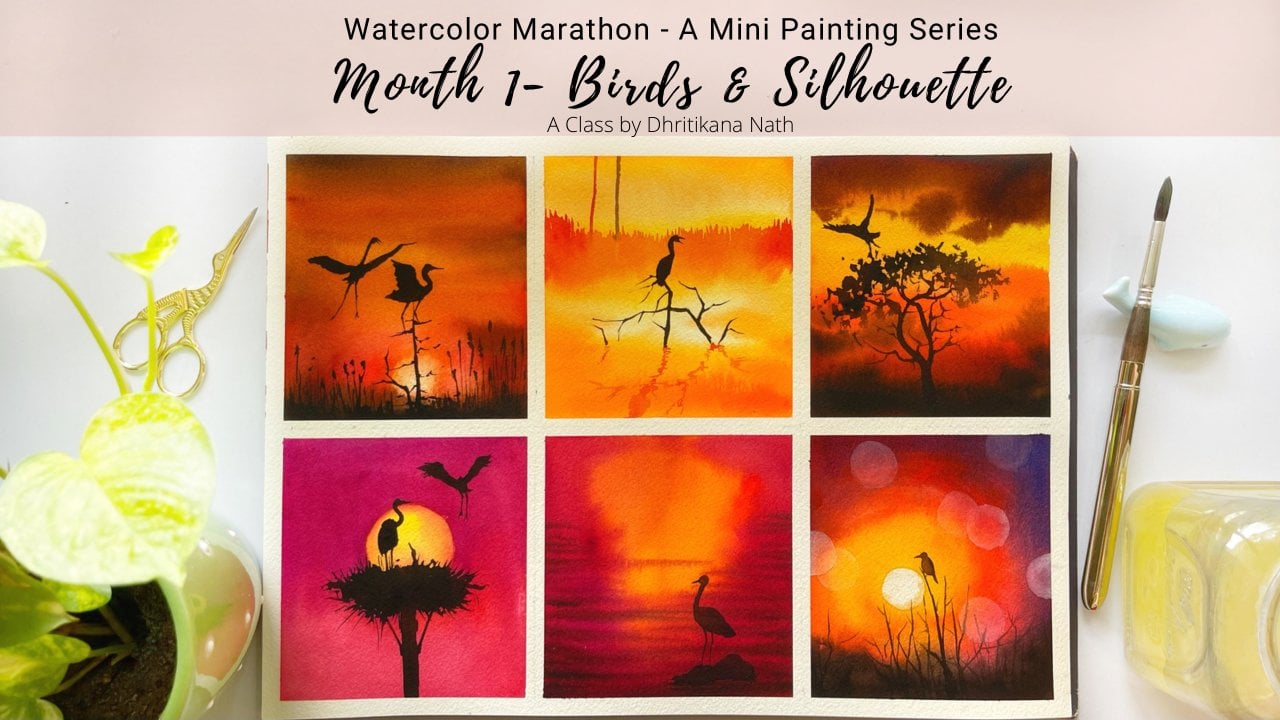
1. Introduction : guys watercolour artist From the time I have started painting landscape is the subject that I did fall in love. Today. We would be painting a beautiful popular landscape. The three most important concept toe, pink or landscape are different shapes and sizes, contrast and color and texture. Let's dive deep into each of these concepts. Shapes and sizes helps us to define a landscape in this class. The tree is the center point, and that only defines our landscape. Bush is in the background, helps us to develop the perspective off. What does Newt and what this far color and con trust color value intensity defines the depth under totality off a painting. Creative users off all the above can make a landscape come to life. Now the toward is the X shooting. It's always fun to experiment, how you want to texture different parts off a landscape. We've alone how toe texture the tree, the ground on the background bushes are painting his base stone wet on wet technique. Whenever our colored wash is laid on a wet surface, pigment flow freely. So are you all excited? Let's meet in the next lesson
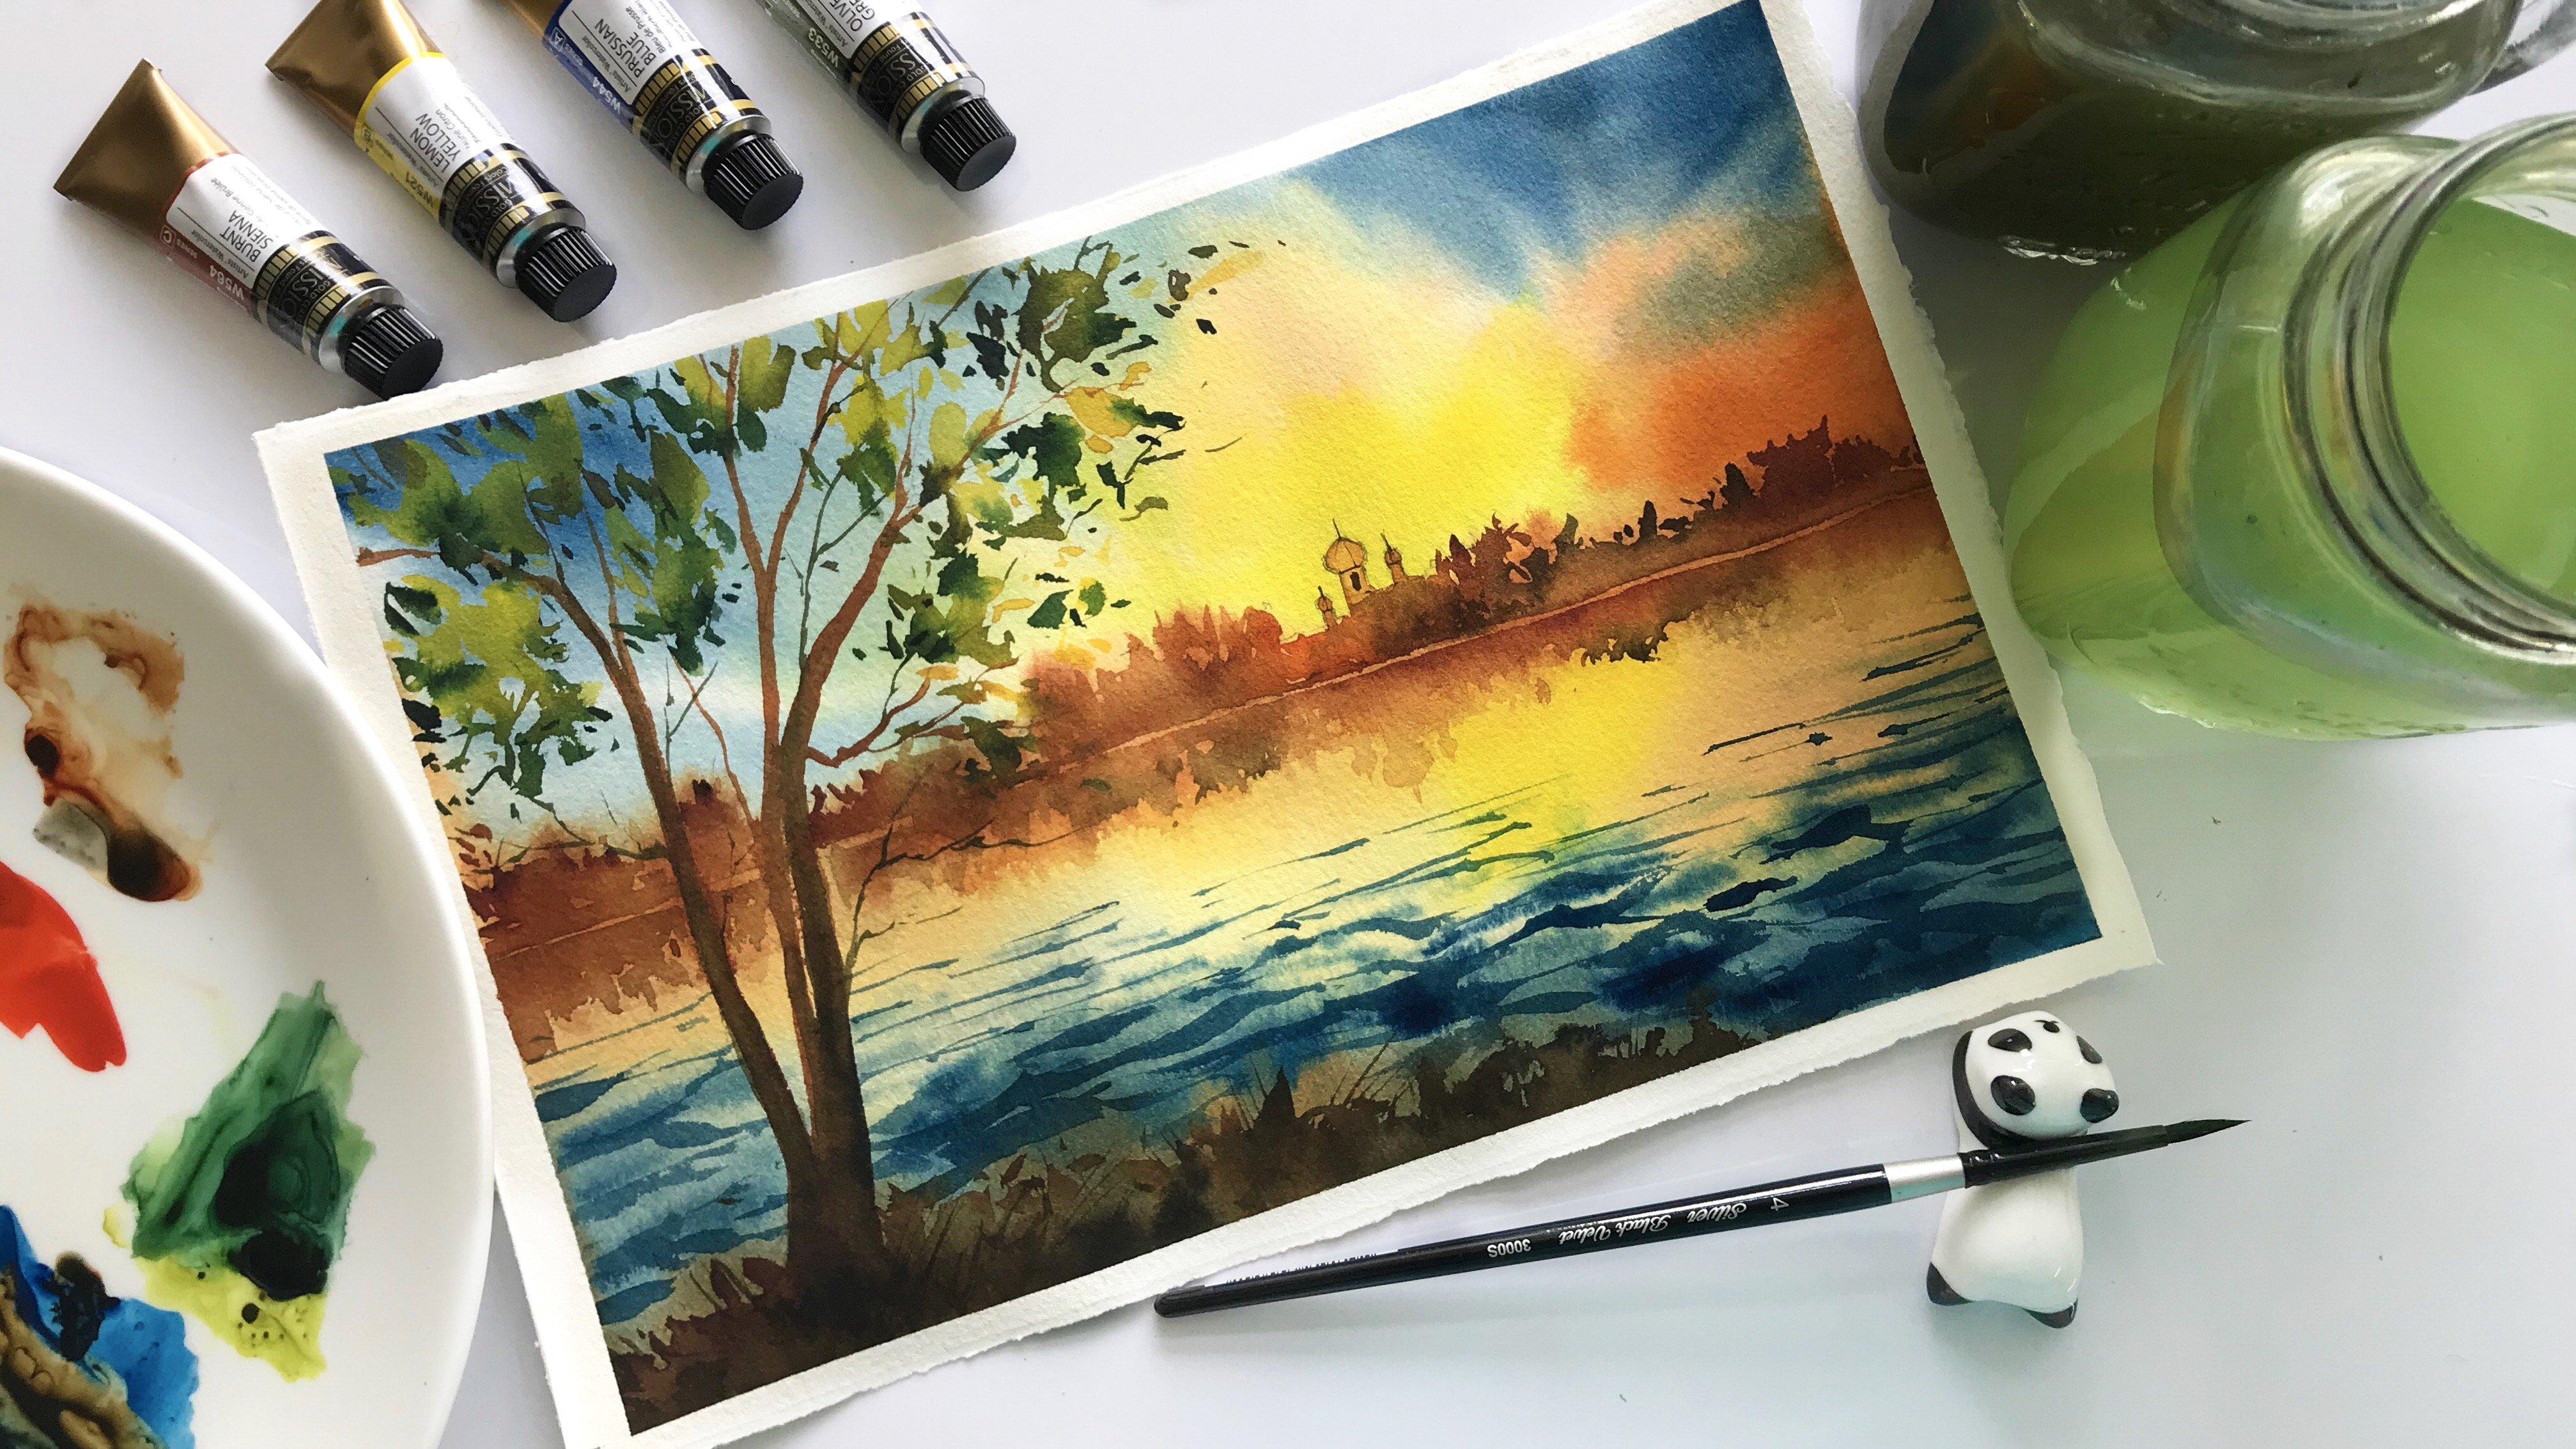
2. Materials required: way Used arches. Paper. 300 GSM rough green. 100% quarter. I will keep some 100 people toe test my colors masking tape kind. These are the shades I would be using for making my painting. More details about all the shades will follow later in the same video. Always keep her tissue handy to take off your excess color from the brushes we will deep back into the brush is that we will need for doing this painting the fastest squiggle Brush size six Princeton Flat brush Size six refire Brush size four Many Taylor Brush size, too. Camden Brush size one on a white jelly roll pen for making my grasses, I will keep ah, mixing palette for mixing my colors on. There are two sets off water in the glasses that I will be keeping around with me. One would be a fresh supply off water and another take off your plates. Let us know our colors better. The first is that Indian yellow by similiar the second years. The yellow local from San a lier, then is the orange from prime, a tropicals that is the carmine from San a earlier purple again from prime a tropicals and indigo from similiar. I will keeps watching all my colors and then let's meet up in the next video toe paint our vibrant sky.
3. Painting the sky: Let's start off by putting the masking tape on a paper. Use the scale to see all the edges. One supping thing is finished on. We removed the tape. We can get crisp edges. I would be sketching the horizon line below the horizon line. There would be the ground above the horizon line. There would be the sky in the sky. I would be doing the sketching off the sun on the street. - You will observe that I'm making the trees only as Z exact lines. We will be using a wet on wet technique. First, we will vet the paper on top offered. We would allow the pigments to flow freely. I will wait my sky with help off my squiggle brush as it can hold a lot off water. You can use any other flat or round brush available with you. I would not let my son I will keep that space empty and I will only prevail the other parts off the sky. I will add my orange color on the moist surface on the pigments will flow spontaneously. This texture will always be solved as it is a wet on wet technique for order. I will add on some carmine and blended with my orange blending is always Peto with the flat brush always moved from your lighter value. Darker value orange carmine and then your people. I will keep the surface at on the sun. Right. Therefore, I'm using the orange Carlo. I will use the carmine color to complete the sky letter. People dry on both start being the son in yellow. We've alone how to paint the ground in the next video.
4. Painting the ground: way will start painting the ground below the horizon line by first wetting the surface as we are applying wet on wet technique. The first color that I'm going ahead with post I have read. My paper is Carmine. Around the Carmen I would hard on orange from primal tropicals. I'm checking it on the hand, meet people. Before I applied, I would let both the colors bleed into each other and create its own beauty. Now I will move on toe the deepest value, which is my purple from primary tropicals and add on some more carmine so that they breed into each other on. Glenn has one for painting the sunset. You can use any kind of brushes and any kind of colors which are closers, toe the shades that I have mentioned over here before I apply any shade to my painting. I always check it on the handmade people, which is available E start applying the indigo from similiar around the purple, which I have already applied on the paper. You will see that the indigo, the chime applying, has more dots on short lines for the crown. It helps us to put some texture on the ground we will start making The bush is now in the background on the first color that I'm applying is orange. You know you will see that I'm applying some carmine on top off the arms that have already applied in the bushes. You will see that I've started moving from the left while I paint my bushes and I will end it towards the right. You would see me applying the three shades that are available with me for painting my bushes. The first is my orange from climate tropicals the carmine from similiar on the toward again from tropical. - Once my people is dry, I will deep adding some more texture to my bushes with the help off my smallest brush that is gambling size one. I will meet you in the next lesson where we will be painting the tree
5. Painting the tree: way back to painting our tree. Now this lesson is all about how to paint your tree. First we need to check the indigo color that we would be using for making the branches off the tree. Painting the branches off a tree is usually a long process, so let's get started. I am speeding up a bit so that we can move quickly, More exciting part human lives off that I'm not painting any off my branches around the sun. I will only take it up once I'm done painting my branches in Indigo. You will see me now testing the color that I would be using for painting my brunch around the sun. It is the orange from primal tropicals. You will observe how I am planning my orange with the indigo color. You will also off me now painting the leaves off the tree. First we need to practice As we practice, you will see that I am mixing to off my colors at an angle post was my carmine on the second worst my purple. I have started painting my leaves with clean water. I am dropping some orange on top of the clean water, moving on my car mind and purpose. My hat movement is always at an angle. I am not over doing any off my branches, just a few leaves on each one off them. When you mix the colors orange, carmine and purple, it helps you create extra off the leaves. - The leaves near the sun are in lighter shades on the leaves, away from the sun on in carmine and purple. Because of the light around the sun, we have used the lighter shapes. I am building on some mo texture on My Lives by Harding. Some limited brush strokes off purples and carmine colors here and there. I didn't know for creating our lives. We have walked with only three shades orange, carmine, turn purple.
6. Final Details: we move on toe the last part off this painting, ending the final details and texture on the ground. Start splattering all the colors on the ground, starting with yellow Oko carmine. Hand purple. Take a bit off purple and carmine on your brush simultaneously one after another and at some dark spots on the ground, let some off the splatter darts march in tow, their dark spots creating a bleed. Start extending your ground below the tree towards the left hand towards the right with the help off the brush. If you have any extra paint on your people, Babbitt off with the help off a tissue on. I keep creating some more pictures to the ground. I have covered my sky with the tissue bill now so that I do not spoil it. With all the techniques that I have applied through the ground, I would be painting. The grass is no to pressures can be used fun rush from Princeton or the camera in number one brush to paint the grasses. I have a show you both their techniques. You can choose the one you like, more out off them. I use the tip off the fan brush to paint the grasses and add more details to the ground. To set the perspective correct. The foreground will have dolla grass on the background will have shorter grass. To further add some more texture to the ground. I will use my white wash on splatter some more dots on my ground. I am manning the last few details with help off my camera and brush. And the color that I'm using is indigo. With help off my jelly roll pen, I will add the last set off grass. You can even do it with White Wash. Nevil, overdo your painting. All these step of it in case you have a tendency to keep working on your paper to finish off my grounds. I am adding a few details here and there. And then I will start feeling off my paper easily. Being off my tape, I always keep a palette knife handy. You will see how I use my palette knife toe. Take off the tape from the board. This is the moment of truth. When we're painting off our tape, Wendell, we will get a crisp edge or not on this looks for effect
7. Final Thoughts: this'd my first sketch class. And hopefully you will be more comfortable painting simple landscapes in different techniques that we have covered today in the session. Probably you have enjoyed painting with me and I can't Can't wait to see your final projects in the project. Calving by far, painting lights has bean my favorite subject on. We will learn more about them in my upcoming classes. See you soon, guys.
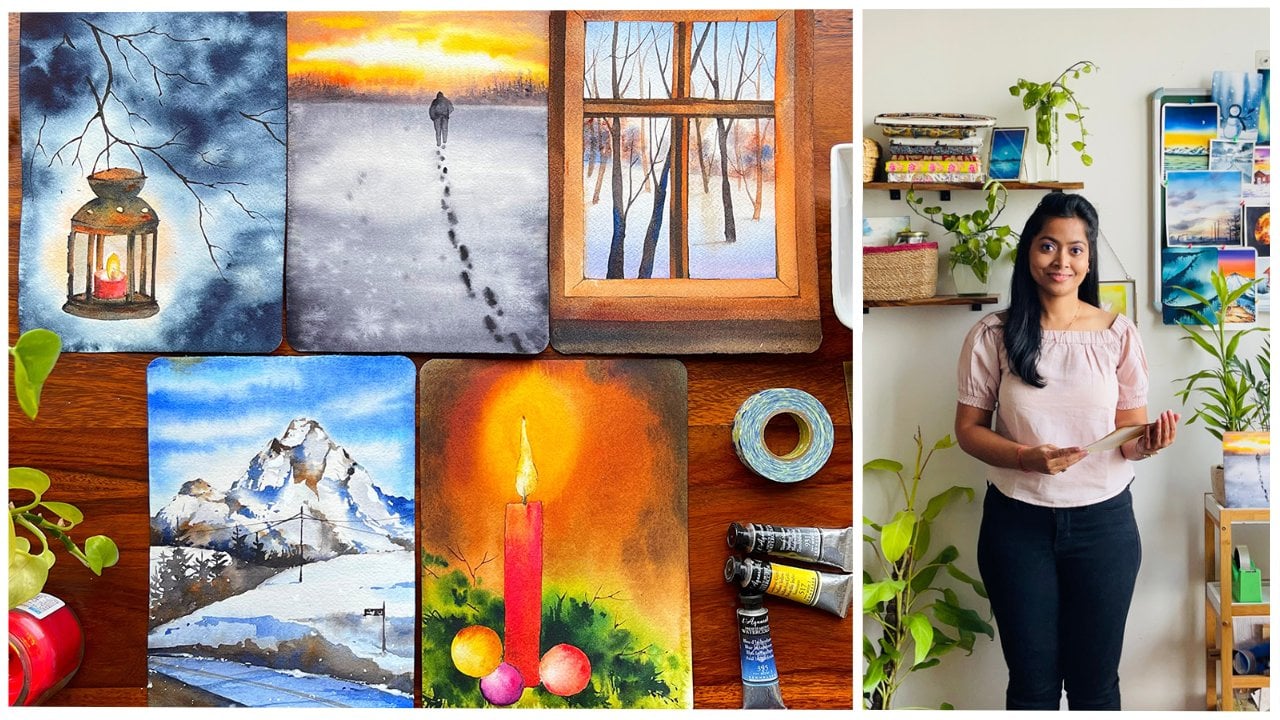
 Dhritikana Nath, Watercolor Artist and Instructor