Transcripts
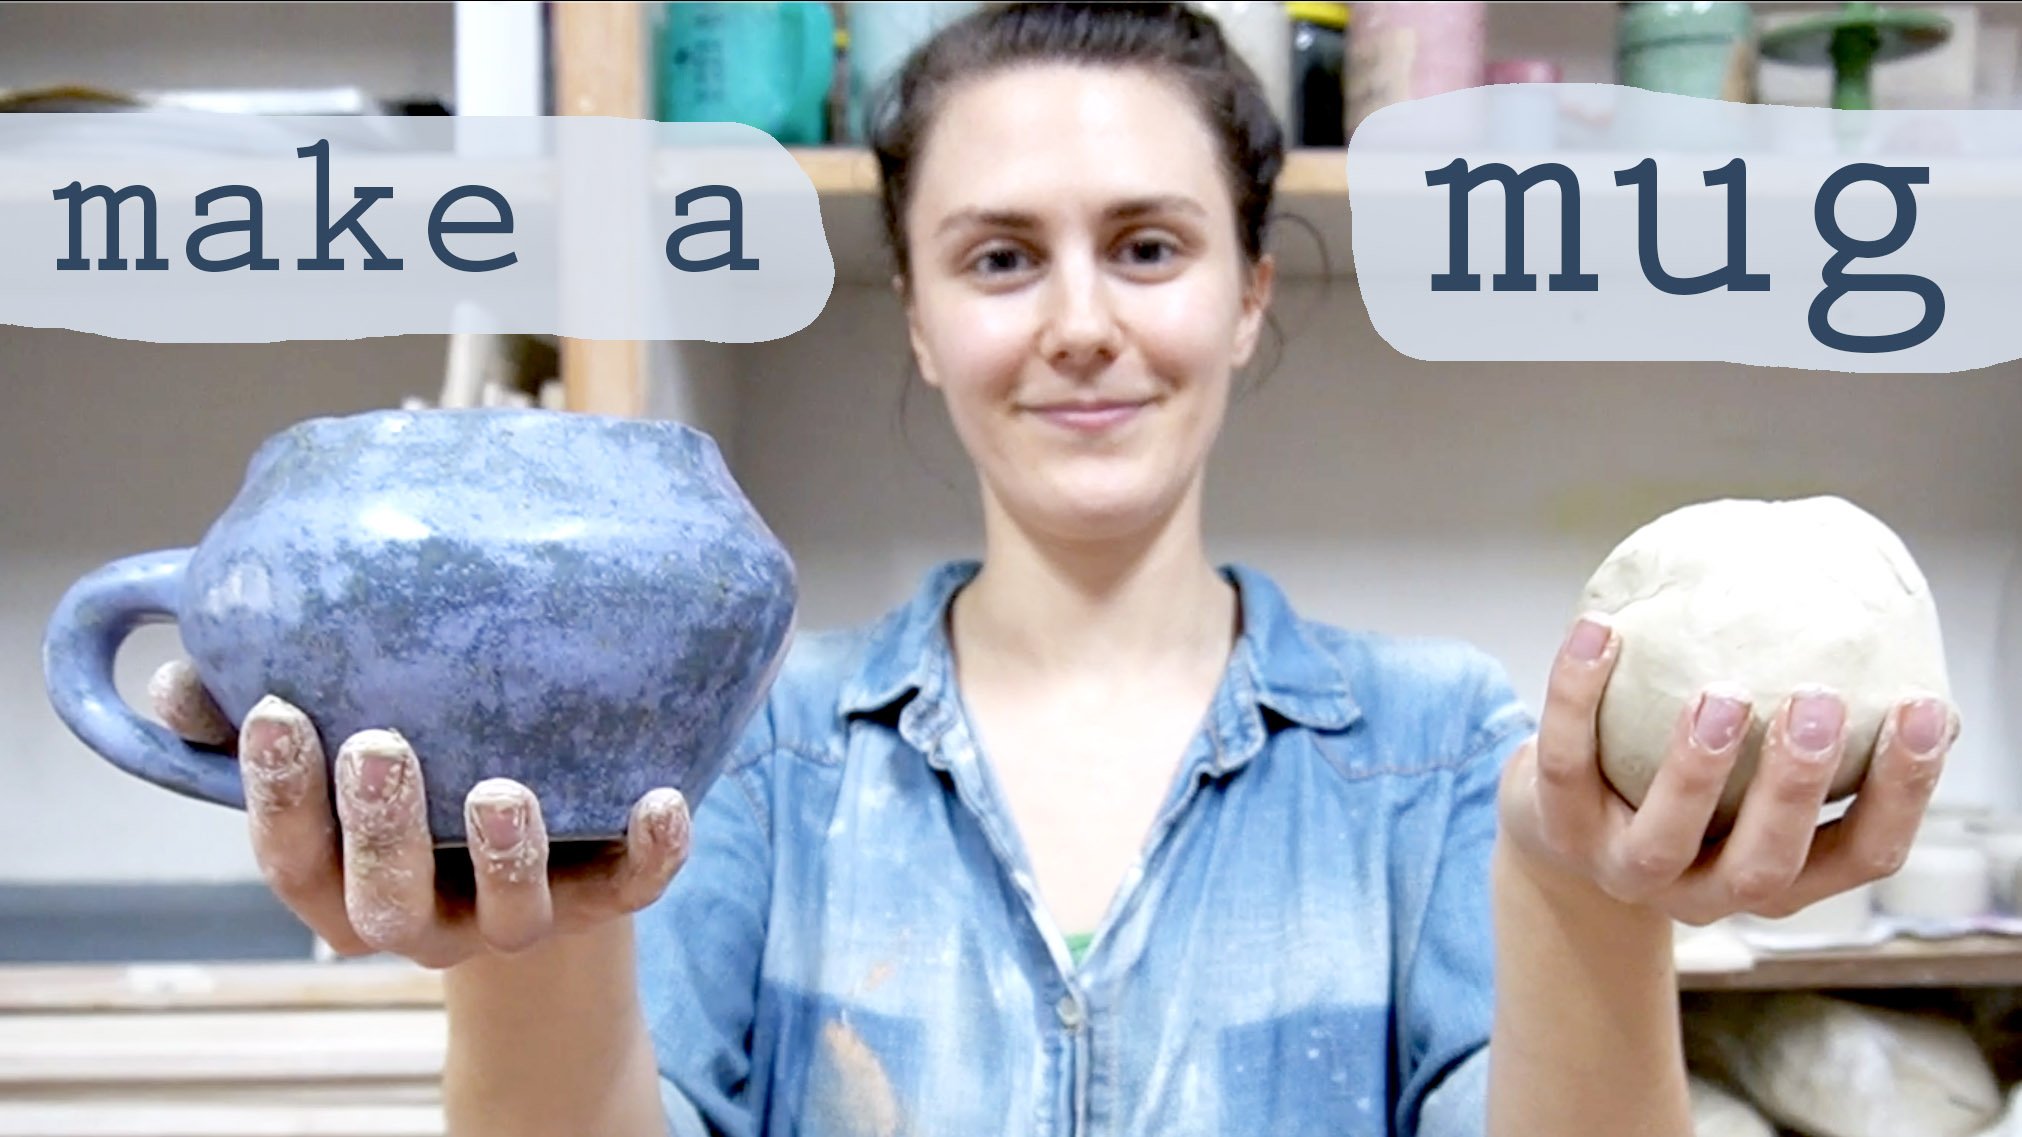
1. Introduction : Hi, everyone. I'm Libya Potter, an illustrator from Cincinnati, Ohio. Thank you all so much for joining my handle pulling class today. Today we're gonna make our own mugs with handles attached, so we're gonna pull the handles directly off of the pieces. So by the end of the class, you will have your own mug with your handle attached. You won't have to wait for drying time or anything. You're gonna pull him directly off the pieces so happen in the next video and see the tools that you're gonna need and let's get started.
2. Materials : So she gets started. These air, the materials you're gonna need to pull your handle. So you're gonna need some leather hard cups, our cylinders of any kind. Um, you can use the same one and pull multiple handles off of it as a test piece. Teoh really practice. So you're gonna need these guys leather hard. You're gonna need your clay. Um, you're gonna need a needle tool, and you're gonna need your bucket of water when you're ready to get going.
3. Pinching off the ball: So you're going to start out by pinching off ball, roll on into shape. So I start out with a ball little bit smaller than a golf ball. But depending on your size of money, you could go anywhere from a golf ball to a little bit smaller, and then you're gonna roll it back and forth between your hands. I see you're gonna tapers it out a little bit this way, and it thins it out. This way. You're starting shape.
4. Forming the handle: So now we're gonna shape it just a little bit more before it gets onto your mug. So just before you start going, if you see any, um, little cracks like this, you just smooth them out now so you don't have to deal with, um, man, you take your fingers on other side of it like this, you're going to start at the top. You're gonna kind of squish in. Not too strong, just kind of lightly squish in. Then you kind of created a little spine like thing in the middle. Then you're gonna take your thumb in your pointer thing. You're on the back side. You're gonna kind of press that down. And now your piece is a little bit more thin and has even more of a little bit of a taper. So it's ready. Ready to attach to your hand to your mug now
5. Attaching to the mug: So for this step, I got mugged about her handle that has made so far. And we're gonna needle tool on a little bit of our water. So we're gonna attach this handle to the mug. So we this side of it right now is a little bit, um, curved up. So to make it the best attachment, we're just gonna cut it off. And now you have a flat surface here. That's what's gonna stick onto your mug. So you're gonna score that Mase worked up. It's got you. Take your mug and I like to just stick my needle tool in the water a little bit. You don't want too much water in this attachment, but you want just a little bit. Just kind of get me a needle tool. Kind of wet stick that on. And my little lines here was a little bit of wetness, but it's not dripping what or anything, man, we're gonna stick this on, and sometimes there's a little bit of a see how this comes up a little bit. Then you can decide how you want that. If you put that this way, then you're handles. Gonna come up a little bit more or if you put it that way of my droop down a little bit more. So I always try to cut it a little bit of an angle and then put it on the ankle going up like this. So stick it on there. You can just wiggle it back and forth. You're getting the Velcro to stick before you do anything else. If it's just staying there, then you've done a good attachment there and it's not gonna crack off or anything. You want that to just be ableto stay as it is.
6. Smoothing attachment : So now we'll get the finishing touches on before we start pulling our handle. So our handle is secure. But the way I prefer mine, I like them smoothed into the peace. But some people like to leave this line. Um, this attachment edge here. So it's totally up to you what? You end up wanting to dio, but I'm gonna just go ahead and smooth mine in. I'm just using the side of my thumb here to give it hastened smooth. You don't want to use too much water this stage, so I wouldn't recommend smoothing this with a sponge or anything right now. You could always do that later on if you need a sponge. But right now, I would try to just do it your fingers. Oh, all right, that's pretty smooth all the way around. And then at this point, you may have gotten a little bit thinner right in here. So we're just gonna do that same pinching technique on the peace while it's attached to your pot. So you just kind of pushing in a little bit with your thumb and then your fingers air underneath, pushing in on that side. You're creating that same spine in the middle. You're gonna go in and flattened if you get any more little cracks. Wait. Those out. It just depends on how hard you're Clay is. You might not see any of these in your piece. That's a now it's handle is ready. Ready to pull as much thinner now. So it's already getting some of its shape, and then we're ready for the next step.
7. Pulling the handle : So now we're gonna start pulling our handle. So you use the water. We're gonna want the water to be directly underneath where we're pulling from. We're gonna use piece fingers, and we're gonna use kind of okay, fingers sign. So we'll start out, get your hand really wet. Then I started out kind of with the OK sign, but I'm barely putting any pressure on the mug right now on the handle right now because I just wanted to be getting fully wet. Then I'm gonna take my okay, fingers, pull on it a little bit more years, just not putting a bunch of pressure. I'm kind of more just like putting downward motion. And it's click in that hopes, make the handle longer, stretches it out, and then you're gonna flip it around that you're not doing all of this to one side. You want to be symmetrical, turning it around in your hand, pulling it from all angles. Oh, I'm just going I'm kind of switching back and forth between this. Okay, sign. So just kind of wrapping my hands around. And it's this part of my thumb. And between my thumb and my finger and right in here, that's touching. And then when I dio piece fingers again, it's going all the way back here. So it's the edge of the handle. Is touching that in between my two fingers skin right there. I want you feel like it's a good thickness. So that's nice and then and consistent all my through finish up be done with pulling them. Get on to the next step, so meet me in the next video.
8. Finishing : Okay, Now you've pulled your handle to a nice, then handle. So now, like to just kind of take it. And what the handle kind of drop and see where it wants to go in. This one actually pulled it just long enough, but it does fit, Actually. Sometimes you're gonna have extra, and then you just rip that off. But this one just fits perfectly down there. So you just want to kind of line it up, get it so that it's not going all over the place, going inside a diagonal or anything. So get that mind up, and then you don't need to score anything cause the handles already really wet. And so I just Stickley thumb. There is an extra extra attachment, but you can do all sorts of things. I I also put my stamp once. It's a little bit harder. So I have my initial stamps. You can do all sorts of stuff with the attachment there. Um, and my handle my mug cuts back a little bit, so I put it on the bottom there. But if you had a taller one, you could also just stick it onto the wall here and then that part would be coming out like it's on the wall so you can push it any which way. So now you're handle is totally attached. Um, it's there to stay on. And I like Teoh. Just kind of wiggle it just a little bit, Um, and then while it's drying, I'm gonna dry it, all of them upside down like this, cause that just gravity, that doesn't natural lift on the on the top part here. If you driving like this, sometimes they can just slump a little bit. So I prefer to just drive upside down, let gravity lifted up a little bit, and then the next day you could flip him over to get even drying. That's it. That's your handle. It's all attached. So like I said, you can use the same mug and put handles all around it to really practice and stuff. Or you can get a bunch of leather hard cups ready todo and just have fun with it and just experiment with different things that work better, or how you're gonna if you're gonna attach the bottom Teoh trimmed off bottom. Or if you're gonna attach it, Teoh Wall, it's it's fun to play around with a little bit. That's it. Thanks for joining me
 Linnea Campbell, Ceramicist & Illustrator