Transcripts
1. Introduction: Have you ever seen marbled clay? Stained and marbled clay is an incredible technique that actually infuses color into the clay. Most ceramics, like glazes and slips are only sitting on top of the surface of the clay. But you can get some amazing effects when you actually put color into the clay body itself. In this class, I will be showing you how to add color into your clay, and also I'll show you how to get a nice marbling effect over on the wheel. My name is Maya. I've been working with ceramics for about 10 years. I own and operate a community studio here in Berlin called Pottery to the People. Our mission here is to bring pottery to the people, and that means to make pottery as accessible as possible for anyone. No matter where in the world you are and no matter what your resources are, you should be able to get into clay. Let's get muddy.
2. Materials: I'm going to have a list down below in the description of all the tools and materials you're going to need for this project. But the main thing that you're going to be needing is a stain. You can purchase stains from most local ceramic suppliers. Ours are from a brand called Carl Jager. If you're in North America, one of the most famous brands is called Mason stains. But I think no matter where you are in the world, you should be able to get your hands on a stain. Wherever you source your stains, you actually need to be getting them from an actual ceramics supplier, and that's because these are not just ordinary pigments. These stains are specially formulated to withstand the crazy high temperatures that the clays go to. Normal pigments that you would use for acrylic painting or whatever, just aren't going to work. Now stains can be a little bit pricey. I think this cost like 10 euro maybe, 15 euro for 200 grams. This was about 10 euro for 100 grams. This is going to be enough to make about six caps on the wheel. Keep that in mind before you going into this. This is not the cheapest way to make ceramics. If you see any stained or marbled ceramics, they're out in the world for sale, you'll understand why they're priced that way. This is a very special technique.
3. Mixing Stain with Clay: I'm going to be making six cups of 500 grams each. Of those 500 grams, 150 grams are going to be cobalt, 150 grams green, and the remaining 200 grams unstained white clay. That means I need 900 grams of clay for each of the stained bodies. I'm going to be doing somewhere between 5-10 percent of this weight of clay will be the stain itself. For the cobalt, I'm just going to do 50 grams because I already know that that's a really strong material. For the green, I'm going to be doing 100 grams. I'm going to be mixing these stains with a white stone white clay. This clay is also from car yegar. I want to prepare the clay and get everything set up before I open the stains because I want to only handle the stains while I'm wearing a mask. You really don't want to be breathing in the dust from the stains. Now we have our green clay. Once all the stain is absorbed into the clay, it's fine to take off your mask because now it's being encapsulated in something that's wet and it's not going to get into the air as you work with it. But now I need to put my mask back on and mix up my cobalt clay. It's amazing. I always just feels like the powder is going to be too much. Then in the end, clay managers to absorb all of it.
4. Marbling your Clay: Let's prepare this clay for throwing on the wheel. Now we're going to need our scale again because I'm going to measure out 150 grams of each color, that should make six balls, hopefully. Then we're going to add 200 grams each of white clay for a contrast. Now each vertical row here is going to be one cup. I've measured them out, 150 grams,150 grams, and 200 grams. Now I'm going to mix the clays in two ways. First I'm going to stack them, and then I'm going to do a little bit of wedging. I'll show you right now. Each small ball here, I'm going to actually cut in half, so we can get more layers. Then I'm going to stack them up layer by layer. The second part is going to be wedging. Now I'm just going to give each of these balls just a tiny bit of wedging, maybe 2, 3, 4 pushes just to start to mix the colors. You don't want to overdo this part because you can really actually mix them, and then they turn into this muddy mess instead of these distinctive colors. However much you wedge now is going to determine how thick of color blocks you have on your finished piece. If you wedge a lot, you're going to have only very thin lines, if you wedge only a little bit, you'll have these blocks. If you don't wedge at all, you could just put this directly on the wheel, but you're going to end up with more horizontal lines rather than a marbled effect. I'm just going to wedge a couple of times until it looks like the clay is just starting to get mixed. I've got my clay all prepared now. Next, let's head over to the wheel.
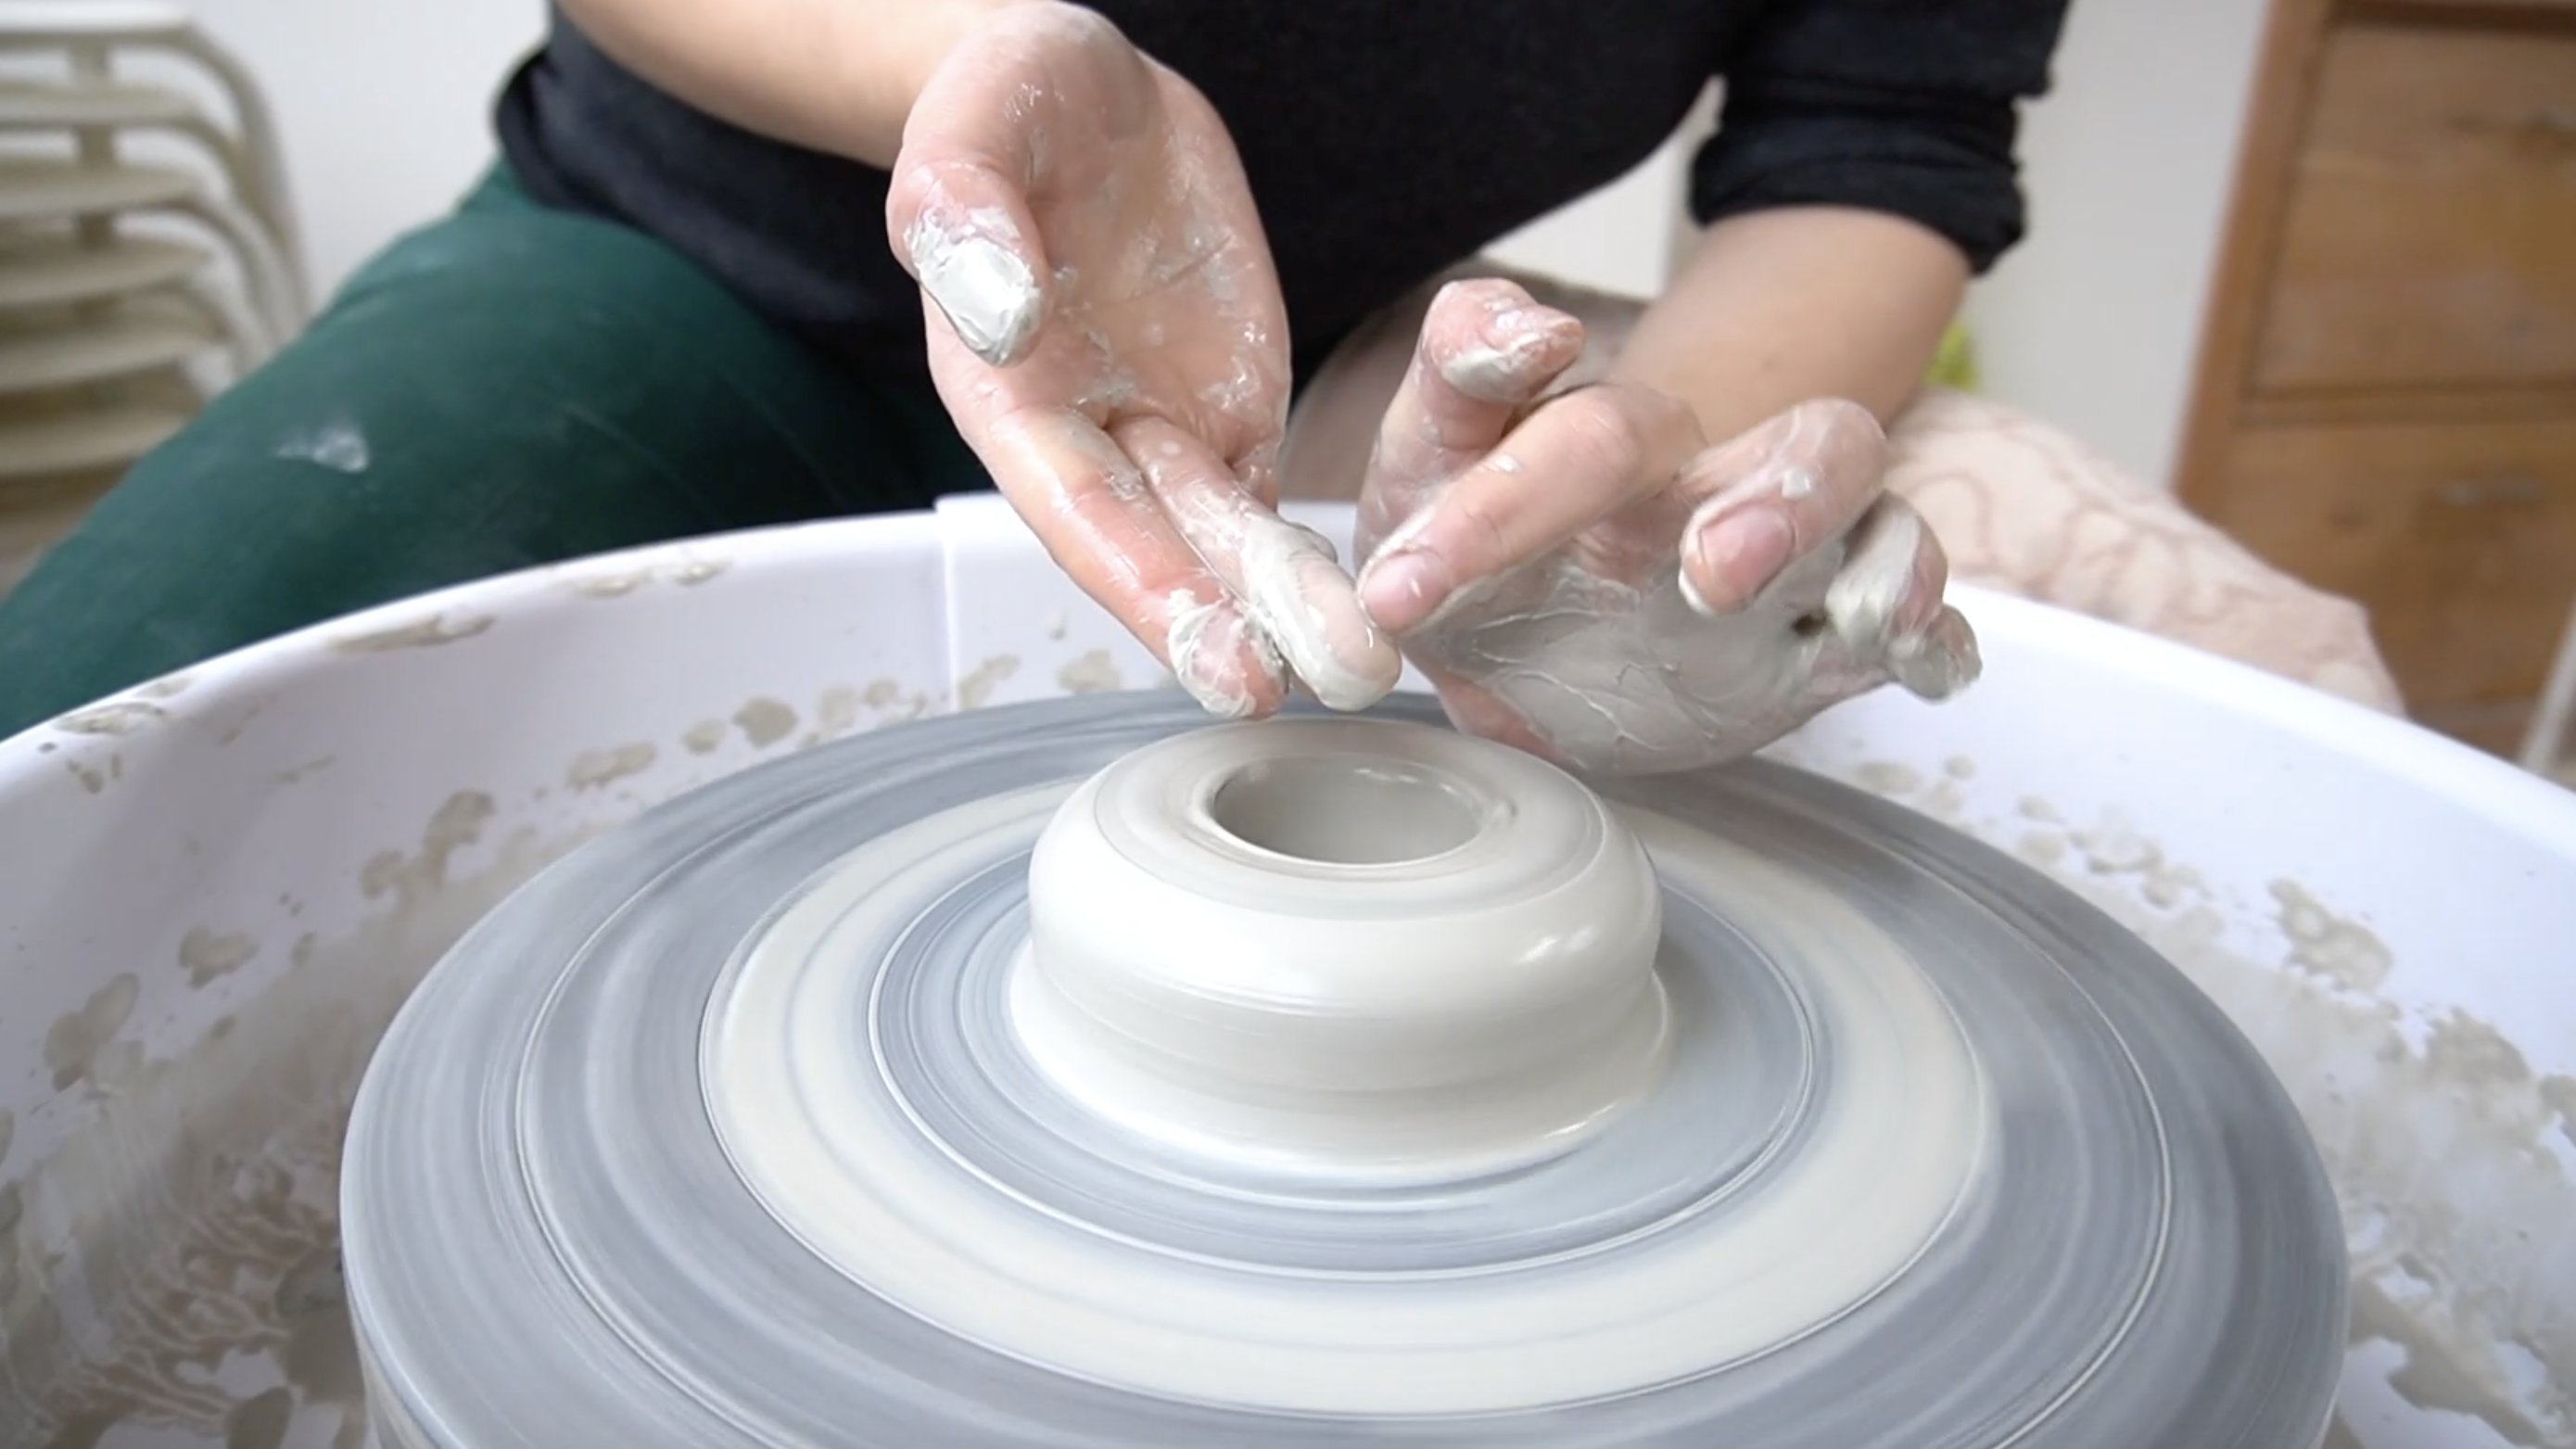
5. Throwing with Stained Clay: I'm not going to explain the whole process of throwing a cinder because that's not really what this class is about and there's a lot to cover in that. For this class, I'm going to assume that you already know how to throw a basic cylinder. Honestly, throwing with marbled clay is no different than throwing with another type of clay. But if you are a beginner and you're interested in learning the whole process of throwing on the wheel, I actually already have an online class that covers the whole process of making your first pieces on the wheel. It covers all the steps from wedging to throwing to trimming and even glazing, and it's modeled after the class that I've taught over 500 students here in my studio. If you're interested in this class, I'll link it down below. I know it doesn't look like much now. In fact, it looks a little muddy and complicated. You could start to see the marbling coming through, but don't worry, the colors are going to come out very vibrantly in the next step. That's the trimming. I'm going to finish these up and I'm going to see you in the next section.
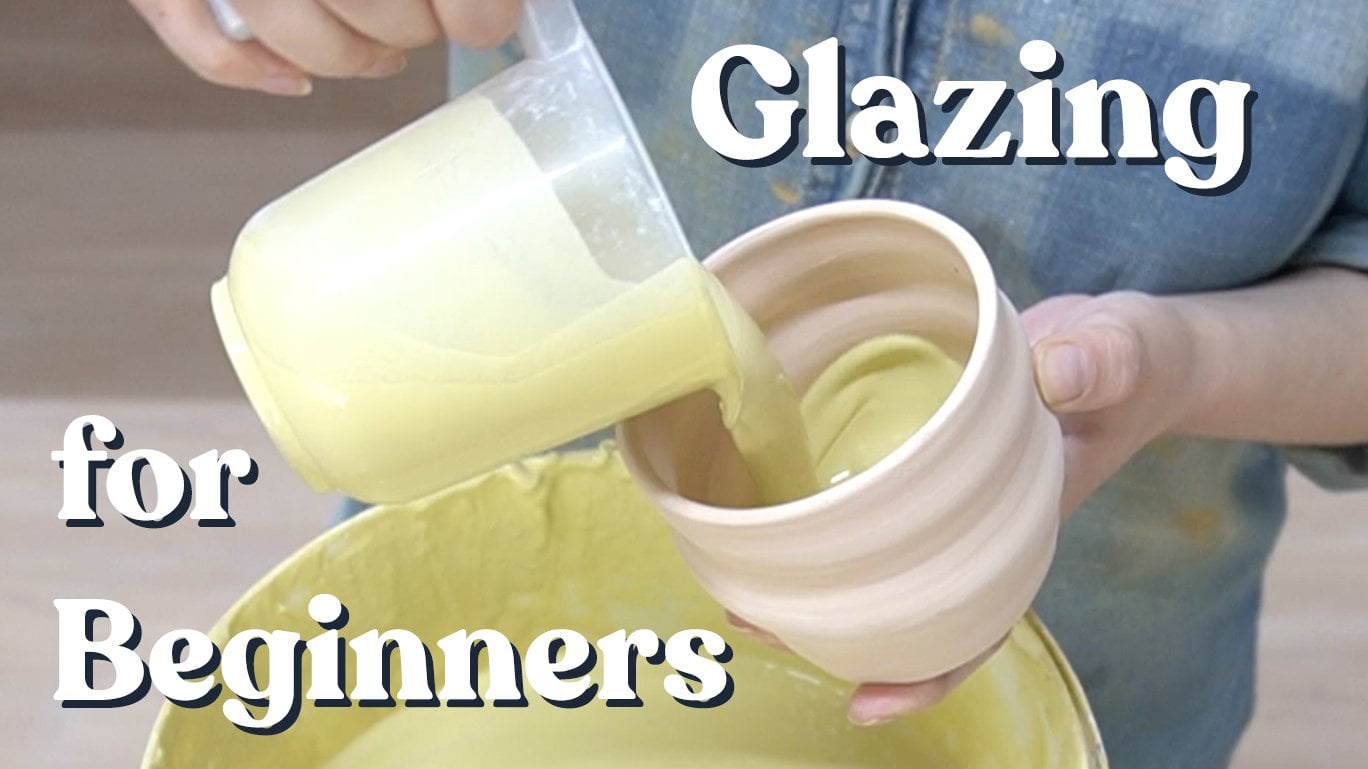
6. Trim to Reveal the Color: So this next step is key because you really need to do this part to bring out the true beauty of the marbled clay. What I've done is I've let my pottery dry out overnight so that it becomes leather hard. It should still be a little bit flexible. You can still feel the moisture in the clay, but at this point it's stable enough to move on to the next step, which is trimming. I'll show you how to do that. There's a couple of things you need to keep in mind when you're trimming marbled clay. The first thing is that you'll need to trim the whole piece. Typically we just trim the bottoms of our pots, but in order to reveal all the marbling, you'll need to trim the entire piece, even if that means you need to flip it over and work from the top. Secondly, make sure that you have a sharp tool. If you have a dull tool, you're probably just end up smearing the lines between the clay. Keep in mind that you'll need to have a fresh sharp tool. Third and last, when you're finished with your piece, you do not want to burnish the piece with a wet rib. I don't know about you, but typically when I'm done trimming my piece, I'm going to use a wet rib all over it to smooth out all of those trimming lines and to make it really nice and silky. I won't want to do that this time because it will just end up blurring the lines. If you do want to burnish your piece, I would just use my thumbnail and I would just run it over my piece in order to get that smooth effect without adding water. Now that everything is trimmed, I'm going to let these pots dry out for about a week. Then once everything is dried out, I'm going to put it into the first fire, the bisque fire, and I'll fire those to 900 degrees. Then when they're done with that, I'm going to glaze them, probably transparent so you can see the marbling. Then I'll put it back into the kiln for the second firing at 1,250. In the next section, I will show you the results.
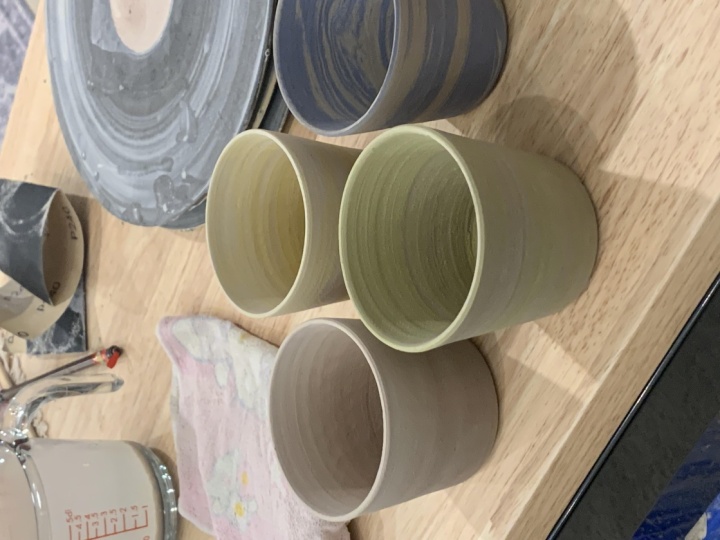
7. Our Results: I am so happy with these spots. They turned out better than I even could have imagined. One thing that I didn't expect it all is how much they would look like the Earth from above. I mean, at least that's what they look like to me. If you're passing over the Earth in a spaceship or something like that. I didn't mean to do that, but I think they look really, really nice. As you can see, I decided to glaze some of them fully and then glaze just the inside of some. In this case, I think that the fully glazed one ended up being more successful just because it brought out the colors a bit more than the half glazed one. However, I've seen the half glazed one working really nicely as well. Maybe if you're working with more pastel tones, it works a bit more because you have this really nice raw quality to the clay, it almost feels like a stone. Also one of my absolute favorite parts is how the bottoms look, I just think they just look so cool and very much like a planet. I hope you enjoyed this video. If you're interested in learning more from me about pottery, I have one more video on Skillshare that you can check out. That's about hand building a mug with the coiling technique, that class is for absolute beginners. If this class seemed a little advanced for you, definitely go check out that one. Otherwise, I have a couple of more online classes that I host on my website. I will link those down below, including the class where I walk you through the entire process of throwing a pot on the wheel. Now, also I have a pretty active YouTube channel where I post free tutorials about every other week, so definitely go check that out. If you want to reach out to me, you can find me on Instagram @potterytothepeople. Otherwise, that's it for me today. I hope that you have an amazing and creative day. Bye friends.
 Mia Mueller, Slinging pots in Bavaria