Transcripts
1. Class Overview: So I've done a lot of classes
on forming pottery so far. But of course, this is
only half the story. I mean, pottery can't
really exist out in the world without
glazes on them. And in my opinion, the glazes you choose can
really make or break your pod. So let's talk about wasting. My name is Maya
and I run a studio here in Berlin called
potter to the people. I've been doing
pottery for ten years and since 2019 when I
founded this space, it's my mission to big pottery
accessible to everyone. I'm really excited
about bringing you this beginner level
class because it's got all the information that you
need to know about glazing your first pieces of ceramic
with store bought quizzes. I will give you some really
practical information, including six different
glazing techniques and ten different
demonstrations.
2. Understanding Glaze: Not all pottery
needs to be glazed, but you at least need the
parts that are coming in contact with food and
drink to be blazed. For a mug, that means at least the inside and
the lips should be glazed. If you're designing tableware, be sure to check about your glazes are
also food safe too, because there are
plenty of ways is designed for other purposes too. But you're a glaze manufacturer, should be able to tell you
which glazes our food safe. You can think of ways as glass that's melted onto your ceramic. So the primary ingredient
in glazes, silica, which is also the primary
ingredient in glass. Beyond silica, You
also have flux, which actually it lowers the melting temperature
of the glaze, allowing it to melt in our
conventional killings. In addition to flux, you
also have various colorants. Common colors that
you might have heard of are oxides and stains. However, all minerals can have an impact on the color and
the texture of your glaze. When purchasing your glaze,
you will receive it in either at the powder form
or a liquid form. The powder form will
just be the pure, raw ingredients of the glaze, which you should mix with water. You should mix the
powder with water in the proportion suggested
by your manufacturer, because your Bisk is porous, it will soak in the water wherever it's exposed
to the glaze, leaving the powder on
the surface of your pot. Liquid glazes are a little
bit different however, because they have a
few extra ingredients added to them so that
you can brush them on. This makes liquid glaze is a
little bit more expensive, but they do have
benefits to which we'll explore later on in the class. An important thing to pay
attention to when you're buying your glaze is
the firing temperature. So all glazes have a range from which they should
be fired within. The range should match the
nitrification temperature of your client and of course, match the temperature
that you eventually find your pots to be
sure to check with whoever is firing your
pottery to make sure your materials are suitable
for that firing temperature.
3. Glaze Safety: The last thing I want to
talk about before we get started is glaze safety. So similar to clay dust glazed us is actually
hazardous to your health. So you want to
limit your exposure to it as much as possible. Certain glazes also contain
toxic chemicals like cobalt and cadmium that you really want to limit
your exposure to. It is most hazardous to
breathe the substances in. However, if you have
a cut on your hand, you want to as much as possible avoid getting glaze
on your hand. You definitely don't
want to be eating or drinking while you're
handling these glazes. And also definitely wash your hands when you're done
working with the glazes. If you're working with
glazes and a powder form, you should wear a
mask or a respirator. I think the best way to be
safe while glazing is to just be mindful and tidy
while you're working. I'm not saying don't
have fun and experiment. I'm just saying cleanup as
you go and wipe up any spills with a wet sponge
before they have a chance to dry and
become glaze powder.
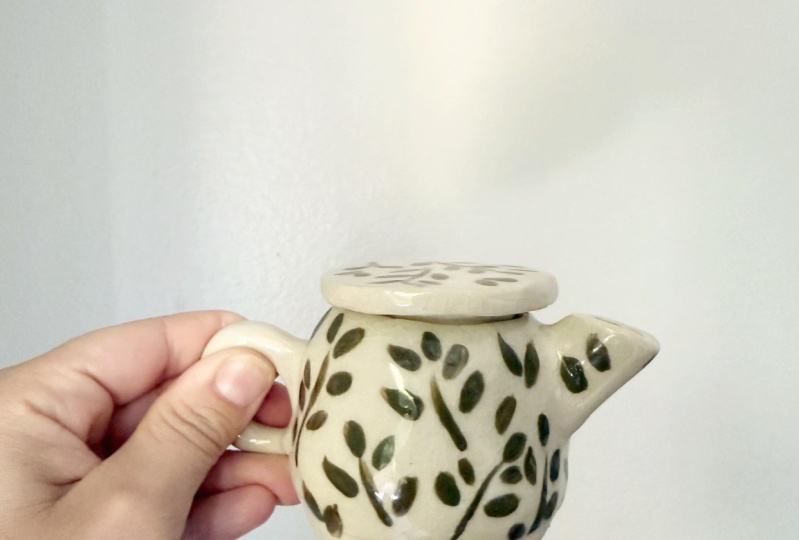
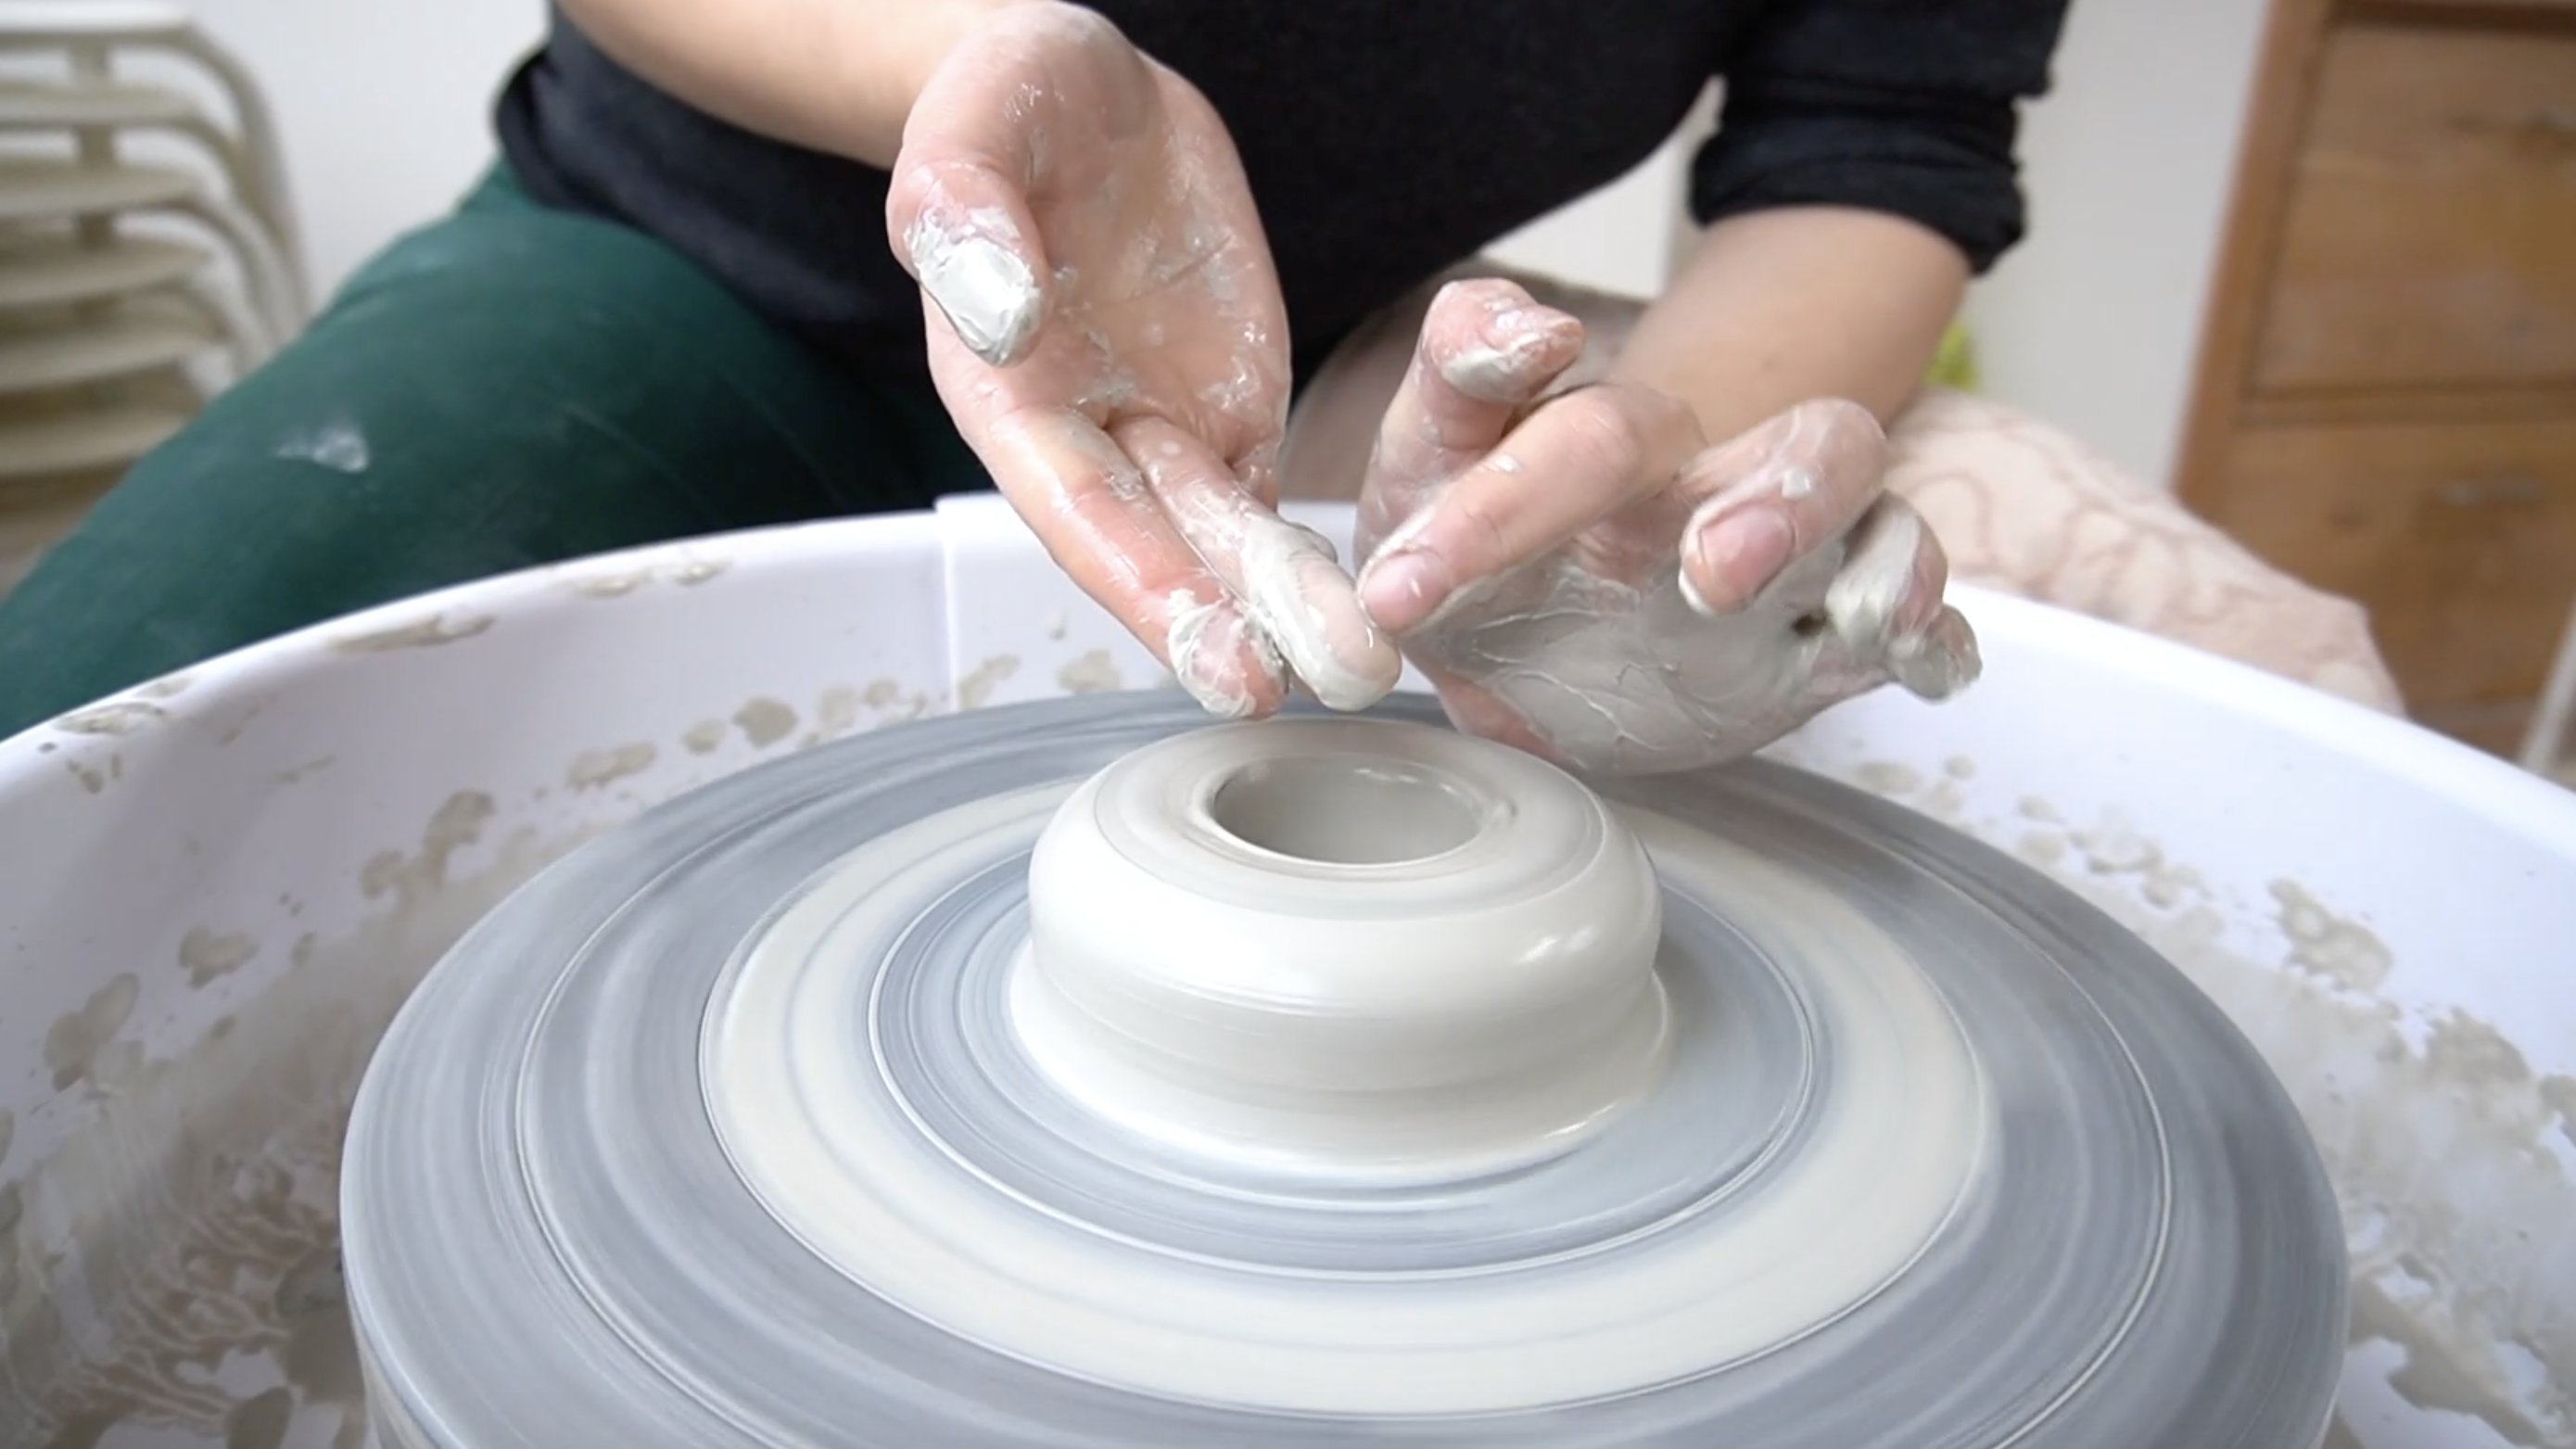
4. All About Bisqueware: So in this class, we're going to be
glazing my Cloud cups. I love making these cups. They're super fun to make. Each one's a little
bit different. And if you're interested in
seeing how I make these, you can check out
my YouTube channel where I showed you
the whole process. To glaze your pots. Of course, you need misc where? To get your pot into
the big square stage. You want to fire it once. We fire to around
900 degrees Celsius. But there's different
Bisk temperatures depending on your clay. So to prepare your
Bisk for glazing, you want to make sure that
your Bisk is clean and dry. So if you have any dust on
the surface of your business, it might cause pinholes. And likewise, if you want
to sand you're Bisk, make sure you wash it afterwards to get any of that
sanding dust off. Once your pots are
clean and dry, you can apply wax to
the bottom of n to prevent the glaze from
sticking to the bottoms. Alternatively, what I
do is you can also just wait for the bottoms
with a wet sponge. This will take off
the glaze and prevent your pots from sticking
to the kiln shelf. We need no glaze on the bottom of our plots when we put
them into the kill them. Otherwise, they will stick
to the kiln shelf and you will destroy your pot
and also the shelf.
5. Mixing the Glaze: So let's start with
the powder glaze. This glaze has already
been pre-mixed with water. So our manufacturers
suggests that we use one kilo of glaze to
one liter of water. So this bucket has
probably three kilos of glaze in it already. Before you get started, you want to mix the glaze. Wow, so I have this drill
mixer that I like to use, but you can also just use a
stirring stick or something.
6. Single-Dip Glazing with Tongs: So I'm going to start with one of the simplest
ways of glazing and a technique that I
use all the time and that's using these tongs. So when you're using the tongs, you want to hold them so
that your many fingers, or with the many
points of the tongue, then your one finger, your thumb is with
the one-point. That's how you can remember
how to hold them straight. I find that this gives you the most flexibility
with the tongs because the three points should always be on the
outside of your pot. So you want to pick them up carefully so that your
pot is nice and secure. And then when you're ready,
you can dunk it right in. So I'm gonna go in sideways
until it's fully submerged. I'm going to turn it upright. And then I'm gonna
do the reverse. I'm going to turn it sideways
again to lift it out and let all the extra
glaze drain almost ready. So dip it in 123 and out again. Nice and smooth and give it a little shake to get
the extra glaze off. Then when it stops dripping and just set it down on your table.
7. Wiping the Bottom: Once your paint is
completely dry to the touch, you can clean it
up a little bit. I like to check if there's
any marks from the tongs. And if there is, you can just wipe them away with your finger. And then of course,
you also need to remove the glaze
from the bottom. So for doing this, you lead a wet sponge and you'll want to ring the sponge out
as much as possible and then wipe the glaze back. So any part that
we'll be touching the table when you set
it down on the table, all of that glaze
needs to be removed. And I liked using a sponge for this part because when you
go to the edge of the pot, it creeps up the side
ever so slightly, just maybe two millimeters. And that also really helps to prevent your glaze from getting
stuck to the kiln shelf. Because of course, when the
glaze liquefies in the kiln, it's going to want to be
pulled downward by gravity. So it's always smart to do
it not only the bottom, few millimeters around
the edge of the bottom to guarantee the
safety of your pot.
8. Double-Dip Glazing: So here's another
pretty easy method that hasn't really fun results. So for this technique, you'll
need two different glazes. We have a white and a blue. And I'm just going to hold
the cup in my hand along the side here and I'm going
to dip halfway into the wide. And then I'll pull it out again, shake off the extra glaze. And now I need to wait for the glaze to be dry
enough to the touch. Okay, and then I'm going to dip the other half in
the blue glaze. And I want to make
sure that they overlap a little bit and
let it drip out. And then you have
this nice section where the two lasers are
going to overlap and no extra create a third color along the middle and
throughout the piece. So we'll see how that looks.
9. Triple-Dip Glazing: So in the first demo we
did one glaze outpatient, and the second demo we did two. Now we're going to apply
three glazes on one pot. So in this technique,
you can choose three different colors for
one pot, like this one. But you can also use this technique to
make something like this where you just use the
same glaze over and over. So for this one it's the
exact same technique, but for the inside and the lip, I chose one color and then
I skipped the last step. So you can also do
something simplistic like this with this
glazing technique. So for this technique,
you'll meet a little cup. You want to take your scooper, take your cup and pour
it in to your Bisk. And then you pour out your Bisk. And while you do
that, you want to be rotating your hand so that it gets all of the
inside of your piece. And then you wait
for that to dry. It should take
only a few seconds because the Bisk is
so porous that it soaks up the water
pretty quickly. So after about a minute,
your pot should be dry and ready to move
on to the next step. So for this, we're going to
be doing the lip of the pod. And I'm going to hold it from the bottom and just
dip it straight in. Even though we dipped it
up to here on the outside, it didn't get into the inside because when you're
dipping it like that, it creates a little bubble
inside of your pod. And then it keeps out the glaze from coming into the inside. So you can put it
pretty deep down into the glaze without getting
that glaze on the inside. Even though I already
mixed these with the mixer because
I've been talking for a little bit and it's
been about five minutes. So I wanna give it
a little bit of a refresh because the
glaze actually settles to the bottom pretty quickly
and I want to make sure it's very nicely mixed
before I did my pot in. So once your pot is
dry to the touch, you can put the last layer on. So I'm just going to hold it
from the lip now flip is now dry and I'm going to dip it into the glaze and I can
go up as far as I want. If I wanted to, I could
leave a little gap here or I can also overlap them. So I'm just I'm just
gonna go straight in I think is how it
looks pretty cool now, but we can't get too attached because it's going to change
completely in the colon. Like pretty cool though.
10. Notes on Overlapping Glazes & Glaze Thickness: You're welcome to overlap the
glazes as much as you like. For beginners, I
wouldn't recommend more than two layers of glaze. Because when the
glaze gets too thick, kind of crazy things
start to happen. I've seen all sorts of different things
happen in the kilohm, such as the glaze shooting off one pot and sticking
to the other, or just completely melting off. What happens most
commonly though, when the glaze is too thick
is something like this. So the glaze just
kinda beads up on itself and leaves
exposed pieces of clay. You also have to
keep in mind that your Bisk is porous and at some point it becomes overly saturated while it's absorbing
the water from the glaze. So you can think of
it like a sponge, like at some point it's
just not going to absorb any more water until
it's dried out. So when you keep
layering glazes on it, especially thinner
pieces, it can reach that saturation
point much sooner. So when that happens, it's best to just
set your pot aside and let it dry out before
you continue glazing. So you saw with a single depth
placing the one I did with the tongs that I was counting to three while I
was dipping my pot. And so when you're
using multiple glazes, you want to dip a
little bit faster, maybe 1 second per glaze, so that you're never
reaching more than three seconds of your piece being
submerged in the glaze.
11. Freestyle Pouring: So now you have the
basic three techniques that I always start
beginners out with. Just these three techniques
yield such a diversity of results that you can really make a lot of different
pottery with them. But now I want to show you
a few extra techniques to help inspire your creativity. I love to use the
picture to apply an uneven kind of random
texture in my pottery. So what I'm going to
do for my cup here is I'm going to apply first
the inside the glaze, just like in the last technique. And then I'm going to use
the picture on the outside to create an
interesting surface. So now I'm going to use my
picture with more white glaze. And I'm willing to
apply it kind of randomly around
the rim of my cup. So I'm gonna kinda
wind my wrist up so I can make it all the way to
the other side all in one go. Next. I'm going to use this color and I know this looks
great right now, but believe it or not, this is actually blue. So you can't tell the
actual glaze color by how it looks right now, you actually have to
make a test and see how it's going to look like once
it's through the kill them, because most glazes
change colors. I'm going to do the
same thing now, but on the bottom of the cup. So I'm going to hold
it from the top now. Fill my picture with glaze again and just apply
it quite randomly. No.
12. Splatter Technique: So for the next technique we're going to do
one of my favorites, which is the splatter technique. So for this technique, you'll need a brush. It helps to have a
kind of stiff brush. And then what can also be
helpful is a turntable. So for the first
coat, you can use any of the previous
techniques to apply. I'm just going to use my tongs. So I have one solid color
of white in the background. So then just take some
glaze on your brush. And you'll want to splatter it. So it doesn't look
like much now, but this peachy color
is going to get really bright red later on.
13. Basics of Paint-On Glazes: So those are all the
techniques I wanted to show you with the
dipping lasers. Now, there are a few reasons why you might choose
instead to use paint on glaze is one of the
reasons might be because your piece is really big and you can't really
dip it into a bucket, then you might want to
use a paint on glaze. Otherwise, obviously
these are much smaller. So if you're having space
limitations in your studio, you might want to go
with paint on glazes. And there's a few different
techniques that you can only do with paint on glaze is, so I'm going to show you
some techniques now. But the first one I'm going to keep very simple just so you can see the quality of the paint
on glaze and how it works. So for paint on glaze brushes, you want a much
softer brush than we used for the
splattering technique. One that is fluffy
so it can absorb more of the glaze in it
and spread it easier. And it turntable always helps. If you have one, make
sure you mix it well. So I'm just starting with
a white glaze and I'm just going to paint the
inside of the pot white. So when you're using
paint on glaze is you actually need to do
is several coats in order to get the
thickness and the opacity of the glaze as you would compare
it to the zipping lasers. So my manufacturer suggests
that I use three layers. So I'm just gonna
wait for this to dry. And then we can go on
with the second question. I finished three coats
of white on the inside. Now I'm going to do it
not the three coats of black on the outside. Just takes a minute or
two between each coat to let it dry because the
biscuits so absorbent. So it's really convenient.
14. Patterned Glazing: The other reason
why paint on glaze might be the best option for you is if you want to paint details, I'll show
you what I mean. So first I'm going to draw on
some shapes with a pencil. When you draw anything
on with a pencil, it actually burns
off in the Killen. So you can draw all
over your pot with a pencil and you won't
see the lines in the end. So I'm going to use three
different colors here. So I'm just gonna
kinda strategize which shape, Shelby,
which color. So we're going to
start out with a blue. And just like last time, we're going to paint three
coats of each color. First code is done. Now I can
move on to the second coat. Today my three coats are done. So it wouldn't be possible
to do this technique with dipping glazes because you can't really spread
them with a brush. It's just kinda crumbles off. The paint on glaze does
have extra ingredients that have like glues in them to make them more sticky so that they actually
adhere to your Basque. So for techniques like
this, for a little details, It's definitely making sense
to use the paint on glaze. So now we'll move
on to the magma. This is like a bright
reddish, orange red color. I'm just going to go on to the last color will use a nice bright yellow. Okay.
15. Inside-Only Glazing: Another technique I
want to show you guys is just glazing the inside. So you can actually
leave the outside of your pots raw if you want to. As long as it's not coming into contact with food or drink, there's nothing stopping you
from leaving the outside of your pot and glazed. So to do that, I'm
just going to pour it on inside like I've done
for so many others. And poured out. And then any extra drips I have. You can keep them
if you want to, if you like the
look, but you can also clean them
up with a sponge.
16. Glaze Resists: So another technique
I want to show you guys is the use of resists. So what are resistors
is anything that will repel the glaze from
sticking to your pot. So a lot of people use
things like wax for this. You can also use stickers
or even wet newspaper. Today I'm going to
use tape because I think it gives a
really nice clean line. So we'll see what
we can do here. Just apply and you really
want to press it in. But it's really sticking on the spots that I
put the tape down. The glaze won't stick. I'll show you. So you can use any of the
previous techniques I've showed you to apply
glaze at this point, but I'm just gonna go ahead
and use the tongs again. You just remove the tape.
17. Glazes vs. Underglazes: So I wanted to talk
a little bit about glazes versus under
glazes in this class, because this is a
popular misconception that I hear from a
lot of my followers. They're actually two
completely different things. So there's many
different types of under glazes and they go by
many different names. What we use most often in the
studio is called endoscope, which is basically
just a very wet clay. So watered-down clay,
also known as slip, with a pigment added to
it to add the color. There's also more
complex formulations of under glaze that you can buy. And depending on which
undergoes you're using, you're going to want to
apply it either on disk or on leather hard play. This one right here,
I'm going to apply on to Bisk because it's
formulated for Bisk. And yeah. Another option for
applying details to your piece is to use
a stain or an oxide. So this one here, I
used a cobalt oxide. There's also a red iron oxide. It's also very popular, but there's loads of
different varieties. And these usually come in
powder and you just mix them with some water and
apply them with a paintbrush. So typically when you
apply under glazes, you'll want to put
a transparent glaze on top or you leave
it the raw clay. If you put a glaze, a colored glaze on top
of your under glazes, you actually probably won't see the under glaze
coming through. So for my piece,
I'm just going to leave it wrong because I really love how the under glaze
looks on raw ceramic. And I'm going to start
with this nice blue. This under glaze is perfect
for painting on this. I'll use my little
picture again to poor white glaze on the inside. So I got some drips here. So unfortunately, I can't just leave it
like this in my opinion, I think it would look ugly. So I'm going to dip it up to the ring down here so I
can cover up those drips. Here we go.
18. Finishing Up: So that's it, replaced
all ten of our pieces. Now the last thing that
you always want to do is just double-check that the
bottoms are all wiped. You never want to put
anything with glaze on the bottom interior
killing or you're just going to make a lot
more work for yourself. So I hope that that
was helpful for you. I hope that gives
you experience and confidence to start glazing
your first pottery. Now, all we have to
do with these is load them into the
kiln and fire them. This is all stone ware, so we'll fire them to
1250 degrees Celsius. And I will show you how they
look when they're finished.
19. Our Results!: All right, alright, so we have our final results. I'm so pleased with
how they turned out. We have quite a variety here, so let's just go through them. Here is the one glaze, the single glazed with
the Pfeffer mins. You don't see any marks from
the tongs, which is great. And all the variation here just comes from
the glaze itself. So it's kind of a simple but
effective glazing technique. Okay, and then our double-dip, we have a nice overlap here, which I'm quite happy
with because I like when it makes a third
color on the inside, insides even a bit
stronger than the outside. And you'll notice
this with glazes that when you're
glazing the inside, the glaze is usually a bit
stronger and that's because the glaze spends more time on the inside when
you're pouring it in, pouring it out so it just
has more time to absorb. So for our third cup, remember we did the
triple dip on this one. So report in the
lip dip the bottom. And I went with a really
bold color combination here, which I could use a statement. And I also love
how the rim glazes affected one another to create an interesting texture there. The fourth one is probably
my favorite of the bunch. And of course it
is because this is a technique that I use
a lot in my own work. I love how you see
where it's blue. This is where the two
glazes overlapped. Because this glaze is a
highly reactive blaze that it doesn't
always turn blue. Sometimes it's this
deeper brown color. I like it. I just loved all the
different imperfections in this glazing technique. Our fifth one is the
splatter technique. I'm sure you remember that one. Yeah, again, a highly
effective piece. I think it's really
nice how the white ended up not being so
strong on certain parts. So you see the cream color of
the clay which connects it to the peachy tones of the red. This is quite a strong red, but in the end it
turned a bit peach when it was layered
over the white. Okay, so our next cup, this is paint on ways which you might not
be able to tell right away because it all melted
very well together. You don't see any brushstrokes
when you paint on the glaze quite
thickly like I did. And simple but effective
cup right here. Alright, our next one is
a fun one because this is where I painted all the
different patterns on it. And if you remember, I left the background of the pattern, just the raw clay. And so you have this really interesting different
texture from the raw clay as you run your
fingers from the raw clay over the glazed parts.
It's really nice. And the inside yellow did end up coming up and
around over the edge a little bit and merged
with a pattern which is making a nice kind of beautiful
imperfection, I think. Okay, so our next piece
is where we just squeeze the inside and we left
the outside that raw. And I'm really happy that I
chose quite bright color for the inside because
it's just like creating almost like its
own world on the inside. Really cool. And you also have that
awesome broadness of the texture that you get
from on glazed ceramic. So our stripy mug, this is where we
taped on the stripes. And I'm quite pleased with it. It's creating a
nice little detail with the raw ceramic
coming through. Yeah, it's nice. The last cup, which is the one that we apply to
the under glaze on. I'm quite surprised and pleased with this
one because I had no idea how much the under glaze would show through
the white blaze. I thought the white
glaze would cover it up. So that's really
nice because you get that interesting
transition where the stripe keeps going on, but it's fading into
the white and then on the inside it's purely white. I think it's really nice. Thank you so much for
taking this class. I hope that you learned a lot. And I would love to
see the projects that you make from these
glazing techniques. So you can send
some images over to me on Instagram at
Pottery to the people. Or you can email me at Maya, at Pottery to the people.com. I wish you all the best in your pottery projects and I
hope to see you all soon. Stay well, stay
creative by friends.
 Mia Mueller, Slinging pots in Bavaria