Transcripts
1. Intro: Hi, I'm Hail Noah. I'm an illustrator, designer, and art director. I've worked with clients such as Disney and the Oscars. I create everything from surface design patterns to social content to custom portraits, and everything in between. So whether I'm making an illustration for a product, for a client like this mug, or I'm creating a custom portrait, given them some Disney [inaudible] here, or a mermaid art book full of all of my favorite mermaid designs. I love mermaids by the way like so. I'm using Procreate for the iPad. It's perfect for creating digital content that you can edit and change. In this class, I'm going to teach you the basics of Procreate. I'm going to teach you my tips and tricks for how to create magic in the app, and by the end of class, you will create your own custom portrait or character based on the "draw this in your style challenge". To draw this in your style challenge means that I have created a character that you get to reinterpret in your style so you can focus on all of the things that you've learned about the app instead of trying to create something totally new while you're practicing your new skills. If you're feeling really inspired, you can create your own character as we go along. So let's get started.
2. Class Project: Let's start with the class project. Whenever I'm learning a new program or if I am trying out a new style, it's really hard to think about what I want to create while also remembering all the things that I've learned or what I'm learning at the time. So I'm going to take that pressure off of you, and we're going to do a class project based on a draw this in your style challenge. Which means I draw a character in my style, and you're going to reference that character to create the character in your style using all of the things that we learned in this class. What you'll upload at the end of the class is a 1200 pixel by 1200 pixel JPEG or PNG format of the character that you've created. If you're really inspired and you have a unique style that you love and character that you have in mind, that you've been inspired to create throughout this class, go ahead and upload your own character. That's exciting too, and I love to see it. So let's get started.
3. The Basics Part I: We're going to start with the interface of Procreate. We're going to go on the right side first, and I'm going to teach you the tools that I think are the creating tools and then we're going to go to the tools on the left side, which I would call more of the editing and exporting tools. For this first part, we're really going to focus on the brushes, the eraser tool, opacity, and just play around for a little bit. The first thing you want to do is make sure that your Bluetooth is connected, and that your Apple pencil is connected. Here is my gallery view, where you can see all of the artwork that I've done, and you can see my different folders for my different art. Let's start by making a new Canvas. This plus sign in the top right, I'm going to click that and you have all these different sizes of canvases that I've already started. Let's do a square, because when we do our final project we're going to do a 1,200 by 1,200 pixel canvas, and I have that saved right here. You can also create a new Canvas by doing the plus sign and you can tap in a custom size. Let's say for a client, they want a specific ratio, they want a specific size file, you can tap that in here, you can do inches or pixels, and the DPI is 300, that is what I usually work in, but for print you want 300, and for digital you can get away with 72. I'm going to push cancel because I already have my Canvas built. I'm going to press 1,200 by 1,200 pixels, it's a perfect square. Let's learn the interface before we make anything. The right side is what I use the most to make my art, and the left side is for editing and exporting. We're going to do the right side first. The first thing you'll see is the Brush panel, when I tap that we have all of these brushes as options. There are a lot that come with the app, all from sketching all the way down to water, those are great. A lot of my favorite ones come with the app. You can also import brushes and you'll see those up here I'd imported a ton, but I actually made a folder that has my favorites in here and these are the ones that I use a lot. Now that you're seeing these brushes, what you will need to know is that you can actually make new brushes by using this plus sign, or you can make a new folder by using this plus sign and you can tap and drag things into different folders, and then you can have them saved exactly how you want them. Again, I will use these very rarely just as I'm experimenting, but these ones are my favorite and this is the folder that I've created. When we get to the mini-project, I want you to look at these, and play around and try different brushes. For example, the Studio Pen has a very clean line like this, and the Dry Edge Shaper has a really rough brush like this. Super different. Fun to play with, learn what works for you. The next panel is this Smudge tool. You'll see the same brushes as you did in the brush panel. The difference is that these work like a finger that will smudge through. Let's do the Dry Edge Shaper to match with this. If I smudge through here, it uses that same texture of the brush to act like a finger smudging. This is really nice if you're working with maybe a charcoal or oil pastel and in real life, you would use your finger to smudge and smear and blend, that's what this does. I personally don't use it very often, but you may really like it. The Eraser tool is next. It's the same brushes as the brush and smudge tool, but it will erase. I have it selected on Studio Pen. If I go through here it erases with that same brush texture. Here is the Layer panel. Right now, we are drawing with this burgundy color on a white Canvas. The burgundy color is on Layer 1, and the white is on its own background layer. Let's turn off the background. It's transparent now in the background, if I turn off this layer, it's just the clean background. To add a new layer, you press the plus, and now when you create something, let's say you have this wet edgy brush over this, it's on a separate layer. In your Layers panel, you can do a lot with the brushes. You can move Layer 1 up by tapping and dragging it above Layer 2, and then when you press this n, you have a pull-down menu where you can change how it looks over the layers below it. I don't usually use this because with my illustrations, I just keep everything at normal, but maybe I'll change the opacity a little bit, which is this bar right here. You go to the left, it will be zero, if you go to the right, it'll go all the way to 100, and you can change anywhere in between. Another thing you can do in your Layers panel is you can make groups, you can do alpha lock, you can do clipping masks. Let's try some of those things. I'm going to do a layer above Layer 2. Layer 2 is this layer, and I'm going to add a yellow color, let's see if I like this color, yeah, above, to create a different texture, like this. I'm going to clear Layer 1 by swiping to the left and pressing Delete. You can also duplicate or lock that layer. Right now I like this texture, but let's say I wanted only the texture to be inside of this layer, below Layer 2. I'm going to tap Layer 3, and a pull-out menu shows up on the left, I'm going to say clipping mask and now, that yellow layer is only what's inside of this layer. This is really nice. I use this when I want to add texture to my illustration or my portrait, maybe I have a face on one layer and I'm going to add a textured brush to give it some shading on the layer above it using a clipping mask. That's basically what you can do in layers. There's a lot more, I should say there's different ways to do this, instead of doing a clipping mask, you can alpha lock. I'm going to tap on Layer 2, press Alpha Lock, I'm still going to have my yellow and I'm going to do the same thing. The difference here is that everything is inside of this layer, but now it's actually merged with the layer below it. I can't erase just the yellow, it will erase the burgundy color too. I'm pressing my eraser, and you'll see it is erasing my entire layer, not just the yellow. We're going to talk about color in a class by itself. I'm just going to show you that there's a color panel here, with lots of different options and ways to play with color. On the right, you'll see that this is how you can edit your brushes. The top bar changes the scale of your brush, and the bottom bar changes the opacity of your brush. My brushes, I'm using this Dry Edge Shaper. I'm going to change the color, so you can see it, to this blue, teal color, on a new layer, that is not a clipping mask, I'm going to show you how large this brush is, if I scale it down, it's a lot smaller. What you can do with opacity is, here's 100 percent opacity, here is 50 percent opacity, and here is zero percent opacity. Let's bring it up a little bit so you can still see it. It affects the brush. Let's look at it in a different brush. Let's try the Studio Pen. Here is 100 percent opacity, here's a 50 percent opacity, and here is like 10 percent opacity. This all depends on what you're looking to do. I usually keep mine at 100 percent opacity, but know that you can change and edit it as well.
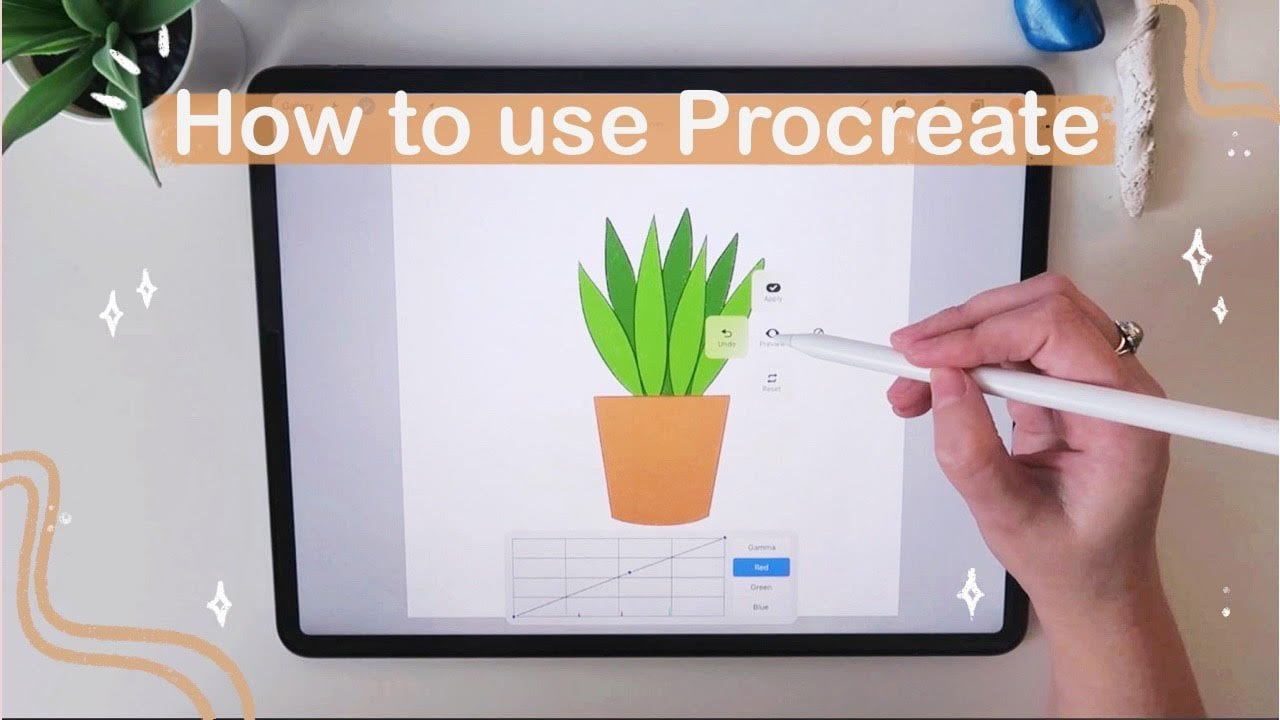
4. A Quick Color Moment: There are so many things to do in the app that I just wanted to take a moment to just talk about color. You can create color palettes, you can drop color onto a layer, you can eyedrop a color, you can practice different colorways, you can edit your colors, and all of that is happening just in the app. So I want to take a moment and just focus on that. Right now, we have some colors. Here, we have some really vibrant colors. In the background, I have a light blue. I want to change those colors. So that's what we're going do now. We're going to tap on here, and I'm going to change the color from this dark blue to, I'm going to change it to similar to the background color [inaudible] Drag and darken it a little bit. I'm going to tap and drag into that background blue right here. Then make sure I'm selecting that layer. I'm going to tap and I'm going to drag. Now, I have that color here. I'm going to bring up my Layer Panel and I'm going to maybe push "Multiply", makes it even darker. Let's look at this color panel for a minute. Right here, you can see this color wheel, and at the bottom, there's Disc, Classic, Harmony, Value, and Palettes. I use disc most and palettes. Let's go through them. Disc allows you to change the color wheel outside, and then you can change this here to make it darker, less saturation, more saturation, lighter, darker. It's like this grid, but you can change the colors around here. Here, you can see the history in case you want to go back to those. Then you have your Palette here. Next, you have your Classic. This has the same color wheel, but it just looks different. So instead, you change your saturation this way. Your desaturation here, darkness and light, and you can also change it along this way as well. This is really nice if you want the minutiae of the color to change. Here's Harmony where you can play with your different color relationships. Right now, it's on triadic, but you can do all of these here. Then you have Value. This one is really great if you have a client who has a color palette that they have to use. You can put in the hex code, the RGB break there. Let's look at the Palettes next. This is really nice for clients, for example, or if there's some color trends that are happening, or if you want to go back to these colors at any time. You can see, I have colors that were trending in 2020 here. I have my Holiday palette here, and then I've pulled some colors in here. Right now, I have my All Hail palette as my defaults, which you can change by pressing Set Default. That means when you go over to Disc, it will be the palette that you see. You can add a new palette by pressing this "Plus" sign. Let's learn how to save a color. In my Disc panel, let's say that I like this brown color. I don't have it saved anywhere, so I'm going to tap and I'm going to hold. That's now going to be my color that shows up in this panel. I'm going to tap into an empty slot here, and now, that color is saved that I can use it for later. That's how to add one color at a time. You may want to add a color based on a color palette you find online. You can go over here to the Tools on the left. You can Add, Insert a photo. You can look at color palettes such as this one, which I found from Society6. I'm going to bring it to the top, this layer, and then I'm going to tap and hold and I can add those colors now into my palette. These ones, in particular, I've already saved as my Cocoa palette right here. I made a palette specifically for them that I can go back to and reference those colors. Another way to add this color palette in is to drag them in. I find this not very helpful because it will fill your entire palette with the colors available instead of just adding maybe six colors that you see. Let's show an example. I'm going to drag up until you see this arrow. I'm going to drag my photos over to the right. I'm going to look at a color palette such as this one. These are my All Hail colors. I'm going to open my palettes right here, and I'm going to drag this photo into here. Like I said, instead of creating just those six colors, it's created an entire color palette with a range of colors for me, which is nice, but not exactly what I am looking for. One more thing about colors, I have this dark orange color saved. Maybe I want this blue layer to be orange instead. I'm going to make sure I select on that blue layer. I'm going to tap and drag. If I keep my finger down, it only has that one layer selected. But if I go to the right, it will fill the entire layer. If I go back to the left, it will take less, it'll take the threshold of less. You can see the blue goes on the edge here. I wanted to fill the whole layer, so I'm going to drag all the way to the right. Now, my layer is orange. Now that we've learned color, we'll keep moving
5. The Basics Part II: We've done the right side, let's learn about the left side. This is more of our editing tools, I don't use this as much. I mostly just use it to export and if I'm playing with animation. The first thing on the left, it says gallery, that'll take you back to our gallery where you see all of the canvases and art you've created. This next one that looks like a wrench is our Actions panel. You can add, insert a photo, or take a photo. This is really helpful for if you have a color reference or a photo reference for a portrait, this is what you do. You insert a photo here. You can add your color reference or your visual reference here. Let's add this mermaid. As reference, it goes on the layer that you've selected. So if you see here it's inserted under my purple layer and I can move it around the canvas, which I'll show you how to do in a second. This next panel is for editing, making adjustments on your colors, maybe you want to add some texture. You can do it all here and I suggest you play. Again, I don't really do this very often, but there's a lot of stuff you can do here and I think that helps Procreate compete with Photoshop as your go-to for all of the art creation. This next one that looks like an S is your selection tool. You have it on freehand and you can select just one part of a layer. Let's look this purple layer, layer 2 and I'm going to select just this bit right here. Since I closed that loop, I'm now going to be able to go to the mouse tool and move it around and scale it here. This green circle on the top let's me spin it around and move it around. Maybe l like it better right there. To finish this editing process, you just press the mouse again. If I'm back on this layer of my visual reference, I can make sure to create a new layer. I'm going to have black as my color and maybe I have it on the right as I start to draw and duplicate it on the left, like so. Instead, I can also have a visual reference that floats. So I'm going to go to Canvas under Actions, and I'm going to look at Reference, I'm going to turn that on, and now I can have a reference for my images. I'm going to import that same image and I'm going to move it over here. It's now not on my canvas, but I can use it while I draw my mermaid. Beautiful. When I'm done, I can just press X there and that reference goes away. The Actions panel is also good for when I am done with my canvas and I want to export. We will learn how to export in the next one but you can also go to your Canvas, you can re-size your art board, you can work on animation assist, which we'll talk about in a different class, and you can do a drawing guide. If I turn that on, it shows this grid and if I edit drawing guide, I can edit my drawing guide. I can make the grid size larger or smaller and I can start playing with symmetry too so that when I draw on the left side, the same thing will happen on the right. I suggest you play with this in case you want something that's perfectly symmetrical. Video. Your video is automatically happening while you create art. So you can always export everything that you've created and you can share your process, which I think a lot of people love to see. You can also replay what you've done in this class so far just for fun. You can go to the left and you can play there. Still in Actions, after Video is Preferences. You can change the canvas based on your preferences. I'm left-handed, but I have my right interface on because I like to be able to see this on the right-hand side. You can change it to a lighter interface if that's more comfortable for you, or you can keep it dark. There's a lot of things to play with so make sure you play around. Help, if you have any other questions about Procreate, is here too. Again, I usually use Add, I usually use the canvas tools, and I use the Share. That's all I really use in the Actions. I definitely use the selection and the mouse tools here, but I don't use the adjustments as much. You did it. Let's keep going.
6. Mini Project: It's time to do a mini-project. You've learned how to draw, erase, play with color. For our mini-project, we are just going to play. I want you to just draw on different layers. Maybe sketch what you would like to do for characters. Maybe you want to sketch an eye, you're really good at that, or maybe you're really good at drawing pups. Just sketch and play with different tools and get a handle on which ones are your favorite and which ones are not so much your favorite. Maybe you really like a brush style that looks like watercolor, or maybe you like the charcoal feel so you're really sketching like with charcoals. Totally fine. Play around, play with color or play with layers. Please play and share those sketches. I would love to see it. Okay, thanks.
7. Time to Share: This one is going to be a really quick one. We're just going to talk about exporting. With clients, you want to be able to export at high-res. If you are going to take your art and move it into Photoshop, you want to be able to export the working files. If you want to share with someone else, and maybe this is a collaborative project, you can share it as a Procreate file. So that's what we're going to learn now. We have our final piece here, and in the top left where it's Actions panel or that tool, click the "Actions", click "Share." You can export it however you want. We want JPEG now. Then a second pop-up is going to show up. So you can save it directly to your iPad, or you can AirDrop it to your phone or computer, or you can mail it directly from here as well. That's it. Super easy.
8. Brushes & Shortcuts: I know this is why you really took the class. You want to know what my favorite brushes are. Well, here you go. I have a list of favorite brushes that I'm going to have downloadable in the resource file. What I'm also going to do is I'm going to share my favorite shortcuts, and that's what we're going to learn right now. These are the shortcuts that I use. There are a lot more and there are different ways that you can do almost everything in the app. Let's try them out. We're going to split our screen so that you can see our little teach sheet on the right side of the screen, and then on the left side of the screen, we'll have Procreate. Let's open "Procreate" first. I'm going to swipe up so you can see this arrow. Drag it up, and tap and hold my photos and move it to the right. In the middle, you'll see this bar, I'm going to tap and hold that, drag it over, so it's a third of the frame. As you can see, these are my shortcuts here, and we're going to go through this together. Let's work on my mermaid illustration that I have started right here. The first shortcut that I'm going to show you is how to zoom in on your screen and zoom out. What you do is you have a two-finger pinch and you zoom out, and if you drag your fingers outward, then you can zoom in. I'm going to start my fingers together and zoom in on this girl. Then if you want to bring your canvas back to full screen, you're going to do that same finger pinch, but you're going to do a swift motion where you pinch your fingers together, tap the screen like this, and now your canvas is back to full screen. The next thing I'm going to show you is how to undo and redo. I'm going to draw a cloud and I'm going to undo it and redo it again. I'm going to make sure my cloud is white. I'm going to make sure that I'm on a new layer. I'm going to use that Nikko Rull brush, which comes with the app. I use this a lot for my background, textures, and lately, I've been using it in this piece as my main brush to give a lot more texture. I'm going to draw this cloud here, and I'm going to draw another cloud down here. I have it in the foreground as you can see. I'm going to undo that. I'm going to use two fingers and I'm going to tap once, and that's going to undo. If I tap more than once, it'll undo both of those clouds. So tap, tap. If I want to bring those things back and redo them, I'm going to use three fingers like this. These are shortcuts for the back arrow and the forward arrow here, they do the same thing. But instead of having to go over here on my canvas, I can just use my fingers. Now, what I'm going to show you next is how to erase your entire layer. If you look here, you can see that I have my two clouds on this layer. I'm going to keep the layer, but I'm going to clear it. I'm going to use my three fingers, and I'm going to swivel back and forth, and that erased the layer. I'm going to redo that and show how you can do it. Instead of swiveling your fingers, you can do it counterclockwise as well. Three fingers counterclockwise, clear that layer because it's still there, but there's nothing on it. This is great if I started sketching and I realized, "You know what? I'm just not happy with it, so I'll clear the whole layer and start again." Next, I'm going to show you how to copy and paste a layer. This is good if you want to copy a layer, an element into a different file. For example, we're going to take this cloud, and I'm going to take three fingers, I'm going to swipe down the page. This bar comes up that has copy and paste. I'm going to copy, and then I can do three fingers again, and I can paste. Now I have it as a movable item. Maybe I'm going to flip it horizontally and have it be over here. I'm going to scale it down and move it over there. Again, this is really great because what you can do is you can copy something from this canvas, and you can go back to your gallery, and you can paste it in another piece. The next one I'm going to show you is a color sheet. What we're going to do with the color is we're going to do a shortcut for this eyedropper here. As you can see, when you tap that square on the right, you can pull up this magnifying glass to select a color. This is really great when you are playing around and you want to go back to a color, maybe you don't have that color saved, but you want to use it again. So you would use this eyedropper or the shortcut is to use one finger and to tap and hold and that same eyedropper will pull up. Now you can see in the top right that that color is now the color that you've selected, and you can save it here if you want to. The next thing I'm going to show you is your layers panel. Here are all your layers. As you can see, I have grouped the mermaid into one layer. If I turn this off, the entire mermaid is gone, and when I turn it back on, she's there. In here, I have her bralette, and her tail, and her highlights all in different layers. I'm going to show you how to do is how to turn this group into a flat one layer. This is really helpful if you're working on a mural and you're working large in scale. If you work like max capacity for size in Procreate, you'll probably have 10 layers. So you can't have this many layers just for each of your elements. What you're going to do is you're going to use two fingers and you're going to pinch again, similar to how you would do to get your canvas to be full screen, tap and pinch, and now this mermaid is all on one layer. When I use the mouse tool, she moves around as one layer. What I'm going to show you now is how to make this group. I'm going to have 14 selected and then swipe to the right on the different layers, and on the top right it says Group, tap "Group", and now I have a group here. Let's talk about filling a layer with color. I'm using my eyedropper trick. I have this pink, I'm going to make it a little bit darker, and I'm going to play with clouds in the background. Now, when I draw, I turn my screen sideways because I'm left-handed and that was just how I do. So sorry, bear with me. I have this cloud here. I'm going to lower my opacity by tapping the end and dragging this down a little bit so it's a lighter clouds in the background. This area here is not filled in. The shortcut we're going to show us how to fill in that layer. We're going to take the circle of color and we're going to tap and drag into the cloud. Without releasing your pen, you're going to swipe to the left and the right, and you're going to see that it fills at different strengths, it's called threshold. Moving this down, keep the pen down. It's pretty full. If I go to the left, you'll see that it doesn't fill the threshold all the way, so it's threshold at the top. If I fill it really far right, it's going to fill the whole screen, and we don't want that. So we're going to just stop right in the middle and we have a really nice fill. If you look here, you can still see the edges of where it didn't fill in. That's because the brush is rough and it's not a clean brush. Let's try it again with a clean brush, like the Studio Pen. Let's make a circle. Make sure that it is closed. You have to make sure these are closed shapes in order for the shortcut to work. I'm going to tap and drag into the circle. As you can see here, the line is much cleaner and so we filled it in really simply. Let's work on the next shortcut, which is how to do those shapes and make them perfect. I'm going to start with a circular shape like this, a tap and hold, and now it becomes more of a clean oval shape, and I'm going to scale it up and down. But if I want it to become a perfect circle with my other hand, I will tap my one finger while my pen is still holding, and it makes a perfect circle that I can scale up and down, and now I can fill that in as well. Beautiful. Let's try it with a square. Tap, it makes a perfect square. It can shift on a 360 axis and I can fill it in. The same thing can be done with a line. I use this line shortcut when I'm working on buildings or doing backgrounds. For example, I made a mermaid that had a mid-century modern home, and so I wanted really clean lines for her backgrounds. We're going to do a clean line here. I'm going to tap and drag to make a line and I keep the pen down and it will make sure the line is perfectly straight like this. It's a perfectly straight line. If I use my other finger and tap and hold, it will shift to the straight line on a 360 axis to make a perfectly vertical or horizontal line. Yay. This is really good for ground. If you make the line all the way across the bottom and tap and hold, you have a perfect ground space that you can see, this would be our ground and this would be our sky just with a line. Those are the shortcuts or hand gestures that I use the most. You'll have this downloadable in the resources for the class so you can always view it next to your Canvas while you're learning and practicing the skills that we're learning. Yay.
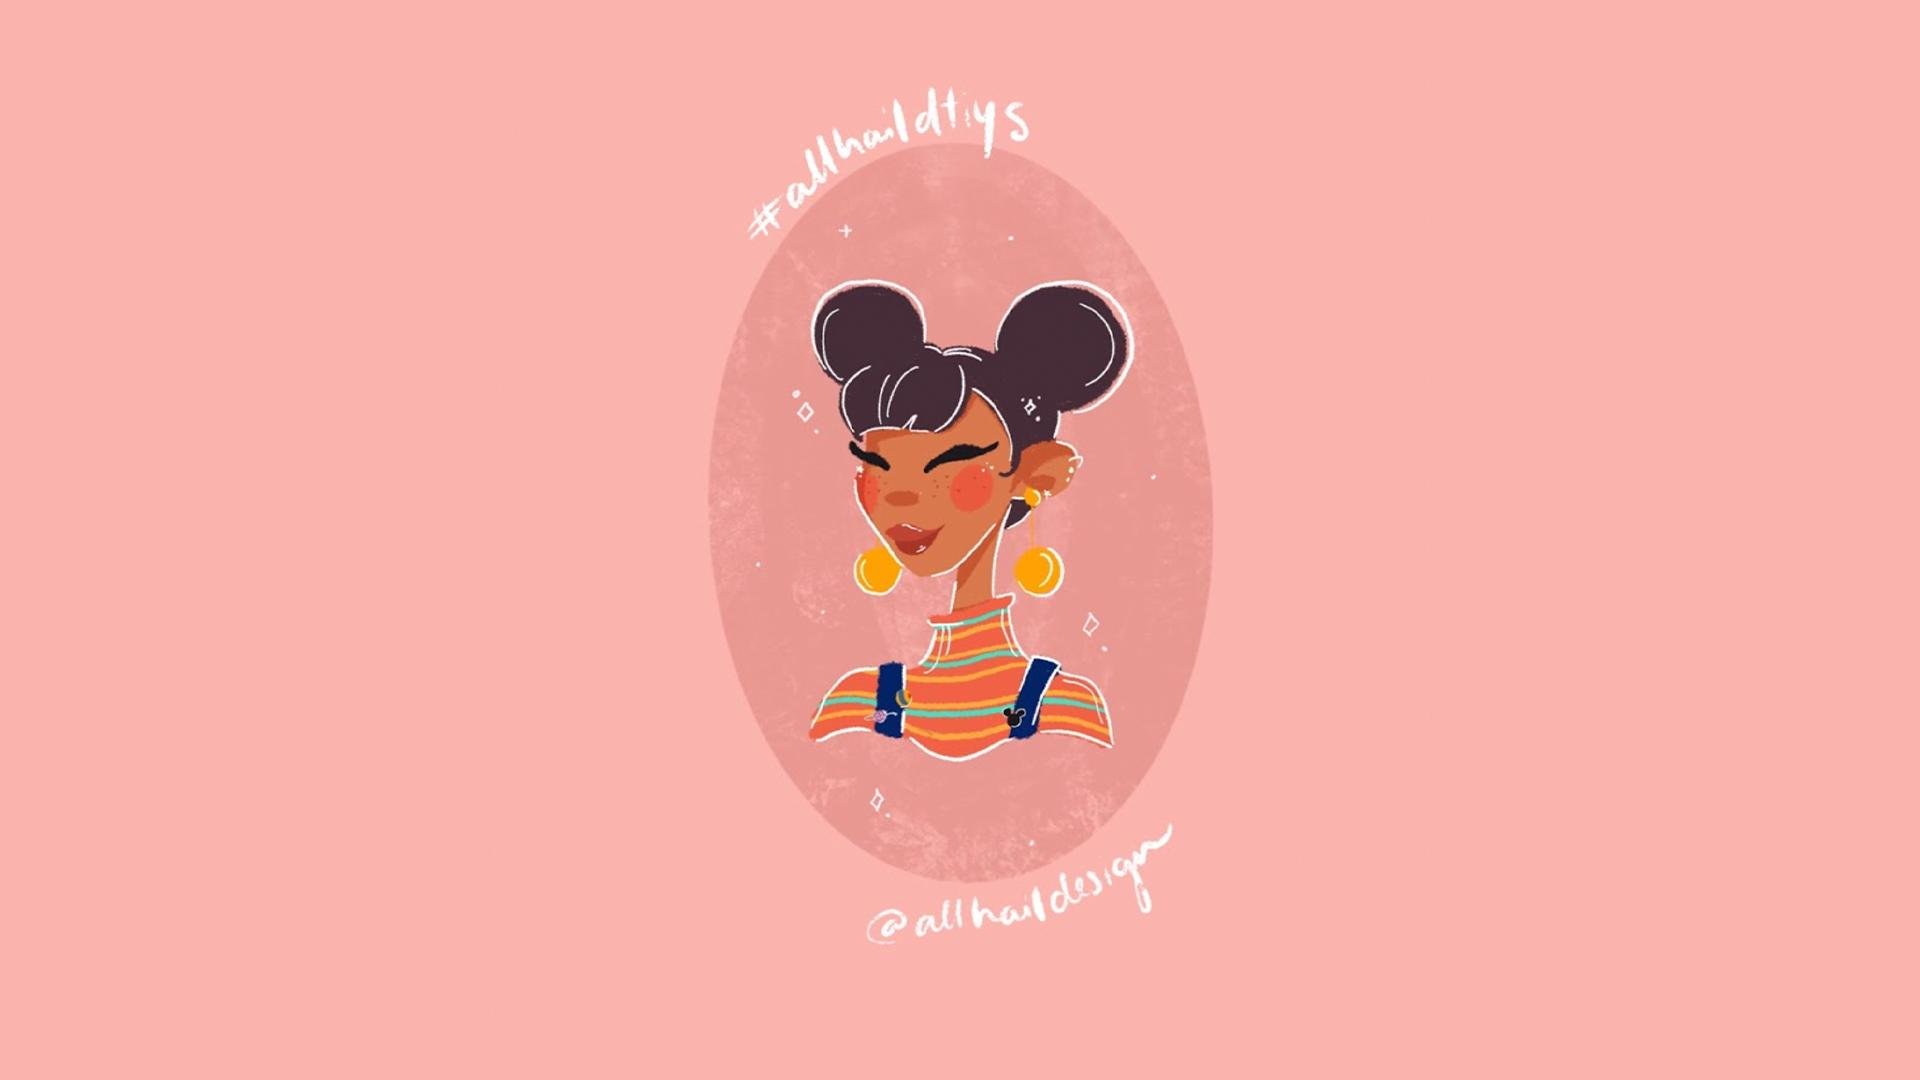
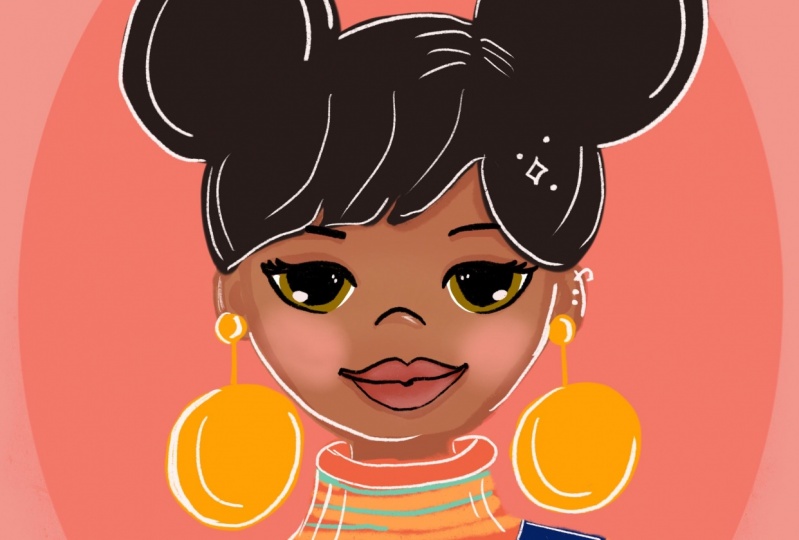
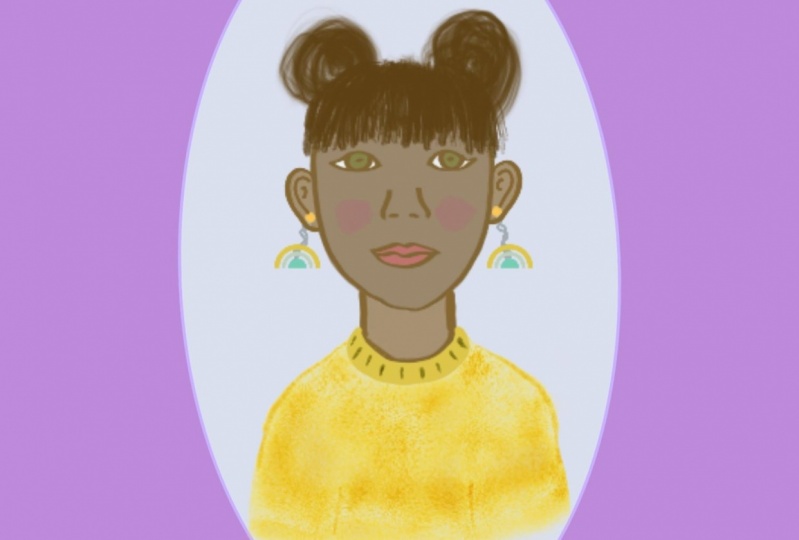
9. #DTIYS: The time has come to work on our class project. This is my reference for the Java Senior style challenge. This is what I would love to see you guys draw. Again, we want to export it at 1200 by 1200 pixels, 300 DPI or 72 DPI will be fine. I want to see your version of this character. Honestly, you draw in your style using the brushes that you feel comfortable with, the brushes that you love. This is your chance to experiment, your chance to play and draw this in your style. What I'm going to show you right now is actually a time-lapse of me creating a different illustration based on inspiration that I found on Pinterest. Hopefully, this gives you a chance to see my process and really understand how I draw. I'm very sketchy, I keep things very loose, I keep things very minimal, and if this is a character you feel more inclined to draw, that's great. If you have your own character that you want to make, do that too. Enjoy this little glimpse into my process [MUSIC]
10. The End: You guys, you did it. Thank you for taking my class. I hope now you feel really comfortable on Procreate. You know the basics, you know the interface, and you feel comfortable enough to play around, experiment, learn more, and in future classes, we'll focus more on text and animation, maybe some more tips and tricks, we'll see. But thank you so much for taking this class. I cannot wait to see your class projects. I love characters, I want to see yours. I just wanted to call out really quickly, before I say goodbye, that there are a few other artists and creators that I think are super great and I would love to reference them. Lisa Bardot teaches some really great Procreate classes. Charly Clements is my go-to on Skillshare. I think Ann [inaudible] uses a lot of Procreate, but she teaches squash too on Skillshare and I think she's definitely one to look out for. Thanks so much. Until next time, bye.
 Hail Nowak, Illustrator / Art Director / Designer