Transcripts
1. Intro: Hi everyone and welcome back to my third Skillshare class. If you're new here, then my name's Callie. I'm the artist behind the beach. I've studio and illustration and design brand, which I'm running from my home in sunny Adelaide. I'm originally from the UK, but now live in Australia where I've been since 2017. In this class today, I'm going to walk you through how to use Procreate, which is great for beginners. I will take you through the basics of the app sharing what I feel is necessary to get you started. We'll go through brushes, layers, color palettes and so much more. And I will take you for a drawer in at the ends. You can see how I apply some of the tools as we're going to create a simple plan illustration of the taken this class. You will have all of the knowledge you need to get started and create your very own drawing and procreate. And if you do create something that I'd love to see it, feel free to post your joins in their project section below of this class. So a hyper excited to get started, let's jump into Lesson 1.
2. Start up: So in this video, I'm going to run through, open up the Procreate app and making any Canvas. So I'm using an iPad Pro. It's a twelv, 0.9 inch. And I've got the Apple second-generation Apple pencil, which is one that you can use with the iPad Pro. So I'm going to open up the app Procreate. And when you come into it, that will have this gallery section. This is where it will store all of the new canvases that you make. So you have the mass single files, but you can, if you click and hold, you can actually move the canvas around and drag and drop to make a folder. So as you can see here, I've got a couple of folders. And if you click on the word there, you can actually retitled The folders as well. So, yeah, to make any Canvas, you just go to this little plus at the right-hand corner. And it will have a couple of default canvases at the top there. As you can see, I have be making quite a lot. And every time you make any Canvas, it will store it here. So there are quite a lot here that I probably need to reorganize. But on here you can actually swap the left and you can edit the name or Italy. So we'll say You're just like, Hey, you've got select which, you can just select the canvas is which is again for easy to do the drag and drop, or to delete, duplicate or share. To make a new canvas, you can just click here on this little plus. And you can put in the width, the height, the DPI, which means dot, dots per inch. You've also got a few settings here. You got color profile, which gives you RGB or CMYK. And they just got timelapse, time-lapse settings, which is for the video. And then the canvas properties via That's pretty much it for that.
3. Brushes: Okay, Let's talk for you the brushes then. So the brushes are just here onto the brush icon. So you have a very long list of brushes are already come with procreate from sketching will die down to water, or the ones that come with procreate. So you have so many to play around with if you've got ones for different types of painting and drawing and also effects as well like clouds. Luminance is a really good one for the low and light. I really like that one. And you go, I just drew, which gives you a really cool textures, organic. But as you start using the app, you might end up buying a Procreate brush or a brush pack like lifetime, which usually come up, down the bottom here. And you can import them into procreate. So I will say made my favorites list. And you can do that by just pressing on the plus button. And it will bring up here. And you can like to isolate yourself, make a new list, and then to delete, say I'll just tap on it again and then press delay. So then if you swipe left on a brush, you can also share duplicate or delete. And if you click on a brush, it will bring up all the sessions, which I wouldn't guarantee. Now, there's a lot of different settings and I probably wouldn't play around with them too much until you're more familiar with the app and you've gone nice to procreate. But if you do want to play around with settings, I would suggest to duplicate a brush so you have a backup in case you mess it up and yeah, I just always feel a bit better if I've got backup. Here is an example. I've actually duplicate this brush before, which I've obviously played around with the settings here. I'll let you know one setting that I do really like though, if I use the script pen, for example. So if you click on it, you have this puck on the straight path which usually comes up first is called streamline. So at the moment is maximum. So if I bring that right down and press Done, I'll show you an example. So as I'm drawing, I'm not sure of you can tell but the lines are not completely, needs a little bit wobbly. But if I come into the script pen and bring the streamline all the way up. So the higher the stream line, the needs of the flow of the line is. So if you can just see one, monitor, it, it just kind of snaps into a really nice like flowing line. However, it does the right way, Santa. So if you are a little bit wobbly, maybe bring the streamline all the way up because it definitely helps. But yeah.
4. Layers: Okay, so let's talk about the layers. If you got to this DOE icon here, I have t squares together. Just click on that and you will get the background color and you always get layer one already there. So I'll just draw on layer one. You can actually press this little plus button to make another layer. You can actually click and hold a layer and then read like made around as well. And you can untick the layer by unchecking the little tick in the box so it will hide whatever you have drawn on that layer. When the layer is selected and you click it again, it will bring up this list of different options. Rename, you can rename the layer. I like to do that to keep organized. So if you get into the habit of rename in them and the beginning of luck I have. It's definitely it definitely helps a lot more down the line. Yes. So you can rename your layer. You can select that layer. So when the layer selected, you can see all these lines which means that you can't draw outside and what you've already drawn on that layer. So if I go like this, you can go outside of the pink lines or just stick to the whatever you have on that layer. And then you can just press this icon to unselect it. You got copy, Fill Layer, click Alpha Lock is the same as select. So when you see this checkered pattern here in the books, that means again, you can't go outside the lines, but the color is on the same layer. So if you want to change the blue color, for example, if you wanted it to be separate, you can go to the layer above and then click this. You'll bring up clipping mask. So when you do that, this low RA will be pointing down, which means it's connected to the layer below. So if it's Whitney, turn off the alpha lock on that one, come back to the layer above it. And now if we do that again, again, so it won't go outside the lines. But you can play around with that color now so that color is on its own. So you can swipe the layer to the left and it'll bring up look, duplicate or delete. And then the letter N stands for normal. If you click on that, it'll bring up here. So you have this long list of different effects. So as you can see, it just changed in the air as I move it down the list today, That's a really cool feature to play around and try some new effects. Yeah, so that's really good.
5. Colours: Okay, So next we're going to talk about color palettes. So you can bring up color palettes by going to the little circle in the corner. So just down here you have the different options. You have. The disk option, classic, Harmony Valley, which is good if you need the code numbers for the Pacific specific color that you've used. And you have patents of actually started making wine as well. But these free actually came with default with procreate. And I've got a couple of others that I've imported in. So to make a new color palette, you just press on the little plus sign so you can create, create a new palette. If you click that, you can rename the palette. You can also select a color palette from a photo. So if I bring up, so if I click on recent illustration, I did it bring up this color palette. So it's really good if you have a reference photo, you just want to pull the colors from that. It does it automatically Foie. If I swipe to the left, you can even share it or delay. So I'm just going to delete that and delete that one. And so if you want to fill the color palette here, and you have a color that you like. So let me go to classic. And I'll just go to this color and I want to add it to my palette. Then I'll go to Palettes and then just click the books. And now it's added that color. If I want to remove it, I can just hold it down. And then it says Delete swatch. And you can actually hold it down and move the color around as well. So, yeah, that is pretty much it for palettes and colors.
6. Action tools: Okay, so now I'm going to talk about the offer extra tools which we have up here. So we have the wrench icon. So I will just quickly run through a couple of things I feel like often slab it gets annoying. So you have the image, which is why you can add a photo from your iPad. Phyto says, Insert a photo or file. You can add text, which is something I really like. Say if you click on here on this little a symbol O, bring up all of the fonts, the style. You can change the size or that kind of thing. So let me just delete that. So that's really good. And then Canvas, you can actually turn on the drawing guide here, which will bring up this grid, which is really good for just keeping things in place. Like if you're Darien calligraphy and you wanna make sure that it's like not going off flight of center. You can draw drawing guide ohm. So you can edit the drawing guide by clicking this one here. You can change the size of the grid. And then you've also got these options down here, which symmetry is a really good one? So if you click done for that one and you draw something, it will copy it straight away to the other side, which is really good. And also, you can go back to this. We have perspective as well. So just click on a point in the canvas. You can see that it's brought up that perspective line, which is really good. If you're drawing like a full scene or something. So the drawing guy comes in handy a lot actually SIMD image, turn that off. Now, reference, that's also really good. It brings up this box which now I can see what I'm working on. Save, I come up really close and draw. You can actually see it like in full VA Stowe in the bulks. If you haven't referenced vita, you can actually import it there and then work on hair well, so the candidate and also you can take a picture by personal face or bring up the camera. So stain on Canvas still, you can flip the canvas horizontally, which I find really useful, especially when I'm drawing douse. It just really helps to refine the drawing before you finalize it just to make sure it looks right. You can actually see Canvas information here, which is really good. So this will bring up the size and everything of your Canvas you're working on. You've got the maximum layers that you've got just hair as well if you need to refer back. And also statistics are really good because you can actually track your time, which I like looking back at some times. So yeah, it's really useful to look at that. And then you have share. So you can share your files as different types of files here. And you will say you can make animations. So you can share as an animation as well, which I won't go into all that other my Mm-mm. Also you have video. That's where you can export your drawing into a time-lapse video. So you can choose the full length or 30 second option. And then you have preferences, which is just where you can change different settings.
7. Adjustment Tools: Next you have the wand icon, which is the adjustments. So you have different options to change, like the colors like curves is a really good one. I like to click on the layer. Whoops, that layer's empty. Let's go to the heart. So I'll click on Curves Layer. And then I can just change like the color of the layer that I'm on. And then you've got like some options you can add noise sharpen. There's a couple of cool effects down here as well. Chromatic aberration is really good. If I just gone pencil, you can choose like pencil or layers one among this one. You can actually control how you do it by using the pencil. And then you have this little line at the top. You say you can just bring up like 3D or you can have it quite low. So then the next one is the select tool. So you can actually select something free hand side, that's when it's on free hand. You can just select something like that. Click on this little arrow here, and that's now selected. So you can move that around about she got the magnetic snap to a one at the moment, which is just here. Say you can click on that. And actually I can turn those off. And now it's just free hand to make. But then you can just like resize it. You can turn it by using this little green here. And distorts means that as you move one edge, it will turn kind of thing. So you can just like play around with the shapes of things. You can like pull and stretch things. And what is another good one if you want to sort of play around with like resizing and made in things around, say, Yeah, there's a few different things you can play around with. You can just press two fingers on the screen and it just undoes the last action. So I'll just unselect all of that. You can also undo by clicking this button here and read day. But usually it's two fingers to undo a free fingers to read day as well, which is usually default in the settings. But if you do you want to change it, you can just change in preferences. And if you go to gesture, Gesture controls, this is why you can actually play around with all the touch actions and everything. This slider here, by the way, is the brush opacity. I forgot, I should have mentioned that in the brushes one but, and this is to resize the brush. Okay, so that's that for all the tools basically. And if you want to go back to gallery, you can just press that gallery and it brings you back to the main page again.
8. Let's Draw a Simple Plant: Okay, So in this video I'm going to draw a really simple illustration. Just, just so you can sort of see how I would go about yeas, and everything that I've just kind of run free. I'm going to use for my favorites list, the targets I will sketch brush, which is something that I downloaded outside of procreate. But I really like using it for sketching. So I'm going to just draw a machete, going to draw this Laplacian here as a reference. Okay, so I'm gonna make a new layer above that. And then I'm going to click on the layer below and bring the opacity down. Just sorry, a glaze to a very faint light gray. Seconds still see it. But I'm going to now draw on laity, say I'm going to rename this layer line off. And I'm going to select the dry ink brush, a daylight ease, and a drawing brush for live mice, the time it gives a really nice texture. We draw the line and then hold the brush on the canvas. It will snap into a really straight line. And I'm just going to do the same. Hold it and it snaps. I'm going to untick the bottom layer. So now the sketch has disappeared. We've just got the line off on its own. So I'm gonna put some color in here now and say I'm gonna make a layer underneath the line on K. So I'm going to name layer free the poll. And I'm going to choose a color. So I'm gonna go to my palettes. I'm just going to choose this color here, just randomly, quite like this color. And then I'm going to continue using the dry ink brush for this. I'm going to make a new layer underneath the pot layer for the leaves. But I'm going to do the just the front leaves. So I'm going to choose this green color here. Because this layer is behind the plot when you call it down here, because the pot layer is above it, it hides that. Okay, so now I'm going to make a new layer underneath phase front leaves and just call these the loops that back leaves. And then I'm going to click on the color and just pull it down a little bit just to make it a bit darker. Okay, so now I want to change the black line or color to match the rest of the illustrations that it blends in a bit better if you click on the line layer and you can click Select, I'm going to make this green and little bit darker. And for this, I'm going to use the hard airbrush, which is actually under airbrushing. And so I've just done with a built in all of the lines now. So they're like a green color. So I'm just gonna do the same to the port lines. So you can also use Alpha Lock, which is just the same as select pretty much. I'm going to hold my finger on the pulse color, which is going to select that color, will say you can select colors by pressing on this little square button I behave. And then I'm going to drag the color down a little bit darker. I'm using the hot air brush again. And it's just basically just color in straight IFA. And now change the color of the lines that can actually on take that now, if you want to change the colors of the layers, if you click on the layer and then come up to the adjustments. So if you go to curves, you can click on Layer. And then you can play around with the brightness and the shades and you want to see what it looked like before compared to what you've just changed it like. You can click on the canvas with one finger. You can actually preview by holding it down. And I can see the difference, the before and after. And if you're happy, you can just click Apply. And then one more thing I'll just add is a new layer. Above that layer, I'm going to name it texture. And then I'm going to click on it again and choose clipping mask. And now this little arrow means it's connected to the layer below it. So whatever I draw on the texture layer will not go outside the lines of the layer below it. So I'm gonna go to brushes and cheese industrial, and it's going to go for a rusted decay. I'm going to select the color of the pot and then I'm going to bring the color down a little bit. And then when I draw the a n is now giving me a texture on top of the pole. And I can actually go back to the texture layer, click the End button. And I can go through all of these settings and you can play around with the different types of lights and different effects that it gives you it. And you can play around with the opacity as well. So it gets a bit harsh. You can just bring it down. Just makes it a bit more sessile. Say, yeah, that's pretty much it. It's just a very simple illustration, has not the best, but hopefully that helps you to see how to create an array simple illustration. Sarajevo was to save this, I'll just come to the wrench tool and click on share. And I can save as a JPEG. So you just click Export Save and you can just save image. And it just saves to your iPad vitals.
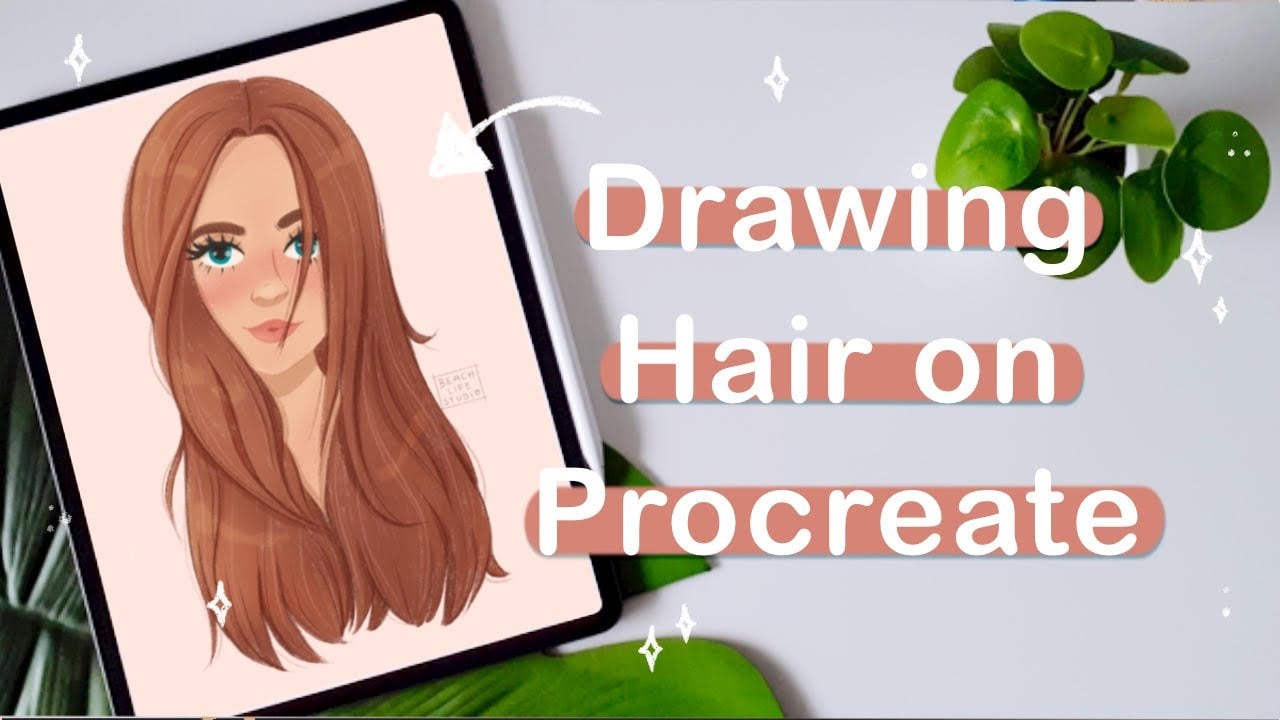
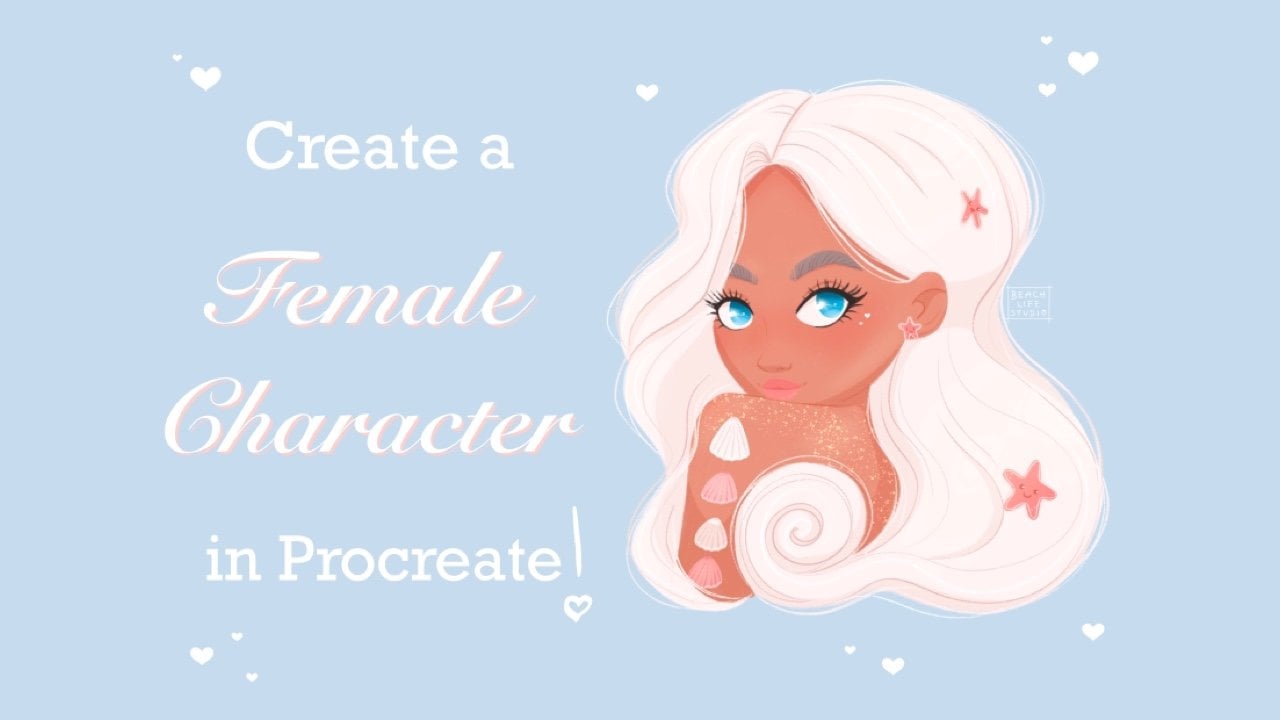
9. Final Thoughts: Thank you so much for taking the class today. Don't forget to post your Juran's in the project section below. And if you liked this class, you might also find my other one helpful where I take you through drawing a female character on Procreate and as a free download where you can craft out your very own character. So you can check that out and don't forget to follow me here on Skillshare. Say you get notified when I post a new class. Thanks so much for joining me. Stay, I'll see you next time.
 Beach Life Studio, Illustrator