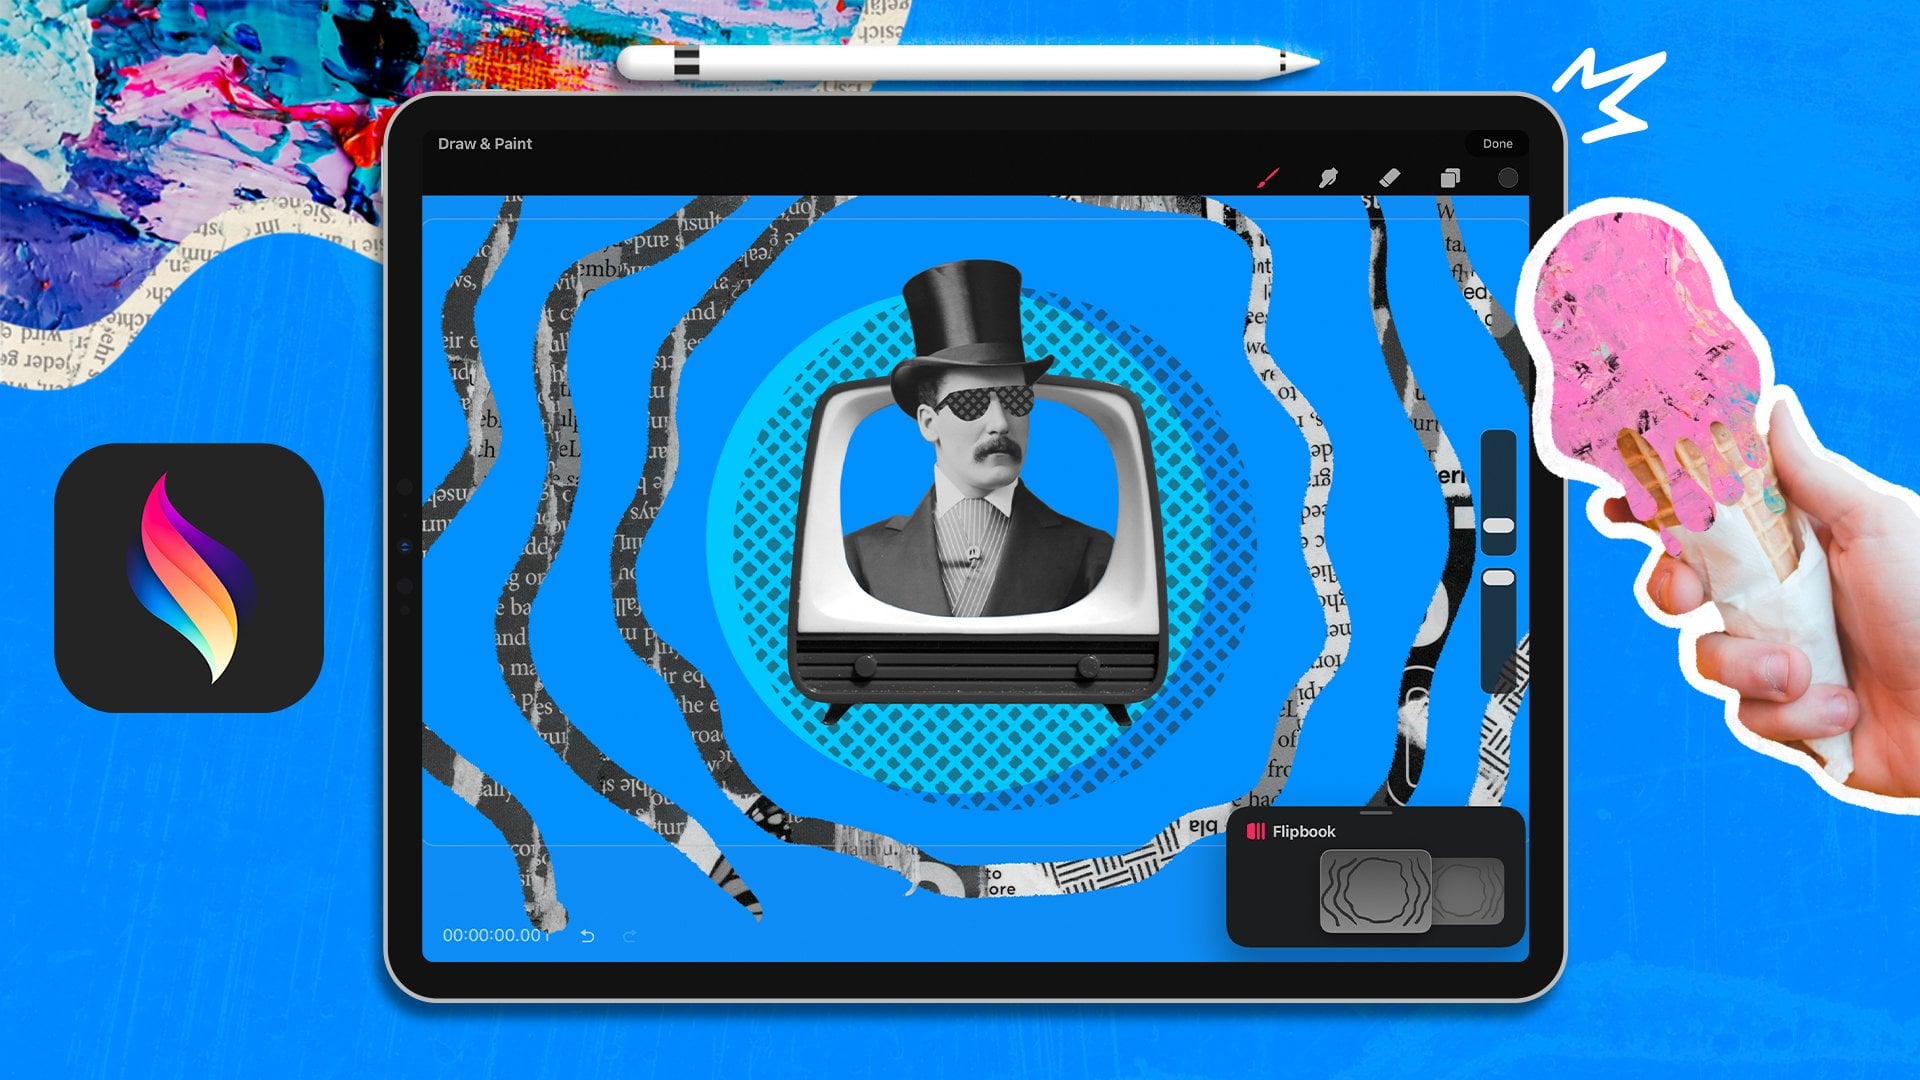
Transcripts
1. Intro: Hi guys. I'm Isaiah Cordova and I'm an art director and motion
designer in Kansas City. And I have worked with a wide range of clients
to design, illustrate, and animate content to help brands connect with
their audience on relatable moments
in life and to take part in the celebration
of the holidays. And in fact, I have
created a lot of holiday content for
brands on social media. And I have found that using the Procreate app on the
iPad has helped speed up my hand-drawn
illustration process and allowed me to add animation, making it even easier now to create animated
holiday greetings. In this class, I'm
going to share a fun, easy way for animating your own holiday greeting with
an iPad and Procreate app. And through this class, I will walk you through beginner level strategies
to help you learn how to use the
Animation Assist tool and how to export
your animations. With all of these skills, you will gain the
confidence to create even more easy animations for
yourself using Procreate. This class is perfect
for designers, artists, social media managers, and anyone else
who's interested in creating a digital
holiday greeting. I look forward to
seeing you in class. So let's get started.
2. Project Overview: In this lesson, I will walk you through
the project overview and the different steps needed
to complete the project. For the class project, we will be creating a
holiday drawing with a personal greeting and
adding some animations. I will be demonstrating a Christmas greeting that
you can follow along with, but you're welcome
to personalize the holiday to you
like Hanukkah, Kwanzaa or even St. Patrick's
Day or Valentine's Day. In order to create
a holiday greeting, we will set up your file, draw your holiday illustration, add your greeting,
add animation, and export your animation. To help you get going I've
included my color palette, links to font, and brushes
used in the resources section. Now it's time to
gather your iPad, download resources, and
get ready to get started. If you run into any problems
downloading resources, please reach out to me via the discussion board and I'll
be happy to help you out. In the next lesson, I will show you how to set up your file.
3. Setting Up File: In this lesson, we
will set up our file. First thing I'm going to
do is open Procreate app. From here, I'm going to
create a new document. So hit the plus
button at the top, and then I want a square canvas. Since that works generally
across all platforms. And the dimensions are
big enough that I can crop into a different
size if needed. Next step I'm going to do
is import a sketch I made. I have found that it helps to
sketch out your idea first and use the sketch as an underlay to draw
your illustration. To import a sketch, tap the wrench icon
at the top right. Under that, go to Add, and then go and tap Add Image. Next I'm going to
resize the sketch and position in a
place I want it to be. Next, I'm going to import my holiday Swatch
palette by going to the circle at the top right and clicking on the swatches
icon at the end, and then tapping the Plus
to import a new swatch. Last step is to create a
brand new layer to draw on. And now we're all set. To recap. We walk through
setting up our file, importing a swatch
into procreate and how to add a reference
image to our file. Gathering materials and setting up the file in the
beginning is so helpful with
streamlining the process and improving the final product. As you can just
focus on drawing a refined visual and
not need to stop in the middle of your
process to figure out color per keep
reworking your drawing. Now, it's your turn to take some time to
set up your file. If you run into any issues, feel free to post in
the discussions forum, and I'll be happy to help. In the next lesson, we will start drawing our
holiday illustrations.
4. Drawing Holiday Illustration: In this lesson, I'm
going to walk you through drawing a simple
holiday illustration. The first thing I like
to do is focus on the outline of the major
shapes and my illustration, I'm going to start with
drawing the Christmas tree. Going to select
the prickly brush as pine trees or prickly. I want to reflect
that in my drawing. You can also get
this style by using the six B pencil that
comes with Procreate. And then as I go, I will focus on the smaller
details I might illustration. This is incredibly
helpful as it allows me a color block my
illustration composition. So I get things placed correctly before spending time on
the smaller details, so I don't waste time drawing
elements I could change. I'll start with the tree body, then I'll draw the tree trunk. Then I'll go to the tree topper, which is the star. Next, I will draw the string for the Christmas lights than
the ribbon around the tree, The candy canes, and then the individual
Christmas lights. Once I'm happy with my
final illustration, I'm going to group
all the layers, which will be my
static background. Grouping layers is an
important aspect of using the Animation Assist tool and it's a great way to
organize your file. In a later lesson, I
will walk you through how the layer groups
and packed animation. To recap, I walked you through my creative process for
drawing illustrations and gave some helpful tips
like color blocking the larger shapes of
your illustration first, to make sure you have the
placement right before you go into the details
of your illustration. All these skills are helpful for any illustration
project in Procreate. Now it's your turn to draw
your holiday illustration. As always, if you run
into any questions, you can always post them in
the discussions board or you can post your work in a
project with your questions. And I'll be happy
to help you out. And in the next lesson, we will add our
personal grading.
5. Adding Greeting: In this lesson,
I'm going to walk you through adding
a text greeting. You can either draw your greeting type or
you can use a font. I'm going to use a font to
make things a little simpler. To do that, I'm going to tap
on the Action icon up here. And where it says Add, you're going to tap Add text. Then I'm going to write the
greeting message I want, which will be happy holidays. Next, I'm going to
select all my font, which is important to be able to edit the styling of the font. Next, I will choose my font, which is linked in the
project resources. Then I'm going to the size setting and holding
the blue dot and sliding my finger
to the right to increase or to the left
to decrease the font. You can also adjust the
alignment the text. Next, I'm going to show you
how to change the color. So I'm going to change
the color to a dark blue. I choose this color
because I want the text to stand out
and be easy to read, but still match the rest
of the color palette. I just walked you through
my process to add texts and edit the text to align
with your holiday theme. These skills are
super helpful for all future projects where
you may need to add text. Now it's your turn to add
your personal greeting. And as always, feel
free to reach out to me if you run
into any problems. The next lesson, I
will show you how to add animation to
your illustrations.
6. Adding Snow Animation: In this lesson, I will
walk you through using the Animation Assist
tool in Procreate to add a snowfall animation
to your illustration. To get started, let's go up and tap the Actions icon at the top left and then go to the canvas and toggle
Animation Assist. This is going to
give you a timeline. At the bottom, I like to think of the
timeline as a layer. Select if you add a new frame, it will add a new layer. Selecting a frame will select
a layer or layer group. And if you tap on
the selected frame, you get the options to delete, duplicate, or hold the frame. If you're selecting
the first frame which corresponds to
the bottom layer, then you can make
that group your background and will be
behind the animation. If you click on the last frame, which corresponds to top layer, you can toggle
foreground to keep the layer static
above the animation. Now let's create our snow. I'm going to first change
my brush color to white. And then I'm going to
switch to the prickly brush as I want my snowflakes
to have a rougher, more organic shapes and snowflakes aren't
perfect circles. I always choose the
brush that will give me the best texture to best
depict what I'm drawing. Now, I'm going to tap
around the screen until I filled it
with snowflakes. And I'm doing this very loosely. So there'll be a range of sizes and shapes
of the snowflakes, which will make the snow
look more realistic. Next, I'm going to tap on my current frame and
then tap Duplicate. I like to duplicate
layers when I'm going to need the same
frame, repeat it. Next. I'm going to tap
Add frame to add a blank frame in order to create the appearance
of snowfall, I need to have the frames alternate with the snow
in different positions. When played back, it will
look like snow is moving. So like before, I'm going to
add snow all over my screen. In the settings here, we have all of our onion
skins and playback options. There's onion skin opacity, which will adjust
how transparent the onion skin frames are shown, which I will dial up
now as it's hard to currently see the snow
from the other frames. We can also use this toggle
to colorize our onion skins. I'm going to change the skin to a reddish color so
it stands out more. And now onion skins of the
snow are showing up better. Next I'm going to go around
with the eraser tool and fix any snowflakes that
were drawn, kind of funky. Also, we can scrub through
our timeline with one finger, which helps preview
the animation, but the onion skins as distracting when I'm
scrubbing through this. So I'm going to reduce
the opacity is zero. And now I can scrub
through better previewing the frame animation. I can also tap here to play
back or pause the animation. I can see that the
animation is going way too fast and needs
to be slowed down, going back into the
settings options outside of just the onion skins, it gives you options
for adjusting the looping options so
that I can loop animation, ping pong, which will play back the animation forward
and then backwards. And lastly, the option
to only play once. Also, I have frames
per second setting, which I can use to slow down the animation by having fewer
frames played per second. I'm also going to increase the
onion skin opacity backup. Next, I'm going to tap play to review the new speed
for your animation. I recommend that you try different speeds
and playing back the animation until you find the right speed for what
you want to accomplish. Lastly, I'm going to duplicate my current frame and drag it
to the end of the timeline. And then I'm going to
play back the animation. Then now this is creating that effect of the
snow falling as you have the positions of the snow alternating between
all four frames. To recap, I just
walked you through my process for creating
snow animation. This technique can
also be used to create rain and
falling confetti. So feel free to customize
the drawing and effects to fit your holiday
greeting and as always, reach out and the discussions if you've run into any problems. The next lesson, I
will walk you through an animation strategy to create
blinking holiday lights.
7. Adding Blinking Lights: This lesson, I will walk
you through my process for creating blinking
holiday lights. To get started, I'm going to
add a new layer and drag it to the first snow layer
to create a layer group, which will replace my
first animation frame. Next, I'm going to
rename the frames. This is going to help me later on as I continue
adding new frames, I'll be able to easily go back and find this
specific layer. Then I'm going to reduce the opacity of the lights
glow layer and start drawing around the
red light bulbs to create the effect that the
lights are glowing bright. I'm going to only light
up the red lights. And then in another frame, I'll light up the green lights, creating a blinking effect
so that you can see the light is blinking between the red and green light bulbs. And here I'm going to
readjust the opacity. I find that I like to readjust settings after I've
drawn it all out and I just decided
that I want to actually name this
layer red glow. I will duplicate it
to the next frame. And then I'm going to drag the layer again to
the third layer, creating a new group. But this time I'm
going to rename it green glow and we'll
clear the layer. I like using duplication. So all the layers can have the consistent opacity settings. And all I have to do
is clear the content and replace the glows
around the green light. Then I'm going to duplicate
that layer and drag the final layer to create
the final animation frame. Next, I'm going to
tap play to review the animation and
make sure that I'm satisfied with the
whole animation. To recap, I just showed you my process for creating
a blinking light effect. And this technique
can also be used for candlelight and
Jacqueline earns. So feel free a customized
for your specific project. Now it's your turn to add a lighting effect to your
holiday greeting card. And then the next lesson, I will show you how to
add a twinkle animation.
8. Adding Twinkle Effect: In this lesson, I will show
you my process for creating a twinkle animation by demonstrating a twinkling
star on my tree. To get started, I'm
going to turn on my sketch layer so I can
use it as a reference, redrawing my twinkle lights. Next, I'm going to layer group that makes my first
animation frame. And I will add a new layer and draw dots around the base
of the twinkle lines. Then I will go up to
the next group in add a new layer and draw
the full twinkle lines, which will give the
effect that the twinkle is expanding when
it's played back. Next, I'm going to
create a new layer and the third layer group
and label that layer. Then I'm going to
double-check my brush and will now draw dots at the
end of the twinkle lines, which will give the illusion that the twinkle is fading out. If I didn't book in
the lines with dots, it would just look like
blinking lines when played, but now it will look
like a twinkle. Now that I'm finished
with my drawing, I'm going to turn
off my sketch layer. Next, I'm going to play back the animation so I can
review the full animation. To recap, I showed you my process for creating
a twinkle animation. This technique can
also be used to create fireworks or as a fun accent
to highlight content. Now it's your turn to add a twinkling animation to complete your animate
greeting card. And then the next lesson, I will show you how to
export your animation.
9. Exporting: In this lesson, I will
walk you through how to export your animation
as a GIF or MP4. To get started, I'll tap the Actions icon at the top
left and then tap Share. And then that will give you
several options to export. I'll go down and
tap Animated GIF. Here you have some options
on the left to adjust your gifts settings and a
preview on the right side. Now, I'll tap Export. Next, I'm gonna go
down to animate mp4, which will give you a video. And then once I'm on there, I'll check the preview to make sure everything
looks great. And then I'll tap Export. It's always good to
review the animation, the pop-up before
tapping export in case there's any
problems and congrats, you've just finished
your project. To recap, I showed you
two different ways you can export your animation
from Procreate. So now it's your turn to export your animation and upload
it to your class project. As always, if you run
into any problems, feel free to post on
the discussion board, and I'll be happy to help. In the next lesson, I will show you how you can incorporate all these class skills
and a Halloween example. This lesson helps show
you how these skills can be applied to on their
holiday animations.
10. Case Study: Halloween Animation: So far, we've walked through Procreate animation tools and several animation
techniques. In this lesson, I
will walk you through applying those skills on
a Halloween animation. In order to create my animation, I will set up my
file and procreate. Then I will sketch out my ideas and then
refine my design. Then I will apply the
animation techniques. And then lastly, I will export the animation to
create a new project. I'm going to tap on the
plus icon in the top-right, and then I will tap the New Canvas icon here
to select the dimensions. I'm gonna go with 1080 by 1080, as it'll give me a small
optimized size that can easily be upload it to Skillshare since it has a file size limit. Next, I'll tap Create button and next is the sketching phase. Sketching is really
helpful in coming up with ideas for
your holiday design. And as you can see,
I like to keep my sketches rough and quick. This stage is all
about ideation, which can be hampered by focusing on details
and perfection. And as you can see, I'm just playing with some ideas for what
creatures I want to show. I will also explore
different greetings Now I can use and
how to draw them. Once I'm done sketching
out all my ideas, our work on refining the design. So take a look at
my illustrations. I'm going to go through and
select what creatures I want to pull out and
refine my final design. So I will circle the skull, the eyeball, the ghost. And then lastly, I'm going
to choose the pumpkin. Next. I'll look at my
type exploration. And I really liked this spooky night lock-up at the bottom. And then here is my
refined illustration. As you can see, I've laid
out my composition and refine the drawings
as mentioned earlier, the refinement stage is
where you can really fine tune your illustration
to your liking. Once I'm happy
with the outlines, I will add in color. And here you can see my final illustration
where I added color. Now, let's dive
into the animation. Once again, I will pull up
the Actions menu and go to the canvas sub menu and
toggle Animation Assist. Now I'm going to realign my layers to get my file
ready for animation. And going and make sure to
group all my stack layers and to either the background
or foreground groups, and leave everything
that will be animate in-between those groups. And I will select those
static groups and the timeline panel and toggle on foreground and background. So those layers remain static and their
respective positions. This is an important
step as it will keep these layers visible
on all frames. Next, I'm going to apply the
blinking lights technique. So I'll duplicate money
lantern light frame and reduce the opacity
in the second frame. Then I will play
back the animation, which is way too fast. I want it to look more like
a subtle candle flickering. So I will slow down the speed and then once again
play it back. I've decided to lower it again
to four frames per second. Next, I'm going to
create a new layer and group it with my
first animation layer, which will now become
the new first frame. And then I will change
my color to red. And we'll draw in red
lights and each skull size. And we'll repeat the action
for the second frame. Then the first frame, I'm going to change
the red color to black since the red light
will completely go out, leaving the eyes dark. And I will play back
the animation to review the look,
this looks good. Next, I'm going to add a twinkle animation to a little
stars in my illustration. Since the stars are
in a static layer, I'm going to rearrange
my layers so that the stars layer is in each
frame so I can animate them. Next, I'm going to select all
the stars and delete them. I will then go in on the same layer and redraw
them as smaller size, the back-and-forth
between the small and then the fully
extended star frames as what will create
that Twinkle. Next, I will play back the animation to review
how things look. It's important to review
the animation throughout the process to make sure the animation looks
the way you want. Next, I'm going to
export the animation. Once again, I'll go up to
the Actions menu and then click the Share icon to
get my export options. Then I will tap on Animated GIF and I will get a new
screen with a preview of my animation to export
a transparent GIF toggled transparent
background and they'll remove your background. And I want my background. So I'm going to
toggle this back off. Then I will tap
the Export button. But what do you do if you
want to export a video? I'll show you how to do that. All you have to do is tap
Animated MP4 this time. And then once again, you'll get a new screen with
a preview your animation. And all you have to do is tap, export to export the video. And there you have it. I just walked you
through my process for implementing the class skills and to a Halloween animation, including how I sketch
ideas and refine my design, and how you can adapt the animation techniques from this class for
different purposes. And in the final lesson, we will wrap up this class.
11. Wrap Up: Congratulations on
finishing this course. I really appreciate you
taking the time to take my class and learn these
skills along the way, which included
learning how to set up file in your design
for animation, how to use the
Animation Assist tool to create several
animation techniques, as well as how those
techniques could be used in different ways
for custom projects. To continue expanding
your skills, I recommend that you
take a moment to upload your project
to the class gallery as sharing with the
Skillshare community is a great way to help
inspire each other. If you enjoyed
taking this class, then consider following
me on Skillshare and checking out my
other animation classes. Thanks again for taking this class and I hope
to see you soon. Bye for now.
 Isaiah Creates, Art Director & Motion Designer