Transcripts
1. Intro: The best gear is the
one you have right now. I'm not saying you shouldn't
be buying new useful things, but if you need to create
something right now, the best equipment is
the one you have in your house or in your pocket. But what if your
Skillshare class or YouTube video isn't looking as nice and professional
as you want it. You might think only
a fancy new camera or a new studio light will
fix that problem for you. But in reality, what you need is some knowledge and
lots of creativity. Hi, my name is Uroš, but some of you may
know me as Umcaruje. I'm a music producer and videographer based
in Belgrade, Serbia. Ever since I was little, I was obsessed
with cameras and I used to make videos with whatever I could
get my hands on. Naturally. I went to college with audio and video production and then ended up working
on live television. But lately, I've been
shooting and editing Skillshare classes
from my sister DUE, which you have made
over 15 classes, seven of which were
awarded the staff pick. Now, when you start
creating video content, you realize that life is what
makes or breaks your video. Even high-quality cameras
will produce bad, grainy images when paired
with a poorly lit scene. And if you have a well
lit and balanced scene, even a budget camera can shine through and
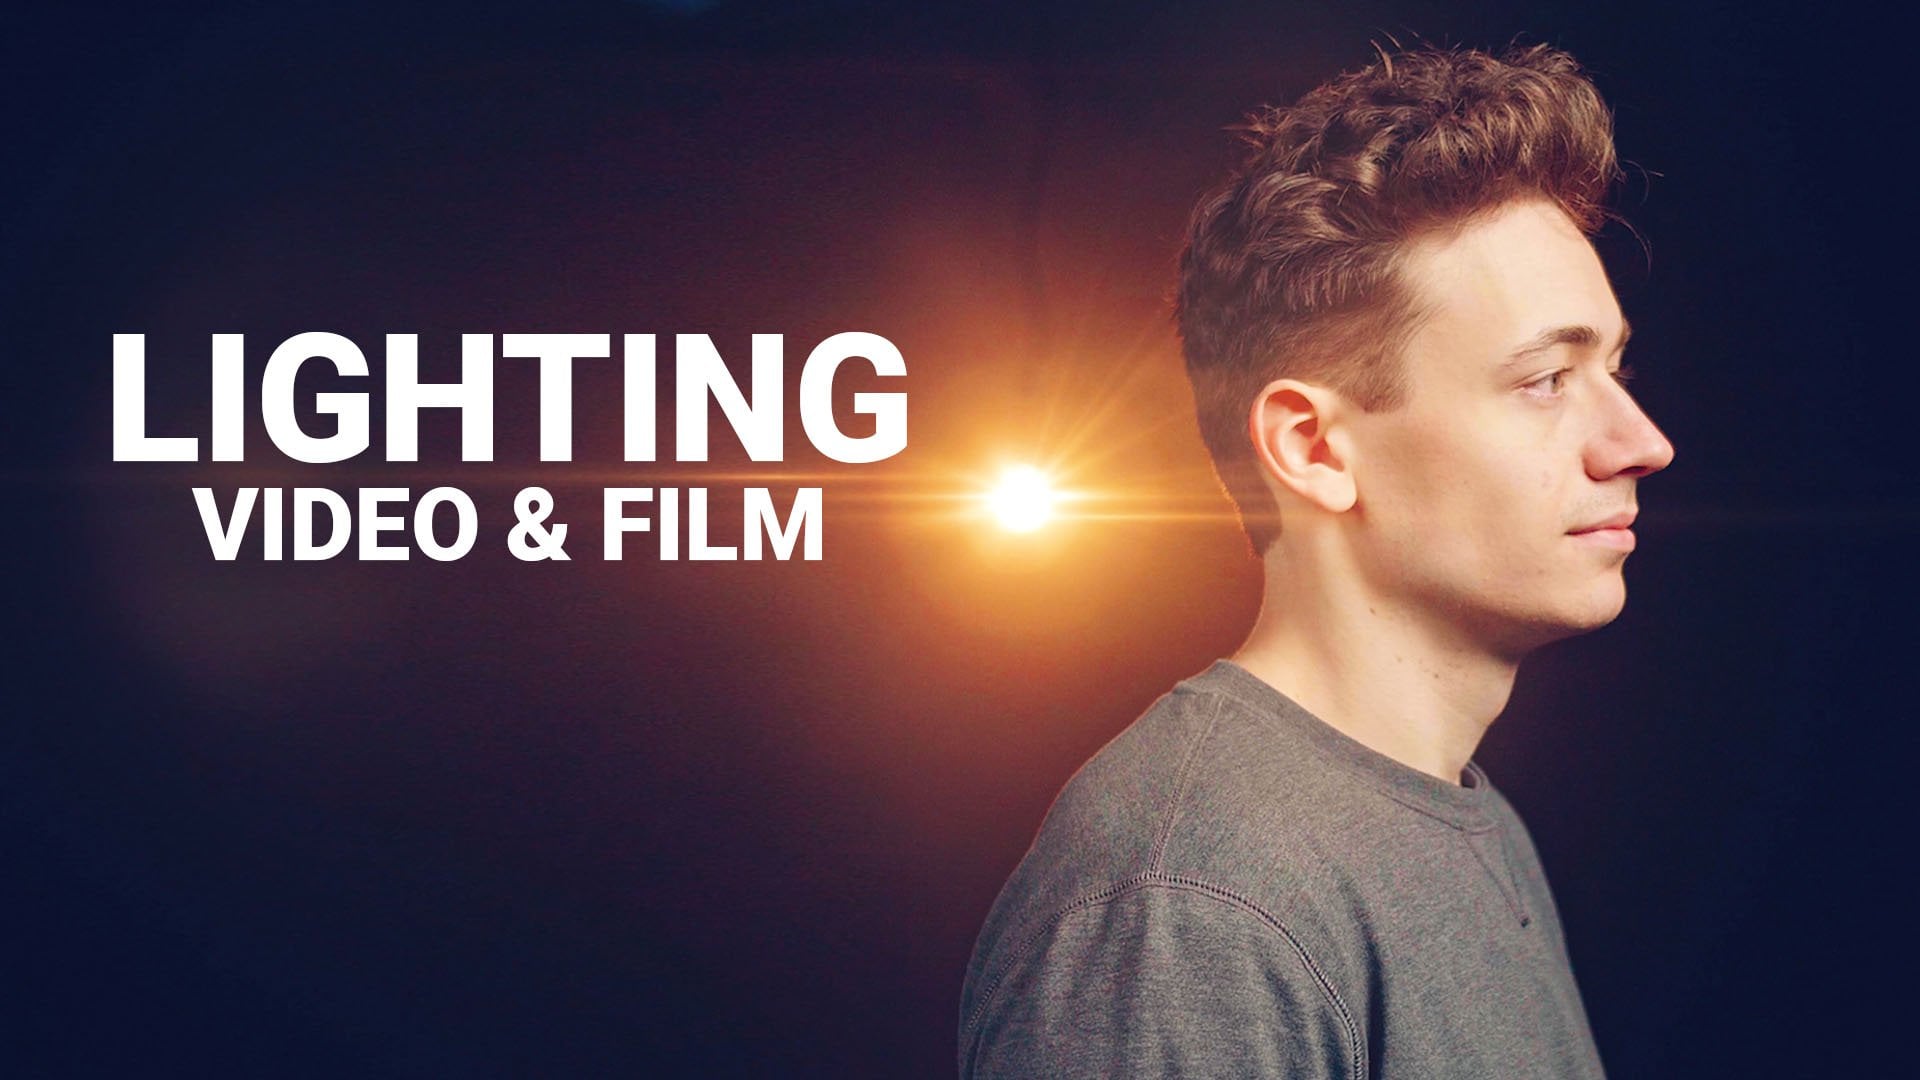
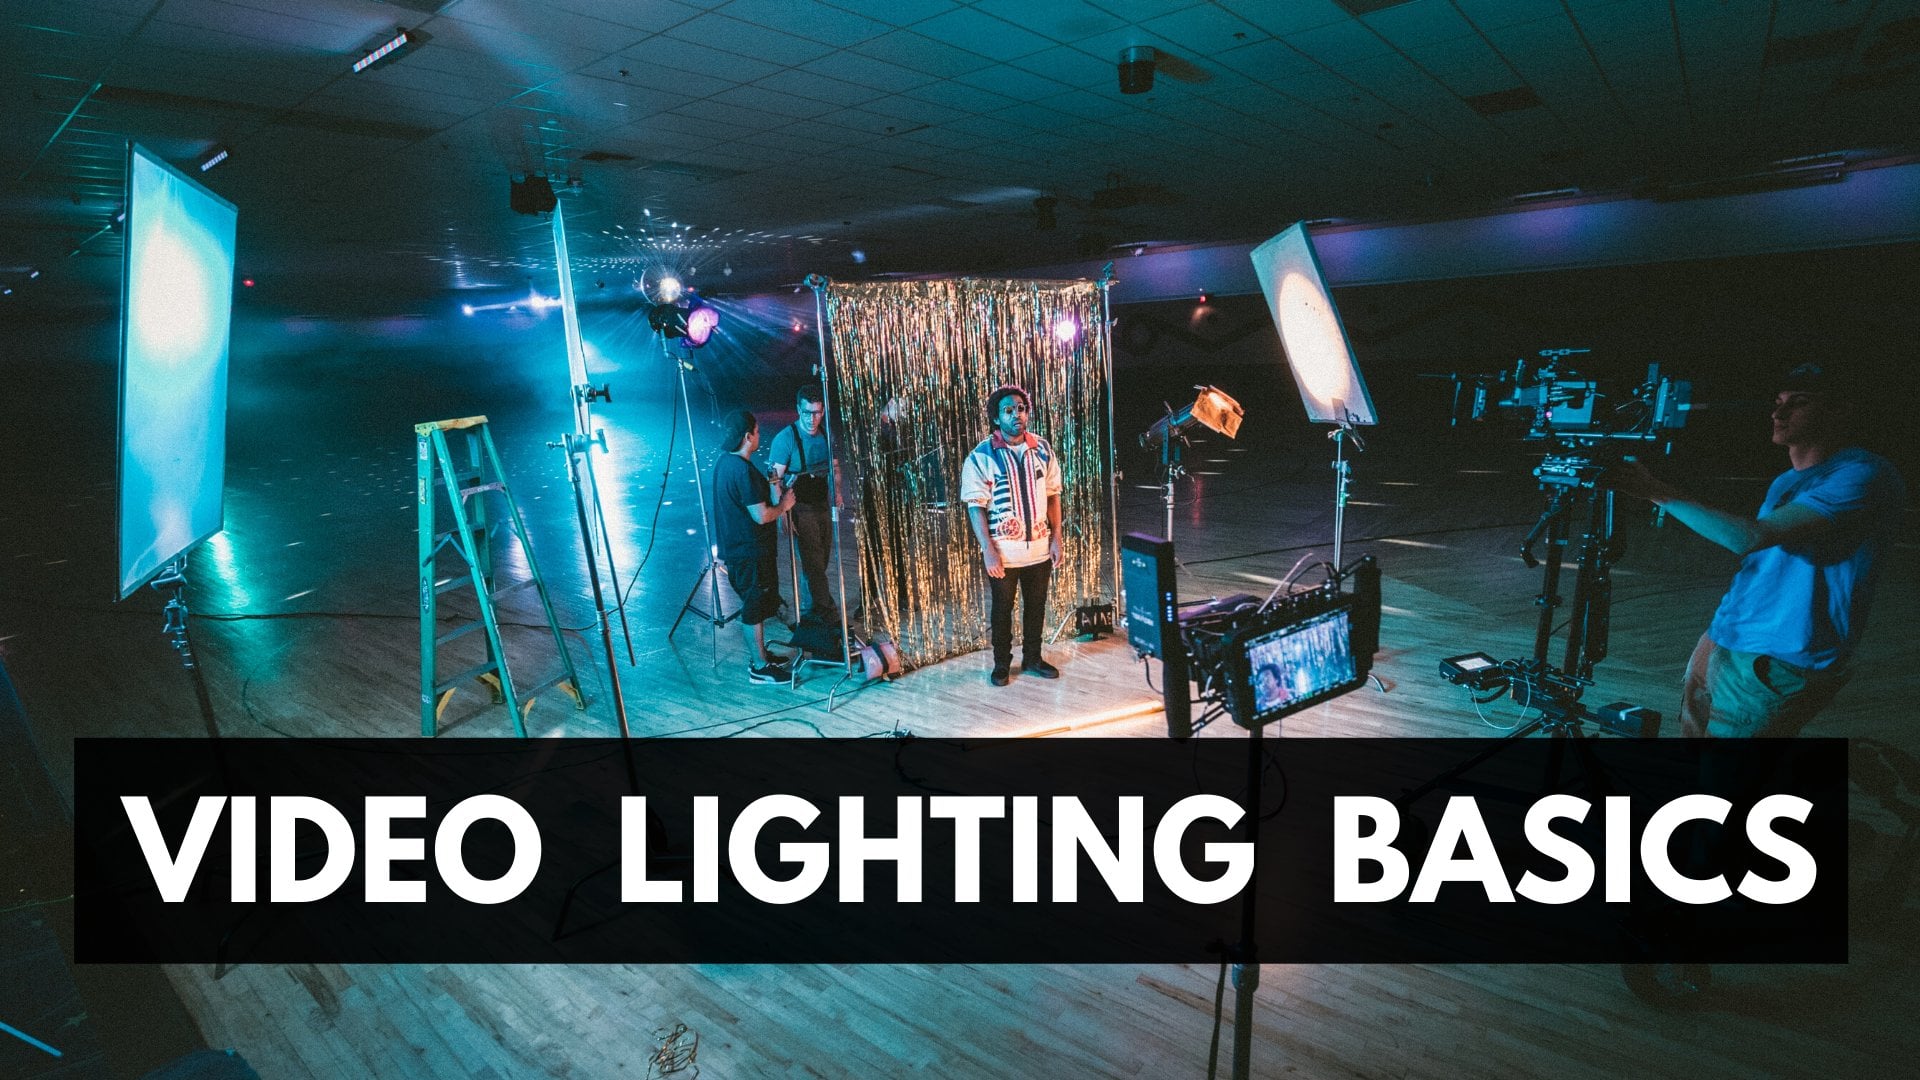
deliver a great result. In this class, we'll
focus on creating a single professional
looking, talking head shot. I'll share with you my experience
when it comes to making videos that stand out using
equipment you already have. This class is aimed at
all levels and I want to get you up and running given if you're a complete beginner, will go through writing basics, learning about
color, temperature, how to create soft light, and where to position our
lights to get the best results. Will also learn how to visualize our lighting setup so we waste less time on the day overshoot. I'll show you two
scenarios are complete. No budget setup where
we'll just use our phone, natural light and things you
can find around your house. And another session
with a better camera and then budget light kit
that won't break your back. By the end of this class, you'll be armed with skills and knowledge
that will help you achieve all your video ideas
easily and professional. I'm happy that you're here. So let's get started.
2. Project: The project for this
class is to make a single great looking
static talking head shot. Now, why did I choose
a talking head shot? I feel like no matter what content you are
creating beats of log, short documentary or
a Skillshare class are talking head is
an essential shot. One single static
frame where you tell her story that you can spice up with some B-roll or
other shots later. It's also a great starting
point for learning and you can apply the techniques we discuss here to any other situation. You can use whatever equipment
you have available to you, either a camera or your phone. One thing I would
recommend is having some way to keep
your cameras table. You can prop up your
device and some books. But the safe bet
is using a tripod. This can be achieved Dollar Store tripod
that you attach to your phone to or an
inexpensive photo tripod. Try to find a room
that is available to you that has the
most natural light. And if you all some
lighting equipment, use it. If you want to buy some
lighting equipment, I'll share some of
my recommendations in a later lesson on
a budget light kit. And I leave a list of good budget gear in the
project and resources section. The best way to learn
is by doing so, please feel free to experiment and have fun
while doing this class. When you publish your project, feel free to share with us your process and all the things
you use to get your shot. You can also include
your lighting diagram that we'll be creating, as well as photos of your setup. You can upload your final
video on a website like YouTube or Vimeo and then
add it to your project. So all of us can see how great you are talking
head shot looks. So when you're ready, just click on the
Create Project button and add your project. I'll see you in the
next lesson where we'll talk about some
lighting basics.
3. Lighting Basics: Before we get started
with our project, I wanted to give you
a crash course in some terminology that I will
be using in this class. I will also be showing you various examples so you better
understand these concepts. I want to thank my sister and her dog for helping
me out with these. And the small disclaimer, please don't feel
discouraged by the number of stems or lights you
see in these examples. This environment
was the easiest way to show you all these concepts. And we'll be recreating these using budget gear
later in the class. Now, let's talk about
cold temperature, quality of light,
and positioning. When we think about light, we usually think there is
white light and colored light. But you may have noticed that not all white light
is the same color. When you look around your home, some lights are warmer or more orange and some lights
or cooler or bluer. For example, old-school
tungsten lights are a lot warmer than daylight, which has more blue, cool tones. We call this color temperature. Color temperature is a
property of light that tells us how warm or
cool the lightest. This is a scale that's
measured in Kelvins. The higher the value
the bluer light is. So, for example, most
tungsten fixtures have a color temperature
of around 3200 Kelvin, while daylight is
around 5600 Kelvin. Unlike your eyes, which can adjust to these changes
in core temperature, your camera needs an
internal reference of what white light is, so that whatever we record
with it has proper colors. And this is called
white balance. Now, why does this
matter to us though? When you're lighting
something and you have multiple lights coming
from the same direction, you want these lights to
match in core temperature. So if we're in front of a window and we want to fill out
the shadows on her face. Doing that with a warmer
light such as a tungsten one will create this very weird
effect on your skin tone. And if your camera is
and also white balance, it may even struggle
to determine the white balance of your scene and you
could get weird colors. So when mixing lights, make sure they match
in color temperature. Now, let's talk about the quality or the
softness of light. If you go outside on a sunny day where there
are no clouds in the sky, you can see that the sun creates shadows that
have a hard edge. This is what's known as
a hard light source. But if you go outside
on a cloudy day, you can see that these
shadows now don't have such a prominent edge and also aren't nearly as strong as
they were on a sunny day. So what creates softness? Well, it's the relative size of your light source
compared to a subject. So the sun might
be physically big, but relative to us, it's small source of light
because it's so far away. It's hard light. Light bulbs are also
hard sources of light because they are relatively
small compared to us. Now, when they put something
in front of our light, like clouds and an overcast day. This increases the
relative size of our light source and
it becomes softer. This is called diffusion. Examples of diffusion
materials that are readily available in
your homework curtains. Another great material
that you can use, the diffused light is regular
parchment or baking paper. You might have noticed that
diffusion material also reduces the actual intensity
of your light source. So keep that in mind when
you diffuser lights, as you'll need a more
powerful light source to achieve high brightness. On the other hand, if
you have a light source, can control the output. Diffusion comes in real handy. You can put two or more layers of the same diffusion material
in front of your light. This won't necessarily
make the light softer, but as we're not making
the source bigger, it will allow you to cut down the light if it's too bright. Now, why does all
this matter to us? Generally for
lighting human faces, soft light is more desirable. It looks flat, thundering, softens your skin up a bit, and you have this nice graduated fall off
to your shadow area. Hard light can also be used, but it's shadows are
harder to control, especially for a beginner. When you look at the
shot, a single frame, I want you to think about it like it's made of two layers. We have our subject layer in the front and our
background layer. And when you think about your
scene in terms of depth, there are three positions
that we are concerned with. Lights pointing directly
at your subject. Lights pointing at the
back of our subject. Lights pointing at
their background. So the first light
positions we're going to talk about are the
key and fill lights. These two lines are in front of your subject and there are
pointed directly at them. The key light is our main light, and it's generally the
brightest light in your scene. This slide gives shape to
our subject's face and it's positioned determines
how many shadows we get on our subject's face. So how high should
our key light be? Well, you want the
light source either at eye level or slightly higher
end pointed downwards. And if your light is coming
directly from above, this can create shadows in your eye sockets, which
looks unpleasant. That creates a log
that's more suitable for a prison interrogation scene but won't fit in a
simple talking head. A lot of delights in our
homes, our ceiling mounted. And so that's why I would
discourage you from using them. Exactly for this reason. How about the angle of our key light compared
to our subject? If the light is directly
in front of us, we get a very flat look with
no shadows on the face. Personally, this is a bit
too flat and the face of our subject looks just a
bit too wide for my taste. Now, when you move your
light to the side, you get more definition
on the face. And you can see that
one side gets darker. And this looks great for
interviews and talking heads. The sweet spot is around
30 to 45 degrees. When we increase the angle
even further to 90 degrees, you can see that we now have
a rather dramatic image. Half of the face is in shadow
and the other half is not. When you are doing
your projects. I invite you to experiment, move your light, and see
what works best for you. Now, most of you will probably working with a window
which is immovable. But what you can do in this
case is move your subject and camera and look at the
results of changing the angle. You can even sit on
a chair in front of a window and just rotate
with your selfie camera. And just notice how the light changes the
shape of your face. What about the quality
of our key lights? I like this light to be as
big and as soft as it gets. This can be a window
with diffusion in front of it or something
like a big softbox. Having a big soft
key light gives you a flattering look and
it's great for beginners. Now, let's talk
about the phyllite. Remember those shadows
that are key light makes. The purpose of the phyllite
is to fill in these shadows. The thing is, this doesn't necessarily need to be
another light source. You can use another light
that has a lower intensity, or you can use a reflector to bounce the light of your key. Light. Reflectors can be
bought for cheap, but what you can also
use that is readily available is a simple piece
of foam core or poster board. This surface of the reflector reflects the light and
it fills in our shadows. And I like to use the
white surface because it gives a really soft,
natural looking bounds. And the intensity of this reflection can be
controlled by moving the fill light closer or
farther away from your subject. If you don't have a fill light, you move your reflector. So if my key light
is soft enough, I rarely use a separate
light for my film. It's always some
kind of reflector. This also has the
added bonus of not worrying about matching the color temperature
of my lights. Because as we said before, you want your key and fill
light to be the same color. Otherwise, it can
just look weird. Back lights are lights
that are behind our subject and
pointing at their back. Now, this light is something
that hollywood loves. If you look at your
favorite movies, almost all scenes will
have a backlight. This is a great addition to our lighting setup because it makes your frame look cinematic. And it also helps it look
more three-dimensional. It separates your subject
from your background. Where can you position
your backlight? You could try having it
directly behind your subject, which almost gives
this halo effect. But if your subject moves, it could become visible. Placing it on the side
is a great option. And having it on
the opposite side of your key light
is a great look. You can even have to back
lights on both sides, or you can spice it up by
having a cold backlight. Now, what about the
quality of our backlight? Hard light sources can
be great as back lights, as they get bright. And because they're
not that big, you can focus them only
on your subjects back. A backlight is not an essential light and you
can absolutely omitted. But I encourage
you to experiment. This one light can make
your frame pop and might just be what you need
to make your shots stand out. It really shines in
situations where, for example, you have someone with dark hair on
a dark background. Also, sometimes it
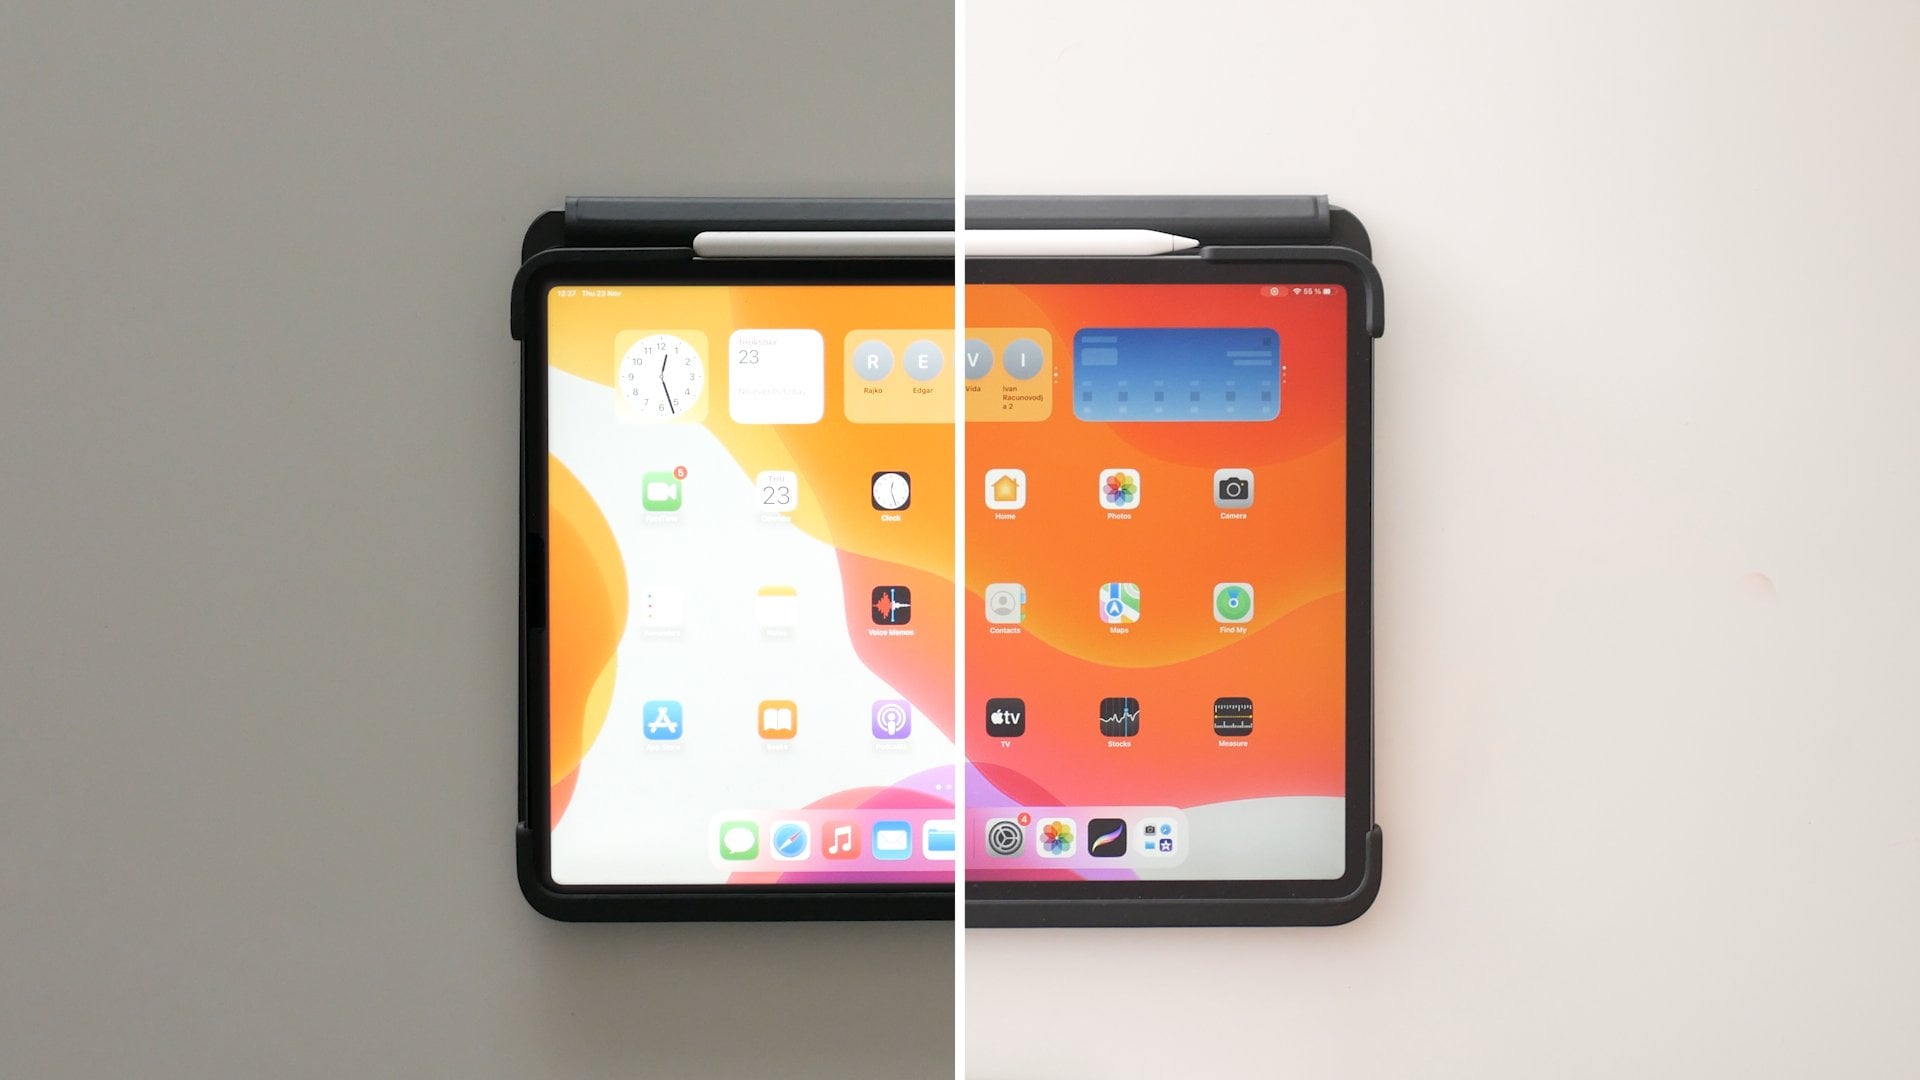
just doesn't fit. So when I'm doing
classes with my sister, and we shoot from two angles, one in front and one from a
bow with an iPad on a table. I omit the back-light
because it leaves a weird shadows on the table
that I just can't avoid. So just look, observe your shot and trust your gut and go
with what looks best to you. Background lights are all
lights that are not pointed, that are subject, but
rather at our background. Alongside the key light, they give the atmosphere and
overall mood to your shot. Depending on the mood, you want your background
brighter or darker. But what you need
to remember is that your background should
serve your subject. If it's too bright and jarring, it will attract attention, even if it's stood them or inconsistently let it
can look unprofessional. Background lights can also
appear in your shots. This is what's known
as a practical light. And they can be a great way
to add visual interest. Word of caution
for these though, they usually end up
being too bright in your scene and you will
need a way to control them. This could be a dimmer
if you're working with tungsten lights
or demo herbal LEDs. Or you could even use some diffusion to
dim down your light, maybe line up your lamp
with parchment paper. Your background light setup
can also be really simple. You have a single light pointing at the wall directly
behind your subject. This creates a nice
gradient lighting that focuses your viewers
attention to your subject. Simple, yet effective. Background lights are also great places to
experiment with colors. I love using colored lights that I shine on white or gray walls. And because they
are more color to my shot and make it more
visually interesting. As always, don't be
afraid to experiment, use what you have
available and try many different things
until you find something that is
both pleasing and fits with your projects
theme or mood. Now, let's talk about pre
visualizing our lighting.
4. Previsualizing: Before you take your
camera and your hand and start
setting up lights, I want you to go inside of this space that you've
picked for your project. And just take a moment
and start observing. Look at all the various light
sources you have there. The first thing I
look for our windows, big sources of natural light. I also look for fixed
artificial lights in the room. They ceiling mounted. Are they the mobile? What core temperature our day. This will all determine your decision on whether
to use them or not. I also look for portable lamps. These can be desk
lamps or clamp lights, or sometimes you can even use Christmas lights
and add them to your background as practicals to create some visual interests. Now, take all that you
noticed and put it on paper. Sketch out your room, draw out your roles and
mark where your lights are. Then think about
your lighting setup. Find your key light first. This will usually be the brightest light you
have in the room. And then roughly mark where your subject
will be positioned. This doesn't need to
be exact and you'll surely fine tune it when
you start setting it up, but it will make
your day faster. And if you have multiple spots where you think you
can place your camera, try them all out quickly. We can pull out
your selfie camera and just look where
the light looks best. Now, after that, see what
lights you will and won't use. For example, a really don't like leaving ceiling lights on, especially when they are a different color temperature
than my key light. In. If you have a light
you want to use, assign a function to it. Maybe it fits as a backlight, may be a fill light or
a background light. But if that light doesn't have a clear purpose,
just don't use it. This is the key to a clean look. I think there's
pretty visualizing exercise can be a great way to wrap your head
around this concept of lighting and positions. And it can also be a
time-saver because you went through the options
in your head beforehand. So you can spend more time on actual fine-tuning and setup of your lights on, they should.
5. No Budget Lighting: So for recording my no
budget lighting project, I picked my bedroom. This is a relatively
bright room, as you can see with
three big windows. And when we have no budget, big windows with
lots of light are the key to getting
a clean image. Because as long as
your light is bright, your camera has enough
information to work with and doesn't give
you a noisy image. Now, after noticing the three
windows I have in my room, I also looked at what
fixed slides I have. I had two ceiling lights and one mounted
high on the wall, but all three of them gave
off warm tungsten light. I also looked around my house
and find two house lamps. One had a warmer bulb
and the other one had have cool daylight
color temperature. So for my key light, I decided to pick my
second window because the first one wasn't that usable due to being
next to my table. As far as fixed lights go, all three were unusable for
me because they were ceiling mounted and also warm and they could mix too much
with the daylight. Now, the two lamps were
very promising and they decided to use the daylight
one as a backlight. And the tungsten want to
light my background as it's warmer color temperature would complement the color of my wall. So before we start
with the setup, I wanted to mention that when you're working
with natural light, you need to think about when
you will shoot your video. This is important as some
levels vary throughout the day. I usually shoot my
videos from ten AM when the sun is already up
and until the afternoon, depending on the season, you want to use an interval
where the sun outside is fairly consistent for at
least a couple of hours. Soup can set up
everything and not rush. When it came time
to set up my shot, I had to get creative. First. I removed all of the furniture that I wouldn't be
using out of my room. Then I put some diffusion on my second window, my key light. And the reason I did
that was because it was relatively sunny
day and I wanted to even out my window and create a big soft light
source out of it. Then I set up my shot. I use my iPhone and a
dollar store tripod. And to get it to the
height of my sister, I had to put it on a chair
with a bunch of books on it. I placed my sister at an
angle from my window, so I hit that 30 to 45 degrees sweet spot with my key light. After that, I put my blinds on my first window to
remove it out of the equation because
it just didn't fit in any of the other
lighting positions. To get a clean shot, I zoomed in a bit so I could avoid any walls
or door openings. And then after all that, I did a long press on
my sister's face on my phone screen and
swipe down a bit to lock the out-of-focus and now to
exposure and to make the shot a bit darker so the left side
of her face looks perfect. The next step was adding
the fill light for this. I opted for a sheet of poster board I had
lying around my house. I fixed it between some
letters and held it down by some books and
a Bluetooth speaker. Remember, we have absolutely
no budget to spend here. So you need to get creative with replacements for stance
and other things. I moved my fill until
it was just out of my frame so I get as much evenness on the
face as possible. Next up was the backlight. I tried fixing the
cool daylight land on a chair but it's clipped, broke in half on my first try. So my second option was just taping it with as much
tape as I could find. It worked. I got the shot. I opted for a side backlight
on the opposite of my key. I moved it until I got to
just out of the frame and making sure I don't get some weird highlights
on my sister's knows. The final step is setting up the background light
was the easiest. I fit it behind my sister on the floor so it doesn't
interfere with any of the other lights and
just pointed it to the wall trying to
get an even coverage. So the background was
consistently lit. And this is our final shot. Now let's add up all these different lights
to see the progression. First, we start with just our window light
with no diffusion. Then we add some
diffusion to our window. Next comes the fill
than the backlight. And finally, the
background light. I hope the difference
between the first and the last stage can show you just how much you can achieve. But the things you have, I think this is a great result, but it does depend on having a room with a lot
of natural light. I'll see you in the
next lesson where we'll be making a budget light kits.
6. Budget Light Kit: Okay. Let's talk about
budget lighting gear. Being a broke student, I always had to find
ways to maximize my purchases and
look into things that will give me the
best bank for the buck. So what you're looking for is maximum output for the lowest
amount of money possible. The first slides I
ever bought were some cheap Halloween work lights in a home improvement store. But I think this is exactly
what you should avoid buying. There are three things
working against these lights. They consume a lot of power. They get really hot, so you
can risk burning herself. They have a warm
core temperature, so you can't mix
them with daylight. What I found as a great, cheap solution that doesn't
use a lot of power, has a daylight color
temperature and gives me enough brightness
so I can diffuse it. Or compact fluorescent
bulbs are CFLs. These are great and you
can find photography, read the 100 plus what bulbs
for very cheap online. They're easy to use
because they fit in any light socket and
give you flexibility. Now, one thing I
don't like about them is that they are fragile
and if you break one, you need to clear the
room for a couple of hours because there is
mercury vapor inside. There are also LED lights
and these are great. You can find them
in many styles. As high output light
bulbs, LED panel, or chip on board
lights that you can attach different accessories to. Now, the problem with LED
lights is that some of the cheaper ones don't give you a proper full
spectrum light. This means some colors will be more prominent
than others, leaving you with washed-out
red or a color shift. To combat this, always look for lights that have a high color
rendering index or CRI, around 90 or higher, is what you should aim for. And if an LED light doesn't have a listed CRI, just skip it. There are also RGB LED panels, and these are amazing. I bought these small
LED panels from Yulan z that can do both RGB
and by color lighting, which means their color
temperature can be adjusted. And they paid just $15 for them. They are really
versatile and I use them a lot for giving my
background some color. They also work great
as it back lights. Now, what about diffusion? We already talked
about parchment paper. And another great diffusion
material is shower curtains. Hang these and some kind
of frame and shine a light through or put them on Windows
to achieve a softer light. But one underrated sorts of amazing soft light that
I wanted to talk about, our paper lanterns
or China balls. These can be bought
for really cheap in ikea or home
improvement stores. And I paid $3 for my 50 centimeter
China ball combined with my large CFL bulb and
then inexpensive cable. This is a dirt cheap package that gives you great soft light. And that's exactly
what I used for the key light for
my budget project. Now, when it comes
to reflectors, foam core or poster
board works great. If you want something portable, having a collapsible reflector
can really be a lifesaver. These come in different
sizes and in many variants, but even the cheapest
ones do their job. You also need to have a way
to mount all these lights. Dollar Store tripods can work with some smaller LED panels. But my budget heck, is that I use cheap Mike stance. They come with a boom
arm or adjustable in height and come cheaper
than regular light stance. Note that most mike stands
have a three-eighths inch screw on them for mounting
LED panels and the like. You'll need some inexpensive
three eighths inch to one-quarter inch
screw adapters. All these budget
recommendations will be in a downloadable PDF in the
projects and resources section. So make sure to check that out. Now, let's talk
about our project. I wanted to pick
a scenario where there isn't a lot
of natural light. And I picked this spot
right next to my kitchen. These two windows don't
get a lot of light, especially later in the day. So they were a great
spot to show off what you can achieve with
some of our budget gear. Before starting out, I decided these windows aren't going
to be used as my key, but rather are used them. The texture of their blinds
as an interesting background. The first thing I set
up was my key light. This is 135 watts CFL
light bulb that I put inside of my 50
centimeter China ball hanging out on a mic stand. This gives me some
great soft light. I placed it on the side at
around the 30 degree angle. I set up my camera and it's exposure according
to my key light. For the fill light, I used my collapsible reflector on its white side and they
just can't get up on my Mike Stan and taped it up a bit so we just doesn't move too much and they moved
it just out of my frame. For my backlight, I use the cheap small LED light that I mounted on my mic stand
using a square root. After I said this LED lights to a daylight temperature so
it fits with my key light. And as my Mike Stan doesn't get nearly as high enough as I
needed it for my backlight. I had to get creative and put my stand on a chair to
get it high enough. I also made sure to weigh
down the stand when I put it on the share so it will
stay there and be secure. I placed my backlight on the opposite side
of my key light, as they did in the
previous example. For the background light, I already had my window that
was illuminating the blinds, but one of my corners
were just too dark. So I took another one of
my small LEDs and just pointed it to the shadowed spot to even out the background. And this is our final shot. Now, let's add up all
these different lights to see the progression. First, we start with just our window light and our
subject is in silhouette. Then we add our key lights. Next comes the fill, the backlight, and finally
the background touch-up. I hope these two
examples give you some idea what you could
do on your own projects. As always, experiment,
move things around, look at your frame, and repeat until you're happy. Once you're done, share
your project with us. And I can't wait to see
what you come up with.
7. Thank You: Hey, I just wanted to say, thank you for spending time with me and watching this class. I hope you enjoyed this
whole learning process and learn new techniques that will help you with your
video projects. I would love to hear what
you think about this class. So make sure to
rate and review it. As always, if you have any questions or something
I was showing wasn't clear, feel free to ask anything in the discussion section
of this class, and I'll get back
to you as soon as I can to get notified
about my next classes. Follow me here on Skillshare. And you can also
keep in touch with me on Instagram at home. I hope you enjoyed my
first-ever Skillshare class, and I'll see you
in the next one.
 Uroš Maravić, Videographer & Music producer