Print your Own T-Shirt with Canva
 Ronny Hermosa, Your Go-To Canva Guru
Watch this class and thousands more
Watch this class and thousands more
Lessons in This Class
-
-
1.
Introduction
0:28
-
2.
Selecting the right document type
1:10
-
3.
Searching Canva for a quote I like
8:06
-
4.
Adding my personal touch to the design
0:53
-
5.
Printing my Canva design on a T-shirt
3:20
-
6.
Payment tracking and delivery
1:28
-
7.
Unboxing and final thoughts
1:55
-
-
- --
- Beginner level
- Intermediate level
- Advanced level
- All levels
Community Generated
The level is determined by a majority opinion of students who have reviewed this class. The teacher's recommendation is shown until at least 5 student responses are collected.
229
Students
5
Projects
About This Class
Design, Customize & Print – All in One Place
Ever wanted to design and print your own T-shirt but got stuck juggling multiple platforms? With Canva, you can do everything in one place—design a custom T-shirt and have it printed and delivered right to your doorstep. Whether you’re creating a personal piece, a gift, or testing ideas for your own brand, this class will show you how to make high-quality T-shirts with ease.
Who This Class is For
-
Canva users who want to explore new creative possibilities
-
Entrepreneurs, small business owners, or creatives looking to print custom merch
-
Anyone who loves designing and wants a hands-on way to bring their ideas to life
What You’ll Learn
-
How to find and use Canva’s T-shirt design templates
-
The best keywords and search techniques to find typography, graphics, and design elements
-
How to customize designs with colors, fonts, and personal touches
-
How to preview, adjust, and finalize your design before printing
-
The step-by-step process of ordering your T-shirt directly from Canva
Why Take This Class?
-
One-Stop Solution: No need to switch between design and print platforms—everything happens in Canva
-
Hands-On and Beginner-Friendly: No prior design experience needed, just a creative idea
-
Real-World Application: Learn how to create custom apparel for yourself, your business, or even for a creative gift
-
Tried and Tested Workflow: Follow along with a real example, including unboxing and reviewing printed T-shirts
Practical Outcomes & Takeaways
By the end of this class, you’ll have a fully designed, printed, and delivered T-shirt of your own creation. You’ll also gain confidence in using Canva’s print features, making it easy to create more custom products in the future.
Setting Expectations
This class won’t teach you advanced graphic design techniques, but you’ll learn the exact steps to create and print a high-quality T-shirt using Canva’s easy-to-use tools. Also, this is not a POD (Print On Demand) class, it will not teach you to create T-shirts for resale.
Ready to Wear Your Creativity?
Join the class and start designing today! Let’s create something unique together.
You design a stunning Facebook cover on your computer, upload it, and… surprise!
It looks completely off on mobile.
Text gets cut off, key elements shift, and suddenly, your sleek design is a mess.
Sound familiar? You’re not alone.
In this class, we’ll tackle this frustrating issue head-on.
You’ll learn exactly how to create a Facebook cover that looks flawless on both desktop and mobile—without all the guesswork.
Whether you're designing for a personal profile or a business page, I'll walk you through a simple step-by-step process using Canva, ensuring your cover stays perfectly aligned every time.
Who This Class is For:
-
Entrepreneurs, freelancers, and small business owners who want a professional-looking Facebook presence.
-
Social media managers looking to optimize branding across platforms.
-
Canva users of all levels who want to create polished and well-aligned Facebook covers.
-
Anyone frustrated with Facebook’s cover image inconsistencies and looking for a foolproof solution.
What You’ll Learn:
-
How to select the right Facebook cover dimensions to avoid common misalignment issues.
-
The best way to structure your design so key elements remain visible on all devices.
-
How to leverage Canva’s templates and customization options for a unique and polished look.
-
A foolproof method to test and refine your cover before making it public.
Why Take This Class?
-
No More Trial & Error: Say goodbye to constantly tweaking and re-uploading your cover.
-
Perfectly Aligned Covers Every Time: Learn the secret to a seamless design that works on both desktop and mobile.
-
Beginner-Friendly & Fun: Whether you’re new to Canva or a seasoned user, you’ll find the process simple, enjoyable, and highly practical.
-
Step-by-Step Guidance: I’ll take you through every step, from concept to upload, ensuring you leave with a Facebook cover you’re proud of.
Practical Outcomes & Takeaways
By the end of this class, you’ll have a perfectly designed Facebook cover that looks great on any device—no more surprises after uploading! You’ll also gain valuable Canva design skills that you can apply to other social media branding projects.
Setting Expectations
This class won’t cover advanced Canva design techniques, but it will provide a simple, repeatable framework to create aligned and professional-looking Facebook covers without frustration.
Ready to Create the Perfect Facebook Cover?
Join me in this class, and let’s design a cover that makes your profile or business page stand out—without any alignment headaches!
Curious about trying Canva Pro?
As Canva Verified Experts, we can offer you a 30-day free trial via this link
----------
Related Classes
-
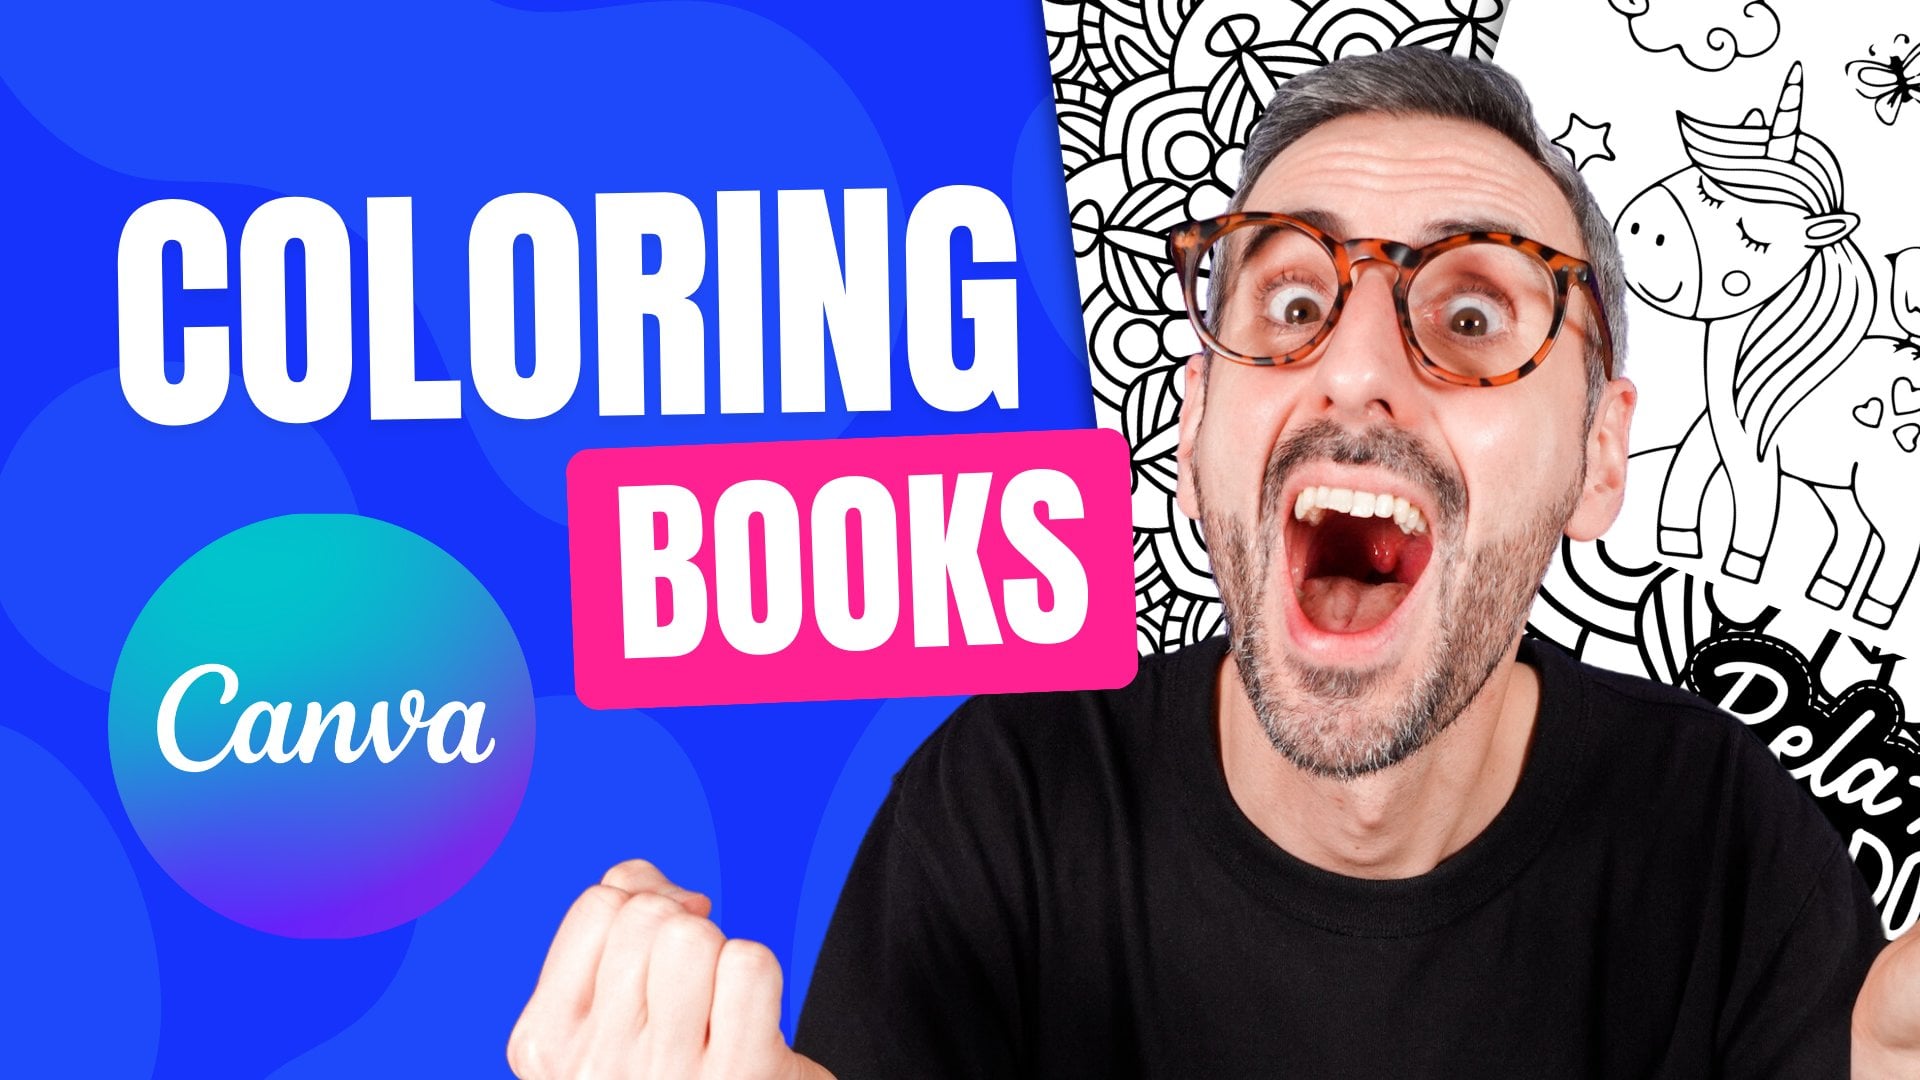
How to Create Personalized Coloring Books with Canva

Hands-on Class Project
Now It’s your turn to shine!
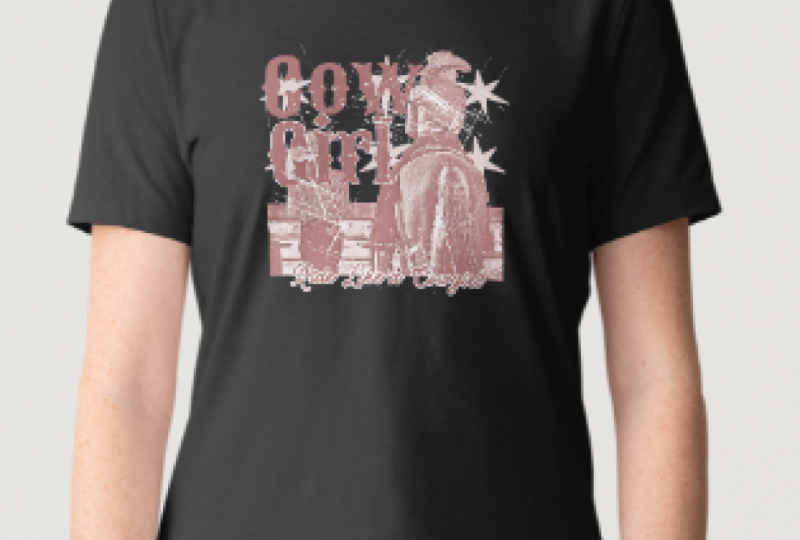
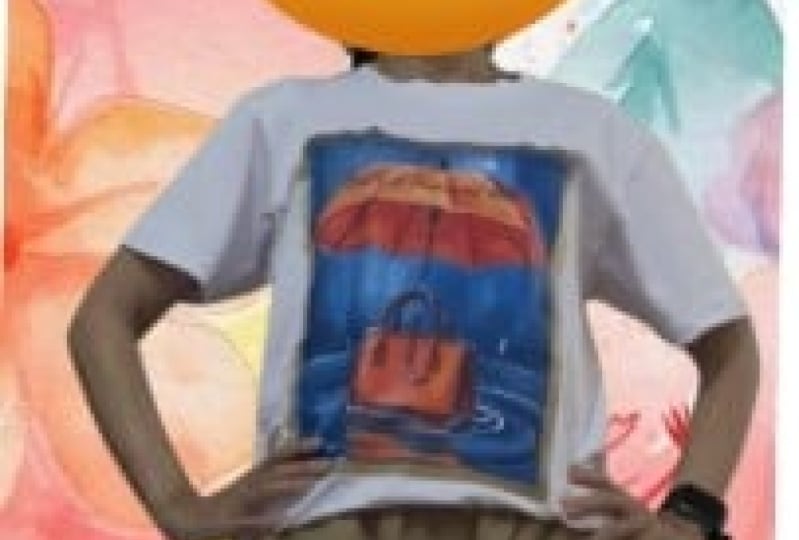
For this class project, you’ll be designing and printing your very own custom T-shirt using Canva’s built-in print features.
Here’s What You Need to Do:
-
Open Canva and select the T-shirt print template under Canva’s Print Products.
-
Choose or create a unique design for your T-shirt. You can use typography, graphics, or custom illustrations.
-
Customize your design with fonts, colors, and personal touches to make it truly yours.
-
Preview your design using Canva’s print tool to make sure it looks perfect.
-
Order your printed T-shirt directly from Canva (optional, but recommended for the full experience).
How to Share Your Project:
-
Take a screenshot of your T-shirt design before ordering, or share a photo of your printed T-shirt once it arrives.
-
Upload your image to the Class Project section on Skillshare.
-
(Optional) Share a short description of your design inspiration and any challenges you faced while creating your T-shirt.
Why Share Your Project?
Sharing your project helps solidify your learning, get valuable feedback, and inspire others in the class. It’s also a great way to showcase your creativity and see how different students bring their ideas to life using Canva.
Looking forward to seeing your T-shirt designs!


Class Ratings
Why Join Skillshare?
Take award-winning Skillshare Original Classes
Each class has short lessons, hands-on projects
Your membership supports Skillshare teachers
Learn From Anywhere
Take classes on the go with the Skillshare app. Stream or download to watch on the plane, the subway, or wherever you learn best.