Transcripts
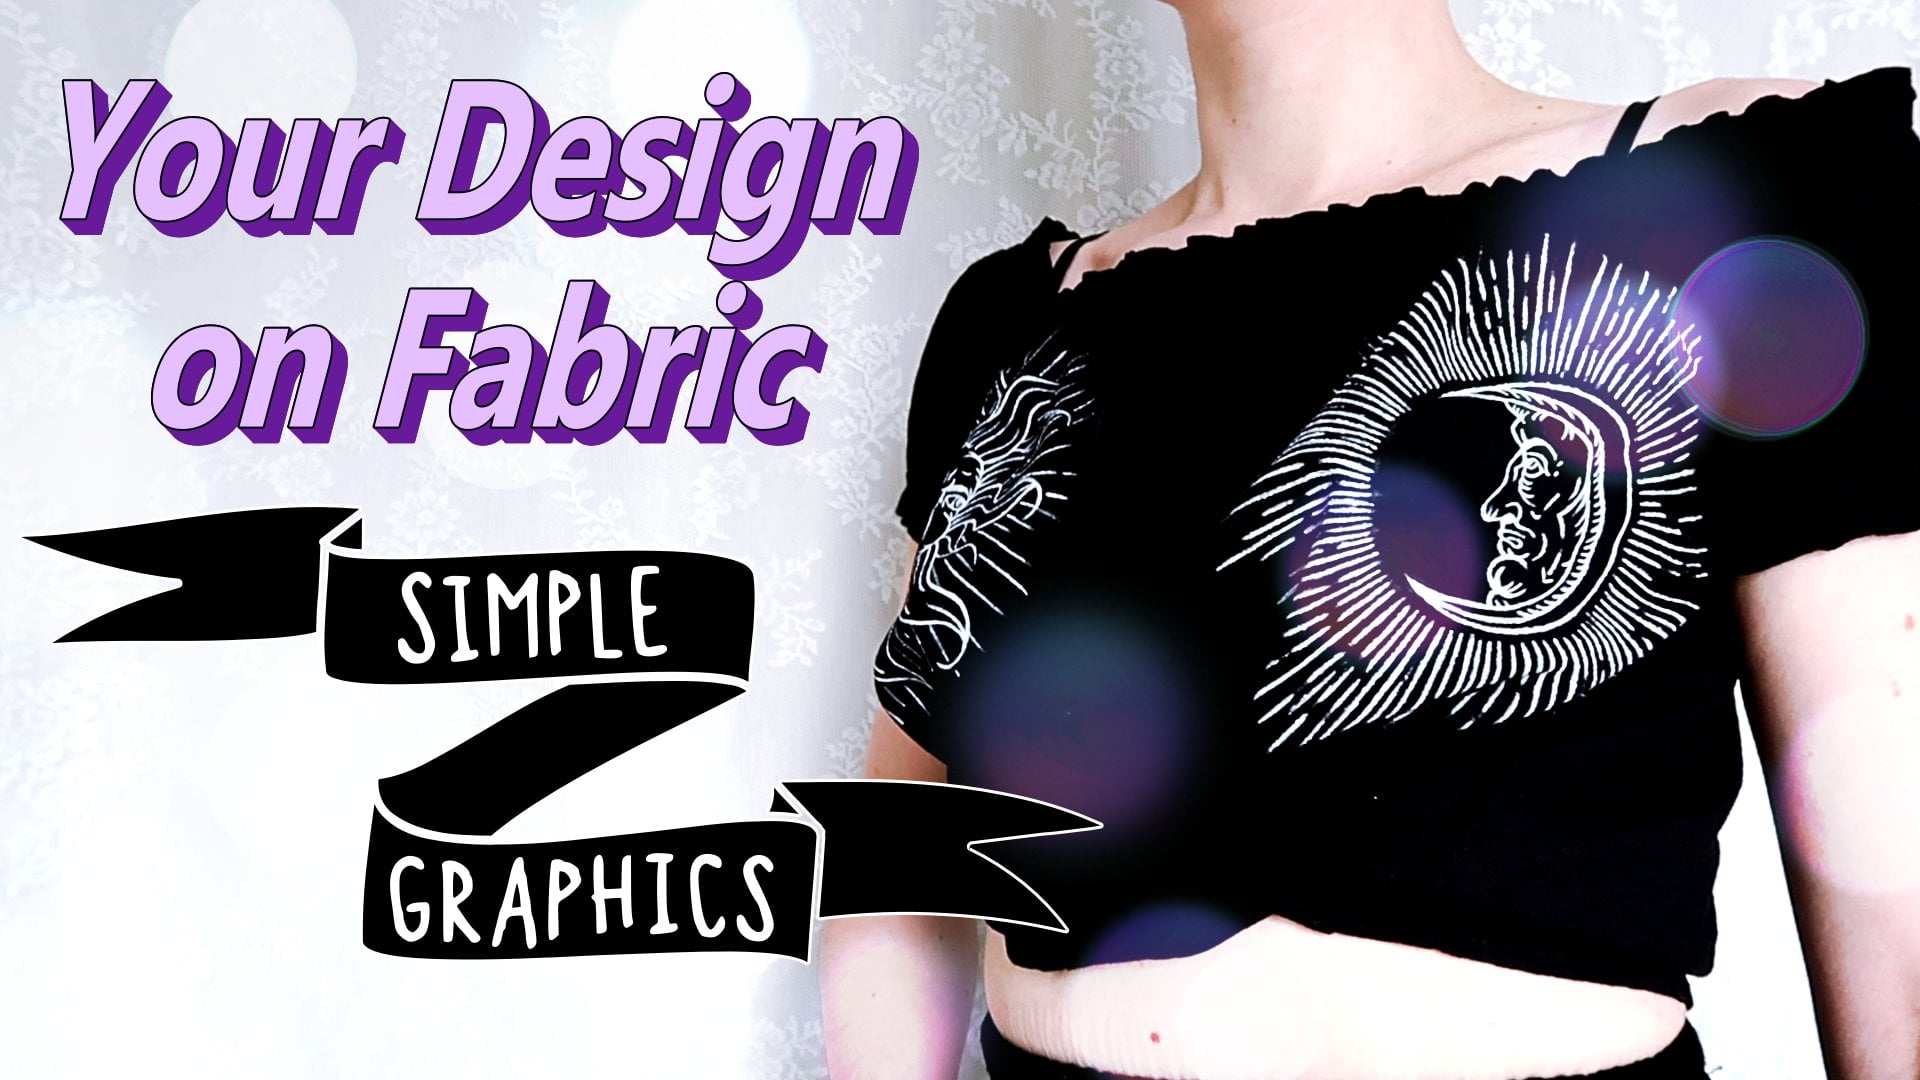
1. Introduction: Hello. My name is Leo Fabia and I'm an illustrator. Art, which and treasure hunters from the Baltic Sea. And just started my artistic Korean 2020. But I've always been creating, crafting and searching for the beautiful and unique in life. I'm also a huge fan of the I y on some things. And so it happened that I came upon printing my very first grafitti and a crafting workshop at my church. I was 13 a kids and Children, beginners, but it didn't take much, and I was printing whatever I could imagine on fabric. You would like to do that too, right? So this class is a fun and detailed guide on how to print your individual design onto Tisha using simple craft store materials, starting with printing scripts. I'll teach you my total beginners technique off fabric printing step by step. At the same time, you get to know all my tips and tricks, which I picked up over 14 years off practice. After this class, you were fully equipped with all you need to know to grab a plane shirt, get some fabric paint and start printing your new favorite garments. I'm yon excited to share my knowledge with you, and I hope that you absorbed my lessons like a brush with the paint and put it on fabric. Don't hesitate to ask any question you have along the way in the discussion section of this class. And without further ado, let's start with the promise Crack Stoneleigh materials.
2. The Best Materials: couple Plain paper. I use basic printers paper for my stencils. But if you were unsure off your cutting skills, cardboard was worked just fine. It would create a much more stable in stencil, but also a little harder on your hands while cutting a printer or pence. If you'd like to use an existing formed, a simple printer would be practical but not necessary. Just take your favorite pens and design your script. Traditionally a box cutter or a craft things couple to cut out the stencil you will need a sharp and precise knife. Box Cutter will work just fine. It has to study Blade. I like this one. I will use my good old crafting Scovell this service to cut on next. Sure to protect your desk or dinner table while cutting out your stencil. Either used a cutting map like I have a thick piece of car, but you have laying around from the last package. He received a plain shirt to print on fabric. You need some fabric. Obviously, this could be anything. T shirt. Discard your socks or even your grandma's favorite table Felt like he's in mind. That's not every kind of fabric holds pain and that heavily textured fabrics are harder to brindle. At the beginning, I would recommend to up cycle something you already have made of coffee, fabric, paint. Get one, just one, every pain to begin with. I started out with the smallest tubes of red, green and blue that my mom had found in the deaths over crafting pulse it. It is important that you get a pain that is specifically made for textiles. Critics work too bad Onley if they're mixed with the textile medium. And even then I found that they end up stiffness. Defect, bricked and correct more often than fabric paints rushes to get the paint on fabric. You need brushes. I figured that these square hot Brazil wants are best for printing and these final soft ones for precise work. Just be aware that the pain would kind of mess up the brushes out the world, so make sure that you aren't using the most expensive ones. I am using up my old Dola store brushes from elementary school. For this, its surface to print on when you're putting wet paint on separate, it will most definitely bleed fruit and room the backside off your project. To prevent this, you need something to put between the layers of fabric. As you can see, I'm using my cutting board for this purpose but the good Lord Cao part, or think a newspaper will do the job as well, and I run and the dish toll not all pains need to be fixated off the pretty butt of yours does and irons heat over protective dish towel with Merge your designed with the fabric so that it will last a long time.
3. Picking the Script: if you've never used paint on fabric before, I would recommend to start with the word or a simple phrase for your design. My 1st 1 was a silly joke on the back off my shirt. The example that shows for this class, says solar crooner Sun and Moon letter, which I hope from in painting I did recently and advice I would like to give you is that police don't overwhelm yourself with a huge text when you're just starting out. I want you to create a cool new piece of clothing, but would rather avoid leading you into a frustration. I almost always use digital forms when I'm printing Script is super practical. Source for free ones is the frontal con, which I linked in The resource is off this class. This website provides thons of unique typefaces. Just search for keywords and explore what they have to offer. When you found your fund click download. Now open your download folder. You can see that the vilest lip so you need to click right and shows extract all. Then you copy the phone file and paste it into the fonts folder off your computer on a Windows PC this will install the phones automatically, and you can use it in all text producing programs. They are almost no limits on which forms you can print. But keep in mind that we are about to cut out a stencil. The best funds for that are big and bold ones. Which doesn't mean that a nice cruise of handwriting it's impossible to do just harder to implement. I decided on a mix off aboard and ornamental typeface. What follows this stuff you learned in sixth grade computer science? Open your text program, type your word or race a justice size and print it.
4. Positive & Negative Prints: before we start preparing the stencil, I want to explain to different concepts of printing positive and negative print. You're probably thinking, huh? What's up with the dry, theoretical stuff? But hear me out. The script you just print it has a positive and the negative space, the positive being, the form and the negative being the white paper surrounding the front. Now you can cut out the letters, put every single one of them onto your shirt and paint over them. That means that you were printing the negative space around the text. Cutting the Stanford for this technique is rather easy, but the printing process can get really messy. On the other hand, you can leave the negatives and just cat Alka positive parts. Printing with the stencil like this doesn't leave. You worry about wonky letters or two big spaces between them, and it creates crisp outlast on your script. In the next lesson, you will learn how to cut a stencil for positive printing and why I left this weird bar between the circles and my example
5. Cutting the Stencil: now that we decided on positive printing, we need to prepare or a script for cutting. Lay down your cutting mat onto a stable surface, take out your script and depend off a different color. Imagine real quick to start cutting. Do you recognize something right? It's just keeping. All the letters, like there in front of us, would remove all the small negative spaces, some of them like a B B R, he said. Very etcetera contain. This would make the letters show up. There's in define herbal blobs on the fabric. To prevent this, we have to bring the negative spaces together by adding connecting bars just like I did with the two circles in my previous example, to make sure that I don't miss any, I go over my script and making dust into every one of them. Then I decided which part of the letter the connecting bar would be most stable and draw it in. The's bars would show after you put paint over them, but you will learn how to get rid of them after printing later. As you can see, I'm a lefty. Therefore, I'm starting to cut from the right so that I don't rip my work apart accidentally. I also rather press the blade along the lines bit by bit instead of slicing the paper. This helps to state precise and prevents the blade from slipping and slicing too far. It also makes cutting curves much easier. Also, instead of aiming to get the letter out in one piece cut outs, mold, It's so your hand doesn't get exhausted too fast, and you can see your process clearly should it happen that you make in this take speeds cutting too far. So you removed connecting bar. Or like I did totally intentional, of course, by slicing something else that wasn't supposed to be separated. It's not the end of your project, and you don't have to start from the beginning again. Just take some commute tape, put it over and under the parts you messed up and recounted, I have to confess this can be a bit fiddly, but its way better than to start all over again. Now you've got half the work's done already that you might be afraid that the papers isn't going to be stable enough, which isn't wrong at all. But don't worry, you will need the stances on Lee for the first layoff pain, so that's prepared for that
6. Prepare to Print: I know, I know you can't wait any longer. But before we finally printed script, we have to take some short and easy steps to get the best results. The technique I'm about to show you requires rather stiff brushes, which aren't able to sneak their cheeky bristles on the need our stencil to mess up the outlines off our script. Yes, I just gave my brush quick haircut. But remember, from the lesson of our 20 rials used old or cheap brushes, so you aren't upset when they get messed up. Cutting the bristles will make it easier to spreads the pain evenly and keeps the outlines nice and crisp. Before you open your pain, give it a good shake, then remove the lid completely, even if you've got paint in the tube and use only what got stuck to the lit. Depending on the size of your design, different amounts of pain will be required. But no matter what, this trick says me a lot of pain over the time. Next, take your shirt and put your printing surface between the layers of fabric. As I said before, this prevents the pain from bleeding onto the backside off your project. You can also tighten the fabric a little bit around it and tape it in place like I did. So it moves a lot less during printing, but don't stretch it too much. Otherwise your script will contract itself out the removing attention. Put the stencil we'd like it to be and fixated with some tape. Now, finally, we are about to put on our first layoff paint.
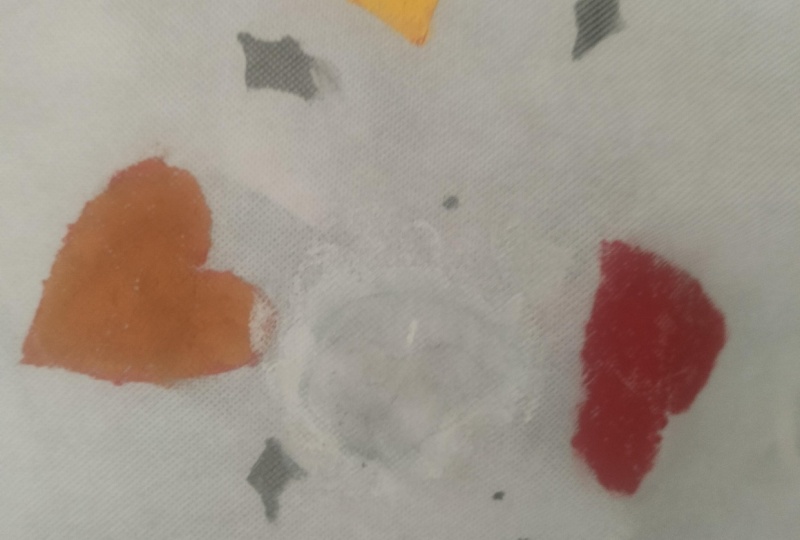
7. The 1st Layer: I know you don't have to be. This technique is bulletproof. It's a simplest this. Get paint onto your brush, strip the exits off on a piece off cardboard tissue paper or on your stanza like I did and start petting. The best way to keep the stencil intact and getting sharp outlines is to death from paper onto the fabric. The paper was definitely get wavy, so hold it down with your fingers. Don't worry, we are all artists. We lost some pain under the nails, but make sure that you wrapped on dry before you touch any fabric again, be at your piece of art or the clothes. Your worry. It's important that you worked carefully from the beginning on, especially when you were printing with dark colors on my defect bricks. It's difficult to correctness takes afterwards, since you might only need one layer. I chose to show you the opposite and printed with white on dark fabric, because first I wear almost exclusively black and second, you can see that it most often needs more than one layer off pain to come to the desired results. This is the most satisfying part of it all. To be honest,
8. 2nd Layer & Finalization: As I said, light colors on dark fabrics need more than one layer to get paid enough for this step. I was one of my final brushes and always start with painting over the connecting bars. Then I just feel in the letters until I'm satisfied with the result. My taint already shows a pretty well off the only two layers I could put on more to make the strip even brighter. But Morelia's also mean thicker paint. At some point, the smallest negative spaces I cut out so carefully would get small out and eventually disappear. Moreover, thicker paint also means that it will crack and take off your shirt, and sometimes after finishing the details, let it sit and drive for some hours. Then you can remove it from the surface a wila.
9. Aftercare: now you can wear you shared and show it to the world. But wearing clothes and having a life requires to do laundry to make sure that your design will last as long as possible. I would recommend to let it sit for a week or two after your president. Not all fabric pains required to be fixated, but if you are stuff, get out your island said it on the hottest setting for the dish. Trouble onto your design as press onto the script. Careful you for 20 seconds. Don't forget to move the IRA consistency so it doesn't burn fabric. To be honest, I fix it all of when Prince like this. It's just to be extra sure when it's finally laundry day for your shirt inside out and put it in the washing machine on 30 degrees Celsius. I never wash your delicate fabrics over 40 degrees Celsius Anyways, if you got a good quality pain, your print will last you a long time. Once I printed this Richard, like 11 years ago on my sister, is still wearing it, but enough for me. Now it's your turn
10. Your Class Project: I hope that you're already sitting on the edge of your chair, about to start your own design at any moment. I cannot wait to see what you all coming up with to print on your clothes. This classes project consists of three stages, which are all equally village, and counts is finished results themselves first, think of a word or a phrase he would like to wear around on a T shirt. Get your favorite phone from the front of Trump or design your own script and share your gear in the project Galleries Seconds. Print your scripts on printing paper and at connecting bars. Cut it out and show us your Stanfel. Third grab plain shirt you wanted to outside for forever and print your script on it. Now it's time for a photo shoot to show your results. Tell us how it went and how you like your new shirt. Printing takes some time practice, so don't hesitate to share along the way and show us your process, successes and even struggles. Ask any question you have and get feedback from me and other students who took the class, and now I would like to say a big. Thank you for watching my class. I hope I exceeded your expectations. And you discovered your new passion for febrile printing. If you enjoyed my lessons, please do me a favor and leave me a reviews. Even a one sentence common will make this class more visible in Scotia and bring others to the skills. You just learn again. Thanks about Don't shoot. I'll be waiting in the project gallery and discussions to answer your questions and see all your amazing project by
 Ellia Fabia, Artist, Illustrator & Content Creator