Transcripts
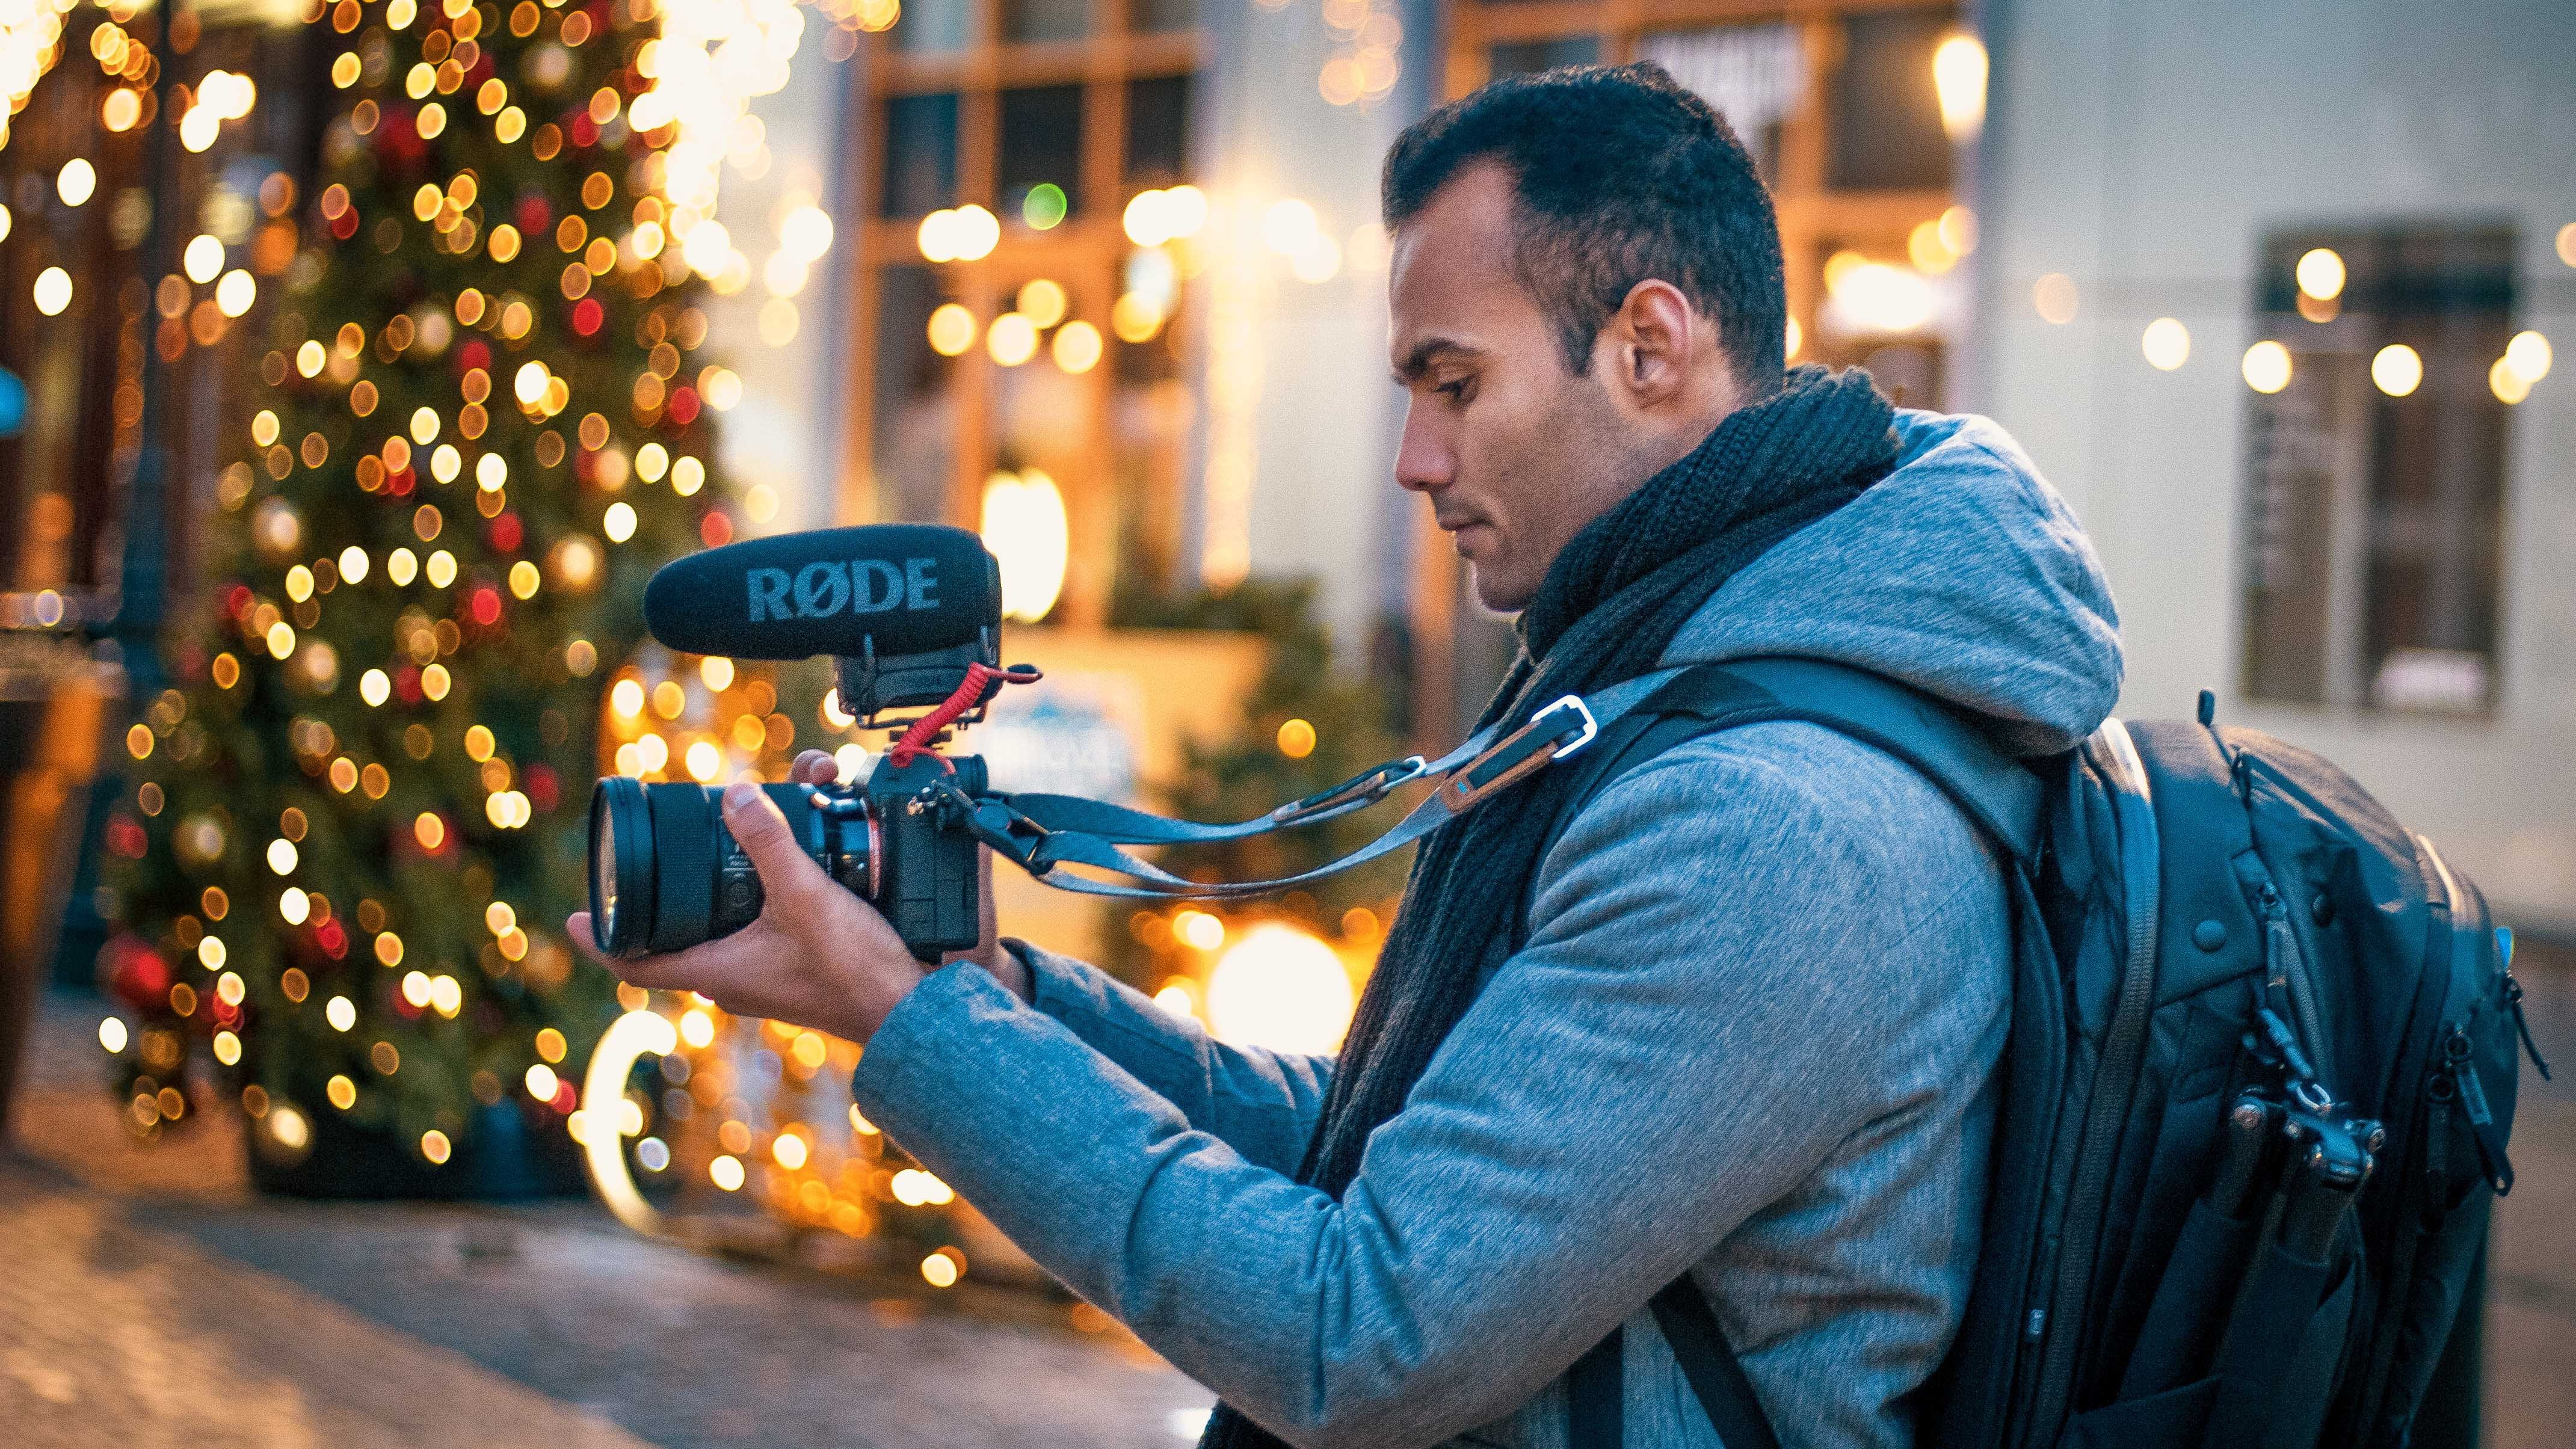
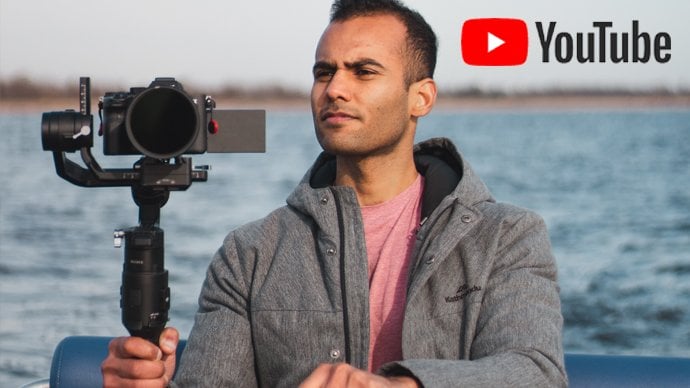
1. 1. Introduction: a video is a great way to express emotion, share stories and connecting with people. And that's why filming a travel video has been a big passion for me since last couple of years. My name is odd easing. I'm a freelancer, videographer and photographer, and I also make trouble. Videos on YouTube on this class will be breaking down along the steps to make a meaningful travel video. We'll be talking about pre planning processes. Will be learning different shots and angles, which you can try and your videos to make it look more professional. Okay, so let's get started.
2. 2. Why Pre Planning: the first and the most essential part of filming a video is pre planning. Back in the day, when I started making videos, I didn't plan anything at all. I had no idea how the place would look like I had no idea what to expect. And when I vendor without expecting anything, there were so many things going on around me, and I was like, Maybe I should feel that maybe I should feel that and I just came home with a bunch of random shots that didn't make sense at all. There was no structure, and guess what? The video was never made.
3. 3. How to Pre plan: what I mean by pre planning is just doing a bit of research about the place. Just getting a bit more information about the place of how that place looks like what that place actually is. Water the cool places to take photos and videos, the best places for sunrise and sunset. And by doing all these research, you would also figure out that some of the places are super overrated and it's not worth going. And with all these pre planning, it'll just help you to sort out your day. You'll be like, Okay, in the morning. I'm doing this in the afternoon. I'm filming here in the evening and filming here. And sometimes if you have a lot of time in a particular place, you can literally decide that, Okay? In the morning and we do this in the evening. I'm not gonna feel metal. I'm just gonna go outside and relax. I'm not gonna think anything about filming, Or maybe I'll take a small camera just in case. But I'm not gonna fill
4. 4. Types of Travel Videos: good morning here in Cartman, with cities just waking up and the place is so magical. So now you know how the place looks like. Now you know that What are you getting yourself into? So now your job is to figure out what type of problem video you would be making. So the first type is more sort of a vlog video or a travel log. So in a troubled log, your blogging more sort of time, you're explaining what's going on in the background. You're talking to the audience and taking them with year to different places. And the second type of video is a video with montage and bugles, and there's music going on on top of that. In this type of video, there's no narration of the story. The video goes on with the sequence of beautiful clips, and those cliffs are telling the story with the help of different sound effects, music and ambient noise. And the third type it is my favorite is a video which is a mixture of logging, which is the mixture of be roles and montages, and I also do a bit of voice over on top of the video So what I do in this type of video is with the vlog. I'm explaining what's going on currently in the scene with the voice over. I'm explaining the overall story, and the voiceover is followed by a bureau.
5. 5. What not to Pre Plan: way to the next part. What not to do with the pre planning? See, it's a travel video. Wherever you're going, you don't have anything in your control, your surroundings, lighting the weather. Nothing is under your control, so you don't have to plan too much video shots. What I see some people they do is they do like story boarding for the trial videos. I think that's too much, because what's gonna happen is if you go to this unknown location, and if the things they don't turn out your way, you sort of get disappointed. So it's good not to plan too much. What I do is I said a plan, say couple of Maine shots for the location. So what I'll do, I'll put their shots in my phone and when I go to film at that place and if I have no idea what to film, I'll take my phone out. I'll see that, Okay, at least I have to take these two shots and then I'm taking those two shots that will give me a good starting point
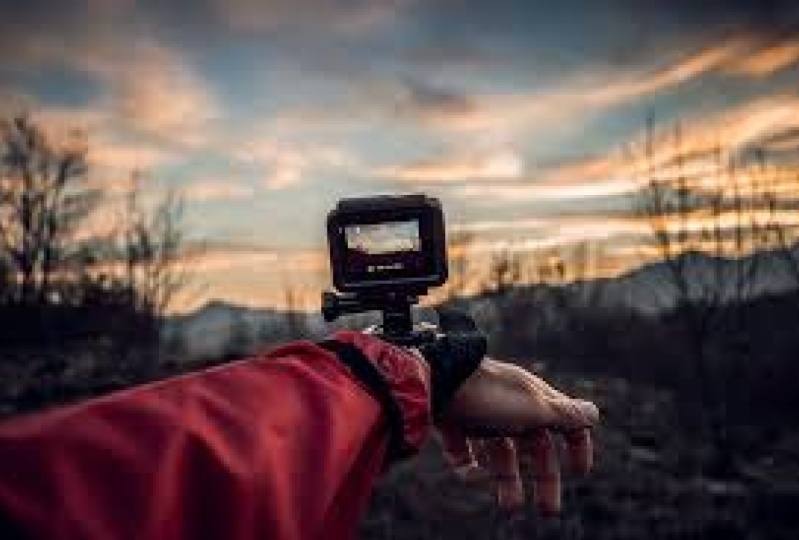
6. 6. Camera Handling Introduction: So now we know a bit more about a place. Now we know what type of video of you would be filming. We have a couple of establishing shots with us. So now we would be talking more about camera handling technique. We'll be talking about different methods you can use to make your videos look much better. So usually that three different ways we used to film our videos. The 1st 1 is more sort of handle videography. 2nd 1 is setting up the camera try board, and 3rd 1 is the most complicated one setting of the camera gimbal. So what we'll do well, this was about each type in detail in the upcoming lessons.
7. 7. Handheld Camera Handling: Ah, it's a handle. Videography the first and the four more step hold the camera stable. Nobody likes their did reshot. It just turns up the audience. And to make a camera stable, always make sure that you're keeping the elbows close to the body, your elbows tucked in next to your waist. It's a tip. Number two would handle videography if you have the camera in your hand. If you're walking, do not walk flat for it. There's a technique called Ninja Walk, and what Ninja Walk does is that it takes the majority of the shape from your footage. Your knees are acting a suspension in this method, and the third and the final tip for handled videography is using a strap. So with the strap, push it against your neck so it creates a tension between the camera and your body and therefore makes the video look more stable. You can try different ways to fill with this rap, like doing a tilt, doing a pan and doing one of my favorite method. It's called a slider shot, so with the shot it just makes the foot is look like your camera is placed in a slider
8. 8. Why use a tripod: So now let's talk about tripods, why you need a tribe or or a guerilla part to make your travel videos look more cool. So placing the camera on tripod obviously gives a stable shot, and he can also just leave the camera the tripod and walk in the frame so they'll show you in the film. From the third person point of view, it's going to give more information to the audience and a bit more perspective off how big or small you are as compared to the location it gives a proper wide angle shot, and that short can also be used as an establishing shot for a scene.
9. 9. Why use a gimble: Let's start Gimbels. First of all, let me be very clear. You don't need to have a gimbal. You're only to own a gimbal to make a really cool travel video. You can be so much creative by just handheld videos or videos on tripods. If you're a beginner, you don't need to invest any money in gimbals. Just shoot as much as it can be tended or on tripod. Okay, Getting back to temples. First step. Same thing What we discussed with handle videography the ninja walk. Okay, it's a gimbal. It already makes your shelf stable. But that is not the case with Gimbels. If you're walking same flat food and if you watch the videos in your laptop, you would see that there so many jitters. And you can watch this by just doing a ninja walk again, and that just makes the footage extra smooth. And it just makes it look super, super professional. So, yeah, I mean double with the gimbals so that the gimbals they can be so much creative. There's so many shots, which you can take from a gamble. So I'll discuss with you some of the most common shots. What I seen the travel videos and why they're being filmed. So the 1st 1 is pushing our push out shot. To make this shots more interesting, you cannot a tilt or a pan in the video. A pushing chart can also act as an establishing shot for a scene. So with the pushing, it can make an audience feel that they're entering a new location and opposite with the push out shot, it can make an audience feel that they're moving out of the location. Okay, so we'll be on to the next shot. The next start, you can take me. The gimbal is a follow shot. So with the follow shot, you're falling. The subject. This shot can make your audience feel like you're right behind the subject and moving with the subject in the story. So the next shot for the gimbal is evolving short where the subject is in the center and you're sort of revolving around the subject. This gives a dramatic effect on the audience that the subject is in the center and you're showing everything in on them and still keeping a subject as a center of focus
10. 10. Types of shots in Filmmaking: Theo so navigated all the pre planning work. We know what type of video we want. We have a couple of establishing shots in our head if you know a bit more about our care, more sort of possibilities of taking different shots. So now let's dive a bit more deeper into shot selection. So to make it simple have divided into three different types. A light shot, a medium shot and a close up shot. So we'll talk about all these shots separately in details and then, in the end will sort of try to put all these shots together to make a compelling travel story. So let's talk about a wide angle shot so this can be a shot from a drone on a gimbal on a try board or handheld. So why don't the shot gives the audience a piece of brief information about the location? It can also act as an establishing shot for some scenes. Here are some of the examples of a wide angle shot. Next type of shots are medium shots. This is the most common shots used in film making, trouble videos and all sort of different types of videos, so medium shot is what we see with our eyes most of the time, if you're in a closed environment or if you're talking to someone, if our subject is a human than the medium shot for them would be a sharp from their needs to the head or race to head. The shot gives the audience more information about the subject. What is our subject wearing? What is the color of their skin, their body language? What action their doing? It's pushing the audience to focus more on the subject rather than the environment. So here are subject is the main focus, and the surroundings become the secondary focus. So here are some of the examples off a medium shot. Now moving on to my favorite chart is the clothes of Shot. Let's get started. A close of shot is usually used to express emotions. They shot, eliminates the environment and focuses more on the subject. It gives a vivid perspective of how it looked like if we were that close to this subject, it can also be a shot off sudden action what your subject is performing. So here are some of the examples of a close up shot through
11. 11. How to take different shots at a location: So now you know all the shots. So what I'll do now is I'll give you an example from one of my travel videos from Katmandu . So I'll pick up a small sequence, which is the sequence of an artist ceremony. Now to show you guys, what was the feeling processing that evening? So this is how the whole place looks like. So this is the place where the priest would be standing. So this is the area where we would have most actions and which is the most important part to film. So keeping this in the center, we also wanted to film everything around this place. So there are people here they don't. So all these lines, they're showing that it's a stare. All these lying day. They're showing that it's a stare which is going down. There are people here, so I had this much room to move around this place. There's also people here, and there's also small small temples here, and there's a bit of a gap in the temples. You can also stand in between to watch the rt. So if I see the 1st 23 shot, what I'm trying to do is I'm trying to create more subtle suspense. So I'm not showing everything at the moment. I am showing bits and pieces off the surrounding areas. So just to let the audience wonder that Okay, what place is this? And after sharing 23 shots, I showed the first shot, which is from I think here. So I'm filming this whole area from here, and they go a second shot second short here. Same somewhere around here. And I'm filming the priests of First shot was more set off this and second shoulders. I'm standing here and of filming the priest. So these are the establishing shot, and they're showing the audience that. Okay, so that's the place, and this is what it is going on. So next shot What I did, I wanted to. I showed the priest, but then what they're doing like, who's watching them? What's going on in the surrounding? So I e start off, stood here and I'm filming more sort of this part. And then the next shot, What I did was I was still standing here and I took close up shot off this area where there's a little thing on the ground. There are more close up shots. So, yeah, I'm taking more close up shots just by standing there and then the cool part for this place was this stare. It's taking me a little bit downstairs. So what's going on is I'm standing here in Amarillo level, which is a bit lower than the people who are standing here. We're doing the RT so I could film them from a bottom angle. And that's a really cool angle to show to your audience if you want to show the subject as more powerful or if you want to show the subject as more dominant. So I do a couple of shots standing here as well. So these were the bottom shots I could. I did close ups and wide angle shot just from standing here. And then yeah, you see, next shot What? I did what I was standing in the crowd. So I'm keeping a little bit of crowd in the foreground than the priests are here. And that I'm keeping. There is also a little bit of crowd here, so they're the foreground main subject and the background, so that creates a bit of death in the video. It also makes the subjects are off. Stand out off the whole picture. And then if you see this short the shot I took when I was leaving the place. So how you exit from this place is through here on while we were leaving the people, there were people still standing here, and I wanted to show how it looks from this angle. So I stood here and I took the shot off this whole thing just for the conclusion. What I'm doing here is I just had this much room to move, so I took some shots here, So these were I took safe, medium and then wide shots from here. And then I took some medium and close up shots from here. Same thing. I took medium and close up shots from here. So just by standing at three angles, I could get so many different shots off the same place. So what I was doing as I was filming here for five minutes. Then I'll go here for five minutes, then I'll go here. Then I'll come back again. And that's what I did for, say, 15 minutes. And I got a really cool sequence. So this is what I do to film at a place where I have, like, limited place to move around, and I just tried to move to different, different places and take as many shots from as many angles as possible so that when I go home, I just have a lot of options to choose from.
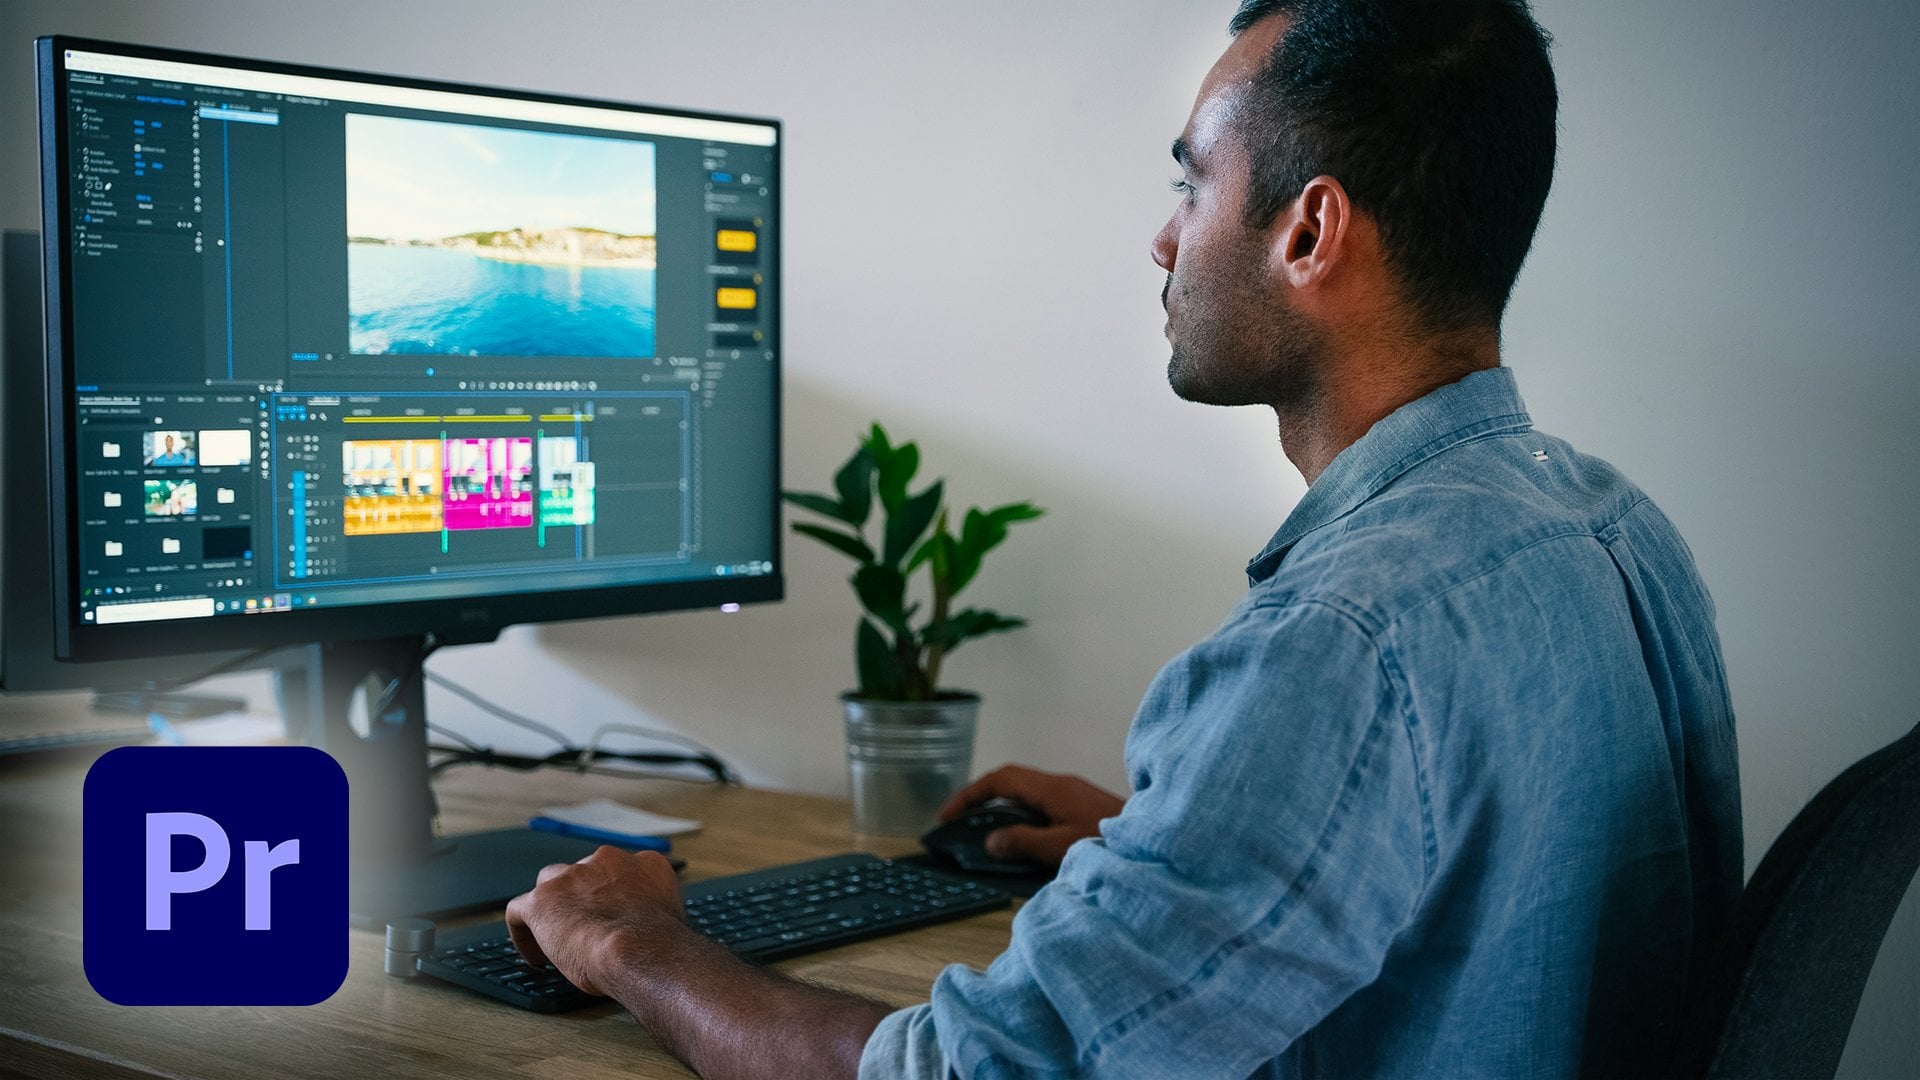
12. 12. Tips to edit your videos: have a ton of shots and you're in a hole. And you have no idea what to do with all those shots. But you still had a basic idea that Okay, I'm gonna make a video V test a sort of basic structure like this. For example, in Katmandu video, we had a bit of structure, so I had a bit of plan in my head that I'll do mawr set off a vlog. Then I also do a bit off twice over, and then I'll film a lot of B roles. So first thing I did when I went home Waas I just watched all the videos a lot of times. Yeah, And then after watching all the videos, I sort of put them in separate folders According to what time off the day they have bean short according to the location, so that when I'm editing and have to find a shot, it's easy for me to just navigate through. So after putting all the videos in separate folders now, at least I know that how much content I have from every place. So, after organizing all the videos, I sort of had a bit of idea that Okay, I have this much clip from this place, this much clip from this place. So I came up with a bit of structure. What I did waas. So I figured out that we've been to all these different places in Kathmandu and all these places they have different by they have they were completely different from each other. So what? I thought that instead of mixing all the foot is together, I would make a small small sequence off each place so that each place shows a different story. Each place has its own Wiebe and I'll also choose different music for each place. I'll also to his different color grading for each place. So, yeah, I just watching your footage a lot of times it also gives to you a bit of starting point, or it also just just tells you that Hey, this is what you have got. And this is what you can make out off it. So I just keep watching. Your foot is a lot of times and you would eventually figure out the structure of the video . So now I know the structure of the video. So what I did for the first part, which is the intra part. And in my opinion, that's the most important part of the video. Because on YouTube, the attention span off your audience is really less. It's like 5 to 10 seconds. So you have to put, like, really good quality shots in the beginning. And that's just to tell your audience that, Hey, this is a really good quality video and it's worth your time. So keep watching. So, yeah, just make sure that your intro is really good. And once I was done with the intro, then I moved on to the first sequence of the first sequence. Waas the sequence from the morning and in that sequence I wanted to show real Kathmandu. I used the music similar to the environment, and eventually I moved in the afternoon shorts where we were at a completely different location and then the evening shots followed by the night shots. So the deed sequence, I decided what will be the opening shot of the location, the establishing shot. And then I started placing all the good cliff from the same location in my timeline and eventually choosing what clip would go on. What part of the music. It became easier because until this point I watched all the food it so many times that whatever part of the music I'm like, maybe I should put this spot here. Or maybe I should put this part here. So that's why it's really important that you watch your raw food it so many times that you don't miss on any of the good shots what you have taken. So with each sequence, I used completely different music. According to the location, according to the mood, I wanted to say, and we're cutting the cliffs. All this make sure that you're cutting them with the rhythm off the music so that your audience are also sort off in a rhythm and they go in and the whole video, it just looks like it's going in a flow. So we're cutting the clips. Always make sure that you're not leaving one single Klay for too long and one clip for really short duration of time, so that your audience didn't even get a chance to look at the clip. That what's going on? Why did you even put it there? So, yeah, just be very mindful that for how long you're keeping the clips there. And yeah, of course. The cut would also depend off on the beat off the music on the rhythm of the music.
13. 13. Let's talk video transitions: so transitions in trouble videos. I'm not really a big fan of all the trendy transitions. What you see on I like YouTube travel videos. I have used them in the past. So some of the transitions, what I use now is more sort off speed ramping, zoom in and zoom out. But then I do that manually. And then also, time left says hyper lapses, hyper zoom and the white transition. Yeah, I like the bike transition. Yeah. So some of the transitions which I don't really seen the videos are the Jacob and the Cocotte. So Jacob is venue audio from the next scene place first, and then you show the video. It helps you to move from one shot to the next shot. And it also sort of creates curiosity in the audience that they listen to the audio first, and then you're like, Oh, what's going on out? Maybe I'm going to the next clip, so they sort of foresee that. Okay, we're going to a different clip now, and it just creates the curiosity. So yeah, it just builds up more interest for the audience. And it looks good. Yeah. And with the Al Qadi sort of chop off the video first and let the audio play until the next scene. So you see what I just did there? Yeah, that's l good. So what? I did what I was still talking to you. And then I moved to the next scene, which was the computer screen. Some of the transition seeking also practiced by ourself. It's doing more sort of an in camera from missions. So in this transition, what you do is you sort off pan your camera fast, like left to right or up to down or down to up. And then you're sort of putting a scene which has a similar movement after the transition. So it just looks like it's going in the same floor that I moved my camera left to right, and then the next scene, the movement off the object or the movement of the subject is from left to right as well. So it just makes the transition from one cliff to the next lip. It just makes it look really smooth. So, with any in camera transition, the only thing you have to keep in mind is that you have to plan them beforehand. If you didn't do anything in the camera. And when you go home and you try them in the soft, very dis looks really bad. So all this make sure with in cramped traditions that Yeah, you just keep a note in your phone that Yeah, I have to do transitions like this. Yeah, and there's no rulebook off when to use what transitions. You just have to be very mindful with using transitions. And you just have to You just have to be very careful that if I'm using this strong vision , Is it Is it is it making the video look more good? Or is it making the video look like, Hey, I know this transition. That's why I'm putting them into show people that I know that's foundation. So, yeah, you just have to be very mindful off using the transitions when to use and not to use
14. 14. Let's talk color grading: so we colored rating. I'm not gonna talk too much about color grading in details because there's ton off videos as ton of tutorials on YouTube, How to color Grand and Premier had to collect right on radical pro How to carve written down into results. So I used up into result for color grading so you can find a ton off videos on YouTube. So some general rules off color grading. You have to figure out, Do you want to give a warm look? Do you want to give a cold look? They want to give a more sort of tropical look in the video and then more sort of color. Great according to that. So if you want to give a summer look, obviously when I keep the video bit warm. But if you want to give a cool low key with more sort of till the video more towards the teal side. And if you want to give more tropical loop, it should be more that of high con trust. More that are green, more blue oceans and all the sort of stuff, but always made sure that the calibrating is that do not overdo it because I see some of the videos where they have overdone the color grading, and it's just a trial with you. It's not a film. So in films, if you see the color grating, they use like super extreme collaborating. And that matches with the theme off the film because the director wants, like, certain emotions to Conway. But we travel video. Usually it's more sort of like happy, adventurous, sort of stuff that you don't want to use, like, really, really strong colors. Keep the colors neutral, but be a bit sort of inclined towards yeah, what type off look you would want from the video.
15. 15. Summary: welcome to the last video. So first of all, if you have made it this far, I thank you so much. And I really hope that you have got some value out of this whole video. Siri's. And yet I can't wait to see your products. We I just puts them down below. And yet I think I'm gonna sign out. Thank you so much for watching. And I'll see you in the next class.
 Adi Singh, Videographer and Youtuber