Transcripts
1. Introduction: Alright guys, Welcome to this brand new sculpture class where you would be learning how to use basic camera movements to get cinematic videos. And I'm very excited to share this class with you guys because whatever things I'm going to be talking in this class is just so easy to follow along. And the only thing that you would be using for this class would be a camera and a camera straps. So you don't need any fancy Gary, you don't need Gimbels, You don't need stabilizers. All you need is your camera and your camera strap. Whatever techniques, whatever examples I'm going to give after finishing this class, you can just go out and practice. So my name is Ali saying I'm a freelancer, videographer and a photographer. And I also make videos on YouTube. And I truly believe that to make a cool video, you do not need anything fancy. You all you need is a good camera, camera strap. That's it. Alright, so enough of intro. Let's get started with the class.
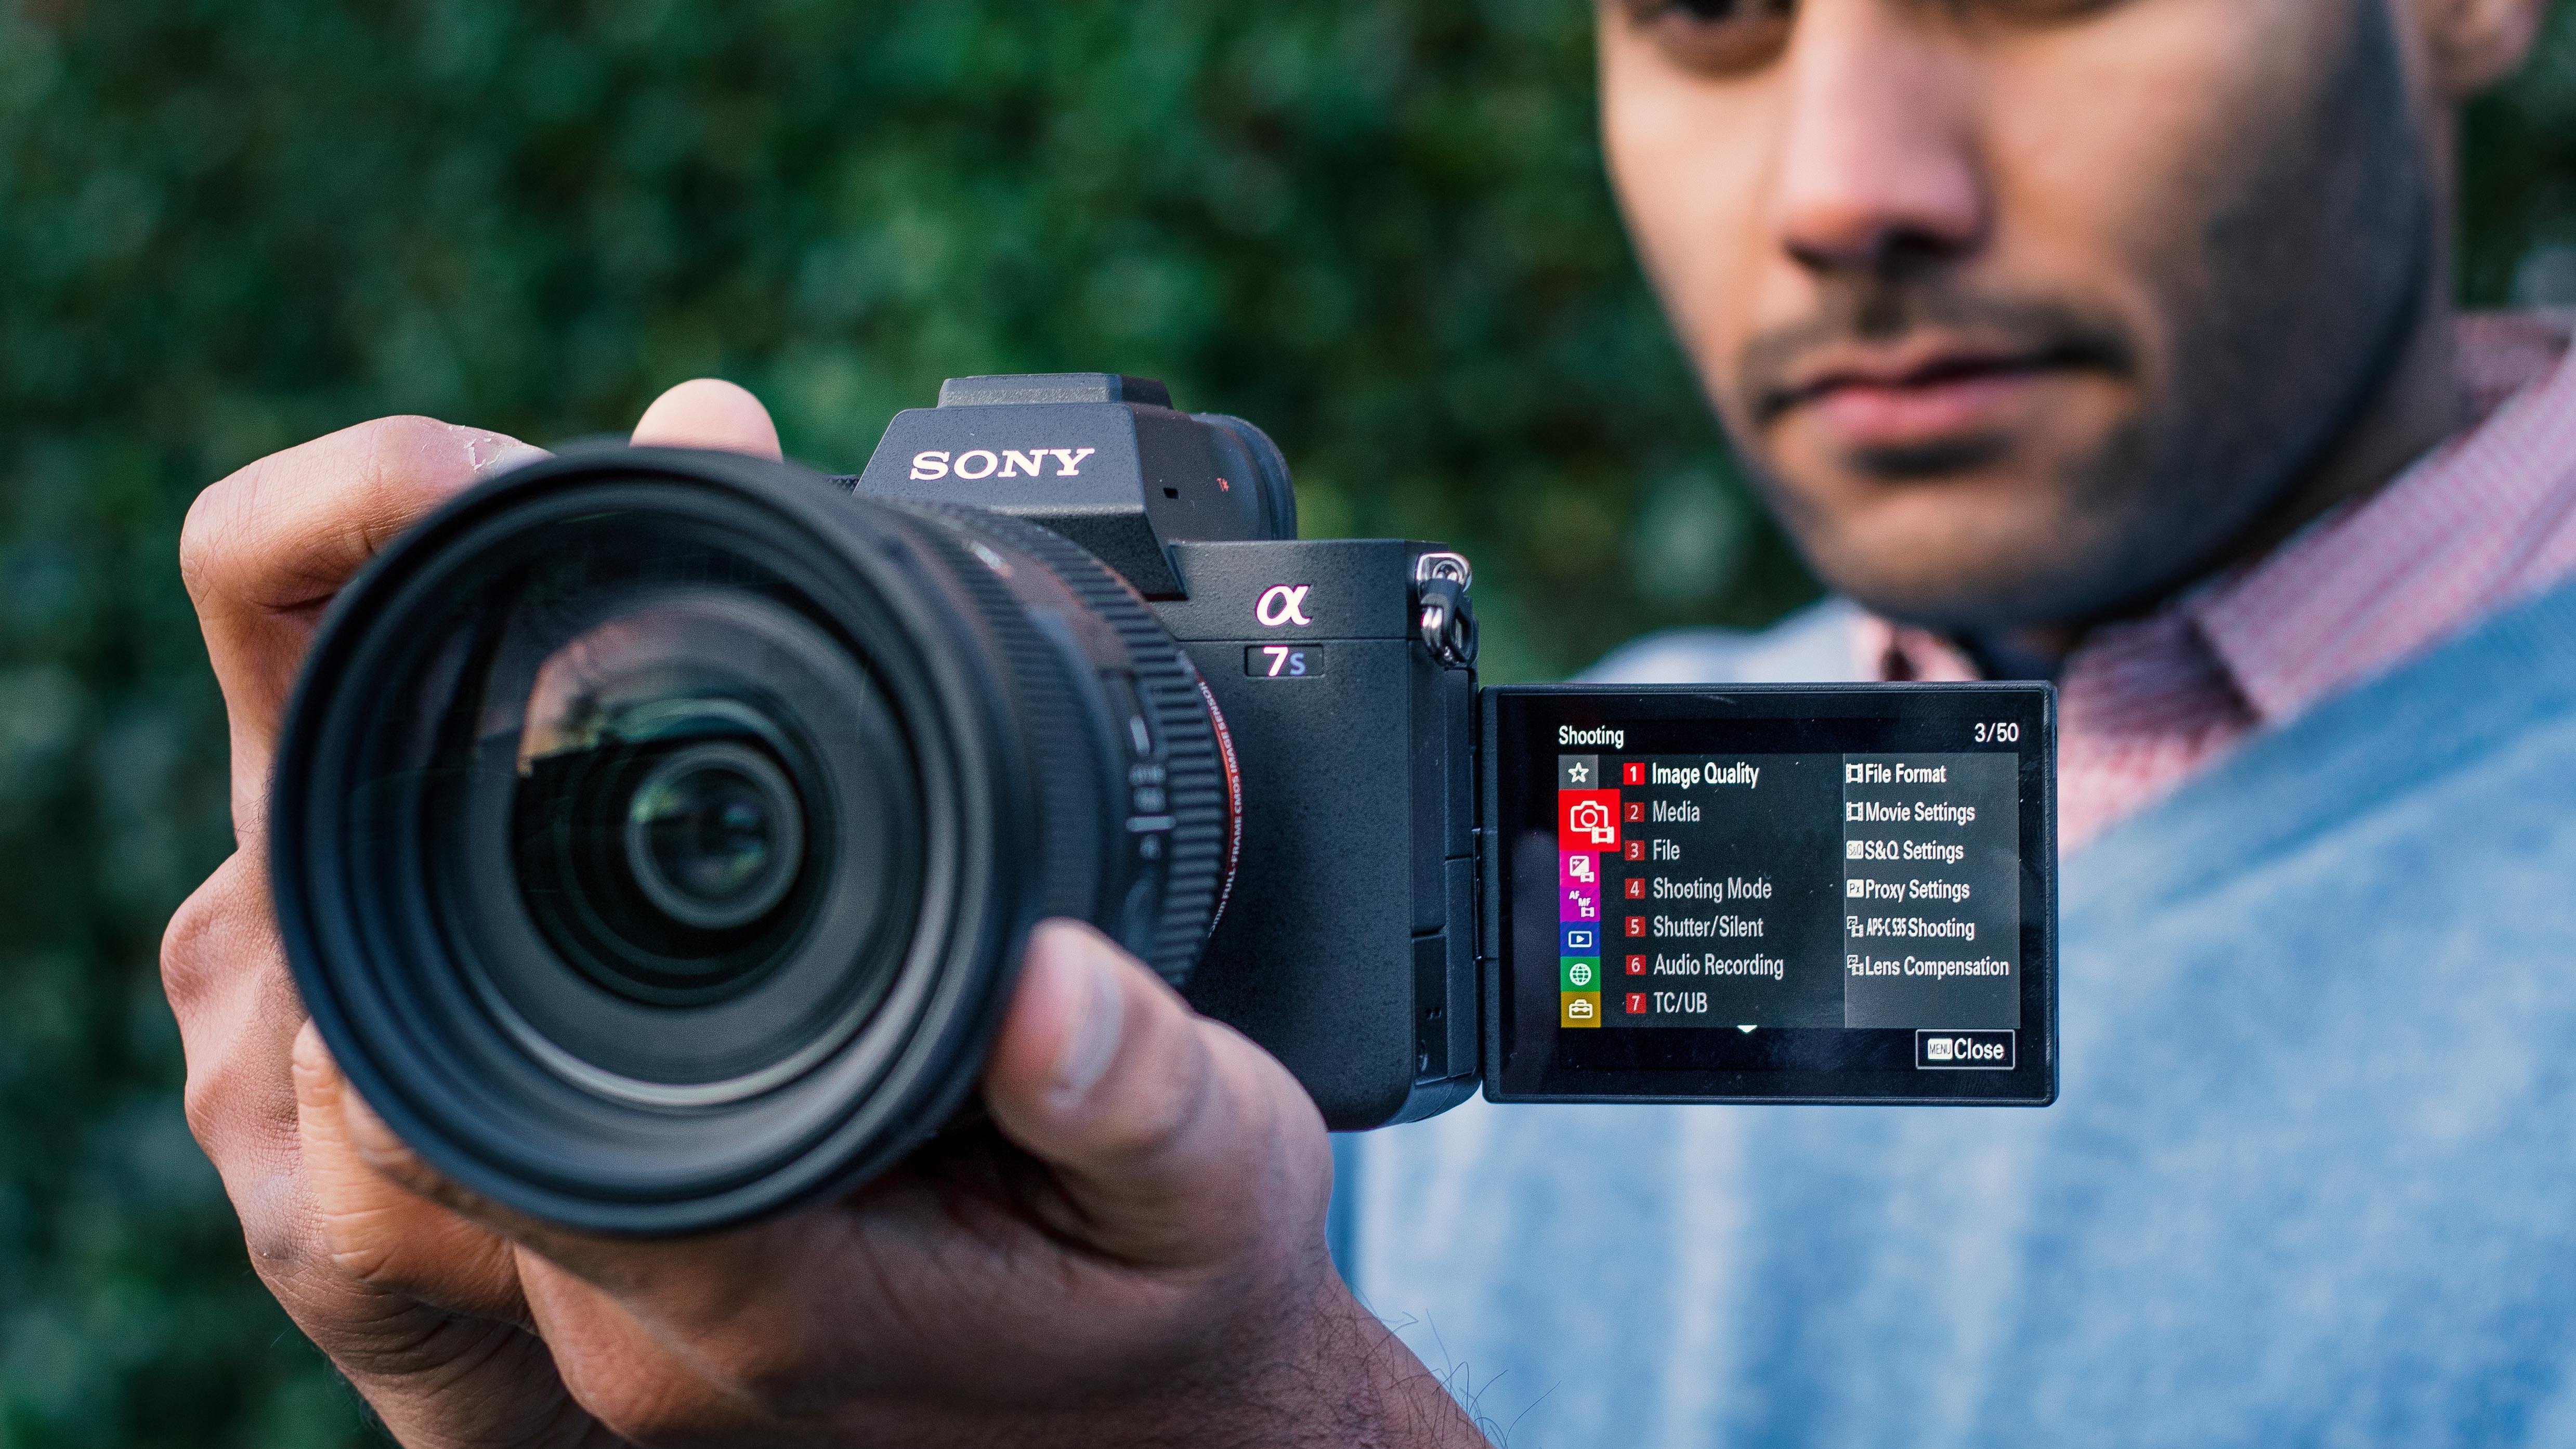
2. Frame Rates per Second: All right guys. So the first and foremost thing before going to initiate all this makes sure that you're setting up the camera in the right setting to film a specific B-roll. So what are the right settings? So I will be explaining few terms, and I would be also explaining how they work and how can you change them according to what type of video you want? So let's get started with the camera settings. First thing is called frame rates per second. So I would give a brief explanation about frames per second. If you want to know more about this, you can go to my other class. I have talked about camera basics. I would link that class in the description below, so frames per second. So if you are filming a normal video, which is a normal pace to video like how we're filming now, you can film in 24 frames per second. So if there is no slow motion involved in the video, you can film the video in 24 frames per second. But if you want the video to be slow motion, because obviously in my opinion, I feel that the normal paste video, it doesn't look that cinematic as compared to a slow motion video. So I usually use my five-year-olds in 60 frames per second, or sometimes 120 frames per second. So that's the thing with 60 frames per second. If you are filming in 60 FPS, then you can always reduce the speed of the video to more than half in post-production. So yeah, always make sure if you have to build monomial paste video film at 24 frames per sticking, cause that's the most cinematic how it looks to our eyes. And if you have to fill my slow-motion video film in 60 frames per second. But in postproduction, you can reduce that 60 frames, 24 frames per second. And same thing you could do 420 frames per second. So if you're filming any fast-moving object, or if you're filming any sporting activity or if you're filming like the other day I went to the beach, there were so much action going on around me. So I thought I would just film at a 120 frames per second. And then in the post-processing, I reduced at a 120 frames per second to 24 frames per second. And that reduce the speed to, I think 1 fourth or 1 fifth. And the video, and the video, it will just looking super cool. So that was it four frames per second. The next thing you should be keeping in mind is the shutter speed.
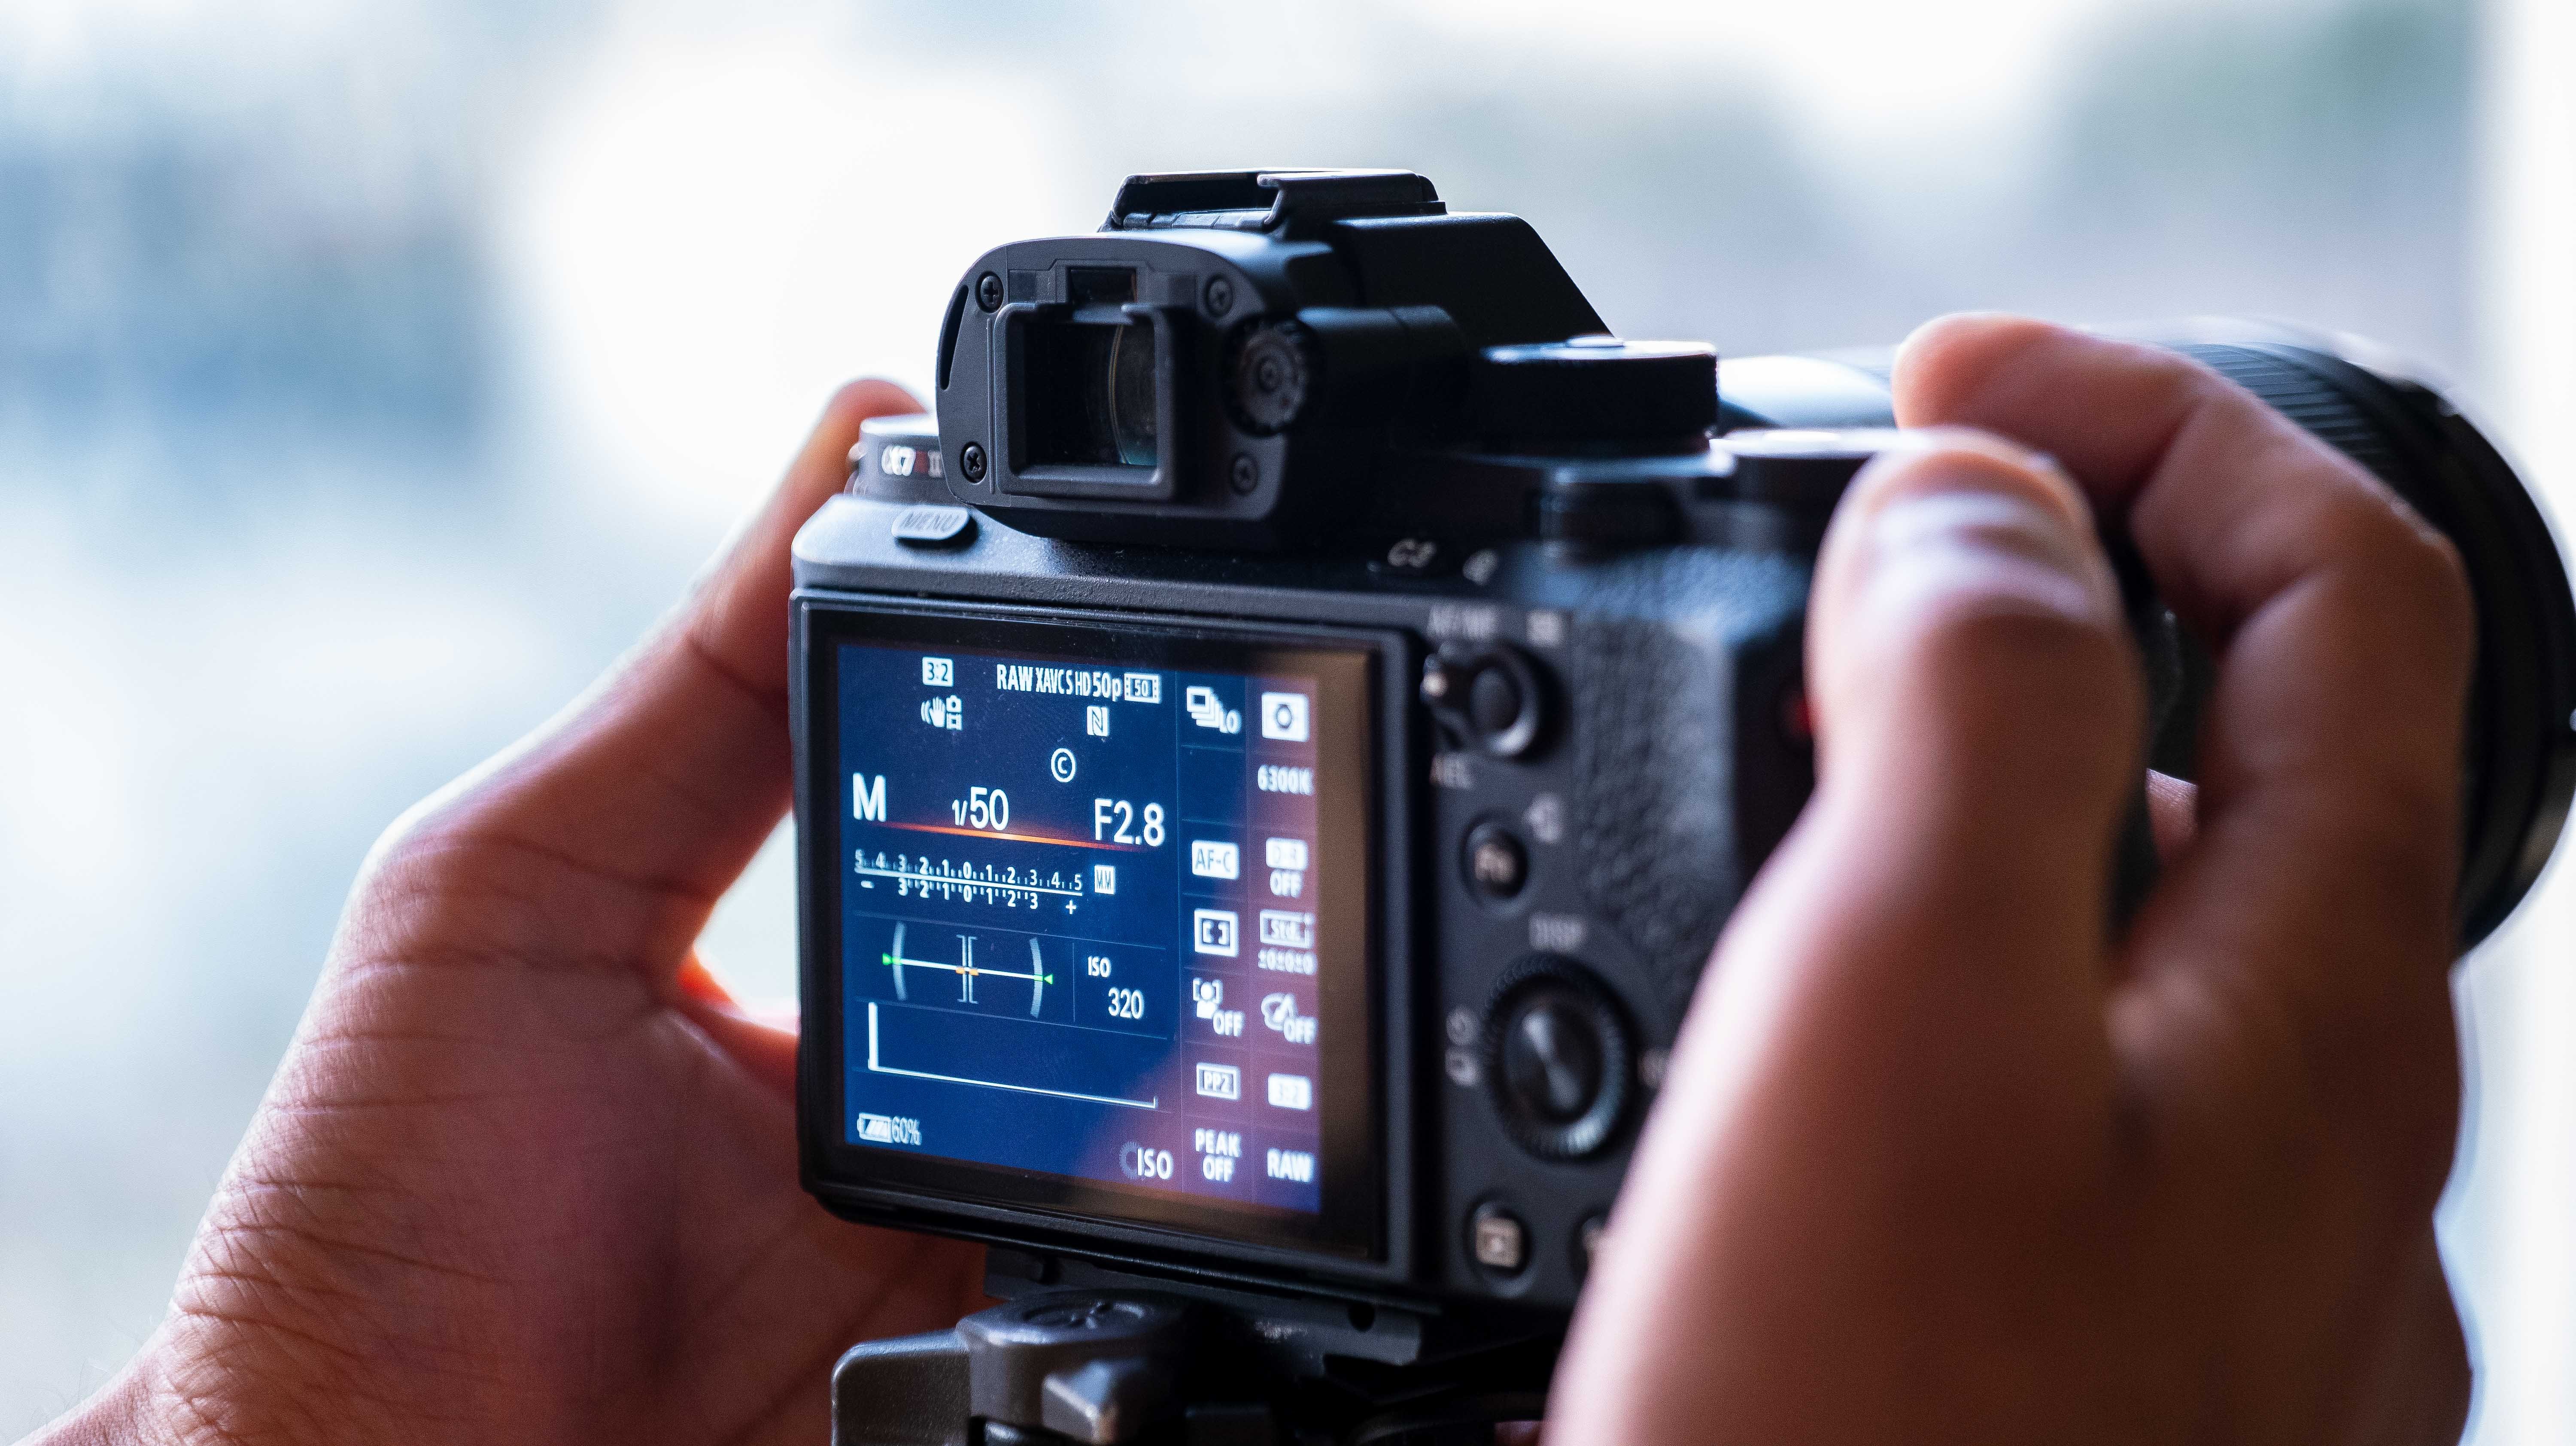
3. Shutter Speed : So there's a basic rule for filming a video. So your shutter speed should be always twice as much as your frame rate. So if I'm filming this video at 24 frames per second, my shutter speed is at one over 51 or 50 or 148. And same goes for 60 FPS FM filming a video a 60 FPS, my shutter speed should be one or one by 20. Same goes for a 120 frames per second. So for filming something at a 120 FBS, the shutter speed should be 100 or 250. And why you should do that? If you don't do that, your video wouldn't look as smooth. So here is an example of me filming a video at 60 frames per second, but then my shutter speed was also one over 50. And here is the same video I filmed at 60 frames per second and the shutter speed was a 120. So you see how much difference is in between those two videos. So this is a really common mistake beginners make. So yeah, always keep in mind that this is like the rule of thumb. And I've been there, most of us have been there that sometimes he would forget, but that's how you learn. But yeah, just keep in mind film at whatever framework you want. But then there should a speed should be double of that. So those are a few settings which you need to keep in mind before going to any showed before filming any B-roll that would help you so much to make your videos look super cinematic. So now let's move on to the next section, which is the fun part. So in this section we will be going out and we will be filming, and then I will be explaining you step-by-step how to get those shots. So let's move on to the next section.
4. Wide Angle Shots : Alright guys, so in this section I'm taking guys outside. So we are going to the main city and it's a small elevate, the main city very, very found this Christmas tree and various Christmas declaration, of course, because it's Christmas time and its nearest time. So there were, there were some beautiful lights in the city that there were some beautiful decorations. So that's what I took the B-roll off. So for this specific B-roll, I would be taking the Christmas tree as my main subject. So what I would be doing is I would start with the wide-angle shots. So why we should take wide-angle shots? Wide-angle CHAARTED does gives more information to the audience. It just gives a brief description of how the surrounding is looking around the subject, how the size of the subject is, where the subject is placed as compared to the surroundings. So yeah, it also acts as an establishing shot for any chute. So before taking any short first and foremost thing that you guys need to know is how to hold the camera. Your right-hand should be on the camera grip and your left hand should be under the lens. So the left hand is holding the lens quite firmly, not letting it move at all. And now let's see how do we hold the camera with the cameras wrapped so you actually push the camera against your body so that camera strap creates a tension between the hands and unique helping you to keep the camera steady. So for dividing shark, yeah. So we are just pushing in and pushing out against the tree. And then for the advanced movement, VR sort of panning up and panning down with your camera while pushing in and pushing out. So the first shot, what I would be taking as the yeah, the normal wide angle shot and unbending my near them, slowly logging to us the tree, keeping the tension between the camera and my body, and this is how the outcome is. So this is a video which was shot at 60 frames per second. It has been slowed down to 50%. But if you see the stabilization is not that great. But if he go in Premier Pro and v do wrap stabilizer, the outcome is really spurred. So the next type is a bit more advanced tags. In this one I'm walking backwards and panning the camera downwards. So this is how the outcome. But look. So you see I'm doing the Christmas tree again, so I'm walking in and I'm panning the camera down. They chose all the buildings around me. But then it also reveals the main subject in the video. And the same goes for here. So it's showing all the buildings on top of me. And then it also reveals the main subjects. So it's a really interesting shot to take if done right. Next time, what we can do is to follow shot. So we're doing the exact same thing. Bending your knees a little bit, pushing the camera against her body and look how smooth the footage looks. So in this one, you can follow someone and it would literally look like here, placed the camera on the Gimbal. And obviously the main footage out of the camera was not that stable, but I use drab stabilizer to stimuli stays. And this one is pretty interesting. So I have been down and I was tilting the camera upwards. Is this little bit of change in the variety of the wide-angle shots. And you can try these wide-angle shots in any place which is a bit narrow. So whatever movement you are going, you can see the surrounding subjects just passing by it. So it just creates a bit more depth that you are actually moving forward if there's something around you which is going back.
5. Medium Shots : Or a guy. So after the wide-angle shock me would be moving on to the medium shots. So medium shots, in my opinion, they are the most important part of any B-roll. And why is that? Because they give your audience a lot of information about the subject. So because we only had a brief information about the main subject in the wide angle shot, the medium shot, it just explains a bit more. It just gives a bit more information about the subject to your audience. So that's why we use medium shots. A medium shot can be of variety of types. It's just that you have to figure out how you have to take medium shot. And in medium shots he can focus on different subjects in the B-roll. So for example, in this video, I'm focusing sometime on the Christmas tree and focusing some time on the girl which is in the video. Sometimes I'm focusing on some other decoration in the medium shot, so I'm just giving more information to the audience that how much surrounding looks, how the decorations are just giving them a bit more information about what type of decoration that is, what is the color of the bulb, how the Christmas tree actually looks, how was the declaration of the Christmas tree. So those sort of information you give in a medium shot and in the medium shot he can do few movements in the camera. But because my lenses extended a little bit, even if I do a little bit of movement, you can see a lot of shaking the camera. So always make sure that if you're doing any movement in the camera while taking medium shot, just be really careful and any hold the camera really sturdy so that you don't have those jerks in the video or it's going to look really bad. So you're always make sure that if you're doing any sort of movements in medium shot, just make it really smeared with the help of the camera strap. And you can always move sideways. You can always go up and down, fits all up to you. But I would, I would recommend to start with a static medium shot. And then if you feel comfortable, you can always do a bit of movement. And if you are filming and 60 frames per second, even if there is a little bit of harsh more men in the camera, you can always reduce down the speed of the footage and the video might turn out to be really good. That's also a benefit of filming in slow motion. There is a harsh more men in the camera in the poorest you can make it slow motion and the harsh moment can look smart in some cases. So yeah. So now let's move into the medium. Shots in medium so that we're not doing much movement. The only thing we'll being is our body. So we're not even moving our hands just to minimize the risk of having those jerks in the video. So the only thing we'll veer moving years our body and look how stable the footage looks. You can also use the shirts are there reveals shot for this object. Fiercely, there's literally no movement in my hands. The only thing sliding left and right is my body. And the next type in medium Charlie can do is you can zoom in a little bit in the camera and just follow your subject. You have to be really careful with keeping your camera stable in this one. But the footage is looks really good. It just looks like you have set up the camera on a Gimbal.
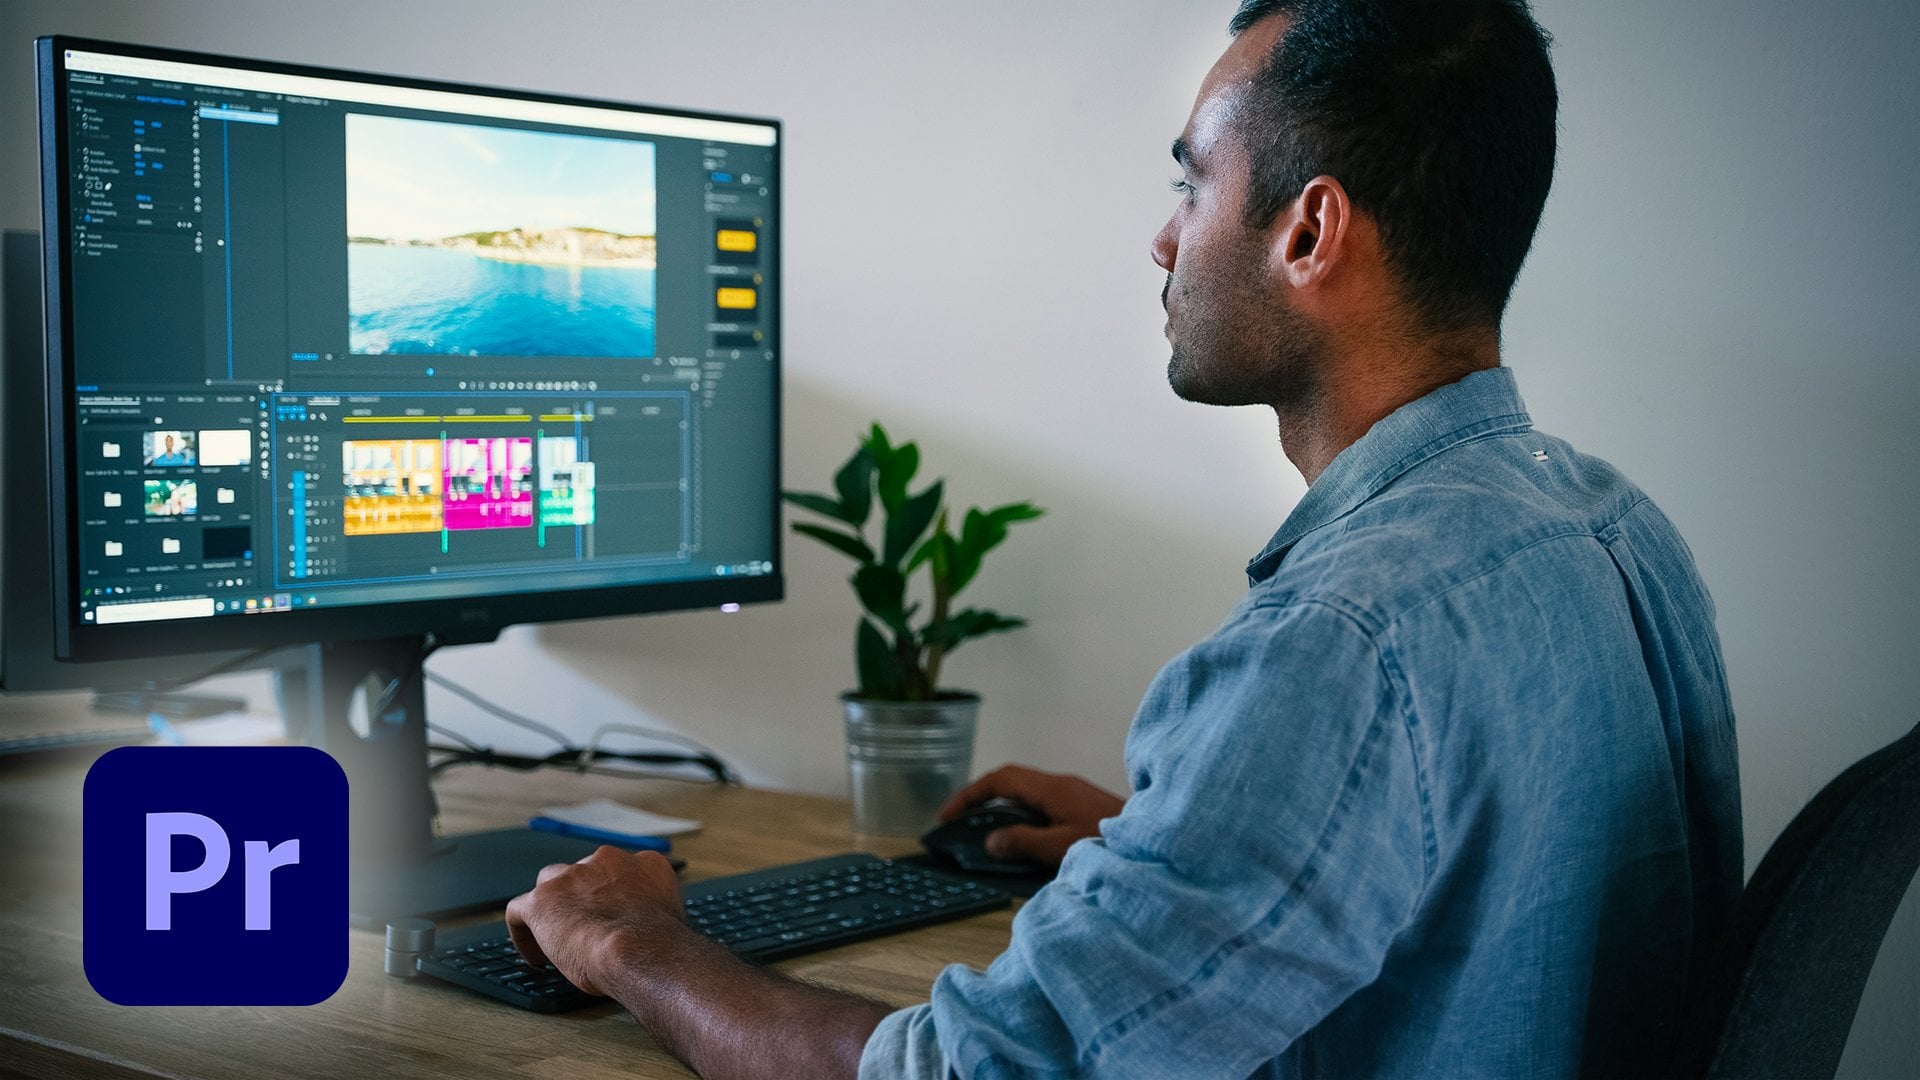
6. Close-Up Shots: And after the medium shot, we would move on to the close-up shot. So these, even if you don't put these in the video roll, you can still get away with that. But then close up shots, they looked super cool. In my opinion. I find them really fascinating because it's just like it's so weird how you can see those objects really close. Penny does tell us a bit more a story about the main subject. So close up shot, I would recommend to take close-up shots of everything. I would recommend to take lots of shots are things which are the most important part in that bureau. And with the close-up shot, he always makes sure that you're not moving the camera too much. Because this time you are, you are extending the lens all the way out. So even if there is a little bit of CERC, even if there's a little bit of movement, you can see in camera that the movement is a lot. And the easy way to take a close-up shot is you can just put the camera in a static position. So same in the close-up shot. I'm just moving my body and little bit. I'm not moving it too much. I'm not relying on my hands because if my hands even if even if there's a slightest movement in my hands, there would be a big camera jerk. So I'm just moving my body left-hand, right while filming the close-up shot. All right, guys. So now we came up with all those bureaus shots and I combined all the clips in my software and I and this is what I came up with.
7. B-Roll Final Video: We have pulled teachers and professors are like little pentane, but thanks, I think is to production. And you're either with lots of sugar and butter and with our mouth sonnets. So that's really nice.
8. Conclusion: You see how the combination of close-up, wide-angle and medium shots, they just combined so well and they just work so well if they are put together in a sequence to tell a story to your audience. So you're always make sure to use these camera techniques to film different types of shots. And sometimes people also get surprised that I'm not using Gimbels, not using any fancy equipment. And then they're like how your footage looks so stable. And then I tell them that this is what I used to, just a camera strap. It can do so much magic. Of course, there is some limitation with using a camera strap, but he's also gives you a lot of freedom. And I really hope you like this section, guys. That was it for this class. I hope that you got some value from this class and the project for this class, I would want you to make a similar B-roll sequence by using all the techniques what I have taught in the class. So the Beagle sequence, you can make it for say, 45 seconds to a minute. And you should be using all different camera techniques which I have used from my camera and the camera strap. And you should be using wide-angle, medium and close-up shots. So it might be, it would be a really fun thing for you to try out and please post your projects down below. I'm really looking forward to see them. Alright guys, so thank you so much for watching this class. I really appreciate your time. And also please comment down below if you want to learn something more. And if you are new to skill share, it's such a great platform. You can just take out a ton of classes. And if you want to learn more about filmmaking, can check out my other classes. I have filmed, I think four or five different classes. They're all related to video making. So I hope you get value from that. And thanks again for watching. I appreciate your time. Thank you.
 Adi Singh, Videographer and Youtuber