Transcripts
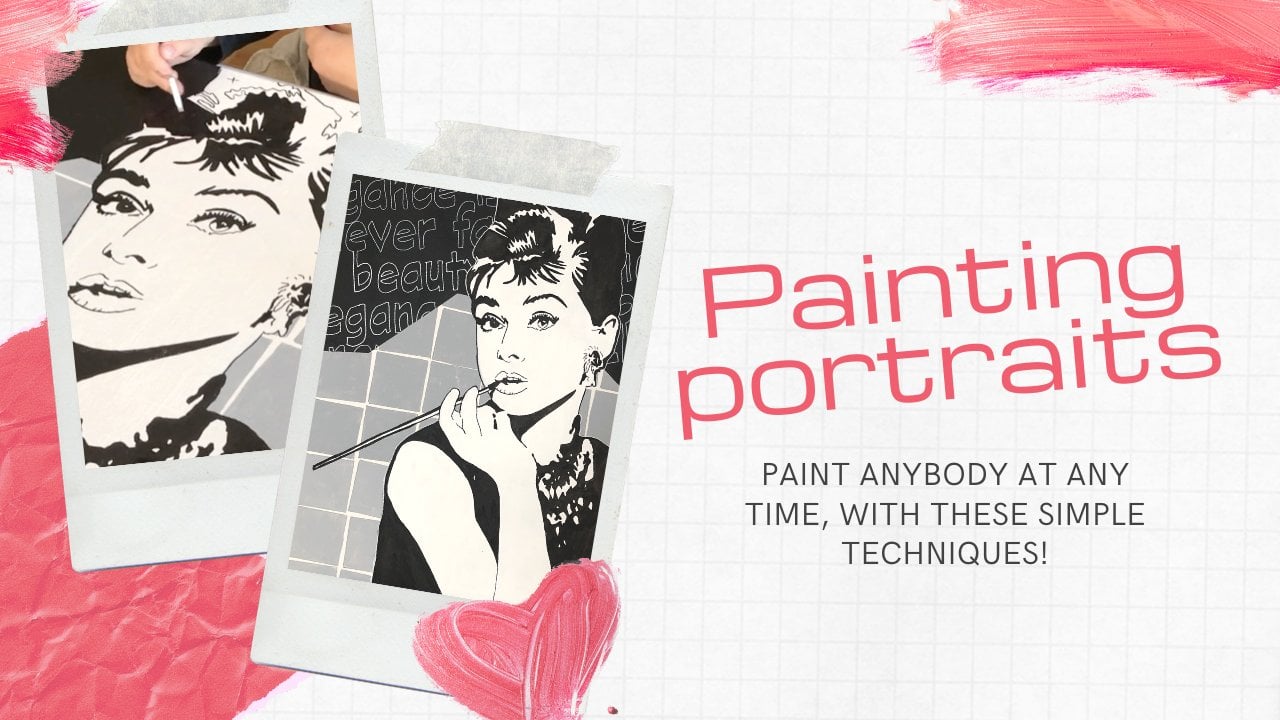
1. Introduction: In this course, I will show you how to find a picture online of your favorite
artists and then turn it into your own painting. You can see the editing of
the image in the course, how to paint personal
portraits of your loved ones. Hi there and welcome. My name is millimeter and
I'm a Danish probe artist. I've been teaching since 2009 in my own art school
over the years. I have exhibited at some of
the next largest galleries, and I've had four paintings go through the recognized
censorship in Denmark. But for many years,
I've been most passionate about
teaching ordinary people all my techniques so that they too could become their
own amazing artists. In this video, I
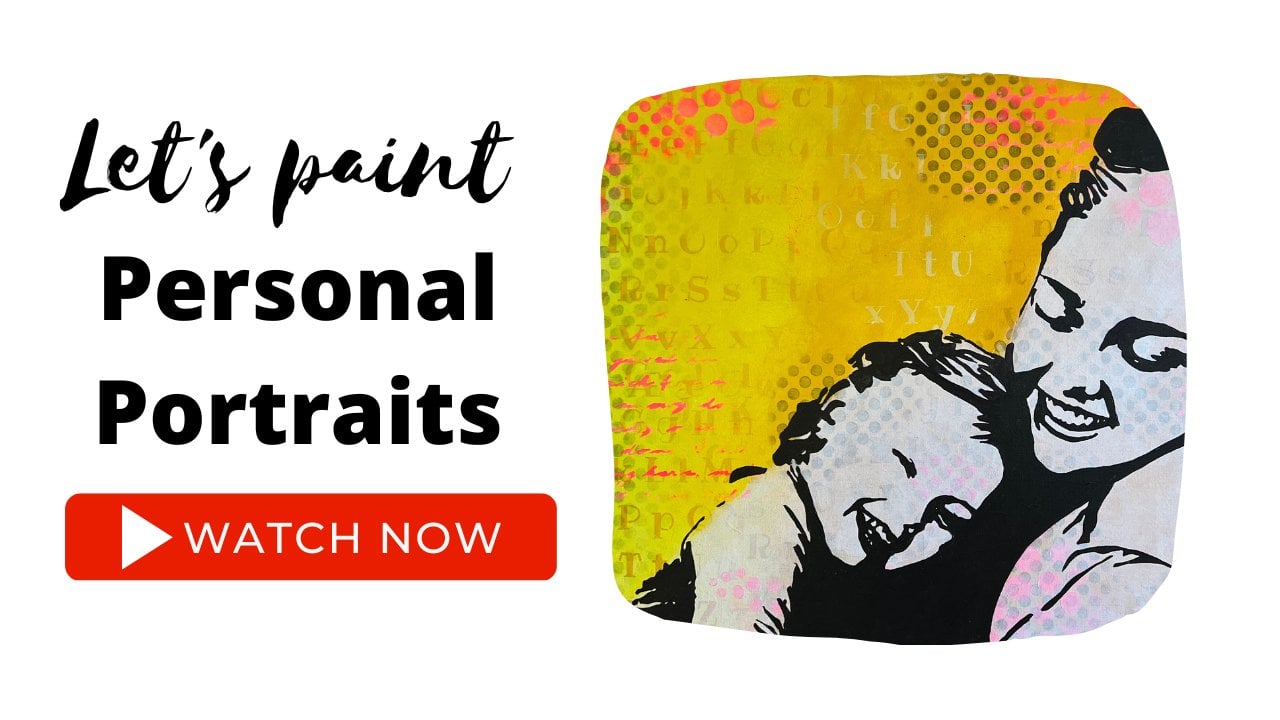
teach you how to paint this painting
of Britney Spears. Remember that you can
paint however you want, and then whatever
colors you want. I'm just teaching you
the techniques here. First we'll build a background, then we edit the image, then we'll trace it
onto our canvas. And finally it must be painted, and then the background must
be dimmed a little bit. This course is for beginners
who want to start painting. You need a projector. And if you don't
already have one, I would recommend that you buy one as they don't
cost much anymore, unless they are a
fantastic tool that can give you a lot
of creative freedom. The class project is
about keeping it simple. Very simple. I want you to use
only two stencils, one color and one neon color, as well as a single
contrast color. I'm attaching the edited file
of Britney, but remember, you can edit whoever you
want yourself by seeing the edit part at
the end of how to paint personal portraits
of your loved ones, and thus have the
freedom to choose another motive.
See you in there.
2. What You Will Need: In this class, I want
to teach you how to paint this awesome painting
of Britney Spears. All you're going to need is some kitchen sponges,
some stencils, and I2 protector, acrylic paint, a canvas, of course, some brushes and the Posca pen. And of course you need the image I want to paint in this class. I will provide you the
materials for this one. Please upload your projects for others to be inspired from. I'm so looking forward to seeing your beautiful paintings,
see you in there.
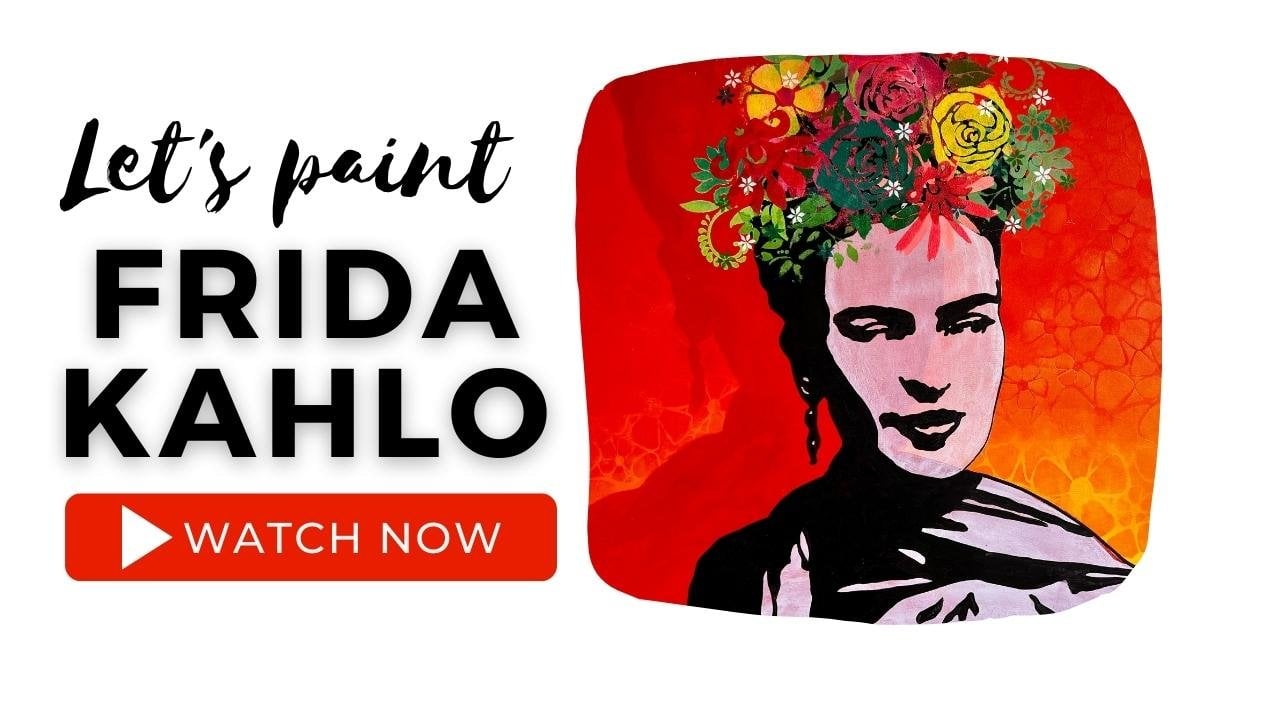
3. Starting up the background: This tutorial, I will
show you how you can take a picture you find online
of your favorite actor, magicians, or maybe Formula one driver edited and
use it in a painting. Paintings you can
use at home decor. I'll give away as a gift
and make others happy. You can also take orders
and so your paintings. Now, let me show you
just how easy it is. As you can see, I'm
already well on my way to mixing my colors
together on the canvas. I just used a cheap
kitchen sponges for that. I worked a sponge from
one color to the next. And when I have filled my
entire canvas with the colors, start with a clean dry sponge, which are then used to
work the colors together. I put no pressure on it all. I let the sponge do
the work for me. As you can see here, the sponge
makes us my colors super nicely together without any
great effort on my part. It almost looks
like pink clouds. If the colors had been
in the shade of blue, it would have looked
like a rainy sky. The reason I have chosen
the pink colors is because I think they fit well with
my image of Britney Spears. But it could have
been any color. It's up to you what you like and who you're going to paint. When I'm happy with
my mixed colors, I spice it up a little
bit with the pink neon. It creates supermarket life and the background and
the color suits each other really well. There's a lot of
life in the colors. Now. I do the same as before. Once I have laid out the colors, I use a clean sponge to pull
my colors nicely together. I work in a little different
places around my canvas with the pink neon to get a little balance
in the background. It only takes a little bit
of color to go a long way. And as you can see, I also
spray a little bit of water so that my color is getting a little
more transparent. And I can drag it a little
bit more onto the canvas.
4. Making runners in the background: I want to make some
runners in my background. Therefore, I put a blob of paint on which I've pulled
out well with my sponge, the paint must not sit in
a thick cake because then the water cannot dissolve
the color when I sprayed on. Therefore, I pull
the paint out well before spraying my
first coat of water. When I spray the water on, I can control how long my runners should be
a tipping my canvas backwards or laying it all the way down on
the table again. When making runners,
you have to spray water twice to get the pigment
into what is running. The first time, it just
becomes a watery mess. But the second time, they'd become beautiful
and vibrant in color. As you can see here. The second time I
spray the water on, much more pigment gets dragged down into my running
water drops. This looks so much better. So remember always to
spray water twice.
5. More awesome effects: When I have finished
spraying on my water, I lay my canvas down again. I let the water sit for a moment so that it
can dissolve my paint, which is still not
thoroughly cured underneath. And now lay a piece of paper
sucking all my runners. It can also be a club that
can soak up the water. And then I press lightly
in small circles until I can see the
lines on the paper. I take a cloth and wipe
off the rest of the paint. In fact, I got all
the paint off. I did not think it
looked very nice. So in reality, I didn't
have to put the color on. But I will show you in another video how
to take advantage of it and make super
exciting effects that way with the color spread, as you can see, I got my color washed away and that
was what I wanted. In this way, you can
make inverted runners. So instead of it being
the color that runs, the color is washed away. Instead, I could have
preserved a bit of both, but that must come
in another video.
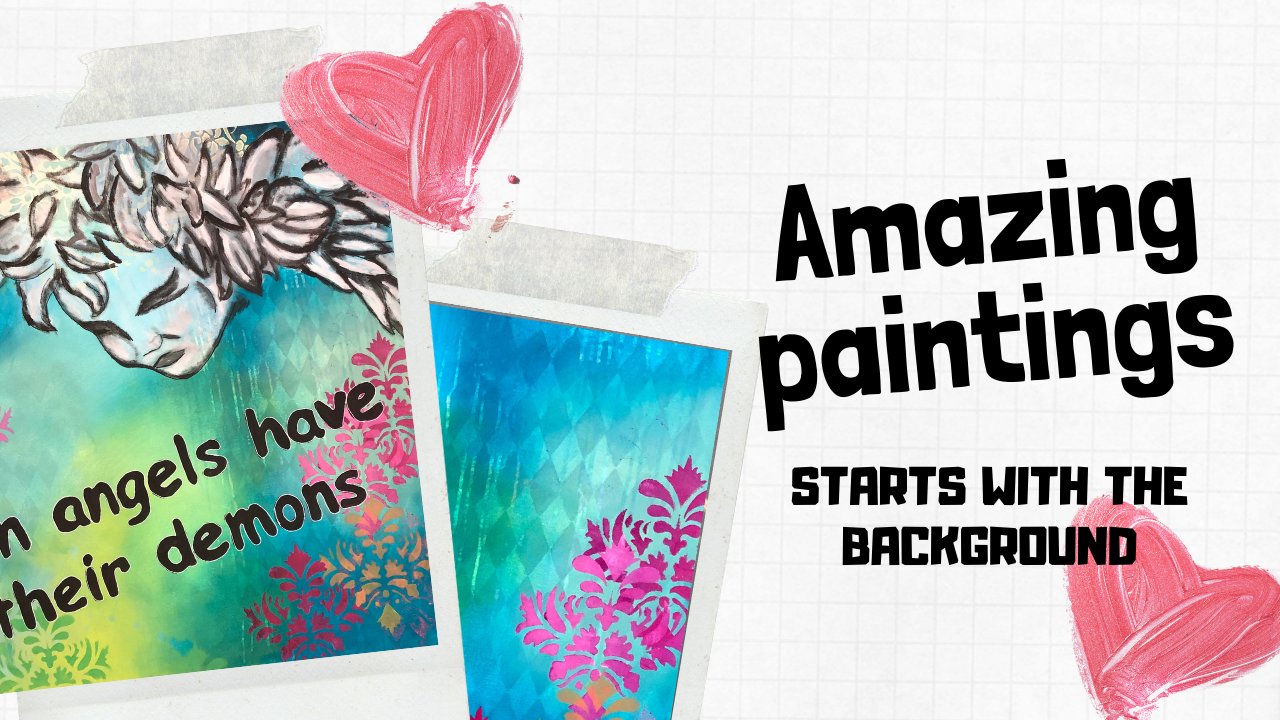
6. Stencil effects making life in the background: Now I'm done with my
runners and now I want to play a little
bit with my Mandela. Since this tension is one
of the larger ones I have, I usually only use fragments of it because it feels
as much as it does, but it's also super
good for that. I still work in the same colors that I have been
doing all along. However, I told it a bit
with white and some places. So there is a slightly
different from a bottom color and make
it a little bit of contrast color tool
with a light green. I could have made it
even more green to, you can always play with
the colors and find out for yourself which colors you
think complement each other. Well, I moved my stencil
around here and there and make several different
fragments with it. It's fun to work with. It always gives a lot
of fun and background, so it does not get too boring. I finally woke my
neon pink on top of the tinted color that
lies at the bottom, the pink color is not
opaque and therefore, it will only stand out properly if it gets a
lighter base color. Now I want to work
with another stencil. I really liked working with multiple with multiple stencils. I really like working with multiple stencils
layer on layer, and make effects on
top of each other. It really provides a good
and exciting background that you can work on when you lay the paint,
your portrait. In this case, would Britain, for example, it gives some really funny
effect and the head, before I make the
background less visible, show you all about that
later in this tutorial. Here. Again, I moved my
stencil around on my canvas, make slightly different
colored dots here and there. I love it. It looks
really cool, I think. Now I have both runners, Mandela and dots, all in
basically the same color. So there's nothing that
completely stands out. And still the focus
in my painting, as it is Brittany who
is my main focus. Finally, I worked my
contrast color in, as I mentioned earlier, it makes just a little
bit of the effects that out again without doing
the whole picture.
7. Drawing Britney And Painting Her: Okay, so now I have to protect
Britney onto my canvas. I use a black Posca pen to draw all the black. Along the way. It's always a good idea
to draw small crosses so that when you sit with your nose deeply
buried in painting, you do not paint
the wrong areas. It tends to look pretty silly. Sometimes I stand in
front of my projector so that I can check if there
are any areas I have missed. When I'm finished
with the drawing, I sit down and paint
within the lines. It's almost like
painting by numbers. And when I get to this point, I think it's pure
meditation and I really enjoy the piece
that lives in it. Okay, so now it looks like this, and now it's time to
paint within the lines. And when that is
done, the background needs to be cleaned
up a little bit. So you get a little more
music while you can enjoy watching the painting of
Brittany step into character.
8. Finishing up and framing painting: Now the background
needs to be cleaned up so the Brittany
emerges even more. Sometimes the background can
be very messy and then it's a good idea to dim it a little bit with a transparent layer. We can still see the effects of our background
through the paint, but there's more calm as we do not have a very busy
background anymore. I use neon pink as it is
transparent in itself. All neon colors are transparent. They have no coverage at all. So they are super cool to work with when
there are areas to be covered just a little bit without being completely opaque. I give this to coats, and in the second code, I use my sponge to walk
the pink nicely together. As neon Carlos can be a little
bit jelly-like and lumpy. However, this is not
a problem at all. Now I want to show you how
to frame your painting. We just punch in a
little black paint, a dip my sponge in my paint, and then I run it along
the edge of my canvas. I let it roll a little in over the edge to give some patina. Then my image gets
framed by their color. It creates more depth and it
gives a more finished look. It's a super easy and free
way to frame your paintings. Now my painting is done, and I just need to put my
signature down in the corner. Thank you for watching. I hope you enjoyed
the trip and I hope you will like and
subscribe to my channel. See you in the next video. Bye for now.
 MilleMajArt, Danish artist teaching modern art :-)