Transcripts
1. Introduction: Ola is Dona. I'm an artist and illustrator, currently residing
in Sunny Spain, and I'm really excited to
invite you in this class and hopefully to have you in this line and wash
watercolor painting. This class is designed
for all levels. Whether you're a beginner
or have some experience, you'll find something fun
and useful we'll focus on two main areas
mastering the line and wash technique and improving
your plan air composition. First, we'll head outdoors
to sketch and plan air. You'll learn how to choose the perfect location
for your painting and how to create a
solid composition will make your work shine. You can use your own reference or use mine for inspiration. After our outdoor sketching, we'll move indoors and bring your sketch to life
with watercolors, focusing on the line
and wash technique to adapt and energy
to your painting. Along the way, I'll share tips on how to create strong shadows. Use the right balance
of lines and washes and fine tune your composition
for a dynamic piece. By the end of this class, you'll feel more confident in both your plan air
composition skills and your ability to bring your sketches to life
with watercolor. I'm here to guide you
every step of the way, and I can't wait to see
you create in this class. Grab your sketchbook,
your watercolor paint. Let's get started
with this painting. I'll see you in the class.
2. Materials: Hello, everyone.
This is Dona and welcome to Line and
watercolor wash materials. I'm really excited to
paint this with you. And this is the
watercolor paper. This is 67 arches. It's really nice to touch
and it's very absorbent. It's 100% cotton and rough. This is the watercolor
brushes that we'll be using, but feel free to use
your own favorite. This is ICDA brush number
two, and it's synthetic. I also use Da Vinci. This is my favorite
one. This is map brush. And always buy a pointed
tip watercolor paint brush because it's going to make
the difference when you use the tip of these brushes
onto your painting. I have the inexpensive
smallest brushes that I have. They are synthetic. They are number one and zero. Waterproof ink pen
is recommended and try it before using it
directly to your painting. And of course, your palette, this is a really light one, and all the paints are available on your video files
for complete list. And of course, this
is your palette. This is very light and I like it because
it's easy to use. Of course, your bucket
and your tissue paper. All the materials are in the list and I can't
wait to paint with you.
3. Plein Air Painting Tips: Hello, everyone,
it's Dona and thank you so much for joining me
in this lovely painting, clean air line and wash, landscape in the house. Let's get right in on the first set of important
tips before we start painting on your choosing the location and preparing
for your plain air painting. Tip number one would be
pack light but smut. Portable easel,
lightweight materials, brushes, bring a few sizes for variety, but keep it simple. Palette for mixing colors,
water containers, paper, and all those little materials
that you have that is not heavy and make
sure that they are complete before
leaving your house. Weather check number two, check the weather forecast
before you leave to ensure you're prepared
for changing conditions. I recommend you bring
sunglasses or umbrellas and some plastic
containers to protect your materials just in case there are some
changes in the weather. Location, scouting number
three, plan ahead, choose a location that offers a compelling view or
interesting subject. I recommend you visit
the view before and decide which side or part of the view you
would like to settle. Planning ahead is
very important. Number four, set up your space, so find a spot with
natural light to ensure the best possible colors and
shadows in your painting. Number five,
simplify your scene. So take a moment to sketch the
composition lightly before starting to paint and
make everything simple. Don't try to capture everything. Number six would be
time management. If you're new to plane Air, start with a short session like one or 2 hours and build up
your endurance over time, and of course, your self confidence and trust on
the painting location. Seven will be stay comfortable, protect your skin from the sun and hydrate
and bring some snacks. I'd like bringing water with
me when I'm very thirsty. Number eight, be ready to adapt. The outdoor light
can change quickly, so be prepared to adjust
your painting as needed. If something isn't working, don't be afraid to alter your approach and
plain air is open about capturing the moment,
not achieving perfection. Number nine, bring a
journal or a sketchbook. Use a sketchbook to
chat down color mixes, ideas about the scene
you're painting. It can be great for late
reflection or future projects. Number ten, respect
the environment. Always clean up your
area after you've finished and be mindful
of the surroundings, whether it's a natural
park or an urban space. So once you have all these
essentials pack and plan, you'll be ready to focus on capturing the beauty
of the scene. So thank you so much and
let's start sketching this wonderful and exciting
plan air painting.
4. Sketch: Hello, it's Dona and
welcome to Planar painting. We're going to paint
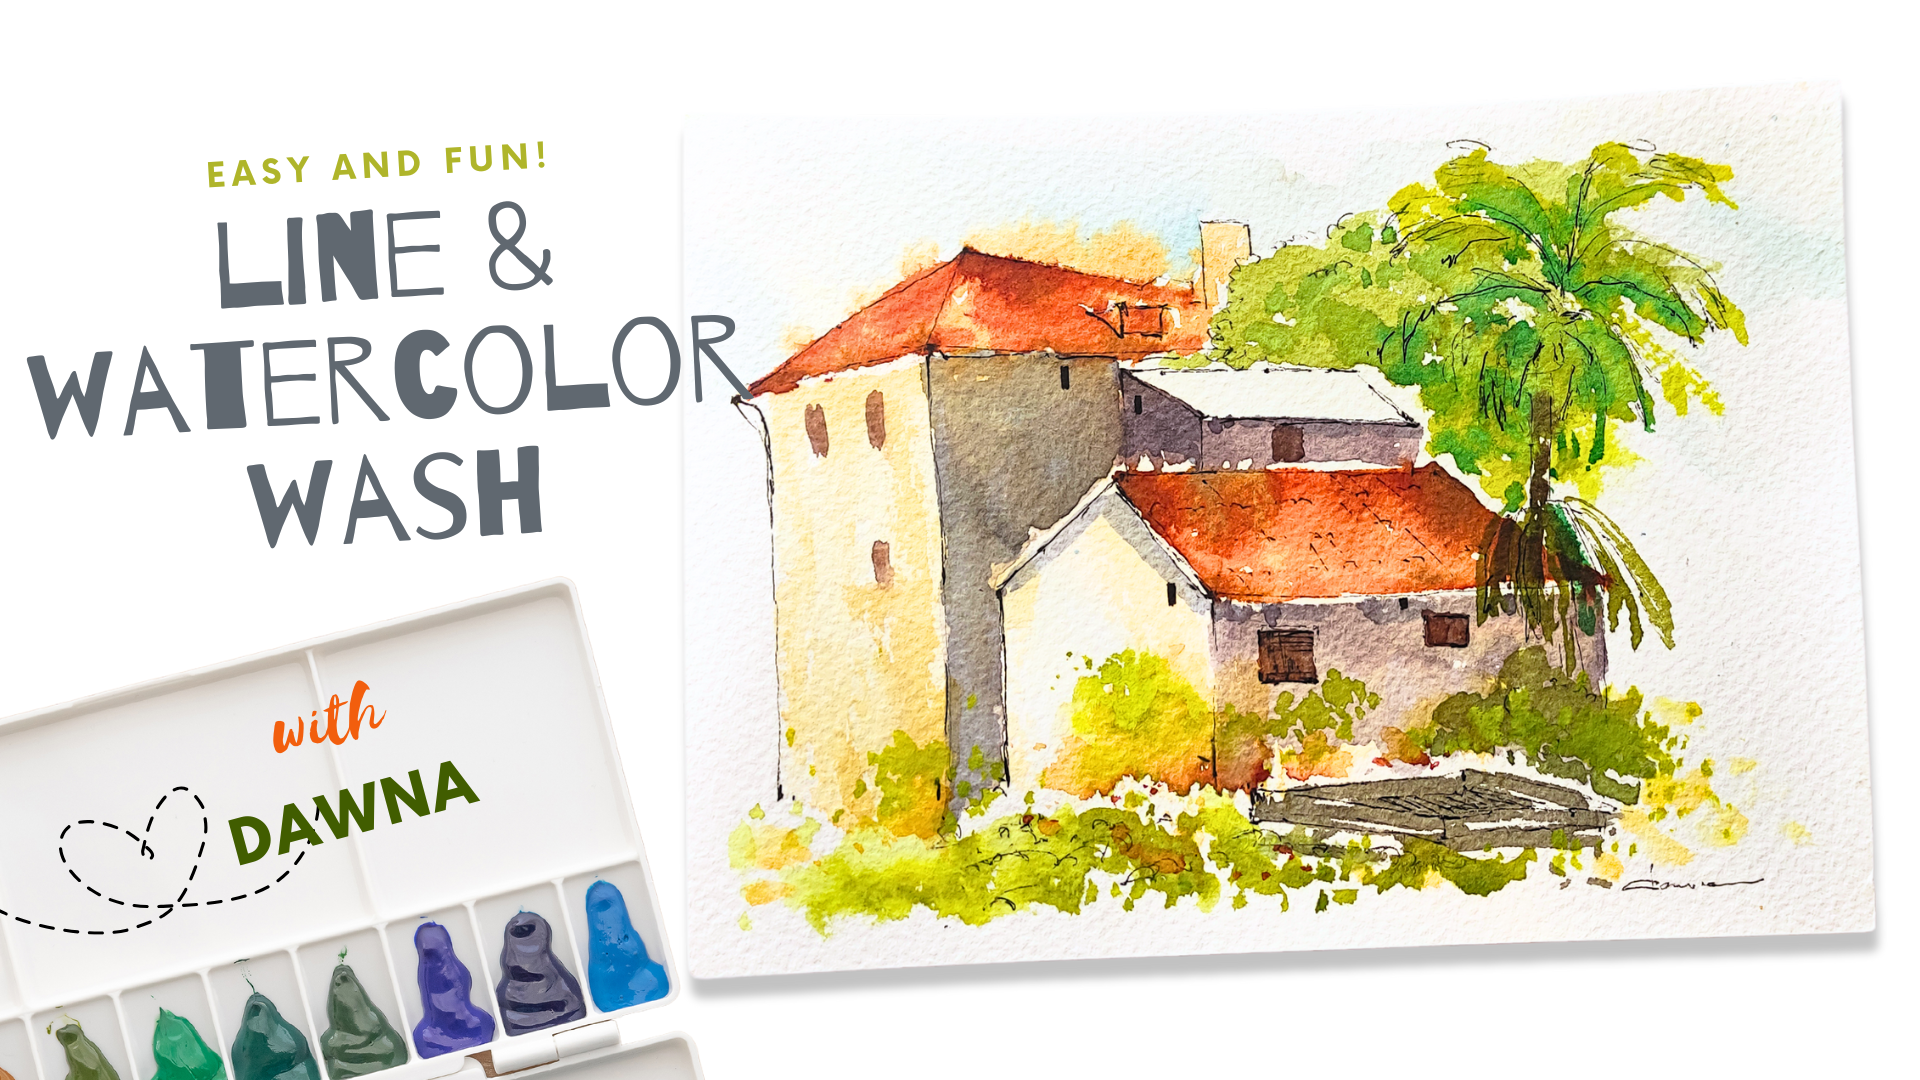
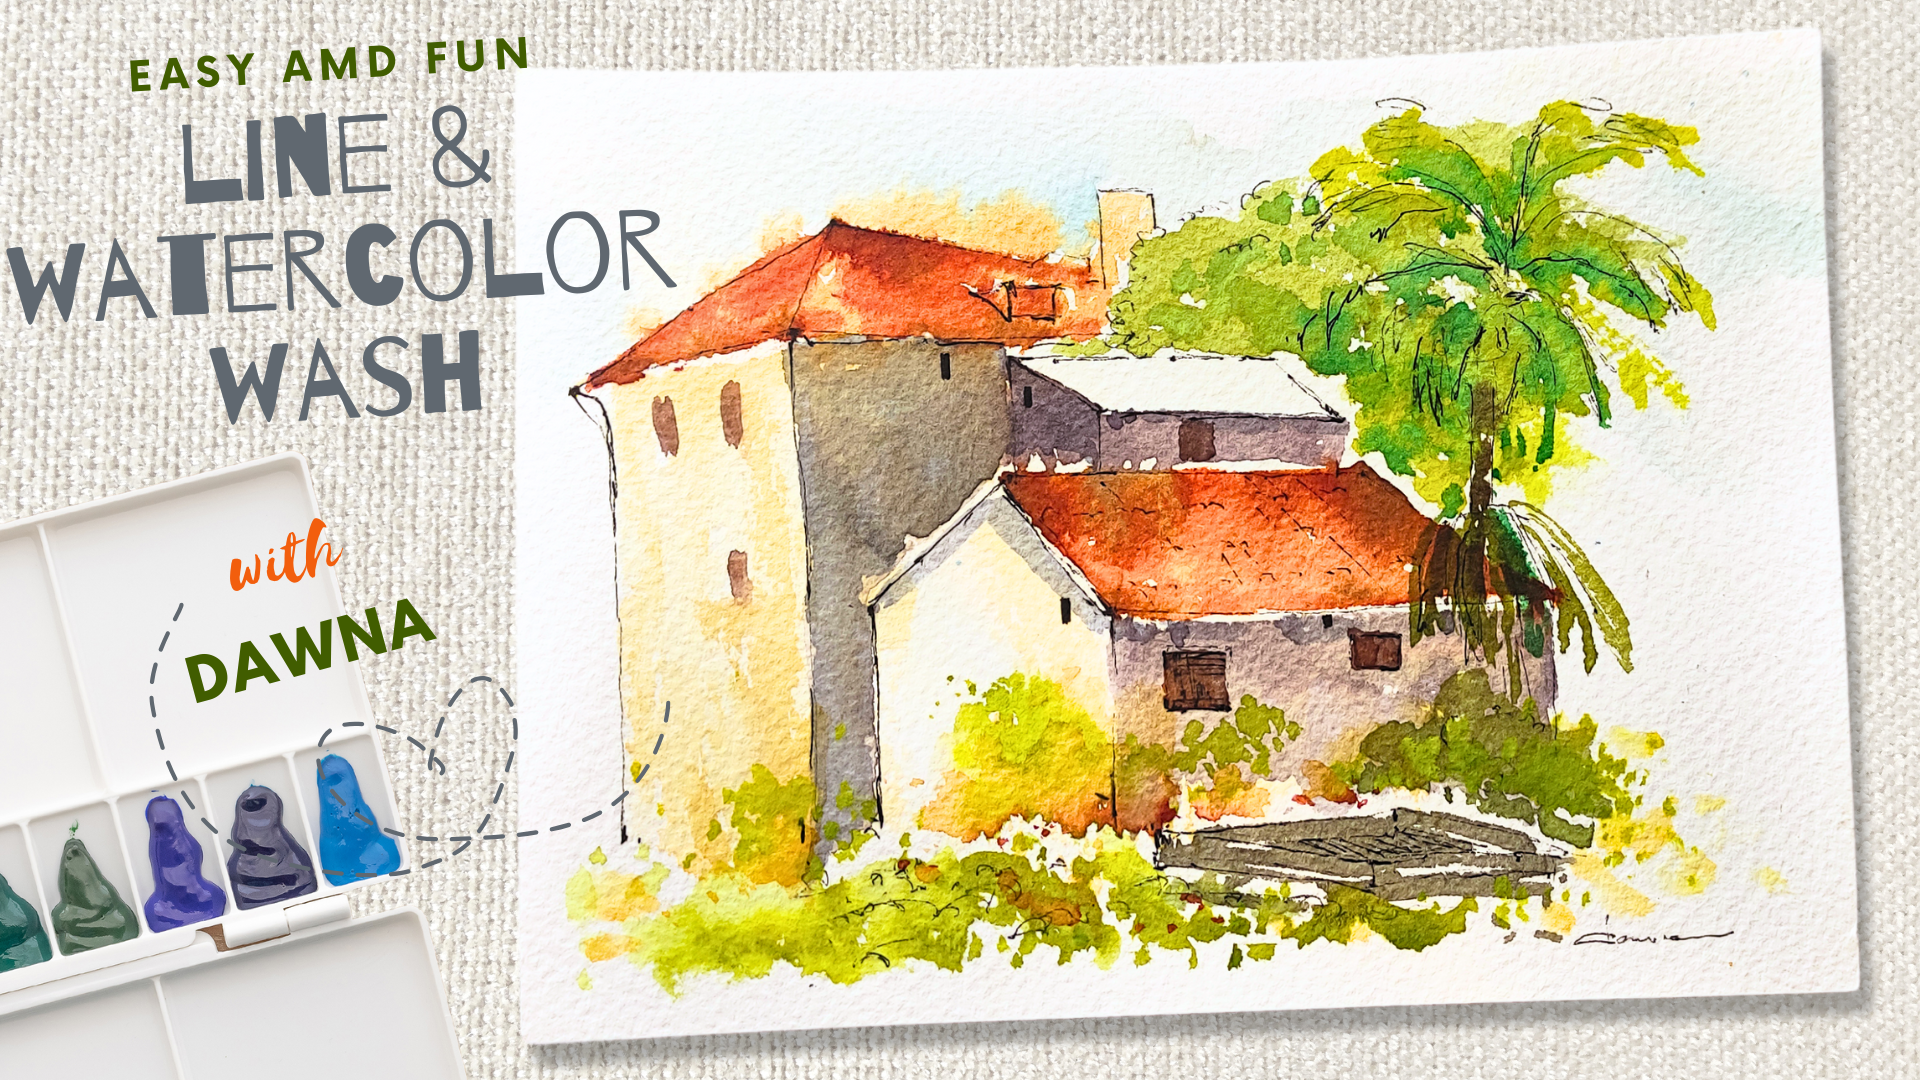
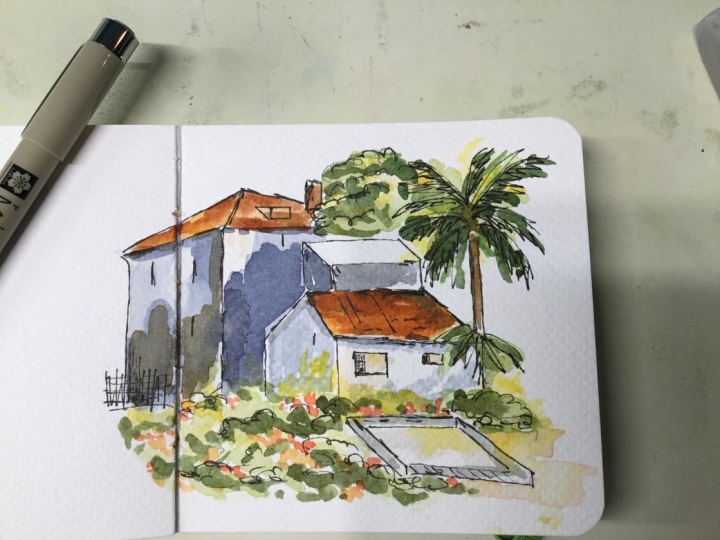
this beautiful landscape with an abandoned house, and we're going to paint halfway through
and the other half in the studio because it gets a little bit
too windy today. I always organize my objects
into three placement, the major as the focal point, the minor to support it, and the jumper to balance the composition and
create a visual harmony. I'm going to be
using the pen ink. To help me a little bit, I will be starting with points. It makes it easier
for me to sketch it. But if this is a little
bit challenging for you, then I recommend that
you use a pencil. I'm working on a rough
watercolor paper. And I'm using pen, which I recommend that
you have waterproof, although mine is not waterproof, but it's not really bleeding
as I've tried it before. I'm still using this. It's a cheap inkpin that I bought during our
holidays in Asia. As you can see, the
point is really helping me not to
make mistakes in my drawing and lines and
I'm doing it really slowly. So take your time, relax and don't
feel so stressed, although this one is a
bit stressful because of the wind that's actually
flying here and there. I'm a bit concerned with
my cameras and everything. But anyway, we continue. This point is really
helping me with my sketches and we are painting
the major subject. That is the house, the biggest house
in our reference. And here there's a taller house which connected to the house is a two story building and I am doing it really
slowly and of course, now you have your
reference photo with you. As we paint, all the
materials you have already downloaded and you have seen the videos before
this before we start. Either of course you
paint this house with me or you choose your own
plan air reference. So I am adding the minor
part of the composition. Your painting should begin
on your planning stage, not on your painting
stage because planning will save you time and probably will give
you a better result. Although planning is
very important, though, I think practice is the really key to be
better at composition. I've done a lot of
painting before. I'm a self taught artist and I could clearly see that it
was all the practice and the mistakes that
I've done that made me maybe I could say a better painter
and artist right now. I think it's all in the
experience and this will take a little time for you to achieve because everything that is
good, I think it takes time. It takes time and patience
and dedication and effort. To achieve something. Hang in there, if
right now your skills is not the one or not the
level that you want to have, then definitely, as you go
on and practice everything, you will achieve the
level that you have. Be patient and hang in there. Let's continue. I am adding some chimney here. I think it's really nice to add these small little
details into the house. Although I think it's not necessary to paint
everything that you see. Only sketch and paint
those pots that will send the whole
message of your painting. As this is line
and art technique, then more or less we
are actually drawing or sketching most of the
part of the subject. Although this one is impressionist with
line and art style, we are still going to make
it as loose as possible. Which is the one that's
going to balance the house and the composition, and that's the palm tree. This is the palm tree
that I've just added. Balance the composition
that we have. The house, the biggest house, the lower part,
that's the major, and then we have the minor. Of course, the tree the
palm tree as the jumper. I've written everything down on the PDF files that were
available for you to download. Let's move on to the next
part of this painting, and I'm super excited
to paint it with you.
5. First Wash and Shadows: Here we are. This
is the second part of this an art
impressionist style, watercolor painting, pain air. As you can see, I'm
already in my studio. I decided to go home
because of the wind. So sometimes it
happens and it's okay. I also like painting in
the studio because it's more tranquil and serene and I have no stress
with the wind. So now I am mixing my watercolor
paint that's blue andare, crimson Azarine to have
the purple for the shadow. I've started shadow with a dry watercolor paper
with loads of water. As you can see, we have
the shape retained because the paper is wet.
This is brush too. It is coded. Is coded brush
and that's a normal brush. I'm adding shadow in here
exactly as in the reference. And I'm making it
light as possible. Although this spot,
as you can see, this shadow is a bit
darker and there are so many things going on in
this part of the house. I'm going to add a little bit more tunnel
values and tint on this one. Feel free to mix your watercolor
paint and experiment. If you are following this
reference that I have, then feel free to
experiment as well, and you don't have to
follow all the colors of watercolor paint that I have,
experiment and explore. As you can see, I made
the shadow quite a bit dark here because I want to
have more contrast later. But of course, you
can make it as it was at the beginning
and more fade. Looking at the reference picture that we have and of course, the image of the
plan air adventure that we had right before this. It helped me remember how the shadows look
like and where the light is coming from and everything that was in
there in the landscape. Here I'm applying shadows first and then we're
going to paint the house. So even when I am
applying shadow, I am actually
leaving some whites and those whites
represents the light. As you can see, the light of the sun is coming
on your left side. So we have more light on the
left side than the right. The right is the shadow. Here I've added some brown. This is a mixing bow, Siena, and Van **** brown and I've added some aquamarine blues
as well on the shadow. I've kind of adding darker tunnel values
on some parts of the shadow where there are
many things going on in there, it's giving the impression that this part of
the house is busy. We're trying to part
of the house with a shadow busy and not
too dull and boring. Okay, so keep on doing and also notice the
position of my brush. When I'm doing the
shadow, it's really, really quick and I'm trying
not to overdo the shadow. The second tip would
be simplify the scene. This is what we've done. We've painted the major, the minor, and the jumper. And then focus on the
essential shapes. Always catch the
most important one, those three important one. The big house, the
taller house at the back is the
second minor subject. Then we have the palm
tree as the jumper, the one that balanced
the painting. And eliminate
unnecessary details to keep the composition
clean and infactf. We didn't sketch
everything that we can see in that landscape. Now I am adding borne
Siana onto the roof. This is really light
and we're painting on dry watercolor paper, and I'm still
leaving some white. I've added pour Siena in darker pigment to add more while the roof is
still a little wet so that the watercolor
will bleed on its own. We're still trying to make
it as loose as possible. We're adding darker
tunnel values onto the wet part of the roof. So we're going to paint all the roof first
so that we will use the same paint and not to wash the paint on our
palette all over again. We're trying to save time
and save some paints. I think it's better
that way and this goes with looking at your painting at the beginning
and plan it ahead. Planning is very
essential for you not to panic when you are in
the middle of doing things. So there's no such thing as
accidental on this spot. Although some
accidental paintings, it could it could be successful but the
probability is small. Now I'm adding Van **** brown. I don't have Van
**** brown at hand, but I kind of
experiment with colors, and this is the mixture of
ivory black, and borne sienna. I'm making the roof
darker because I think it for me in
my own in my taste, it's really dull because I like darker paints
and lots of contrast. But it depends on your
taste and how you paint. It doesn't mean that I'm
painting it this way, you have to do exactly the same. Videos, my videos are
just to guide you, but you have your
own unique style, you have your own taste, follow it and don't be afraid to show that
on your painting. I think when you are
confident in what you do, it will definitely
show on your painting. We are almost done
adding shadows here, and thank you so much for
continuing painting with me and I'm so excited to finish this painting and see
your own result as well. So let's get right on on the
next part of the painting.
6. Background and Foreground: Hello, everyone. Thank you so much for continuing
painting with me. Let's start with the
foreground and background, and some tips on
plain Air painting. Using the same brush, I've mixed my greens. This is cobalt blue and lemon
yellow to make my greens. I am leaving some
whites onto the paper. Those will serve as the sparkles and the
light on our painting. That's very important. I'm just dropping my grains everywhere on the foreground
and the background. Notice the position of
how I'm holding my brush. I'm using the tip very
quickly and I'm holding it in the middle so that I will have better control
of my strokes. I hope that you are enjoying this painting with me and having a stress free painting and don't worry if you make some brushstrokes
that you don't like. It's just a paper and you can always go back
and paint it again. I've added born siana some drops of bread on my
greens to make it more warm. I am adding some details onto the palm trees and the trees
to have more contrast. The first tip I would give is use a watercolor palette
with small wells. A compact palette with
smaller wheels allow for easy mixing of colors
while saving space. If you're doing indoor, I mean if you are doing
plain air painting. Second would be stay organized, keep your brushes, paints, and water container within easy reach to avoid
constant movements. A small foldable artist tool can help you stay comfortable
and organize. So being organized
is a challenge for me because I am a bit clumsy and I'm really
quick when I move. So in a way, it's good. But at the same time, I tend to forget a lot of things
before doing my plain air. So check twice your
materials before leaving for plain air so you don't forget anything
because it's going to be chaotic if you forget
something really important. Here I've added more
orange cadmium orange on my roof because
I feel like it's too light for my taste. I'm just adding
more greens here. I am adding more orange here and I'm trying not
to overwork this part, so I'm doing it really quickly. Mm. The next tip I can give is to
monitor the weather. Pay attention to wind direction to avoid your watercolors
being blown around. If it's too windy like my case, you may need to
find a shelter spot or adjust your setup or go home. I decided to go
home and do half of my painting at home
because it felt more safe and comfortable
for the materials. So here I am still
using the same brush. I'm adding color paints on the small details
like small windows. This is cadmium orange, or you can add any warm
color that you have yellows, add more water on it so that we don't completely
color our whites. I'm just adding warm color here to complement
the cold shadow. So in the plain air, there were some yellow flowers, and those flowers are
usually for springtime, but I think the weather
get crazy and we already have those small
cute little flowers. So I'm adding those
little drops of flowers. I've added some reds as well. So I'd like to make
this painting a bit more happy and gay
with lots of flowers. I'm going to add it. This paper has already dried, so I am adding some
drops of water for the flowers to fade away to
still have that loose effect. So we're done on the second
part of this painting, and the house looks better now, but still it's
still not finished, and we still have some
little details to add. And I can't wait to
finish this painting with you and see your
own version of it. I'm very excited for that. I feel free to post your wonderful artwork so I can comment and all the
other students can see it. I've added yellow lemon on onto the house just to
add more colours and make this painting a bit
more colorful and exciting. If you can see, I'm still
leaving the whites. Okay, so let's move on to the
next part of this painting.
7. Final Details and Project: I'm back to my ink pen and I'm just adding more details before we finally
finish this painting. I am really excited to see your own version
of this painting, and I really look
forward to see that. Please share it with us so we can see your
wonderful work. I'm just adding more
lines and making my painting more complete
and finished looking. I hope that you enjoyed painting this
with me and I've got more I've got more
classes in skill share. Feel free to visit some of them if you want
to get better at landscape painting and
cityscape painting in loose style and
line and wash. I am adding the last details on the roof and just everywhere, I'm just going to add this line. If you feel like you
don't need to do this, you can skip this process
and just do whatever you think is going to make your artwork look better
and adding more lines. I'm adding some fence in here. I am adding more lines
for the composition. Mm hmm. Mm. So as you can see, I'm not
really following the paints. Sometimes I'm just adding lines
even if there's no color. I think this is the best
part of the painting when everything is almost finished and you're just adding
the last details. So adding more contrast
and just taking everything really slow and not
to overwork this painting. So this pen is not water fruit, but that's okay because this is the last details and the
paints has completely dried. Here I'm adding more
details and lines onto the leaves and I'm trying
not to overdo this. In principle, we
are actually adding the last details more on the focal point so
that it will pop up. When you look at the painting, your focus will move you slowly from the foreground to the focal point
which is this house. What I like about
this technique, the line and wash is that
there is no pressure and all the lines does need
to be perfect and straight. You're just enjoying enjoying the painting process and the sketching process
without any stress. I am not really into
those straight lines, perfect crew, perfect building. I am more into the free flowing sketches and impressionist
style on the painting, and it really depends
on your preference. If you like this style, I've got more classes
on it and please visit. Thank you so much for
joining me in this class, and I'll see you in
my other classes.
 Dawna Mae, Author-Illustrator