Transcripts
1. Introduction: Hey guys, welcome to our pixel
avatar Skillshare class. I'm an artist, I draw, I paint, and I do
digital art as well. In this course, we're
going to be using a pixel art program
called a sprite, but you don't need any
previous experience with it or really any other
digital art program to take part in this course. We're going to learn how to draw a character using
a reference photo. Then we're going to
animate an export it. And we'll also learn
a little color theory along the way to help your
character really pop. I hope you enjoyed this class. I really look forward to seeing your cool pixelated
avatars. Let's get started.
2. Tools and Navigation: To create a new
sprite click File, New, set the size to 32 by
32 pixels and click OK. Draw with the pencil tool using
left-click or right-click and pick colors from the color bar using
those same button. To save your file,
click on File, Save. I'm going to name it Skillshare
underscore tutorial. There are some handy
keyboard shortcuts you can use to navigate
the workspace. Zoom in and out with
your mouse wheel, or by using the number
of keys one through six to get a better
look around the canvas, move around by holding down the space bar as you
left-click and drag. You can also do this by dragging while holding down the
middle mouse button. Here are the tools and here are the individual tool settings. Let's look at the pencil tool. This will be your
main drawing tool. Up here. You can change its shape and size under alpha compositing, you can change the
transparency of your lines. Dynamics only applies if you're
using a graphics tablet, pixel perfect
removes extra pixels in your lines and makes
them nice and clean. You can toggle on and off the horizontal and
vertical symmetry lines. Above the pencil tool, we have our selection tools. You can select, Move, and Transform parts of the sprite using one of
the selection tools. The rectangular marquee tool will select a rectangular shape. The Elliptical Marquee Tool will select an elliptical shape. The lasso tool lets you freehand draw the shape
you want to select. The Polygonal Lasso
Tool lets you draw a polygonal
selection shape. And the Magic Wand Tool lets
you select areas of pixels. You can select all your Canvas using the shortcut Control a, and you can press the shortcut
Control D to deselect the selection tool settings
can be found up here as well under the menu
bar titled select. The eraser tool is essentially the same as the pencil tool, but it deletes the
unwanted pixels. You can also erase with the right mouse button
if you've selected the background color
to be transparent and your ink settings
are set to simple ink. The eyedropper tool lets you sample colors
from the canvas. The motor will move the horizontal or vertical
position of a cell, hold down shift while
moving to lock to a horizontal or vertical axis. Use the paint
bucket tool to fill a selected or an empty
area on your Canvas. The gradient tool lets
you make a gradient from your selected foreground
and background colors. There are some cool
gradient options you can experiment with. Here. The line tool
lets you draw a line. The curved line tool lets
you draw a curved line. The Rectangle and the
Ellipse tools respectively, let you draw rectangles
and ellipses that are also filled
versions of both doors. The counter to, uh, let
you draw organic shapes. The polygon tool lets you
draw geometric shapes. The blur tool blurs the pixels. The jumble tool
rearranges the pixels, giving them a noisier
scattered look. Color palette are
preloaded sets of colors. Here, you can change
your color palette to one of A's price color
palette presets. Also, you can load and save
your own color palettes here and sort your
color palette here. Now here is the color bar. Every color has a hue, saturation and lightness value, which you can modify
using these sliders. Down here we have
the Layers window as well as the
animation timeline. Whichever layer is
selected is the one who's pixels
won't be affected. Right-click on the layer
to see its options. Layer properties let
you rename a layer as well as change its
blending mode and opacity. We will cover the
animation timeline later in this course.
3. Making an Avatar: Let's start by taking
a reference photo. A front-facing selfie with your smartphone
will do once you've taken the photo and have it
on your computer in a sprite, click File Open and
select your photo. A sprite, we'll create a
new tab for your image. Click on the tab and drag it to the left side of the workspace. Now we're going to
start working on an avatar while having our
reference photo next to it. Let's start by turning
on vertical symmetry, then selecting a
desired skin color and drawing the shape of the head with the
filled ellipse tool. We're going to
separate the portrait into three main colored shapes. Skin, hair and shirt. Don't worry about the
details just yet. That will come later. In general, it's good to start
with the big shapes first and then move to medium shapes and finished with the details. It looks like I've made
my head too short. So I will select
my forehead with the rectangular marquee tool lifted up and fill in the blanks while adjusting
the shape of the hair. When choosing colors, It's
important to think about the color harmony,
balance, and contrast. Saturation is a great tool
to make something stand out. But if everything on your
canvas is saturated, the nothing will stand out. Next, I'm going to add
simplified facial features, starting with the eyes, mouth, nose, and ears. Every shape in real life has a light side and a shadow side. This is what makes
things look 3D. The light will be hitting
our avatar from the top. That means there'll
be a cast shadow under the chin and
under the hair. Now I'll start adding
secondary details to the facial features, like whites of the eyes
and reddish cheeks, as well as the brown color and red horizontal
stripes to my shirt. I'll outline my shirt with
a darker green color to add some contrast and make it pop out from the background. I'll also add some
texture to the hair by painting in lighter and
darker shades of brown. Now it's time to add the
highlights under Brush Settings. I'll change the ink mode to alpha compositing and
lower my opacity by half. Next, I'm just looking and comparing the
reference photo with the avatar and adding small adjustments
and colored details. Some of these areas look
flat and uninteresting. So I'll try to fix
them by adding some contrast or
saturation to the colors. Let's look at the color wheel. Each color has a
complimentary color. The most common color pairs
are red, green, yellow, purple, and blue, orange because they are opposite each
other on the color wheel. Down here, I'll create a new layer and set it
to a background layer. I'm going to use the
hue saturation value sliders for adjusting
the colors. Since my character's skin color is that these saturated orange, I'll make my background that these saturated bluish color, this will make my
character stand out.
4. Adding Animation: Down here next to our layers, we have the timeline. We can add new frames by right-clicking on
the frame number and pressing new frame
or the shortcut Alt and, or by clicking the
plus icon down here, adding new frames will
duplicate our existing frame. Now we're going to
learn how to do a simple up and down animation. Let's duplicate our frame, select the Move tool and
move it up by one pixel. It looks like our
animation is moving too fast to slow it down. We're going to duplicate
our frames again. That seems about right. Now. I'm going to add some
movement to the hair. That looks cool. Now I'm going to add
some background effects. Just because it's,
the background doesn't mean it
has to be boring. This is the time to
experiment and play around because the background animation can be anything you want. Just make each frame a bit different and have fun with it. I'm also going to add
some outer glow to my character to make
it pop out even more.
5. Exporting: With the animation finished, it's time to export. First, let's save our file
and then click File Export, choose the file destination
folder and said the file type as dot
gif and click Okay, in the export file menu, click on resized file and
then select % thousand, leave the rest of
the settings as they are and click Export. Now we have exported our file as an animated GIF at
320 by 320 pixels.
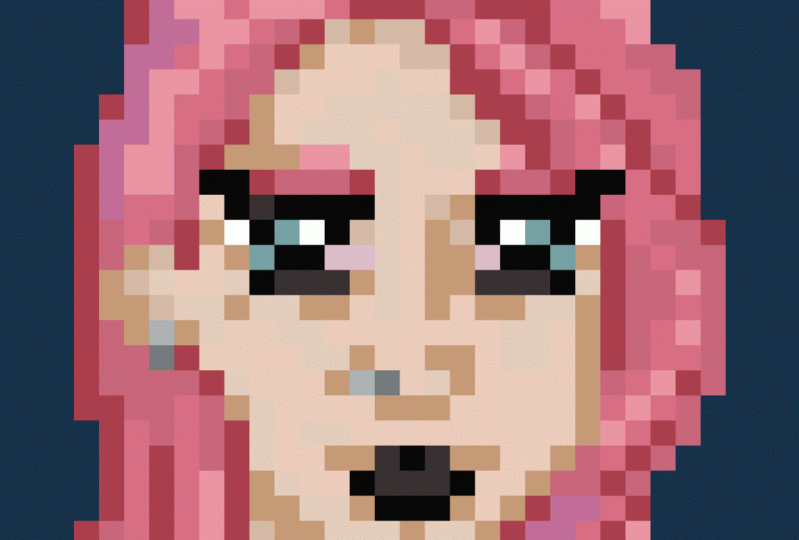
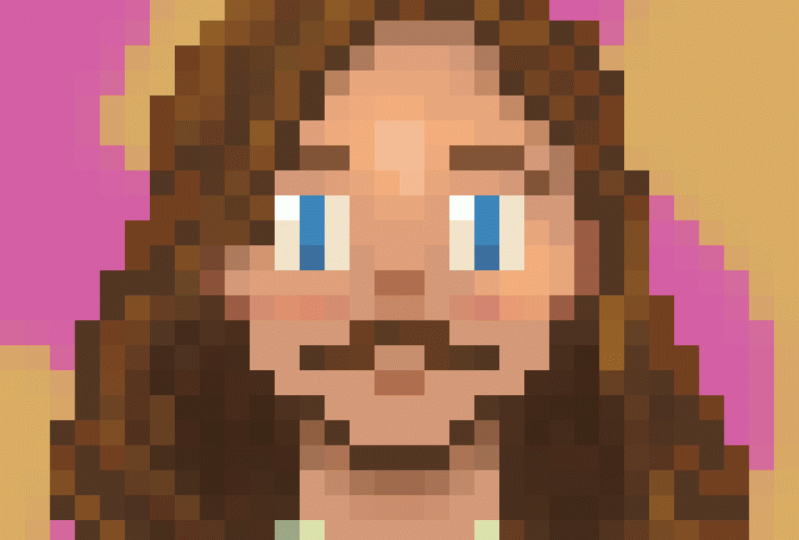
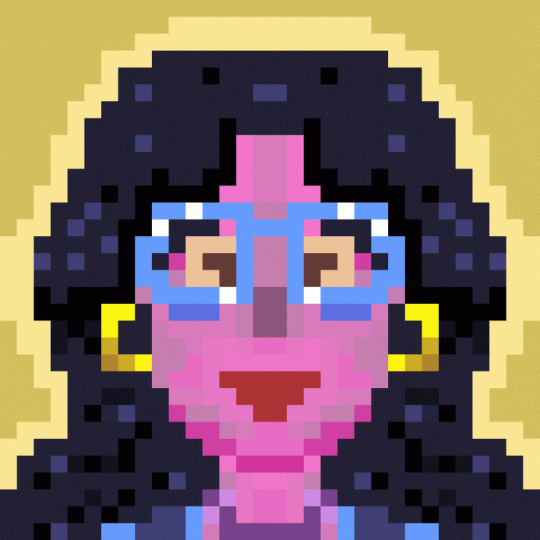
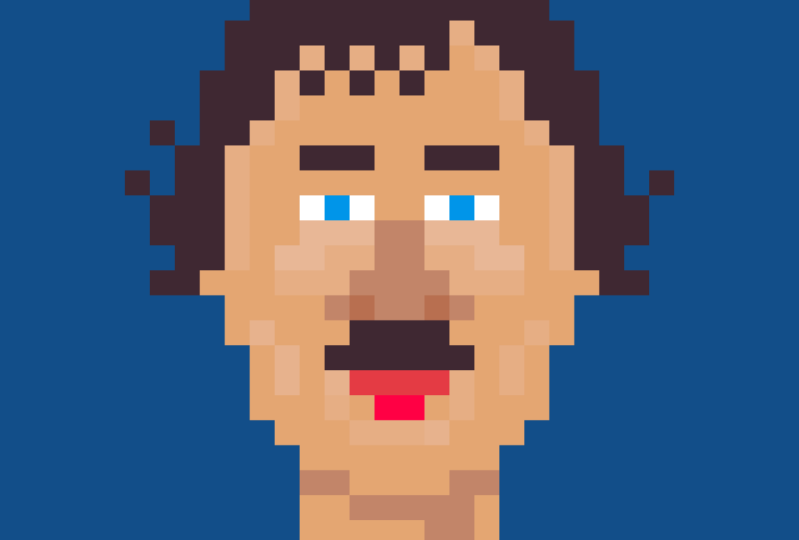
6. Create your Avatar: I hope you enjoyed the course. Now it's time to make your
own pixel art avatar. Once you're done,
feel free to share it by uploading it to
the project gallery. If you have any questions, join us in the discussion panel. Also check out our other
Skillshare classes. Thanks for learning with
us and we hope to see your cool pixel art avatar soon. Bye.
 Acetony, Digital Artist, Painter, Animator