Transcripts
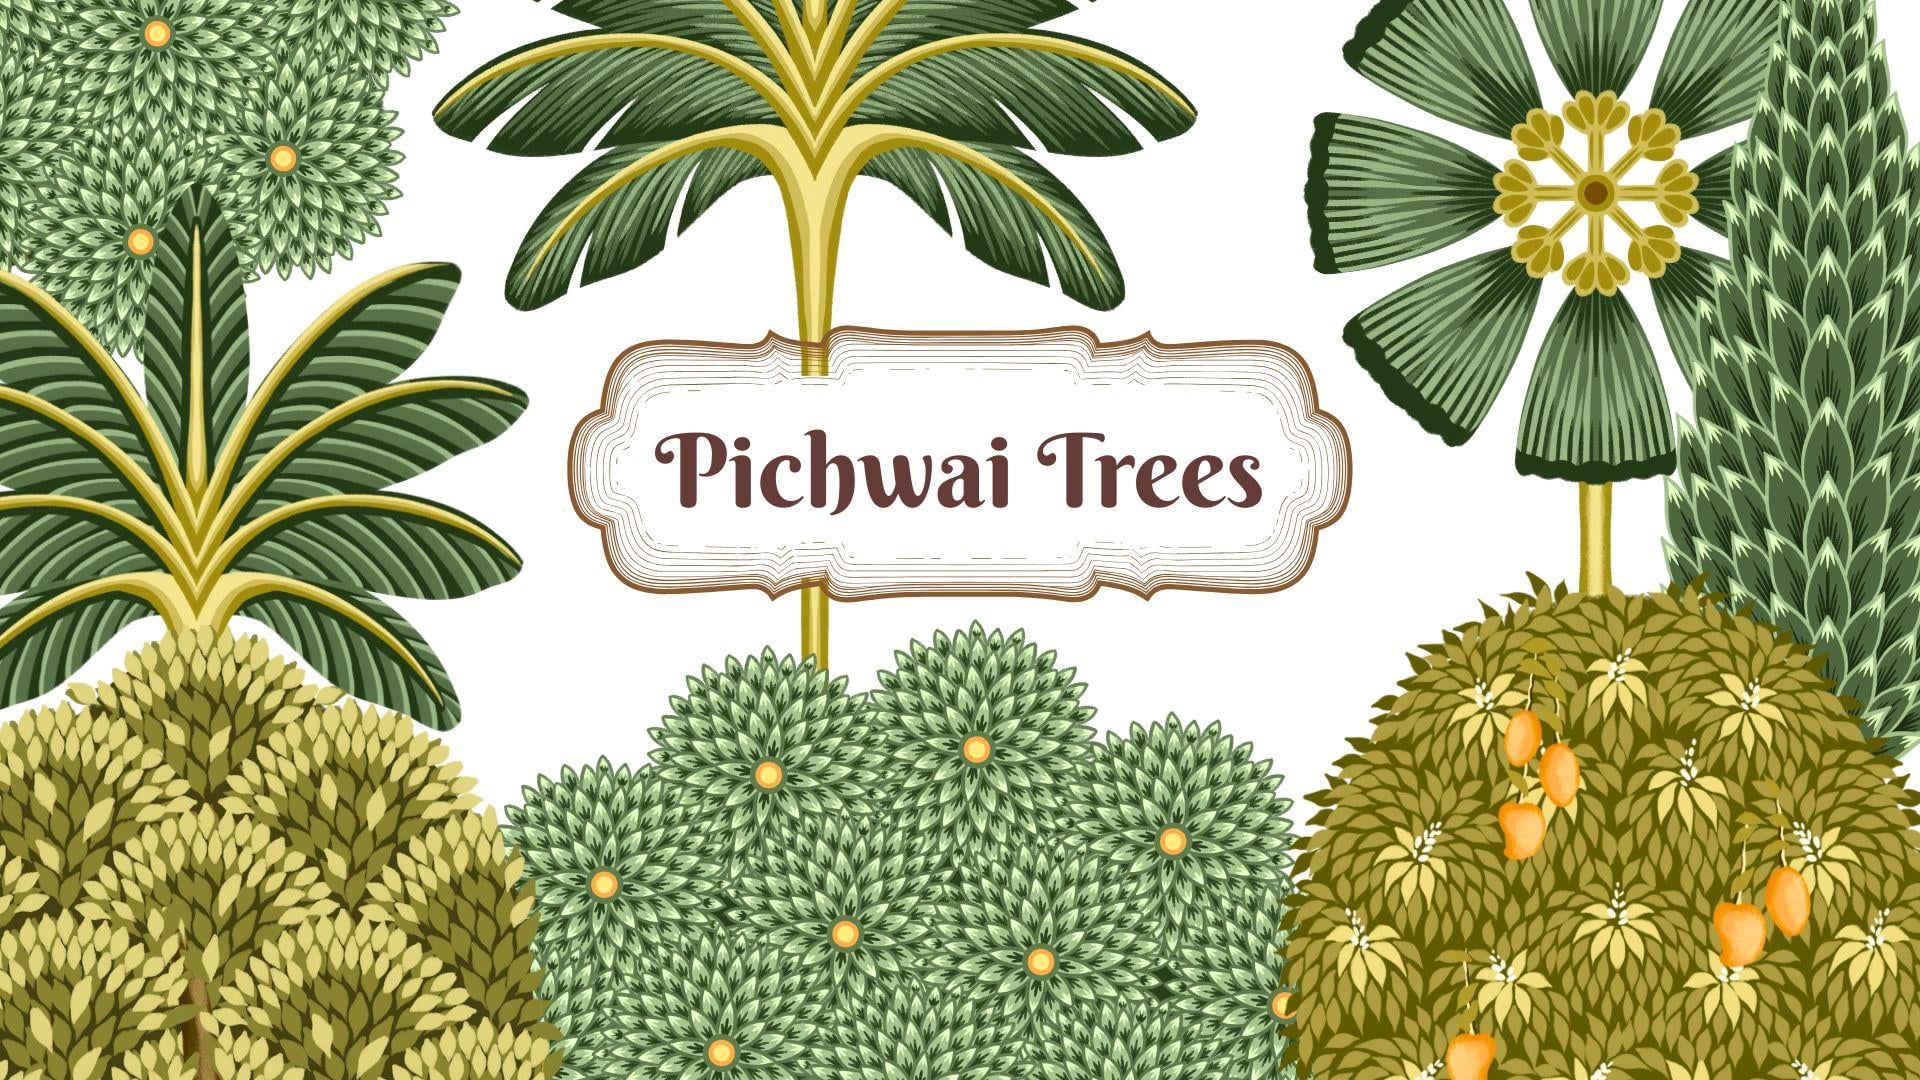
1. Introduction & What You'll Learn: Hi, my name is Vanita, an illustrator and a designer. And in this class, I'm going to show you how you can illustrate eight different types of Bitwi inspired trees in Procreate. To help you get started, I'll provide a sketch guide, color palette, and brushes. Together, we'll illustrate
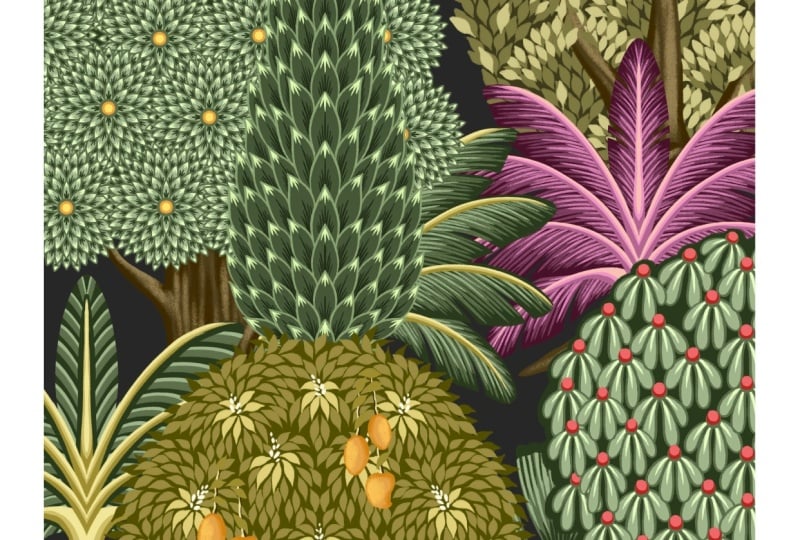
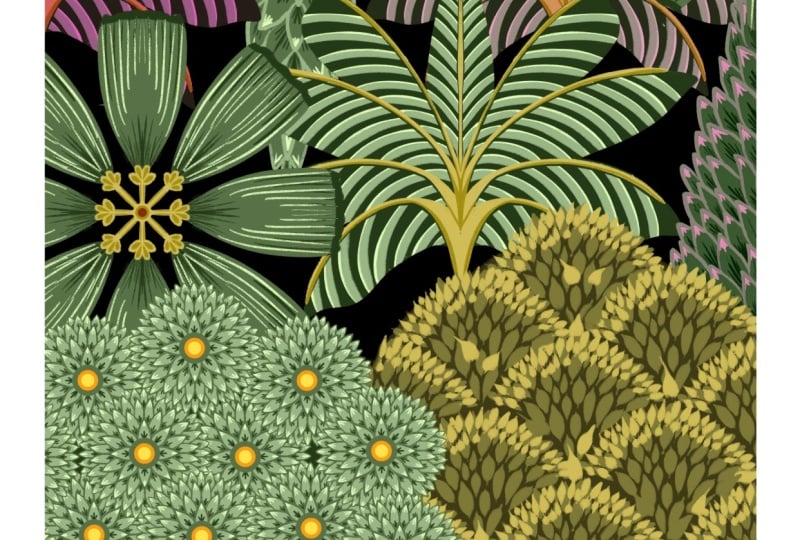
eight different types of pity inspired trees, each featuring its own
unique combination of decorative leaves, fruits, patterns, and
ornamental details. Along the way, I'll share plenty of tips and time
saving techniques. That will help you create intricate looking artwork
more efficiently. You will learn how to build complex tree designs
using simple shapes, work with layers effectively, reuse decorative elements
and speed up your workflow. By the end of this class, you'll have a collection of beautiful pity
inspired trees and the confidence to create your own variation using the
techniques you have learned. These trees are
perfect for creating elegant artwork for textiles, stationery, home decor and
surface design collections. See you in the class.
2. Project & Inspiration: S. For your class project, you can either follow along and illustrate the eight trees
shown in the lessons, or you can use the
same technique and create your own
Pichai inspired tree. Before we begin, let's
understand what Piwi art is. Pichwirt is a traditional
Indian painting style that originated in Rajasthan. That is one of the
state in India. More than 400 years ago, these intricate
artworks were created as large cloth
backdrops for temples, specially dedicated to
Lord Krishna in his form as Srinaji like
in this painting, you can see how Lord Krishna is the central figure surrounded
by decorative trees. In this class, we
will learn how to illustrate these kind of
detailed ornamental trees. These trees can be
transformed into beautiful creative projects
like this wallpaper design. You can add birds or small
animals to bring them to life or turn them into
seamless pattern for platforms like Pattern bank, marketplace or spoon flower. Another interesting
project I have come across is for any event or wedding invitations where these
traditional illustrations are used to create beautiful
and elegant backgrounds. I have included the
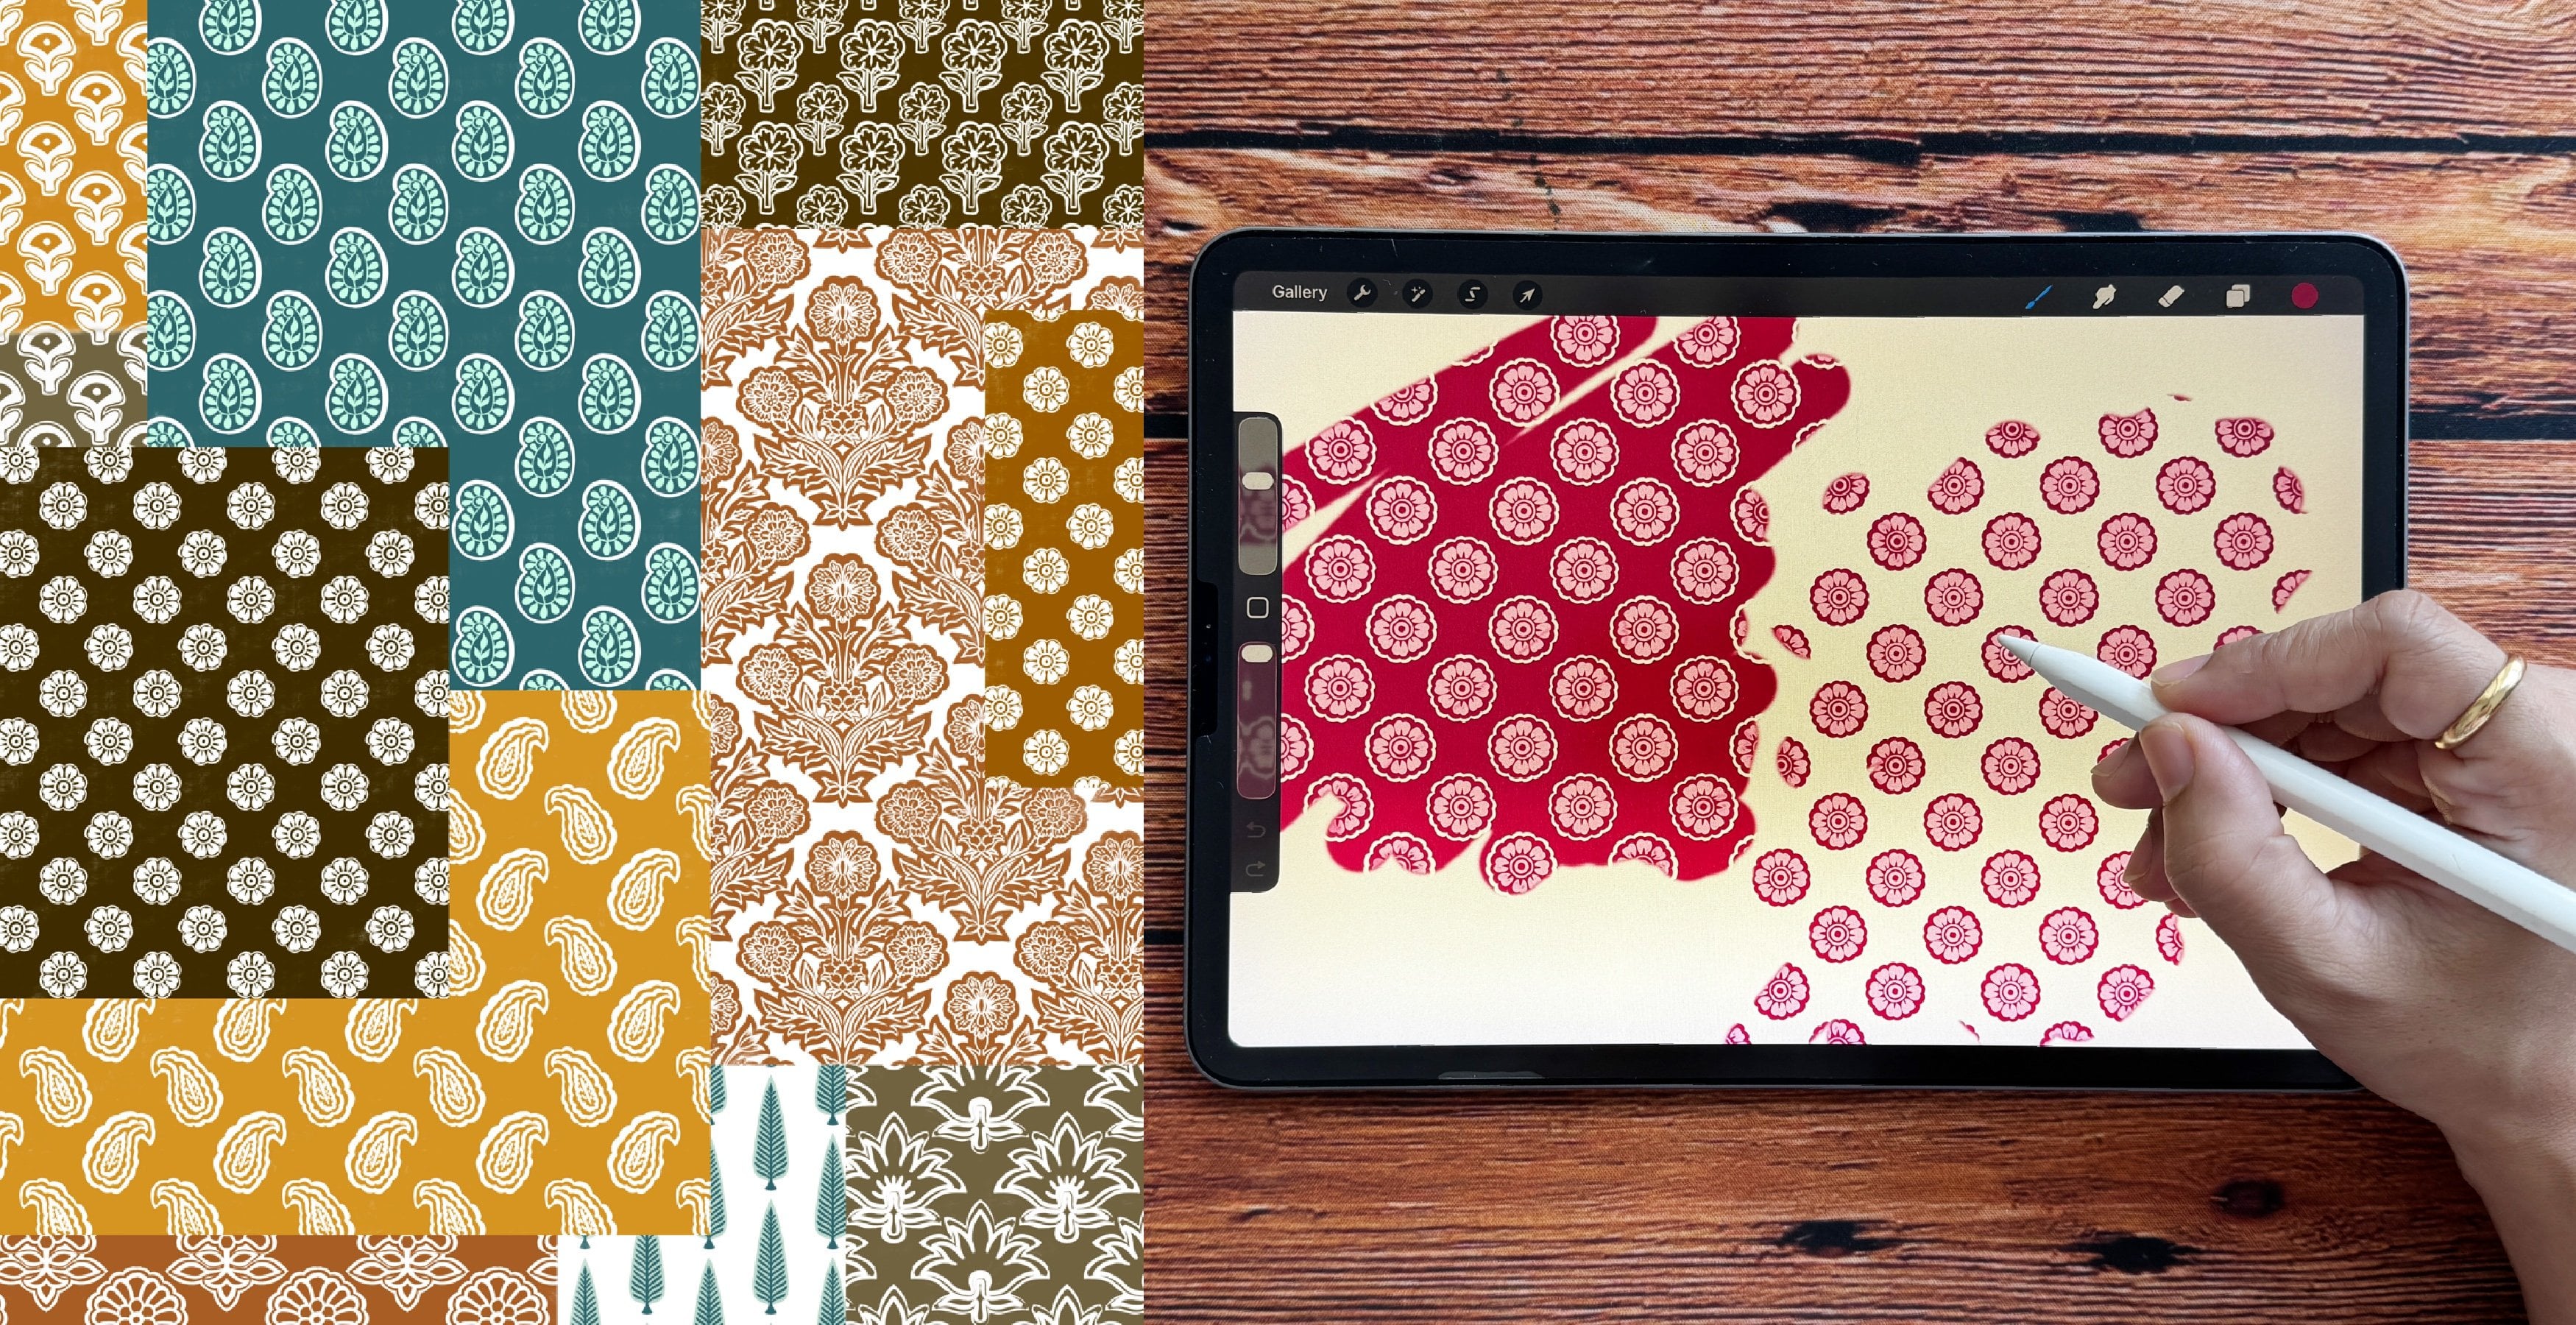
sketches, color palette, and brushes that you can download from the resource
section of this class. I cannot wait to see
your beautiful trees in the project section
of this class.
3. Kadam Tree: You can find this sketch in the resource section
of this class. Download the file and
open in Procreate. This is the guideline for the illustration
of our KADAMtree. Now, when you go to layers, you can see there
is just one layer in this file with the sketch. Let's start by reducing
the opacity to around 50%. Next, we can add a new layer and pull this layer
below our sketch layer. Next, we need to switch
on our drawing guide. For that, I'll tap on
this wrench I can menu. Here under Canvas, toggle
on this option called Drawing Guide and tap
on Edit Drawing Guide. Here under symmetry,
tap options. For our illustration, we
need the radial symmetry. So I'll tap on radial. Now you can see there is this
tiny node in the center. You can hold this
with your Apple pencil and move it around. You need to place
this on the dot. You can see in my sketch
on the first circle, you'll find there is a.in
the center of the circle. Place this little node in
the center and tap done. Now when you go to layers, make sure your new layer
says assisted on it. Next, let's select our brush. For that, I'll go to
the brush library. Here you can find these brushes in the resource
section of this class. The first one is for the thinner lines
and for the outline, and the second one
is to add shading. Make sure your first
brush is selected. Next, we'll go to
the color palette. You will also find
this color palette in the resource section. For this particular tree, I want to select
this color palette. I'll select the third
green from here. We can start by drawing a
little circle in the center. Now following the circle, I'll add our first
set of petals. This first set has eight petals, and I'll continue
building up layers of petals on each section. Also, while you're
adding these outlines, make sure all the shapes
are completely closed with no open ends as we will
be using color fill later, and any gaps in the outline can make the color to spill
outside the shape. So I'm done with
my outline here. Even you should have
something similar to this. Next, we need to switch on our reference option on this
particular outline layer. So I'll go to that layer, tap on this layer
and tap reference. So you should be able to see assisted and reference
both on this layer. Next, we'll add a new layer. Pull this layer below
our outline layer, tap on this layer and
tap drawing assist. Next, we can select
our second green from the color palette. Now we can drag and drop this color into
one of the petal, tap on continue filling. This color drop feature can
help us save some time. Instead of dropping
in each petal, we can just tap with the pencil. Once you're done, tap okay. Next, we need a new layer, and this layer has to be
below our outline layer. Tap on this layer and
tap drawing assist. Next from the color palette, we need the darkest green. I'll select the fourth one. I'll draw the short lines towards the bottom of each leaf. And because we have drawing
assist on this layer, it makes this step
much more easier. And here we are done
with our first detail. Next, I'll add a new layer, and this layer again has to
be below the outline layer, and this also needs
the drawing assist. I'll select the
lightest green from the color palette,
the first one. Again, I'll be adding
very similar detail, but this time it is
on the opposite side. That is at the tip of each leaf. Once you're done
adding this detail, our next step is to
add a center to this. For that, we'll
need a new layer, and this layer has to be on
top of our outline layer. Tap on this layer and
add drawing assist. We need the shades of orange
and yellow for the center. So I'll select this orange and I'll draw a
circle in the center. I'm not going to
completely cover the green circle below that. And the next layer is
with the lighter shade of yellow, another tiny circle. So here we are ready with
the first set of leaves, and we will be
repeating this set to create our entire tree. I'll be selecting
all the five layers and group them, tap group. Close this group, swipe
left and tap duplicate. Now we can hide the extra
group at the bottom. This extra group is, if you want to make
any changes in future. Next on this new group, I'll tap on this group
and tap flatten. This will help you merge all
the layers in that group. Now our next step is to duplicate
this bunch of leaf like this particular layer so that we can fit into each
of these circles. Let's start by counting how many times we need
to duplicate this layer. In total, there are
16 circles here, including the one that
we have already used. So we need to duplicate
our layer 15 times, select the flatten layer, swipe left, and tab duplicate. I'll keep repeating this
until I'm done 15 times. Once you're done,
I'll move down, and I'll leave the first one because that is
our original one. Select the second
one, the second last. I'll select the layer, slide, and move it so that we can
place in one of the circle, and I'll be repeating this
for each of the circles. Next, I'll select
the layer that sits about the one that I
have already placed. And I'll continue
doing this until I have placed in each
of these circles. I am not really following
any specific order here. I'm simply filling
the space as I go. Once you're done placing
in all of these circles, our next step is to select all of these layers and group them. I'll select all the 16
layers and tap group. I'll close this group, and next we can move on
to the trunk of the tree. We'll start by
creating a new layer, and this has to be below the
group that we just created. Next, let's select the color. I'll go back to
our color palette. Here we need a mid
tone for the brown. So I'll select the second one. Next, we need to edit our
drawing assist setting. So I'll go back to
the wrench icon menu, tap on edit drawing guide. Here I'll tap on the blue node, and you'll get this thing
called reset, tap on reset. And under the symmetry options, we need only the
vertical drawing assist, so I'll tap vertical
and tap okay. Now following my sketch, I'm going to draw the trunk of the tree and fill it
with the same color. Now, for the next
step, I want to disable the drawing
assist on this layer. So I'll go back to the layer
and tap on drawing assist. And I want to add this tiny branches on
both sides of the tree, but I don't want them
to be symmetrical, so I switched off
the drawing assist. Next, we'll go to layers and
we'll add a new layer and tap clipping mask so that we can add some
shadow and highlights. For that, I'll select
the second brush. This is a more wider brush, and also we need a darker
shade of the same brown. So I'll select the darker
one, the third one. And we can add some
shadow to the trunk. For my trunk, I'm going
to keep it very simple, but you can experiment
and create your own ways. Now for the highlights, I'm going to select the lighter
shade of the same brown. This can also be
done on a new layer. And here we are done
with our trunk. Now, there is another layer that I want to add to this tree, and it will also
be our last layer. It is going to be below
our leaf group layer. If you zoom in, you
can see there are these spaces in between
the bunch of these leaves. So I want to create
a base for that, and it will also
work like a shadow. So we can start by hiding our leaf group layer so we
can see the sketch clearly, add a new layer, tap on this layer and add
drawing assist. And select the darkest green
from our color palette. Now I'm not going
to touch the edges. I'll leave some space
around the outer edges. Only add this around
the inner area. And we are done with this layer. I'll unhide my leaf group, hide my sketch layer. So now when you zoom in, you can see it covers the space between
these bunch of leaves. And this is what our finished
*** tree looks like.
4. Palm Tree 1 & 2: In this lesson, we are
going to illustrate two different types of palm
trees using the same sketch. You can download
this sketch from the resource section
of this class. Let's start by reducing
the opacity of the sketch layer to around 50%. Next, we can add a new layer and pull this layer
below the sketch layer. Next, we need our drawing guide. For that, I'll go to
the wrench icon menu. Here under Canvas, toggle on this option
called Drawing Guide, and tap on Edit Drawing Guide. Here under symmetry options. Here select the vertical
symmetry and tapo. Next from the brush library, we need the first brush. Next, we can select
the color palette. I'll be working with the
first shade of green here. Let's start by selecting
the darkest green. Now, following the guideline, I'll be illustrating the leaves. This will be a base
shape for the palm tree. Once you're done with
the outer shape, I'll fill in with
the same color. Thank you. Once you have this
base for your leaves ready, we can move on to the
trunk of this tree. We can start by
adding a new layer, tap on this layer and
add drawing assist. Next, I'm going to select these yellowish
green for the trunk. I'll select the mid
tone, the second shade. I'll just follow the guidelines and start from the center. And I'll add these veins like brush strokes for each leaf. For this one, I want it to be
slightly in the center. Now, let's add the trunk. I'll keep it very
basic and simple. But Now we can add some pattern to the leaves, for that we need a new layer. This layer has to be about
the leaf base layer, tap on the layer and add drawing assist and also
add clipping mask. Now from the color palette, we need a lighter shade
of the same color. I'll select the third green. I'm going to add this stripe
pattern for each leaf. There can be many
other variations of pattern that you
can experiment with. What I'm trying to show
here is the process and how different colours
and placements can create interesting
visual effects. And we are done with our
first layer of stripe here. Let's move on to the second one. We can add a new layer for this. This layer has to be below
the first trip layer. Also make sure there is clipping mask and drawing assist
on this new layer, and we need a lighter shade of green lighter than
the first stripe. For this one, I want the
brush size to be smaller. I'm just trying to follow the
first layer of stripe here. I want to add another
layer where I want to create this shadow
effect around the stem. For that, I'll add a new layer, tap on this layer
and add clipping mask and drawing assist. I'll select the darkest green. Make sure this new layer is
just below the stem layer. Now following the
shape of the stem, I'll create this
darker area around it. Now let's move on to adding some highlights and shadow to the stem and the trunk layer. Select the trunk layer and
add a new layer above it, tap on this layer, add clipping
mask and drawing assist. Now from the color palette, we can select a darker
shade of the same color, the third yellowish green. I'm trying to create this shadow like detail following
the sketch. Next, we can add a new layer
below the shadow layer. And with the lightest shade of the same color, the first one. Also make sure you have your drawing assist
on your new layer. I'll add some highlight to
each stem and the trunk. So we are done with our
first palm tree here. Let's create another version
using the same base. For that, we can start
by going to layers, and I'll select all of these working layers
and group them. Close this group, swipe
left, and tap duplicate. I'll hide the first group, open the second group. We will keep the trunk as it is, so I will not touch
those layers, but we need to clear the layers
with the stripe on them. So I'll tap on that
layer and tap clear. There are three layers
with pattern and stripe. So now I have three
empty layers, and we can use the same layers to create the second version. So our first step now is
to select the base layer, the dark green layer, select the eraser tool. Under eraser, make sure your
first brush is selected. I'll be erasing parts of this base layer to
create this cut or split like shape that we
often see in palm leaves. This is a simple detail, but it helps to add movement
and realism to the artwork. Now let's move on to adding some details like
shading and highlights. I'll select the first layer
on top of the base layer. Select your first brush, select the third green, which is one shade lighter
than the base color. And I'll start adding these brush strokes
from the center. This second one is more of a realistic version
of the palm tree. I'll repeat the same
process and add these lines to the
remaining leaves as well. Thanks Thanks Next, I'll select the
layer about this layer. And for this one, I want to
go for a more lighter one. I'll select the second shade. For this step, I want to add more shorter and fewer lines. And here we are done with the second variation
of our palm tree. Now when you go to layers, you should have two groups with different version of palm trees. Let's move on to the next tree.
5. Fan Palm : In this lesson, we are going to illustrate a very similar
version of fan Pam. It is like a decorative version. You can download
this sketch from the resource section
of this class. When you go to
layers, you can see there's just one layer
with the sketch on it. We can start by reducing the
opacity of the sketch layer. Next, we can add a new layer, pull this layer below
the sketch layer. Next, we need the drawing guide. For that, we'll tap on
this wrench icon menu. Under Canvas, I'll toggle
on this option called drawing guide and tap
on Edit Drawing Guide. Here you should be
under symmetry. Tap options. Under option, we need the radial
option, tap radial. You'll be able to see
this little blue node, which you can hold
and move around. You have to place this in
the center of this circle. I have even marked it
with a dot and tap okay. So this is what your
canvas should look like. Make sure on your new layer
you can see assisted on it. Next from the brushes,
you can select the first brush and
from the color palette. We can select this
first shade of green. Here I'll be
selecting a mid tone, which can be this third one. Now we can start by touching
one of the guideline and creating this cone like shape and closing it
with a wiggly line. And again, I'm going
to create another set. Next, we can fill in these petal shape with the same color. Next, we can create
a decorative center. For that, we'll add a new layer, tap on this layer and
add drawing assist. For the center, we can use
the shades of olive green. We can select the second
one that's a mid tone. I'll draw this tiny
petal like shapes, which can give a nice
start to the palm leaf. You can also experiment and
add your own element here. Next, for the center, I
can draw this tiny circle. We need something that can connect the center
to the leaves. I'm going to draw
these basic lines, but you can experiment
here and create your own unique shape
or any design element. Next, we can add some
decorative detail with the darker shade
of the same color. So I can select the third green I want to add another layer of more brighter and darker
circle for the center. You can select any vibrant
dark brown or a maroon color. Now let's move on to adding
some details to the leaves. For that, we'll
need a new layer. Tap on this layer and
add clipping mask, again, tap and drawing assist. Okay let's start by selecting the darker
shade of the same color. Again, there is no strict rule or specific design
to follow here. Feel free to add
your own details and experiment with
different patterns. I am adding this thick outline
on the edges of each leaf. Adding some short
lines in the center. It's like a decorative
version of adding shadows. Next, we can add a new
layer where we need to add details with a lighter
shade of the same color. We also need clipping mask and drawing assist
on this layer. We need to select
a lighter shade. I'll select the second one. And I'll add some lines
between the darker ones. So we are done with the top part that is the leaf part here. Let's move on to the trunk. For the trunk, we'll
add a new layer. Pull this layer below
all of the other layers. Now for the trunk, we need
the vertical symmetry. Right now we have
our radial symmetry. So let's edit our symmetry. I'll go back to the canvas,
Edit Drawing Guide. Under options, I'll select
vertical. And tap done. Now for the color,
I want it to be very similar to the
center of our leaf, so we can select the mid tone
for the yellowish green, and I'll draw a
very basic trunk. It has to be a very decorative
version of fan palm. I'll keep it very
thin and simple. Next, we need a new layer to add some highlight and shadow. Also, I'll add clipping mask and drawing
assist on this layer, and we'll need a darker
shade of the same color. We can add some shadow on the
outer area of this trunk. Now, for the highlight, I'll
select the lighter shade of the same color and just a
little stroke in the center. And here we are done with
our decorative palm tree. I'll hide my sketch layer.
6. Cone Shape Tree: In this lesson, we are going to create a cone shaped tree. You can find this sketch in the resource section
of this class. We can start at the bottom here. We can start by reducing the
opacity of the sketch layer. I'll reduce it to around 50%. Next, we need a new layer and pull this layer
below our sketch layer. Next from the brush library, I'll select the first brush. From the color palette, we can go with the
first shade of greens. I'll start with
the second shade. I'll select the second one. Next, we need our drawing guide. For that, I'll go to
the wrench icon menu. Under Canvas, toggle
on this option called Drawing Guide and tap
on Edit Drawing Guide. Here under symmetry options,
we need the vertical. Select vertical and tap o Make sure the new layer
shows assisted on it. I'm going to follow
these dots and start creating these
petal like shapes. While creating this outline, make sure you don't leave any gaps as we will be
filling it with color later, and even a small gap can cause the color to spill across
the entire canvas. I'm going to start by creating these overlapping petals
in the center first. We have a clean and solid
base to begin with. There are many other
decorative variations for this cone shaped tree. You can explore Pints
for more inspiration. You can also use this same
sketch as a guideline. Once you're done
with the center, we can start drawing the sides. Now, our next step is to fill
in colors in these leaves. For that, we can go to layers, tap on this outline
layer and tap reference, add a new layer and pull this layer below
the outline layer. Next from the color palette, I'll select the third green, which is slightly darker
than the outline layer. Drag and drop this
color in one of the leaf and tap on
continue filling. And now all we need to do is tap on these leaves
to fill the color. Oh, I think I forgot to add
drawing assist to our layer. Go back to your layer
and add drawing assist. This can help save us more time. I'll tap again on
continue filling, and now you can
see it is filling on both the sides
at the same time. Once you're done
filling, tap okay. Now for the next step,
we need a new layer, and this layer will be
below our outline layer. Tap on this layer and
add drawing assist. Next, we need a darker
shade of green. I'll select the fourth green. And I'll be adding
these short lines at the bottom of each leaf. It's like a decorative
version of adding shadow. This step can take some time, so I have increased the
speed of this process. Since the lesson would
otherwise become too long, you can always pause and
go at your own pace. The next step is, again, very similar to this one. We'll go back to the layers, and we need a new layer, which again, has to be
below the outline layer, tap on this layer and
add drawing assist. And this time we need
a lighter color. I'll select the first
one, the lightest green. And this time, again, we need short lines, but on the opposite side
of the leaf on the top, So here we are done with
the top part of the tree. Now let's move on to the trunk. I'll unhide my sketch layer. Next, we need to add a new layer and pull this layer
below all the layers. It has to be at the bottom, tap on this layer and
add drawing assist. Next for the color,
we need a mid tone, so I'll select the second brown. Following the sketch, I'll
draw a basic shape for the trunk and fill it
with the same color. Next, we need a new layer
for shading and highlights. I'll add a new layer, tap on this layer and
tap drawing assist. We can start with
the highlights. For that, I'll select
the lighter brown. From the brush, we can
select the second one. Make sure there is clipping
mask on your new layer. I'll start by adding
some basic highlights. Now for the shadows, I'll
select the darker brown. This can also be
done on a new layer. And here we are ready with
our cone shaped tree. I'll hide my sketch layer.
7. Decorative Tree 1: Let's illustrate our
first decorative tree. This is what the
sketch looks like. You can download this file from the resource section
of this class. When you go to layers, you can see there's just
one layer with the sketch. We can start by
adding a new layer. Pull this layer below
the sketch layer. Now from the brush library, we can select the first brush. I have marked this
brush size to 50%. We will be drawing
our first set of leaves in this area where
it says, draw here. For this tree, we can go with the shades of green
in the second row. We need a slightly
lighter shade of green. I'll select the second one. I think I forgot to reduce the opacity of my sketch layer. I'll reduce it to around 50%. I'll start drawing these tiny
leaf following the sketch. Because this is a
pressure base brush, you can increase the pressure and create this leaf like shape. My goal here is to fill this
whole scallop like shape. So we will be filling
one and then use this one to duplicate and
create the whole tree. Once you're done filling
the whole shape, we will be adding another layer with a lighter shade of leaves. For that, we'll add a new layer. Select the lightest color.
That's the first one. I'll be adding a row of leaves only on the
upper edge area. And here we are done with
two rows of these leaves. I'll merge both of
these layers now. Just select both and pinch. Next, we need to
duplicate this layer so that we can place them
into these seven shapes. I'll duplicate this
layer seven times. And for the other
areas of this tree, we will need some
editing and adjustments. Once you're done duplicating, select the second last layer with the help of the move tool, drag and place it on one
of the scallop shape, and I'll repeat the steps until I'm done with
all the seven of them. Next, I need one
more for the bottom. I'll duplicate again, move this, and I'll place it
at the bottom here. This needs a little
bit of erasing. I'll select the eraser tool and I'll carefully erase a couple of leaves
at the bottom. H Next, let's move on to the top. I'll fill in this.
For this, again, I'll duplicate one, and I'll move and place
it into this shape. I will lower it slightly and we can erase the ones
that are overlapping. Now with the eraser tool, I'll erase the extra
leaves at the bottom. We'll do very similar
steps for the sides too. I'll duplicate one, and I'll
place it on this shape, and we will be erasing
the extra leaves. Try to erase one leaf at a time and not erase
any leaf into half. Once you're done erasing, we can go back to layers, swipe left and
duplicate this layer, select this layer
and flip horizontal, and you can place it
on the opposite side. I'll repeat the same steps for the ones at the bottom two. Now, for this one,
the Ada is too small, so I'll just manually draw them. So for that, we'll
add a new layer, and I'll switch on my
vertical drawing guide, under Canvas, toggle
on this option, and tap on Edit Drawing Guide. Under symmetry options, I'll select vertical
and tap okay. Make sure your new layer
shows drawing assist on it. I'll start drawing
these leaves and filling in all the
gaps that I can see at the bottom here too. Now for the lighter leaves, I'll select the lightest green. I just randomly want to add these lighter leaves
without the symmetry tool. I'll go back to the layer, tap on the layer and remove
the drawing assist option. I'll add very few
here and there. I'll fill this
little corner too, few with a darker green, and then layer it
with a lighter one. And here we are done
adding all our leaves. Next, we can go to layers, select all the layers with the leaf on them,
and we can group it. Tap group and close this group. Next, we can add a new layer, pull this layer below
the group layer, tap on this layer
and add drawing assist and hide the
leaf group layer. Next, we need a darker green. I'll select the third one. Now, from the brushes, we need the second one. I'm going to draw a base
shape and make sure to leave a small gap
around the outer edge. Try not to touch the outline. This will act as
a base layer for the tree while also adding
a subtle shadow effect. Now, let's unhide our
leaf group layer. So this is what our final upper part of the
tree looks like. I'll hide my sketch layer. I'll show you how
it looks when you hide and unhide the base layer. Now let's move on to
the trunk of this tree. We can start by selecting a
mid tone of a brown color. From the brushes, we can
select our first brush. For this one, we can go for a slightly different way
of creating the trunk. We'll add a new layer, and this layer has to be
about our leaf group layer. I'll unhide my sketch layer. I'll be illustrating
the trunk that will be visible on the outer
side of the tree. Once you're done
with the outline, cover it with the same color. Now let's move on to adding some shadows and
highlights to the trunk. For that, we can
add a new layer, tap on this layer and
add clipping mask. From the color palette, we can start with
the lighter color. This can be for the highlights. From the brushes, make sure your second
brush is selected. I'll add these
brush strokes where I feel the light
will be reflecting. On the center of this trunk, I want to add that
hollow giant big hole that we generally see
on the tree trunks. Now let's move on
to the shadows. For that, we'll need the darker
color, the darker brown. You can also add this
shadow on a new layer. Try not to completely
cover the whole trunk. Just a few strokes for
shadow and texture. We are almost done
with the trunk here, but I want to add another layer. I'll hide my sketch layer. The new layer is to slightly cover the tips of
these branches here, so I'll add a new layer, select the second green
that we use for the leaves. And the first brush. I'm going to randomly
add few leaves here and there just to give it
a more natural finish. I'll add the darker leaves first and then layer it
with the lighter one. And here we are done with
our first decorative tree. Et's move on to the second one.
8. Decorative Tree 2: Let's illustrate our
second decorative tree. You can download
this sketch from the resource section
of this class. Let's start by reducing the opacity of our
sketch layer to around 50%. Add a new layer. Pull this layer below
the sketch layer. Next, we need the
symmetry guideline. For that, we can go to
the wrench icon menu. Under Canvas, toggle
on this option called drawing guide and tap
on Edit Drawing Guide. Now, under symmetry options, make sure your vertical
is selected and tap okay. We will be using the
first diamond as a guide to illustrate our
first bunch of leaves. We can start by selecting our first brush next
from the color palette. We can go with the first
shade of greens here. We need a mid tone, so we can select
the third green. We can start by drawing four dots on each
corner of this diamond. Next, we will be adding four petal like
shape on each dot. And when I'm drawing this petal, I'm also trying to touch
to the dots at the bottom, and this second set of petals has to be slightly longer
than the first one. I'll add these petals
for the other dots, too. When I'm drawing on this dot, because of the symmetry, it is also drawing
on the opposite dot. As you're drawing
these outlines, make sure there are no gaps as we will be filling it
with the color later. So we are done with
our outline here. Next, we can add some
color to these leaves. For that, we can go to layers, tap on this outline
layer and tap reference. Next, add a new layer. Pull this layer below
the outline layer, tap again on the new layer
and tap drawing assist. Now from the color palette, we can select the second green, drag and drop in
one of the leaves, tap on continue filling. Now you can tap on
rest of the leaves. Once you're done filling
all of them, tap done. Next to add some
details to the leaves, I'll add a new layer, tap on this layer and
add drawing assist. Make sure it is below
the outline layer. Next, we can select a lighter
shade of the same green. I'll select the first one. For the next detail, I'll add a new layer, and this layer has to be
about the outline layer. Now from the color palette, I'll select the
darker shade of red. I'm going to add a
detail on top of each of the circle that we have
on the outline layer. Next, we can add detail with the lighter shade
of the same red. I'll select the second red
from the color palette, and I'll draw a circle with a slightly smaller size
than the first red. Here we are done with the
first bunch of leaves, and we will be using this bunch
to create the whole tree. Let's go to layers, select all the four layers, tap group, close this group, swipe left, and tap duplicate. I'll hide the first group, tap on the new group,
and tap flatten. This will merge all the
layers in that group. Next, we will duplicate
this flattened layer so that we can place on each
of these diamond shape. If you count, there
are eight of them, so I will duplicate
this layer eight times. Once you're done duplicating, select one layer at a time, move and place it on
one of the diamond. I'll repeat this for
all the eight layers. Now, here at the bottom, this one I don't need, and also this can help me fill in the other
parts of this tree. So I'll go back to the
layer, select the layer. With my freehand selection tool, I will select just
this single flower. That swipe down with three fingers, cut and paste. It will take this
bunch on a new layer. And now we can use
this little cluster to fill in any area of the
tree that feels empty. I will duplicate this and
fill in the whole right side. A smaller one on the top here. Here I'm done filling
one side of the tree. So before I merge
all the layers, I'll swipe lift and
duplicate one of this bunch, which we might need in future. I'll pinch and merge the rest, swipe lift and duplicate. Your uniform should be selected. Under snapping, make sure your snapping and
magnetic is on. Flip horizontal, and I'll
move it to the left side. I'll select both of these
layer and pull them below the other layers as
I want them to overlap. Now, before we move
on to the next step, let's group all of
these leaf layers. Once you're done
selecting all the layers, tap group, close this group. Next, add a new layer
below this new group. Select the second brush
from the brush library. We will use this to create
a base layer for leaf. I'll select the darkest green
from the color palette, and I'll draw a thick outline following the shape
of each leaf. Next, we need to fill this whole shape
with the same color. We can start by hiding
the leaf group first. So we can see the
outline clearly. Once you're done,
filling the color, hide the leaf grew layer. Now, let's move on to
the trunk of the tree. For that, we'll add a new layer. And this new layer has to be below the dark green base layer. Tap on this layer and
add drawing assist, and we can select a mid
tone of the brown color. I'll select the second one. And following the sketch, I'll draw a very basic shape for a trunk and fill it
with the same color. Now for the shadow
and highlights, we'll add a new layer, tap on this layer and
add clipping mask. Now for the color palette, we can start with
the lighter color, which is for the highlights
and from the brushes, we can select the second one. I'll try to create a very
basic trunk for this one. With a bigger brush size, we can start adding these
vertical brush strokes. Now let's move on to the shadow. For that, we'll select
the darker brown. We are done illustrating
our tree here, but I feel the upper part of the tree doesn't
look very round. So what I'm going to do is add few leaves at the bottom
on both the sides. I will quickly duplicate
the smaller bunch of leaf and I will place
it on one corner first. I think three should be enough. I will pinch and merge them, swipe left and
duplicate this layer, flip horizontal, and I will place it on
the other side too. I'll move this layer
slightly above so it doesn't get hidden
under the other leave bunch. Next, I also need to fix the background, the
dark green layer. And here we are ready with
our second decorative tree.
9. Mango Tree: Let's illustrate our Pity
inspired mango tree. You can find this sketch in the resource section
of this class. Let's start by reducing the
opacity of this sketch layer. Select the layer and reduce
the opacity to around 50%. Next, we can add a new layer. Pull this layer below
the sketch layer. Now for the drawing assist, we'll tap on this wrench
icon menu under Canvas, toggle on this option
called Drawing Guide, and tap on Edit Drawing Guide. Now under symmetry options, select vertical and tab done. From the brushes, select
the second brush. Now from the color palette, I'll select the
fourth green here, but you can also select any
other green of your choice. For most of the
trees in this class, I started by drawing the leaves and decorative
elements first, and then added the
background afterwards. For this mango tree, I want to show you an
alternative approach. We'll begin with the
base layer and build the tree from the ground up
gradually adding the leaves, fruits, and other
tetails on top. Following this sketch, you can start with your base layer. Next, we can select our
smaller size brush, the first one, and my brush
size can be around 30%. And we can start adding these tiny leaves on the
outer edge of the base shape. Try to add them facing
in different directions. I'm going to leave the
center top area for now because I don't want
that to be very symmetrical. So we are ready with
our base shape here. Now let's add a new layer
on top of this base layer. Tap on this layer and
add drawing assist. This layer, we will be adding
tiny flower like elements. We will follow these
dot as a guideline. Next from the color palette, we can select the lightest
shade of the same colour. And I want it to be more
lighter, more like an off white. Now, with a smaller
brush size to around 8% I'm going to add
these tiny bud like flowers. This is like the
decorative version of the flowers that you can
find on the mango trees. I'm starting with a
thicker brush stroke and trying to end it
with a tapered shape. Now for the center, I will
switch off my drawing guide. Go to layers, tap on the
layer and tap drawing assist. We are done with our buds here. Let's move on to the leaves. For that, we'll add a new layer, tap on this layer and
add drawing assist. Next from the color palette, we can select the second green, which is again on
the lighter side. And we are going to start adding leaves
around each flower. This is the most time consuming step, so take your time and
enjoy the process. One, I will switch off my
drawing guide on that layer. Next, we can add a new layer and pull this layer below
the first leaf layer, tap on this layer and
add drawing assist. On this one, we will be adding our second
layer of leaves, and we will be adding a darker
shade of the same green. I'll select the third one. We'll add this second layer of leaves around the first one. The guideline and
the flower acts as a foundation and helps us
organize the composition. Instead of placing leaves randomly and ending up
with a messy looking tree, these guiding points gives us a clear starting point for
each cluster of leaves. As we build around these points, the leaves naturally form a repeating group that creates a rhythm and structure
throughout the tree. This makes the
final illustration feel balanced, decorative, and pleasing to the eyes. Thank you. Now, for this last bunch, I'll switch off
my drawing guide. I'll tap on this layer and
tap on Drawing Assist. I create a tiny bunch with
a lighter shade first. With the darker shade, I'll
fill in the whole area. Now, let's move on to adding
some mangoes to Tree. I'll add a new layer
and this layer has to be just below the sketch layer above all the other layers, and I'll select the darkest
yellow from my color palette. I'll draw this very
basic shape of a mango and fill it
with the same colour. And I'll draw another one here with a slightly
different shape. Now let's add some
shadow and highlights. For that, I'll add a new layer, tap on this layer and
add clipping mask. Now, with a slightly
yellowish color, we can add some highlights
on one side of this mango. Now for the shadow, I'll
select a darker shade of the same color and add few brushstrokes
on the opposite side. I want to add stem
for these mangoes. For that, we can
add a new layer. And this new layer has to be
below our mango base layer. Now from the color palette, we can select the
lightest green, the first one, and we can draw this slightly wiggly line
coming out of the mango. Next, I want to add some
shadow to the stem, so I will add a new layer, tap on this layer and
add clipping mask. Now with the darkest brown
from the color palette, I'll add a little shadow
on one side of this stem. Next, we can merge the mango and the stem layers into one layer. Now I want both of them
on two separate layers. I will select one of them with a free hand selection tool, swipe down with three fingers, tap on cut paste, and now we have both on
two different layers. Now we can duplicate this and
reuse them multiple times. Feel free to place the mangoes wherever
you like on the tree. You can experiment with
different position to create a composition that feels
balanced and natural. Once you're done placing
all your mangoes, add a new layer and this
layer has to be on top of all your mangoes
and on this layer, we will be adding few leaves. I'll select a mid
tone of the green. These leaves will slightly
overlap the mango stem, helping to create a more
natural and layered look. There is no particular order
that I am following here, just randomly adding
few here and there, especially hide the area
where the stem ends. Here, we are done with the
upper part of the tree. Let's move on to the trunk. For the trunk, we
need a new layer, add a new layer, and this layer has to be
below all the layers. Also, I'll unhide
my sketch layer. We also need our drawing guide, tap on the layer and
add drawing assist. From the color palette, we can select a mid
tone of a brown. Now, following the sketch, we can draw this nice
thick trunk for this tree. I'm done with the outline, I'll switch off
my drawing guide, tap on the layer and
tap on drawing assist. I want to add these more
smaller and thinner branches that is connecting the tree to the main trunk and
don't want them to be very symmetrical for a more
natural and organic look. I'll fill it with
the same color. Now to add some
highlight and shadow, we can add a new layer, tap on this layer and
add clipping mask. We can select the second brush. And for the highlights, we can start with
the lightest brown. Now for the shadow, we can
select the darker brown. We are almost done with our
mango tree illustration here. We can just add one last step, select the trunk base layer. Under eraser, make sure your
first brush is selected. We can erase a few
cuts at the bottom. Here we are ready
with our mango tree.
10. Art Print: This lesson, I'll show
you a simple way to turn your illustrations
into a beautiful art print. Once you have completed
all 83 illustrations, add them into a stack. We'll start by creating a new
canvas for the art print. Tap on the plus icon and
again on this tiny plus icon. I'll keep my canvas as 4,000
by 5,000 pixel with 300 DPI, and this will create
a new canvas for us. Next, we need a drawing
guide on this canvas. For that, I'll tap on
this wrench icon menu. Here under Canvas, toggle
on the option called Drawing Guide and tap
on Edit Drawing Guide. Here at the bottom
on the grid size, you can type in the pixel, tap on that, and you can
type in 162 and tap done. Next, I want to select a color like a dark
charcoal black. Now, under selection tool, make sure your
rectangle is selected. Now, following the guideline, I'm going to select this
vertical rectangle. Make sure you are leaving this equal shape like a
white border on the sides. Once you're happy and
done with your selection, drag and drop this charcoal
color into this selection. Now, our next step is to get all our tree illustration
on this canvas. For that, I'll tap on Gallery, go back to our first tree. Next, I will hide my
background color. Now we can copy our canvas under the wrench
icon menu under add, tap on copy canvas, tap on gallery again, go back to our first
canvas, again, under add, tap on paste, and this will paste our
illustration on the canvas. I will repeat these steps and get them all on the same canvas. Once I have all my elements
on this canvas, I'll start moving them
around and arranging them into a cohesive, well
balanced composition. You can experiment
with a variety of different layouts to see
what works best for you. Try changing the size, position, and spacing of these trees until the composition feels balanced
and visually pleasing. One thing to keep in
mind is that any part of an element extending beyond the edge of the canvas
will be cropped. If you think you might want to use that element again later, it's a good idea to keep an extra copy somewhere
on the canvas, or you can return to
the original canvas, copy the element again, and paste it back into
your composition. I want this cone shaped
tree to be slightly darker, so I'm going to use
the curve tool, as it was getting lost because of the catam
tree at the back. They both have a very
similar colour tone. Once you're done
roughly placing them, we can start adding clipping mask to each of these layers. Now, you can see this
gives a nice border to our artprint Okay. I'll duplicate our
basic palm tree so that I can add in some
of the empty areas. If you feel the artwork
is looking a little flat or there is a lot
of green happening, you can easily add a pop of color using the gradient tool. It allows you to modify the
colors and experiment with different palettes to give the artwork a completely
different mood and feel. I'll turn off my drawing guide, and here we are ready with our very beautiful
pitui inspired artwork. You can also experiment with a lot of different
background colors.
11. Final Thoughts: So in this class, we have
explored how to break down these traditional pitui trees into simple shapes and
decorative details. Keep exploring and
experimenting to add your own creative
touch to these trees. These elements work
beautifully in an Indian inspired
artwork and can instantly add richness and
detail to your design. If you have any question or
doubt regarding the class, you can post in the discussion
section of this class. You can follow me on
Skillshare to get notified when I
publish a new class. And you can follow
me on Instagram two. Please post your review
because it helps me plan and improve
my future classes. Thank you for taking
this class with me. See you in my next class.
 Vinita Upadhya, Illustrator & Pattern Designer