Transcripts
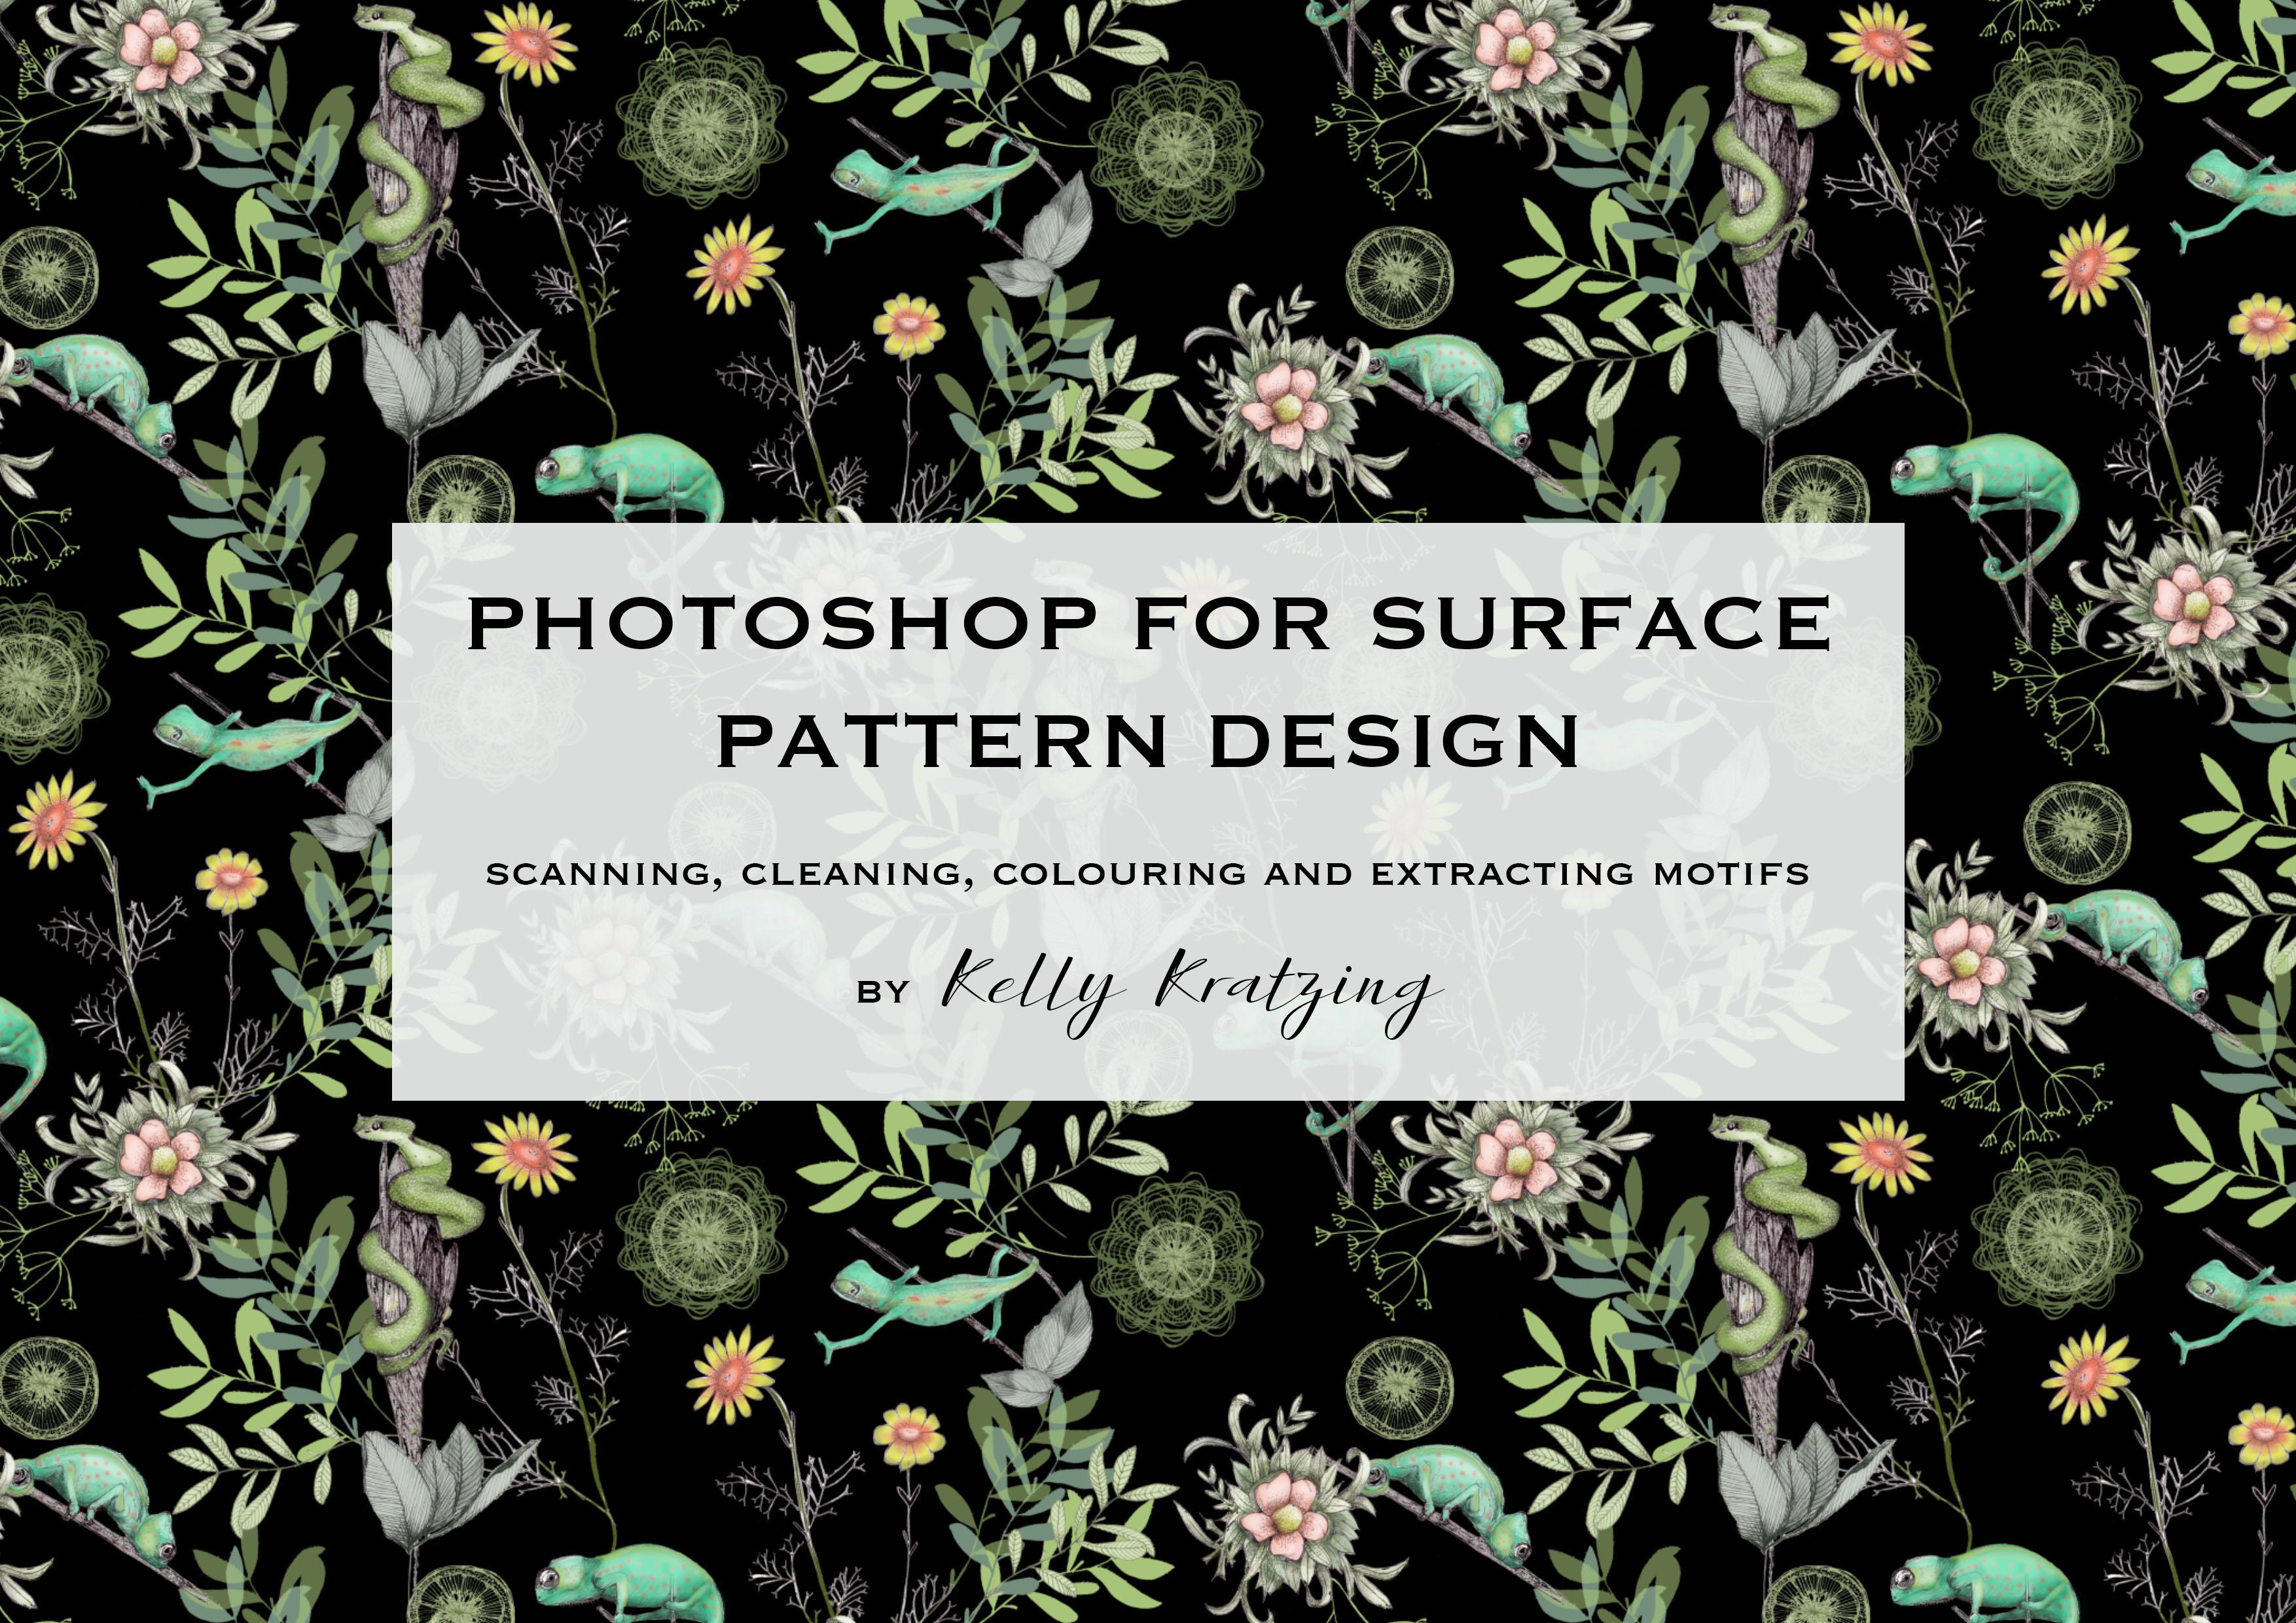
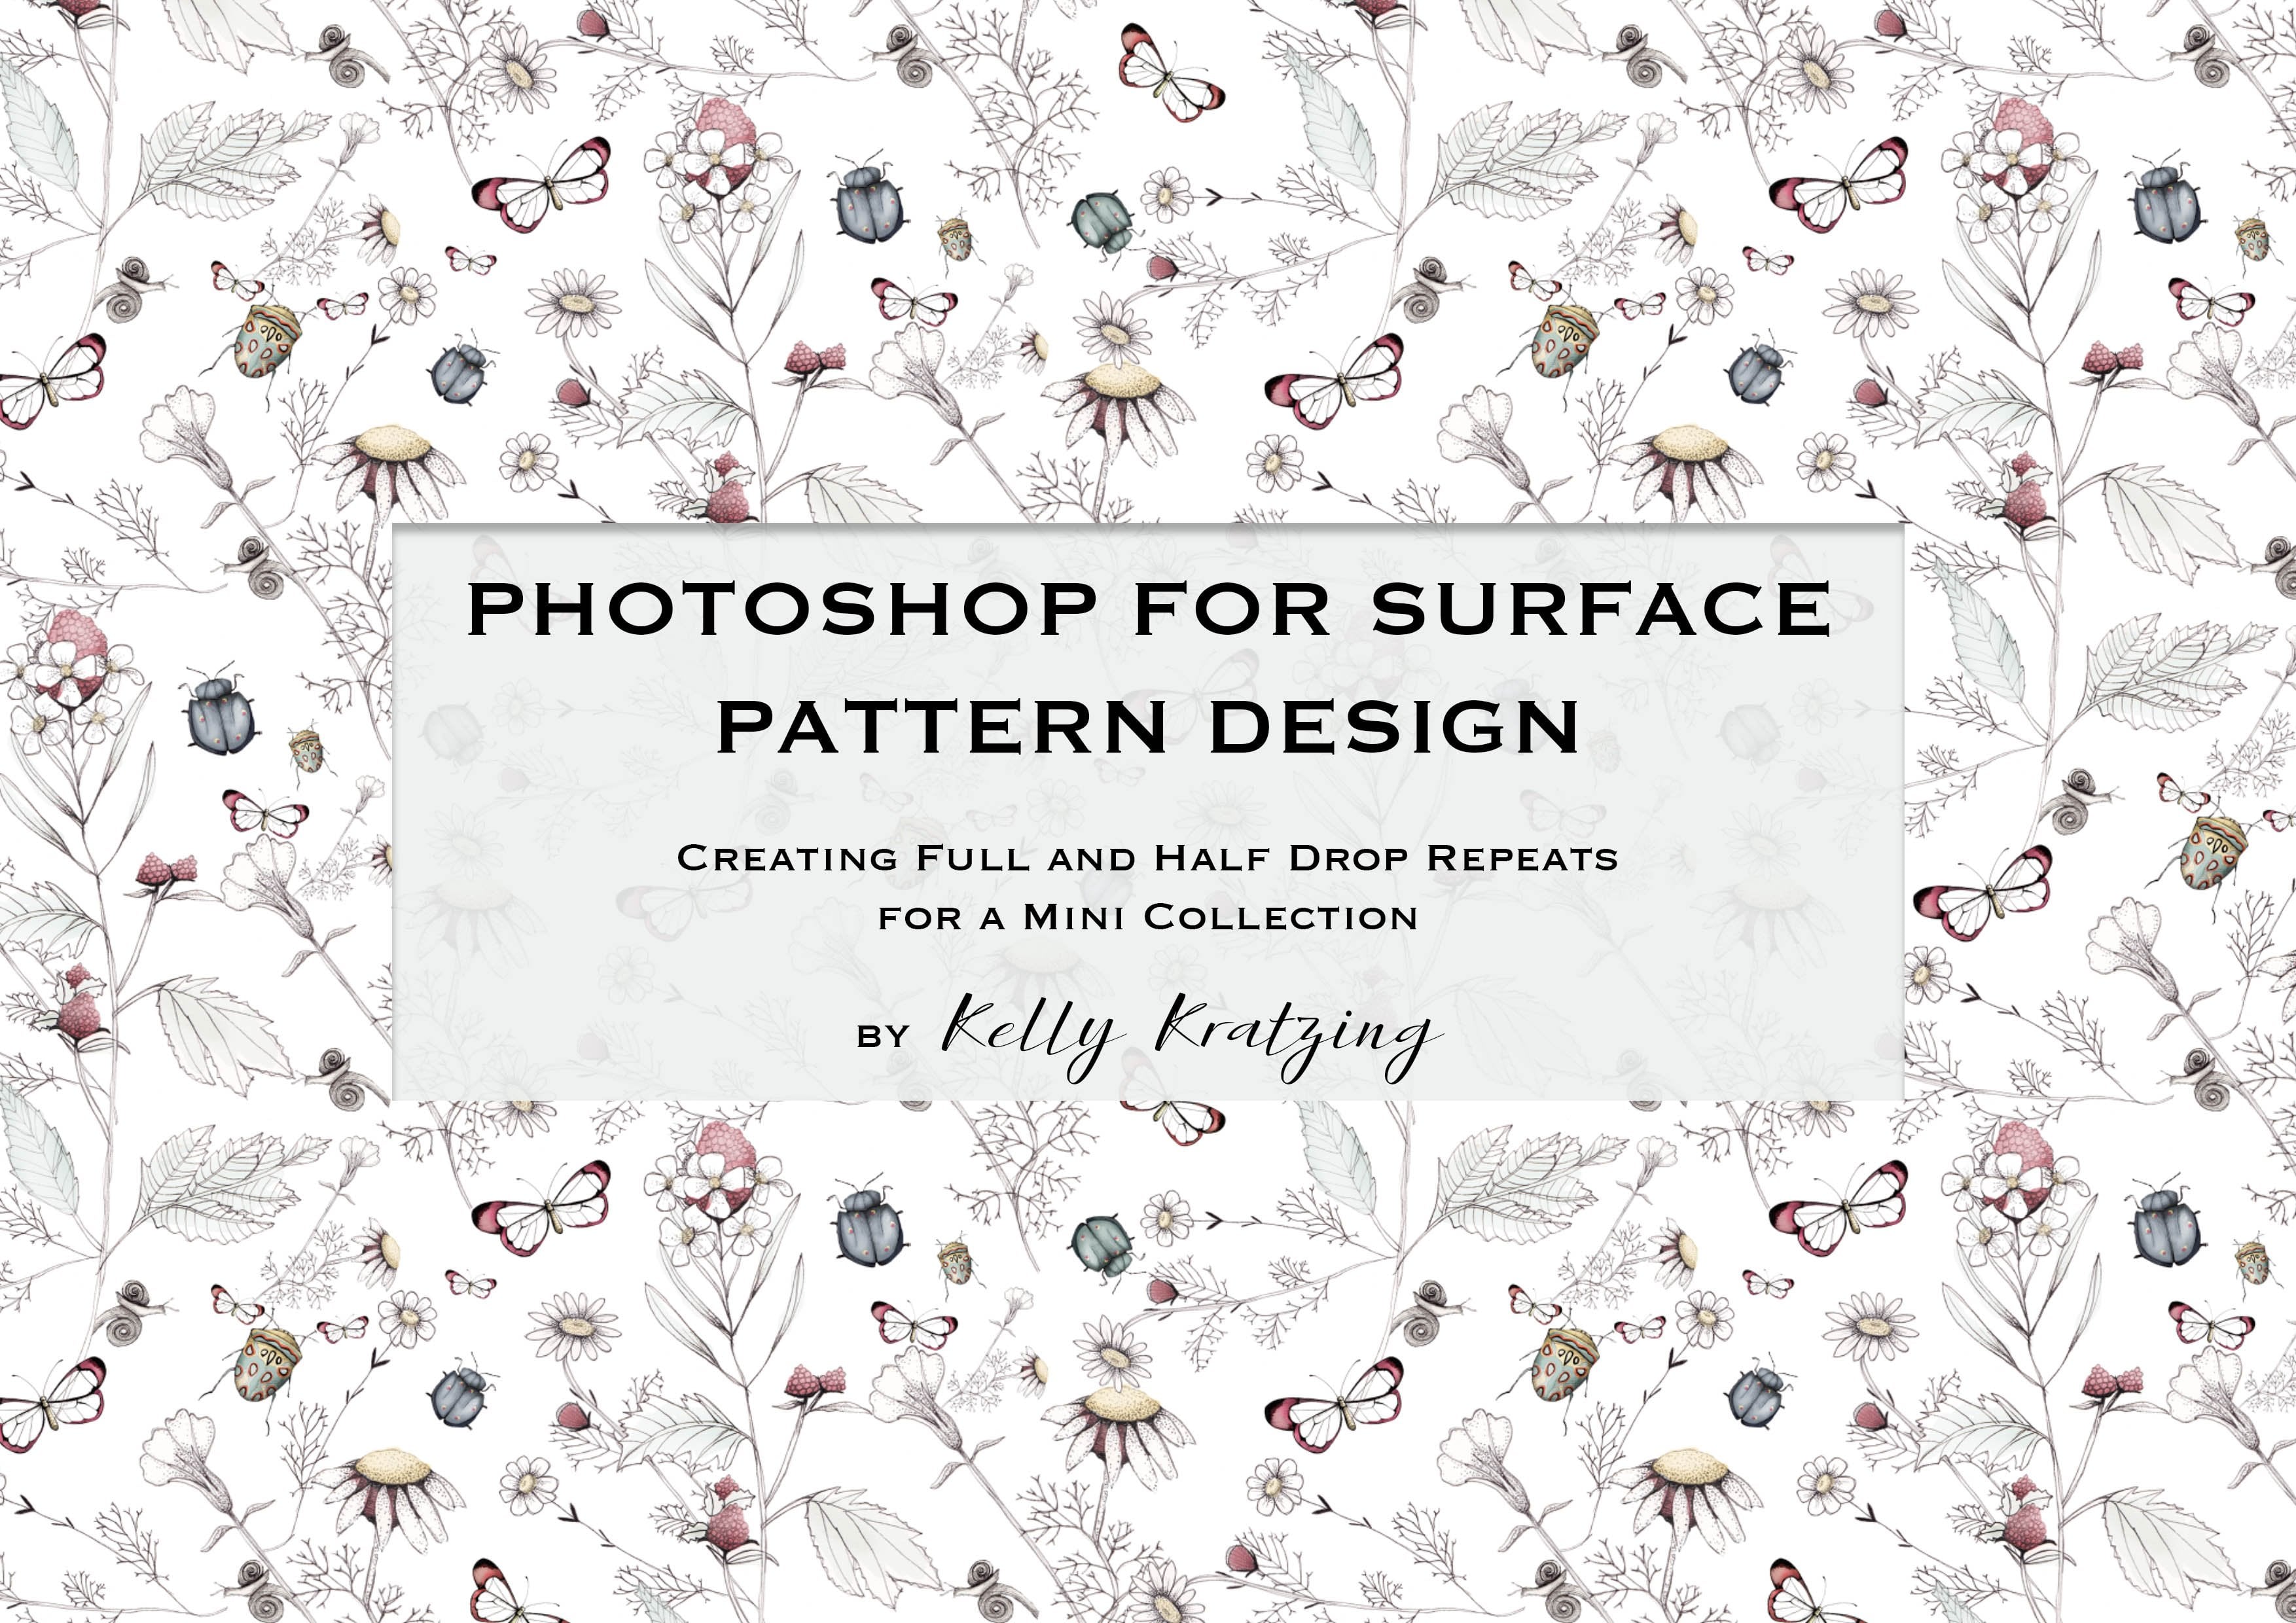
1. Introduction: Hi, everyone. My name is Kelly, and I'm a service patent designer and illustrated, based in Melbourne, Australia. My service pattern design journey started about two years ago when I discovered that you could put patterns onto products, and I thought that was amazing. So I was. So that's a career I wanted before that I've used photo shop before because I was selling some prints in my Etsy store, and I used photo shop to import the artwork as well as clean it up and enhance it so the prince would just that little bit nicer to sell. So when I was starting the surface patent design journey, I didn't realize that you could actually use photo shop as the tool to make the parents. I always thought you had to use it, Don't illustrator, but what was really great about learning? This is one. Obviously, Photoshopped with something. I was good at it, too, but I could keep that detail and texture that I had often in my artwork and transfer that across the patterns as well. Don't be illustrated, tends to flashing images, and you don't quite get that same of data on texture. So this was something that was really great. But when I went to go look for classes, I found that most classes in patent making were strongly illustrated based. So I wanted to create some thickest classes that I would have loved two years ago when I was starting out specifically for creating patents and photo shop. So in this class, what we're going to do is learn how to skin and import artworks into photo shop, how to clean them up and enhance them, and then, finally, had it extracts the motifs. If you want to pull out individual elements from your artwork, so please feel free to ask me questions I'd love to help out, and I hope you have a great time learning these and doing the class project. Please up. Play to the gallery and let's get started.
2. Overview Understanding Layers in Photoshop: Hello. Welcome to class Start by showing you some basics of Photoshopped, including the layout in some of the tools. This spy no means is comprehensive tutorial, but I'll just give you a bit of an overview to help you with the following lessons. So to start with, we want to just create a new document. Say, once you've opened photo shop, file new and then I have some presets already, but typical. A four document would be to 10 by 2 97 It's a to 10 to 97. You can change orientation are the landscape or portrait I always do 300 pixels per inch for my patterns and seeing my K. I don't change this eight bit in the white. There also advanced options, but again, I don't change those, Um, you might want to check with your printer. What they print were because some print is actually like RGB. But for the most part, you'll find that printing is all done in seem like a and then just click create. A new document will show up, and so here is your document. On the right hand side, this is where you'll see your layers and at the moment it's locked, has got this little padlock over here. And so my first thing I always do with our market, and then you can just name it. Let's say background, and then you can always lock it again if you don't your background to move. But for now, let's just leave it if you want to create new life. Is laia new in the new lion and you can name it here and give it a color, etcetera, etcetera, Impressive cave and see It comes over to this side. But what I like to do is just to come down to the bottom right here and is a little creating you Lay of Boston, and I just find that's much cricket to do that. So the way Photoshopped works is you can think of layers like bits of paper sitting on top of each other, so layer to is sitting on top of layer one. So if we feel in layer to to say with a black background, it now sits on top of Lay a warm let's say we want to make lay a one a different color, show you how to do all this in a minute. Okay, so at the moment layer to when it is on, which is this little eye icon. So this turns it off, turns it on later to be sitting above layer one. Which is why we only see layer to now if we were to drag and drop and swap them around. Laia one is now sitting on top of later, too. So we see layer one and that's how the layering works in photo shop and again, the little Iittle here you can just click on and off to be out of turn that layer on enough . Another important thing to do with photo shop is, if you're trying to do something on a particular earlier is to always make sure that you have clicked onto that layer. So see, at the moment layer one is highlighted. If I click layer to layer, choose highlights. So whatever I do now, let's say I just want Teoh paints. Um squiggles. Okay. See how you can't see it because it is not being painted on their Juan. If I turn layer one off, you will now see it on layer too. So sometimes if you find that you're doing something, and you can't see what you've done. Its chances are that you've done it on the wrong layer. So that's just something to keep in mind from the start. Okay, Another quick thing to do is, if you just want to rename your layers, it's just double click on it, and then it comes up and you could just change it so you can just call it black, for example, in central like that. Okay, so let's say we just want to get rid of Leia. Juan, we want to make sure we've clicked on it, and you can drag it down here to the little trash can and it dilates it. So now you're just left with the second layer, which is the black lion. Okay, so the other tools that I want to show you, uh, this is just your selection tools. This is you tool you may use just to move things around. I'll see how I could move the whole thing. That's because when I drew the little squiggle on the black layer, it was on the one layer. So they're all together. So they're not separate. If you wanted to do, say something like a squiggle on top of it. You could think I'm across here and see how an hour on another layer we can call it squiggle. I do that squiggle now. So now if I turn off the black layer, you just see that squiggle there. And the squiggle is on top of the white background because the black one is turned off. So if I just want to move the squiggle, just come back up to my selection tool and see how that's good. Go now, move separately to the black background. Where is this one? Moves together. So it once you're happy with your background, we want probably lock it. So then you don't move it like this. So I just go to the background. That's they were happy with the white one and we just lock it and then it now work moves. I turn these off. It's not going anywhere. I see. Okay, now, probably better to show you that with the dark color. So let's say I've locked this one so before. Before we locked it, I couldn't leave it like this. Once we've looked at the little padlock. Now it won't move, so that's always good for backgrounds that you don't want to move. Okay, so I'm just gonna unlock There is. And in the next class, I'll show you some of the basic tools will be using in the following classes.
3. Overview Tool Basics: So this is your selection tool. Another two we're going to go through in photo shop is the last you tool and basically, what this does it traces around the outside of something you want. You just need to join the ends, and it gives you the option to copy or paste just that selection. So if I did command X, that'll cut that section out. And then let's say we want Teoh create any layer. Put it up there. So now that squiggle he's on its own little layer. So that's what the lawsuit tool does. Okay, so I'm just gonna turn that off. Now, let's say we didn't like that. We wanted to put the squiggle back on the black background, basically, with photo shop you could do commands in, and that will take you back to the last step that you did. But it won't keep taking you back and back and back like you could do an illustrator. So what you need to do is come up to this button up here history, But, um, take on it and basically just go back to where you want to go back to. So let's say we want to go back to just before we use, the less you too. And there you have it. So now you're back to where you are, so I'd recommend strongly that you save your files often in case it crushes, because you don't want to have to go and find all the steps you've done all the way back here. Okay, so another tool that we like to use is the magic one tool. So just in case you don't know how toe get this little, um, extra window, I guess, to the side, if you just click once it does, is we hold it down. Hold your mouse down. That's when you get the extra window out as you come down. Select magic. I want to. And this wand basically just selects whatever you've clicked where it's all the same color . So in this case, it's picked that picked up that black background. So then you could do command X, and it's deleted that background. What's cut that background This could do command said to go back to where we were. So then, if you wanted to say pick the little green squiggle out instead, click on that and again you could do Command X to delete and see. Now it's deleted that color out of them. So that's just another little handy tool to select. I guess it's a big group off something of the same color. Okay, so I'm just gonna get command said to go back to our green squiggle. Now, if you've ever selected something and we need to de select it, just come up to select and day select, and that gets rid of them. Okay, We've also got a crop tool and is a few other tools he which we won't go through in this video. Siri's The crop tool basically just allows you to move different areas. And basically, what it says is crops. So you hit, enter and its crop. That page just got to commend said to go back. So that's the crop tool, the eyedropper tool. Again. You've got more options down here, but we're just gonna go through the eyedropper tool. Today I dropped two allows you to pick a color anywhere on your outboard. So at the moment, if we look down here, this is a color palette. The full ground color is that green squiggly culo and then the background is black. So let's say I want to color in the squiggle. So, um, sorry. Let let. So I want Teoh have this this green color as a background underground under the lamb. So what I can do is come across with my ad rebuttal and just click on the color I like, and it's now changed that full grand color there. Eso. If I want to say change it back to black game, just select somewhere where it's black. You've also got this toggle where you can change foreground and background colors give you a better example. Let's go back to the grain. And so if I just click this, it changes the black to the foreground and the green to the background. You can also go back to your basic black and white settings with this little button up here and again, toggle between foreground and background color if you want to change the color anywhere, so let's say we want to fill this whole layer in so we're on the back layer. I'm going to go up to it still and see it's got here foreground color, so you can also pick your backer and color. You can pick another color. There's other options. 50% gray, black, white and you can also pick a pattern. But we're just gonna stick with a full grand caliph in Actually went white. And you can also change your passenger here so he didn't want it to be 100% white. Let's say could do 50% Chris OK, And see it kind of gives you a bit of, ah, different color because it wasn't 100% opacity. As we go back to edit Phil and make that 100 it should just turn white just like that. Okay, so that shows you there's tools. I've just quickly show you the color to a little bit more too. So let's say you want Teoh usual paintbrush and you want to change it to a blue color, for example. So you can double click on this and it brings up a color picker option. And so you could just go around, pick any color you like. We've run here, so I want this blue, and then this also gives you the option. If you have specific colors that you want Thio, use the say apprentice has said they want Pantone colors, for example, or hex code. You can put it in here to get the exact color that matches, and there's also the percentages. Again. If you're given specific colors to use, it's just press a K and then we've got a squiggle again. Now notice it's on the black layer against. If I wanted that on a separate layout to show you again, we can do you layer and we can do a squiggle like that. So then, if we turn that off with a little eye, it's off again. But these other ones are all part of the Black land, so just keep that in mind when you're doing something new. If you do want to be out of editor later, separate to the background or separate to another image, try and put it on a new layer. It's much easier to adapt, and if you like that way, okay, so what else do we have that we're going to go through? We've been erased. The tool. This does what it says it does. It's erasing. So let's say we want to get rid of this blue squiggle. So you were arrested. Tool. You've got a background, a race, a two and a magic eraser tool. So the eraser is just a simple tool that we can just come along here on a layer. The Bruce Google and it just gets rid of it like that. The magic erase the tool erases everything that is the same color. Let's go to our black light. Will turn off that light, go to up likely. Let's say we want to erase this whole thing so you have two choices. Come back to the eraser tool and just erase it like that. But it is a racing, both the squiggle and the black background. That's which is why you're seeing the white. Because the white is underneath. Just do commands it to go back the magic eraser tool you could select. Just click on the color, and it's basically deleted everything that's the same color. So obviously there's a slight difference between what's in the inside green color and the outside to keep clicking and say again, is delayed id that from the background, But you were still seeing the white background come through because it's part of the black layer. So if you wanted to just get rid of a squiggle that's on top of the black layer. Then you want to make sure that that squiggle is a separate layer. Okay, there is gonna get commended to go back to where we were, OK? And I wanted to go back another step, so I can't do commands it again. So I go back up to my history and go back up to Magic Eraser on that we haven't It's the other options. We've got a paint bucket tool. This just paints a whole area, as it says on the little helpful tips thing here. And the color it will paint is whatever foreground color you've got down here. So just make sure you've said that before you do that. And again, you've got some tool options up here where you can change the opacity. You can choose to paint with a pattern if you have a pass in library. So let's say we cook back on our layer while which had the blue squiggle originally. So if I just put the paint bucket here, it just changes that whole layer to that blue color. The color that's in the foreground okay to other tools that will be using in the Siri's the Dodge Tool and the Burn tour, which would go into more detail, but basically they used to enhance your artwork. The Dodge Tool highlights your artwork and kind of makes areas lighter in the burn tool makes areas darker and again we'll go through it in more detail. But you have options up the top here about what you can do. You've got a text tool. Should you ever want to write some text. Now again, I'm on Leia one. But if I wanted to, I would add above this, and we can just say hello now. We can't see that because, as you can see at the top here, the color or the color here is the text. It's matching that background on our layer below, so we can just highlight it. Come up here. Now pick A color comes back and we just click on that, and there you have it. So now that's on a separate layer, and you can just move that around, make it bigger or small O. And a quick shortcut to make everything bigger or smaller, too, will be out of a justice size. In photo shot, which you will need for your motives is command T and it comes up with this little books. Hey, and basically, you could just pick any one of these little squares and you can drag and drop to make a bigger and small are you can make it. I, uh, And if you want to keep the proportions the same, you hold the shift key down, and that's it. Transform to or command tea and just hit into when you're happy with it. Okay, The other tool that's good to know is a shape tool. So again, if you hold down your mouse button, you have the option of doing different shapes rectangle, rounded rectangle, ellipse, polygon line and then custom shape. So all of these are fairly self explanatory. Custom shape gives you the option of some shapes that are built into photo shop, and if you come up the top here, you can see what kind of shapes you can choose from. So we can pick diamond, for example, Come down here and you can either create specific size. Well, you could destroy your in freehand again. The proportions aren't constrained, but if you hold down the shift key. It'll keep those proportions the same. And then with the shapes, you've got the option of what color goes in the fill, which is this bit in the middle. And what color is a stroke, which is the outline So those can be turned off, so you have no stroke. Let's say the Phil you can pick a color down here or again. It goes to Cala Picca, and you can pick a color up here. Press OK, just click off that, and they have your shape just to go over the transform tool again because we use it quite a bit. Do command T. Your little options come up here, and that's why we want to make it a bit smaller so we can just hold down the shift key, and we can move it up and it can go in like that. Now bear in mind that these air on separate layers so it's very easy to now ate it. What you need to edit without affecting the whole lamb. So if we wanted to change the shape color, for example, it's very easy to do because it's on one layer without changing everything else that we've already done. Okay, so I think that gives you a fairly good overview of what we will be covering in the following lessons. Please don't hesitate to give me a knee email or add some discussion if you have any further questions. Of course, photo shop is an immense program, and they're a great deal more. Uh, there's a great deal more to learn, and there are many, many classes on this, but this just gives you a quick overview of how things work so you can continue on with the lessons.
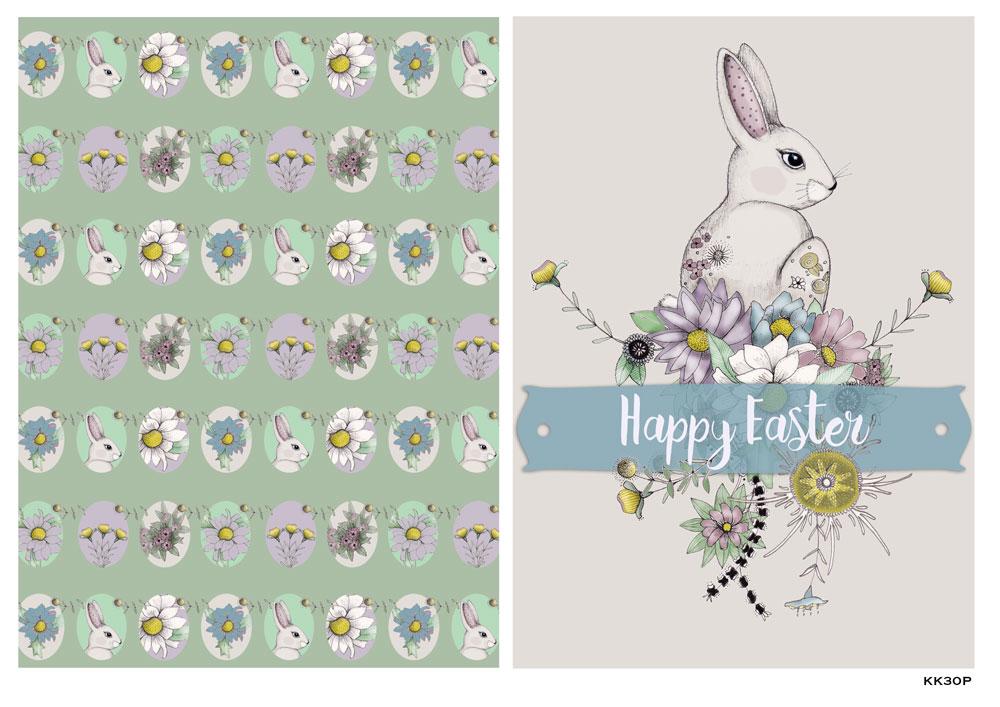
4. Scanning and Cleaning: welcome to the lesson. I'm gonna show you how to import directly into photo shops. Go file import images from device and then with my scanner printer. It does like an overview first, so you can see what it looks like. And I like to change the name while I'm here. And just so you know, we also wanna keep the format as a TIF format and then press scan. Good point to note is if your scanners seem slow, if you can plug it directly into a USB, that will make this much faster process rather than doing it over WiFi. Okay, so the images in photo shop that was fairly easy. So we unlock the layer, go up to image adjustments and levels, and I use this just Teoh, make the scan a little less washed out by just moving these totals The left on the right, just to you get it? Were you happy? Okay, then come over to the left and you want to get the magic eraser tool by holding down the race abundant in selecting the background and they should delay tal the white background and then you can go through and just delayed all the other little bits that you don't want . It's going fast. Forward it a little bit. So you don't have to watch this cause it's not the most interesting thing to watch all day . Um, and just so you know what I just did, there was I zoomed in so I could see it better in the short cut for that. His command plus. So basically, I just go along here and get rid of all the little bits of white that I don't want. And this is just a fast way of getting rid of big sections off background that you don't want without actually deleting any off the, I guess the white on the inside of the motifs that you want to be out of color later and once I don't think is generally I then we'll add a background so we can then see I just find a detail of where they're still bits of want that we don't want. And we do this by creating a new layer. And here we go Great new layer do command a late to get the background color and then I go to the eraser tool instead of the Magic eraser tool, and I then delayed all these little white bits. Swell. So in order to get my race little bit bigger, the shot cut k I used waas the open bracket sign and that makes it be go smaller, depending on which way you want to go. So I'm gonna fast forward. This is well because it can be a bit of a tedious process. The cleaning your document is to start with the easier it is to delete on may not have so many of these little white beats. I suppose another really good tip that will save you a huge amount of time is to make sure that all your motifs there the lines are all close. And by that I mean there's no gap between one part of the line and the other part because if you go to use the magic eraser tool, you won't be able to use it because it'll if the lives like a broken line between the background and the motif. So, for example, the bunny ear, then you're delayed all the white inside the bunny as well, which means you can't use the magic eraser tool and you have to race the way I'm erasing now, and that gets very tedious. So try and make sure you have very clear, distinct lines around all umotif. See, you can use that magic eraser tool to erase a big chunk off the background. Okay, so I basically just keep doing this until I'm happy with it. I'll receive with a dark background, you're going to see more of the little details. Depends on what you're planning to use the document for and with you having a dark background or not. But I always make sure I clean it up much as possible because you never quite know what you're going to use it for. So I'm just gonna show you the lesser tool because I don't like this happy Easter riding down the bottom. So on the left hand side, we're gonna have, like, a little looks like a little less you icon. Don't go there in a second. You click on the less you too and basically go around the wording and then just cut that buggering command ing's try not to cut any of the other might ease then command V for paste . And I've just named that happy Easter, you know, very name that other layer money. Just so we know what lies or everything. And we don't get ourselves all confused. I'm gonna turn that off for a moment and get back to the money. Just make sure cleaned everything, go back to the race tool. And yeah, I think we're pretty happy with how this is looking, so I think we'll leave it at that. So it's always good to save as you go just because you don't wanna lose all hard work you've done should your computer crash. But what I'm gonna do first is good file, file info. And here I just like to put my name on my copyright information. It just I guess I have the next level protection if you ever sent the file to somebody. So I was put in my name the year copyright status in my website. And so again, that was filed. File in for press, OK, and then file save as and then I want to save it is a PST or for official format, and obviously, just find the photo. You wanna save it in, and that is it
5. Colouring using Edit-Fill: Hi. In this class, we're gonna be discussing how you can color in photo shop, using the select and then edit fill option. So there are a few ways to color and photo shop, and I'm sure you all of the ways that I know, But to start with, this class will go through the edit feel option as it's a quick way to color in a lot of area. So firstly, on a select our color using the eyedropper tool, and I've got a few little color palettes just up here to select from and then we Goring Teoh, make sure we're on a layout of the bunny, Leah and then select the Magic 12 which is up here. And basically, we're going to select all the areas where we want that color to be. And the way we select multiple areas is to hold down the shift key as we click. So I'm just doing that now for all the areas of the body that I want That I guess kind of warm, gray color. And if you want to take out an area, you can either do command said to take a step back or you can hold down the, uh, negative button and that will delayed the area from the selection You can see on the warned . If you look really closely, there's a little plus, So I'm holding down the shift key. Okay, so I think that's pretty good. So going to go up and select it it and then fill and I just fiddle with the capacity just to kind of get a sense of what works? Well, until I like it. So this is 70% and I think that weighs quite well. Now we want uninsulated de select, which could be command D or select a select. And now I want to color in the little bunnies Little fairy bit under his nose. But I want that to be white. And this is a good example that I discussed in my previous class where there is no, um, distinction between the rest of the face and the little white patch. So you can't use that it feel till here, so I'll just keep feeling it in the color that you had selected before. But it'll feel the whole body, not just that section, so I'm just gon and use the paint brush tool instead, it so I didn't like that. So I just Diesel elected that, um, and going back a step, all you could do, commends and and they're just repainted it again. And now I think that works. So now I'm just gonna go through and just paint the little I just make those areas a little bit wider. Okay, Now I want to docu will do the bunny ears. We're gonna paint that again so you can change your capacity up the top There, you see at the toolbar. And I've just left out of 50% and I'm just painting and I havent unclipped yet. So my fingers still on the mouse if you're using a mouse and basically, if I unclipped it, it would end up having a dark align over any area of ready painted and because I want this kind of one uniform color without any dock areas, at this point, I'm just holding my mouse down. Or if you've got, like, a pin on your tablet, it would just hold it. You just wouldn't lift it off. And basically, you just go through this and color how you want. I've just reduced capacity here, and I'm adding just like a cute little Raisi cheek. Okay, now I'm just going to speed it up a bit, seeking watch the rest of the process.
6. Colouring with Paint Bucket and Colour Overlay: Hi again. In the previous class, we discussed how you can color and photo shop using Thesis elect or the Magic One tool and then edit feel. So I wanted to discuss briefly the paint bucket to and the paint brush to We did cover the paintbrush toe slightly before, but we're going to cover it a little detail now. So what I've done is I've collected a few different color palettes, and I decided on this one, and I'm just gonna paint that talk. Chameleon. So what we want to make sure we do again is to make sure we're on the right layer. And I've just selected the color I want for the chameleon. Okay, so I just right click there or you can come over, see 10 that I on and off when you can tell that were on the right layer. So we're going to go to the paint bucket tool and basically, he just click where you want the color to go, and that's it. Now, this is a bit dark for my liking. It makes Thean Midge a bit too flat. So I'm just gonna go back a few steps and I'm gonna change the capacity and make a bit lower. So off the top there again, just fiddle with it until you're happy with it. Depending on what kind of look here after, and you basically just go around and click, click, click, just like we did with it, it feel in, the magic warned. So it's a similar process. Then what I find is the paint bucket tool can only do, I guess so much before you have, like, a lot of gaps, and you just feel like you're clicking a lot. So that's when I usually switch over to the paint brush tool. - So I just wanted to show you the color overly functions. If you go to the bottom right corner, there's an FX button. It's a function button and then select color overlay. You'll come up with this extra box, which will give you the option to pick from a color pick up. As you can see, it's just like a flat color. But you can change the opacity on this as well. To, you know, show is much result was your lack of the original drawing. I don't like to use the color overlay too much when it comes to my drawings because I feel like it just takes away that detail because it covers over all the lines as well as inside the motif as well. So you can see it just looks a little bit different than if we use the paint brush tool, the paint, um, the paint bucket tour. They edit field, too. But this might be something you might want to do as well, because it's a quick way to color something or perhaps make it like a silhouette. So I just want to show you that as well. So you could see that's another option to do a color. Overly. So a good example. I'll show you what it does as well. If you were to change the color underneath while you still had a color overlay over the top . Okay, so I'm just gonna grab another color. Teoh. Just show you what it looks like using my eyedropper tool. So we got this kind of orangey color. Just put the paint bucket and show that so you can see that with the color overlay that it kind of meats out that color. It just makes it a completely different color to what the original color waas
7. Colouring with Hue-Saturation: hello. In this video, I wanted to show you the hue saturation function, so basically you go up to image adjustments. He's saturation, and this allows you to change the color of something. Either allow the colors or pick out a specific color. So in this case, who just stick with the master. And as you see, you can move the hue color and it changes the whole color. So if you would have a lot of colors say in one image anyone he wanted to change the red, you would select the red color instead of the master. Just to change that, it's just a really quick way to change the color. Also, you can change a saturation, so how bright and dull it is. And the lightness obviously dispute bit careful, the lightness because the lighter you go, the less contrast you have.
8. Enhancing with Burn and Dodge Tools: Hello. I wanted to show you two of my favorite tools that I used to enhance my artwork. It just gives that bit more of a three D dimension with, you know, light and shade. And those are the burn and dodge tools. So what I've done is I've selected the burn tool, and it's just a little kind of hand. It looks like it's got a thumb and finger touching together, and basically you just go over there over the motif on the areas you want to be a little bit darker and the more you go over it from clicking and then a quick ing, the darker it will get. You can also change the dark settings by going up to the top in the toolbar, where it says range, says mid tones, and I'll have shadows and highlights. I tend to leave it at mid tones because the shadows and highlights make the lightness and darkness way too extreme. But feel free to just fiddle with those and see what they do for you. But as you can see, it just gives it a little bit more dimension and that three d effect, which is really nice so I'm gonna fast forward it just so you can see how I do the rest of it. And this is the burn tool that makes it darker. Can such a dodge tools you just hold down the mouse on the burn tool? And basically, the Dodge Tour is what it says. It's dodging the color, so it's making it lighter again. You have the same options as you do for the burn tool up the top in the toolbar, where you can select your range from your mid tones, highlights and shadows, and the exposure as well again. Just fiddle with the settings to find something that works best for you. And this just gives, you know, adds light. Where there should be, lie it and it just gives that depth to it again. I'm just going to speed up the process for you.
9. Extracting Motifs: Welcome to the final class for the Siri's, where we're going to just extract motifs from an artwork that you want to be out of use, maybe for a repeat pattern. So what I've done is grabbed the last suit to which I showed you in an earlier videos. We looked to the left. You'll see the little last year, and you basically just hold on your mouths and trace around it until you get the shape that you want. And it's good, close circle, and then you just cut and paste or control. Sorry, Command X and Command V or your shortcuts. So I just grabbed a selection tool again. I just moved that. So it's a bit easier to see, and I now I'm just erasing all the extra bits that I don't want. Um, so just using the eraser tool and changing the size. Remember, it's, um, brackets for bigger or smaller if you want to change it. I'm just going around and deleting any of those final details and command plus to zoom in a little bit as well. If you want to get in a bit closer and see what you need to delay and I would just do this for all the motifs that I want And then they ready to go for a repeat pattern. So just speed it up a little bit. - Okay , so now that we've cleaned it up, sometimes we want to just make the outline a little bit clearer because you're making a knockin individual motif. So the best way to do this, I find, is to use a stroke function and the strike function is in the function button the FX down on the bottom riot and you click that and then it is press stroke. And now I'm just fiddling with the size, the positioning off the strokes you can do outside, inside or centre. And there's also on a pass ity as well. And then if you look down a bit further, you can see if you click on the color. But you can change the comma, and I find that just gives them motif a little more definition for patterns. So again, just just fiddle with the settings until you're happy with it, and then just click. Ok, okay. So now I'm just gonna turn the money and the Benner and the text layers back on. We're just gonna move Al extracting their teeth over. And I just wanted to overlap the banner just to give it a bit of depth. Like the banner is kind of sitting between the flowers. So we just need to move the golden flower motif layer above the Ben Ilia just by dragging and dropping above. Think of layers in Photoshopped like bits of paper. So the higher up it is that's more on top. Continue to add extracted my teeth until you're happy with it.
10. Final Words: and I I have that really helped you start on your surface patent design journey. I'd love to see what projects you have done. Please upload them to the class Project gallery. And of course, please don't hesitate to contact me. Should you have any questions? Thank you again.
 Kelly Kratzing, Surface Pattern Designer