Transcripts
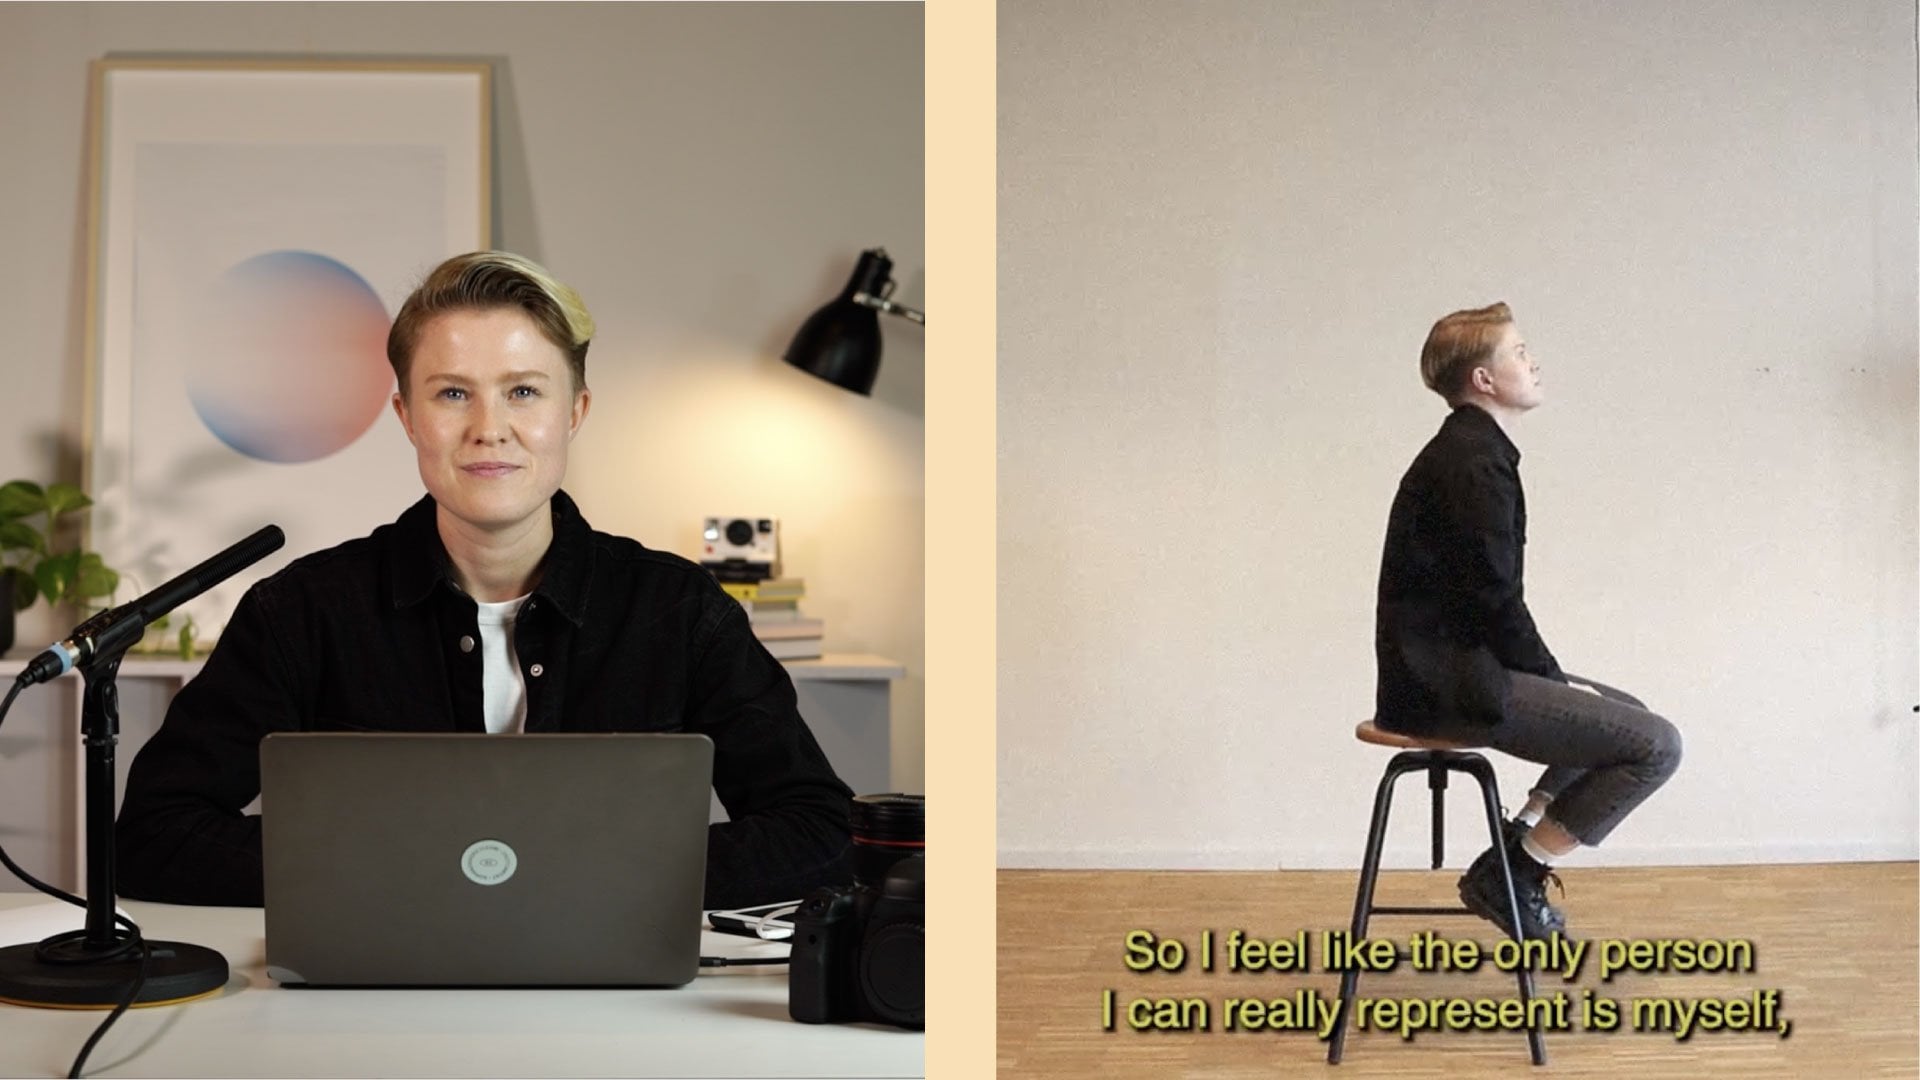
1. Intro: Have you ever had creative block? We all have creative block sometimes, I think, especially during challenging times, and you can feel like there's no way out. Good news, there is. Let me show you how. Hello everyone. I'm Sophia. I'm a Berlin-based photographer and the focus of my work is about challenging gender stereotypes and making people rethink their definition of beauty. I have been working in photography for some time now, and I 100 percent understand how difficult it can be to work under a lot of pressure and during stressful times. It's hard to find inspiration, motivation, and even the right head space. As many of us in the beginning of 2020, I felt a bit lost and uninspired and since my photos usually have lots of humans in them, I didn't know what to do, but I also knew that doing nothing and just waiting for the time to pass wouldn't make me feel better and I was also chosen by Adobe to create a bright shoot 2020 for the Adobe Residency Community Fund. I had to start somewhere and find a way to overcome my creative block, for my work and also for myself. I will show you a process that will help you get started whether it's creating just for yourself or because you want to further your creative thinking for future projects. We will work through different steps and a little assignments and throughout each step, I will show you some valuable shooting tips, that work for any level of photography. All creators experience creative block, but learning how to work through them not only allows us to learn from these moments, but who knows, you might create your best work yet. So take a deep breath and let's get started.
2. Class Project : For our class project, we will create a photo collage out of what seems to be ordinary images. But they will have a lot of personal meaning behind them, because every image will be your own interpretation of the assignments in this class. I know how hard it can be to feel like you want to create, but you have no motivation when you feel stressed and uninspired, and then you feel even more stressed because you're uninspired. It's a whole cycle which usually ends in a creative block. What helps me is to just do small creative exercises to get back on track. This class is designed to help you break through that cycle and the creative block through some assignments and techniques I use to get through a stressful time. The final collage will consist of five images, each of them having a different approach behind to give you different options of finding inspiration and motivation. The course is structured in such way that it starts with a rather open assignment, and as we continue, I'll add more and more structure. We will start with something where you have no restrictions at all. You can interpret it however you want. But throughout the class, we will add more and more restrictions and guidelines to the assignments. The idea behind that is that on the one hand, I want you to create something that is purely inspired by your own ideas and thoughts, but to also get back on track when it comes to creating images for projects, maybe jobs, or something that has a certain topic. We'll start by finding our why, then move into finding inspiration through something we're proud of, something that brings us joy, books, and of course, music. In addition to walking you through the creative process, I will also be going through some basic shooting tips and cover some of the editing aspects in Adobe Photoshop and Lightroom. The class is for beginning photographers, as well as any creative who is feeling some sort block and need some guidance to start creating again. I will be using my Canon 6D Mark II, a 50-millimeter lens. You can use whatever camera you have available. Your phone is absolutely fine. Creative block happens to everyone. It's natural. This class is going to give you a simple and effective process to find inspiration in the mundane, and most of all, to get you creating. Having guidelines and even some restrictions can make it easier to get results because it's less overwhelming with limited resources. It's a way to get started because sometimes a little help is all it takes to get back on track. I think this project can help you see the world around you in a different light and appreciate what is right in front of you. On top of it all, it will help you remember that you're capable of creating beautiful things even during hard times. I know creating images might feel like a lot for some, especially if you're feeling creatively blocked at the moment. Don't put too much pressure on yourself. These exercises and shooting techniques are here to support you. Just enjoy the process and you won't regret it. I'll see you in the next video.
3. Finding Your Why: Composition: First, we will focus on the why. The why can be different for everyone but takes us back to our roots. Thinking of the why is like pressing recenter on Google Maps; it gets us back on track. Whenever I feel completely lost, I try to remind myself of the reason I'm doing this. It can be as simple as to say because it brings me joy and I'm doing this for myself. I worked in the Berlin music scene for some time, taking portraits of musicians for CD covers and tour posters, which I like a lot. But it wasn't until I figured out my why that I started to get more creative in my work and finding my voice as a creative. My personal why being the representation of the LGBTQI community and showing the beauty of all people through my work. Now, let's jump into the first assignment. Right down the reason you create. I usually write it down on a Post-it and hang it somewhere. I like writing things down because it makes them more real. It forces us to stick to one word and sometimes even the mundane process of writing things down helps. Now we will go around our homes to find one item that fits the word and take a photo of it. It will be the first image of the collage. For me, this will be a small rainbow flag, but it can really be anything, even something you see outside the window, or a selfie in the mirror, or anything you want to create, a book that represents that you want to tell stories through your photos. Since this is an open assignment, I want to start with one of the first things I learned about photography, composition. In simple words, composition describes the placement of objects and elements in a work of art. Good composition requires good balance. Composing an image means arranging elements in a way that suits the idea or goal of your work best. Arranging elements can be done by actually moving the objects or subjects, and by changing the composition of something, I can change how people view it, how it appears to them, and I can make a small item appear big or the other way around. I can compose the image how I want others to see it. Let me show you what I mean. Okay, so here we are, the first tip about composition. So I have my little pride flag here. What I want to achieve with this is I want it to make it look bigger than it is actually, because it has a lot of meaning to me and I want it to seem like as it's an actual flag hanging out of a window. So how I can achieve that is if I, for example, take a photo from a little bit below and shoot up, the subject usually appears bigger. But if I, for example, lay it on the floor and take a photo from the top, it's going to appear smaller. So the way you position a photo and how you compose your photo can make it seem big, small, can make the viewer have a different relationship to your subject and the photo, and I'm going to show you what I mean by that. You got to walk over to a window. I'm going to hold up this little flag here so it seems like it's a little flag hanging out of a window, and I'm going to take the shot from a little bit below, shooting up like this. One more like this. Now you can see on the image, the flag looks way bigger than it actually is just by how I composed the photo. It's important to keep in mind why we do what we do, so whenever we feel a bit lost, we can find our way back and get back on track. Remember, it's just like when you're using Google Maps and you're trying to go somewhere and you get a bit lost. You have to recenter and remember where you're going. Hopefully, you've reconnected and centered with your why and found a way to compose beautiful image. In our next lesson, we'll be looking at something that we're proud of and we will learn a very simple but effective lighting trick.
4. Being Proud: Lighting: Someone once told me that you have to look at your work through the eyes of a good friend. A good friend is honest, but they also support and encourage you and see all the effort you put into your creations. Especially when I'm stressed, I tend to only see the bad things and the stuff that isn't working and I forget all about my achievements, but it's important to remember them because it's a great source of motivation. For the next image, we will look back and reflect a bit about what we've already achieved. We often tend to be very critical with ourselves and we forget that there's stuff in the past that we can be proud of. Whenever you feel like you don't know what to do and it seems like there's no inch of creativity left, it's worth looking back and acknowledging what you've already done. In this video, we will also learn a little bit about lighting and how to create beautiful and soft lighting with things we have at home. It might sound a bit cheesy, but it's time to shine some new light on your own achievements. These achievements can be as simple as learning to make banana bread, which I think I have mastered in the last few months, or mastering a yoga pose, building a table, picking up a new hobby, cooking in a recipe, whatever it might be. Let's get started. Here we are. I have my banana bread on the table, something that I'm personally really proud of because I mastered it in the last few weeks, I like to believe, and I'm going to show you how to take a really well-lit photo of something as simple as banana bread. But first, I'm going to show you what it looks like if I just take a photo as it is right now. I have natural light coming through a window from the left side and nothing else here. I'm going to show you what that looks like. As you can see, we have harsh shadows on the right side of the banana bread and the mug, because the light is coming from the left. What I want to do, I want to create softer shadows on the side to have an overall well lit image. There's a really simple trick you can do. You're going to take something and wrap some al-foil around it. You can just position that on the other side of your subject. So that I don't have to hold it, I'm going to lean it against something like so. What that's going to do is it's going to reflect the natural light coming through the window onto this and then back onto our subject, and that creates softer shadows on the other side. I'm going to show you what that looks like here. We can already see the shadows are much softer on the other side, but if I move it even closer to the subject like so, you can see it's going to be even brighter like this. If you move it closer, it's going to be brighter, and if you move further away, it's going to be darker. You can use that for any kind of photography. I use reflection a lot because it creates super soft and nice light. Hopefully, through this exercise, you not only created a great image with nice lighting, but you also had the chance to appreciate yourself and what you're capable of even when times are stressful. I hope you enjoyed this exercise. Remember, when it's hard to see where you want to go, sometimes just have a look back and shine light on where you've been. The lighting technique that we used is super-simple and works in almost any context. In the next video lesson, we're going to learn how to use reflections to bring us joy.
5. Looking for Joy: Reflection: After looking back a bit, we will come back to the present moment and reflect on what brings us joy. What is something you do for yourself that makes you feel good? It's easy to forget to be present and I often feel like I'm all over the place, and actually, being all over the place is usually not the right mindset when it comes to creating. We will slow down and take a photo of whatever it is that brings us joy. Hopefully, you will realize that there are things right in front of you we just have to take a close look. Since you're reflecting on what brings you joy, what better photo tip is there than using some reflections in your images. That way, you can create images that challenge the viewer's perception. I personally love reflection in photos because it's a simple but effective way to create a cool element in your image. I want you to get comfortable and ask yourself this question, what brings me joy? Whatever the first image that pops into your head might be, go with that. It can be really anything. Something that brings me a lot of joy and calms me down and also clears my head is just to go out there for quick walk, get some fresh air, and take in the environment. Let's go and see what we can photograph. We're outside now. We're going to go for a little walk and see what nice reflections we can find to take some interesting photos. Follow along. I used different surfaces to reflect something on them. Here, I used some water, I used a door, and also a window, and an old car that I found, and the mirrors in there. They're a lot of things, just keep an eye out. Now that we used reflection and a metaphoric and also actual sense, I hope you're feeling good about your present work and you learned a new way to make your images stand out. Reflection is a super easy technique, and also to reflect on what brings you joy is a great tool to help you bring out new creative ideas. Now that you've got your third image, we're more than halfway through our collage, and I think you're doing great so far. I'll see you in the next lesson where we'll talk about inspiration through books. We will learn a bit about how to make your subject stand out in your photos. My dog is barking. Señor, stop it.
6. Inspiration Through Books: Aperture : We can get inspiration through many avenue; I get a lot of inspiration from books and things that I read. The most well-written things are great because they create an image in your mind that helps you see the story in your head. Think about your favorite books, were you able to see the characters and the scenarios? When we're experiencing creative block, it can be hard to imagine what we want to create. For the next activity, we're going to utilize books to help give us inspiration. Now, we're getting a bit more into the challenging part because it's getting more and more restrictive. The first three assignments we had complete freedom to create whatever we wanted, now, there's another medium that will dictate more what the image is got to be like. We will take one book that we really like that has inspired us in the past or maybe even one you read recently. Go to the first page and read it, set a timer for five minutes after you're done reading, and think about what comes into your head. We will try to create something associated with what you just read. The book I will choose is called The Power of Moments. Now that we have our inspired image in our heads, let's recreate our own version. To do this, we're going to take our next photo by experimenting with aperture or depth of field, which will help you make every subject you photograph stand out. But first, let's define aperture. Aperture can be defined as the opening in a lens through which light passes into your camera. It's easy to understand that concept if you think of the camera as your eye, as you move between bright and dark environments, the iris in your eyes either expands or shrinks, controlling the size of your pupil. By changing the aperture, you can create a nice blurry background, and only have the subject in focus, in photography that is called depth of fields. You're doing that by lowering the f-stop on your camera. Let me show you what that looks like. I read the first page of my book, I thought about some ideas for five minutes, and the first thing that popped into my head was just to have a beer and a piece of pizza because two people in the book on the first page are meeting at a bar, and they're drinking a beer and eating pizza and talking about an idea. I don't have pizza, I also don't have beer, so I wanted to have some creative idea to make that still into a photo. I painted the word beer onto a cup and I also painted a piece of pizza onto a napkin and I'm going to show you how I'm going to take a photo of these two items playing a little bit with the depth of field. I'm going to put them onto this little bar chair we have, put books down. Now, I have my camera set to an f-stop of eight, so it's really high. We're not going to have a lot of depth of fields, everything is basically going to be in focus. I'm going to show you what that's going to look like this. Now, everything is one layer and what I want to do, I want to have the beer and pizza really stand out and have a blurry background. I'm going to change my f-stop to something around, I would say, what can I? To the lowest possible, let's go with 1.4 actually, that is really low, that should give us a really nice depth of field and I'm going to show you what that looks like this. Now, you can see the chair is already not in focus anymore. We have the subject here, the beer and the pizza really pop out, and this is a really nice way to make anything you photograph stand out. Now that we're back in the flow of creating and also having some restrictions to guide us, I hope you're already feeling better about yourself and what you've done so far. We only have one more assignment to go. One last thing on books, there are a ton of amazing inspiring books out there that focus on inspiration, motivation, and creativity and I've included my favorite ones at the end of this video. I'll see you in the next video where we find inspiration through music.
7. Inspiration Through Music: Texture: Here we are, the last image, and I saved the best for last, but also the most difficult one for me, music. Music can be a great source of inspiration, but also transports emotion and capturing emotion is not an easy thing to do. But I think we're ready now to take on that challenge. For this video, we will create an image inspired by a song. Music is a huge part of my work. My career as a photographer started in the Berlin music scene and almost every shoot I do has some soundtrack to it. The final image for this collage will be inspired by music. With this final image, I want to show you how I use texture to make images more interesting and add atmosphere. Especially when we take photos of objects, having texture in the images can make all the difference. It can be something sticky, something shiny, or even something rough. If you think of it, different textures can portray different emotions, and showing emotions, especially if you don't have a person in front of your camera, is as I said, not an easy thing to do. Now, I want you to pick a song that you love, and constantly gets stuck in your head, listen to it all the way through. Close your eyes and ask yourself what emotion it creates and what colors and textures even do you associate with it. If you need to listen to the song multiple times before a clear image comes, do that. Once you've done this, you're going to take your final image. You must add texture to the image. Some ideas of how to create textures can be fabric or just a towel on the floor, the wooden floor you have in your apartment, or tiles in the bathroom. For my song, I chose the song Somebody Told Me by my dear friend, Sissos, a band from Berlin, but actually, from Australia, they are two sisters. I highly recommend checking them out. Here's a little bit of that song. The song we just listened to is about a crush, and the first thing that came to mind was these little notes that kids used to write in school. If they have a crush, they're like, "Do you like me?" Yes, no, maybe. "Do you want to be my girlfriend?" I wanted to create something around that. I have a paper, I have a Sharpie here. We're just going to write on here, do you like me? Then checkboxes that says yes, no, and a little. I'm here with my note and I'm going to put it on the table. What I wanted to create with this image is to have it have some romantic kind of feeling to it. If I just put the note on the table like it is now, it's going to look quite boring. I'm going to show you what it looks like. If I do it like this, it will look like that. If I want to create something romantic, I think silk is a really good fabric for that and a good texture because it creates these waves and reflections in it. I'm going to show you what that would look like. We have this nice blue silk sheet here and I'm going to take a photo like this. You can see it automatically is a completely different image with a different emotion behind it, and you can create whatever you want with the textures in the images. This was the last photo of the collage and I hope you enjoyed the process until here, learned something about photography, maybe even about yourself, and hopefully listen to some good music. Now that I have this song stuck in my head for the rest of the day and you might as well, it's time to import these images into Lightroom and start editing our images, and later, create our collage in Photoshop.
8. Editing in Lightroom: I'm back in my apartment because I usually edit in my apartment and not in my studio. I thought I will just show you on one example image how I edit my photos in Lightroom. I don't do much of editing actually, I just change the photos to the point where I like the final result. I really encourage you to just play around with the sliders that I'm going to show you and just make it look so you like it. That's the most important thing. There are not a lot of rules, you can't do any mistakes. If you like the final product, that's all that matters. Let's jump into Lightroom here. I have my banana bread open, and I usually just start from the top here. I start with the white balance, as you can see over here. It says WB, meaning white balance and it's by default set to as shot. How you have it in your camera, which is usually pretty good. I usually have it in auto if I just shoot with natural light. But if you really want to make sure it's correct, the white balance, meaning the whites in your photos are actually white and not slightly blue or slightly yellow, you can take this eyedropper tool like this and you can just drag it over to a spot that you know is actually white. I know that the wall in the studio is white, so I click on this, it did not make big change, I think. But if you want to know if it made a change, you can go down all the way to the left bottom corner and click on this and you can see a before and after. I think it made a slight adjustment, not much. If you want to go back to your image, you can click on the square here in the left bottom corner and we're back. The white balance is adjusted, I think it looks good. Now we will move on to the tone. So the tones don't affect the colors in your image, just the brightness and the darkness. The exposure, I think I'm quite happy with how this image is exposed. So I'm going to leave it like that. I'm going to add a little bit of contrast to it because I want it to pop a little more. The highlights, I'm actually going to go down on the highlights a little bit just to make the banana bread stand out a little bit more. The shadows, I'm going to go higher. But this is, you see, one of the points from, I can go down and I can go up and just see what I like more. I'm going to leave it at plus 10, to actually go up a little bit and the whites, I'm also going to go down a little bit once again just to make the banana bread stand out more. I can show you what it would look like if I go all the way down like this or all the way up, that would completely be blown out. We're just going to go down slightly like this, and the blacks, probably also going to go down a little bit like this. What I usually do is just I go down, I compare my before and after, and I just so far edited a little bit of contrast and I really like that. You can make small adjustments, it does not have to be drastic. You can always go back and adjust some more. Clarity, and dehaze, and vibrance, and saturation, I think these sliders are really useful, but if you use them in a too drastic way and can look unnatural really quick. If you like that look, that is totally fine. I'm just going to add a tiny bit of that. Actually going to add a tiny bit of saturation, not too much, that's actually all I want to do here. Then we have our tone curve here, which if you adjusted here, you adjust the highlights. If I drag it up here, or use the slider, you can use here the tone curve, or just use the sliders down here. If I drag them up, they're going to get brighter. If I drag them down, they're going to get darker or using the slider here. I can actually add more contrast to this image by just adjusting the highlights, then the mid tones in the middle, and the shadows at the bottom. Let me show you what that's going to look like. Usually what people suggest doing, and I would suggest that as well, is creating a slight S curve on this. It usually adds a really nice contrast. You look to your image, don't want it to be too unnatural actually. I'm just playing around here. It's not about rules, just about what you like and what looks good to you. We're going to go down here to the hue saturation and luminance. You can adjust all the colors in your photo. But one tip I would give you is if you want to adjust a certain color in your image, you can click on this little circle here, like this and if I were to, for example, want to change the color of the banana bread slightly, like the hue of that, I can just click on it. If I have clicked on the circle before, you see it's marked there next to the hue and then slide up or down on the image itself, it changes the color. It's really useful because it just affects the color that you've clicked on, which is really good. I just want to make this a tiny bit more yellow like this. I like that. Then I want to go to the saturation one and I want to saturate the cup a tiny bit more. Click on it, drag it up, and it saturates the cup a little more. For now, let's see the before and after of this done here. It's more saturated. The cup is popping. I think that's all I want to do for this. Once again, just play with the sliders you have in Lightroom. I know some of the Adobe products can be a bit overwhelming, especially Photoshop for some people. But this is more about just try what looks good to you, what you like doing, and I hope you have fun. I see you in the next video where we're finally going to put together all the five images into a beautiful collage.
9. Making the Collage in Photoshop: Welcome to almost the last video of this class. I have Photoshop open because I'm about to show you how you can put your five images with some really simple techniques into a really cool-looking collage. There's not a real science behind it. There are not rules about it. There are tons of different ways of doing things. I have a very simplistic way of during my collages, and I just want to encourage you to just do what you like and play around, like I said in the last video. I'm just going to show you what I usually do, which is basically just using two or three different techniques. I already played around a little bit with the images that we have, and I'm just going to show you some of the results that I have here. Let's jump into Photoshop and just play around. I have imported all my images, you can see them up here, into Photoshop. How you can do that is pretty simple. You just click Command, Open. Here you can see already the stuff that I've created. Here are the images that I have and I will just hold down Command, click on all of these, and then click Open. Since I've already done this, I don't have to do that again. That would just open up all these tabs. What we want to do now, I thought I would create a square collage for this. In the times of Instagram, that just seems to be fair. We're going to click File, we're going to click New or you can just go Command, and that does the same thing. We want this to be a square, so we do 1,500 and 1,500, 72 resolution is fine since this is going to be for the Internet. If this would be for print, this should be 300. We're going to have a white background. All of this looks good and we're going to click Create. Here we have our background. Let's think a little bit what we want the color of our background to be or the texture of our background to be. I think we have two options here. We could either do something with this we have here on the reflection side, or we can use what we had for the music, which was this texture of the silk sheet. I think this would be really dark and the other one would be bright. I think I would like to go with the bright here. What I do, I go over to this side which does the Marquee tool, I click and then I just drag here, Command C for cut, go back to this and just paste it on. If I want to change a little bit of the positioning, I just click here on this Move tool. You can also just do V as a shortcut and then I just drag this around. I really like the texture of the, I assume what is dirt on this bench. Hit Enter, and here we are. I like that. I like a lot of geometrical shapes in my collages. I usually use either a circle or a triangle or a rectangle or something like that, so let's go and create a new layer and draw a rectangle on here, just like this. If you move this around, you can see a little line pop up in the middle. Here we are. That says that it's directly in the middle and I let go. Once again, just V on your keyboard or go up here to the Move tool and then move it down a little bit like this. If we really want to know if this is in the middle and if you want some guidelines, you just go up here to this and drag it down and you have a guide. You can also do that from the side. You have a guide, here we are. We go back to clicking on this and it was actually already in the middle. Perfect. We want to create another layer on top of the rectangle layer and I'm going to show you why I'm doing this in a second. Let's think of what we want to add to the collage next. I think the texture of the music shot would be quite nice. I'm going to do the same thing. We're going to go here to the Marquee tool and just cut out some of this. There are a lot of techniques, different ways people use tools in Photoshop. This is just how I do it and you can try it out if you like it. I'm pretty sure there are also other ways to do it. I'm going to paste it on here and now we see it's not where I want it because I wanted it just on that rectangle that I drew before. How I do is I go on layer number 2, which is where I just pasted my fabric onto. I'm going to do right-click and I'm going to create a clipping mask. What that does is it only shows the second layer here clipped to the layer underneath, so only the shape of the layer underneath. This is usually what I use, I would say, half of the time. I just create a shape and then I clip something else onto it so it has the form of the layer underneath. We're basically going to continue doing that and then also moving each layer around so it is in the position that we want it. The next thing we're going to do, let's think what we want to add next. We're going to do a layer on top. Let's do something in a round shape. Just going to draw a circle here, V again, have it exactly in the middle like this and I actually want it to be behind the circle. If I want something to be behind I just have to drag it down because Photoshop layers add onto each other. If you move something underneath, it's going to go behind. Now we have this behind. If I now want to create a clipping mask that creates something that is in the shape of this circle, I just have to add a layer on top of this here and now let's think what we want to add onto that. We still have something off the reflection here. I think we will deselect this here. We're going to use this hand over here, Command C, go onto here, copy it onto there, which is obviously way too big. I'm going to use V to move it around. I just want these fingers poking up there like so and we're going to go onto the layer, create a clipping mask and this is what we have so far. I think we have to move this maybe a little bit, just a tiny bit like this, rectangle like that. I think that looks good. I like that. I'm just moving stuff around. Really just look at it, see if you like it. What I also do sometimes it's just a really zoom out to see if I like that, which I do with the Command and minus or with the Command and plus to go back. What I want to do now I'm going to create another rectangle, I'm going to add it onto here. I want it to be the length of the circle which I have now like the other times before. What do we have missing? We have the book missing and we have the flag. Yes, the flag, we're going to use something of the flag. I'm going to take this. Here we go. Turn this around, move it over here, and like the times before, create a clipping mask like this. I think what I then do, I think a lot of people don't do that, I do Command and hold these two layers and then just merge them together. I know that's something you usually don't do because it's really hard to undo, and then I copy and paste it and then I have the exact same one. It just saves me some time, and since I'm just playing around here, it's not too bad. Do I want to switch this around just to see what it will look like? I think so. I wanted to add two more circles to this, which I'm going to do here, like that. I'm going to stay there. I'm going to put it in the middle up here. Let me first see what it would look like if it touches that and I'm going to have two of them, and the other one's going to be down here. We're going to start with the upper one, and we're going to play the game of creating a new layer on top of it and we're going to take some bit of that image now. I really like the salami on that pizza, so I'm going to cut some of that out here like this. I'm going to cut it and I'm going to paste it onto here, I'm going to move it. That was the guide that I just moved and not the image. Let me see what I want of this. I think I want that and I always like this playing of the clipping mask, and then it snaps into it and it looks really nice. I can still move it around after and see what I like. I'm just going to keep it like that. Now, I'm going to move on to the circle here, going to add another layer and we're going to go to the banana bread part. I was thinking of using the banana bread, was using here the texture of the bread. But I'm not really sure if that's what I want to do. I want some bit of that handle in the photo, so I'm going to go over here and just take this little bit, Command C. We're going to move it down like this. Here we go. Now let's see what that's going to look like. I want to move this a little bit more. Now I decided just to fill half of it also, don't mind it. Maybe I should do the same with the upper circle as well. Here we go. This is just a really simple and quick collage that I showed you because I could honestly make a video that's an hour and a half long just creating one collage. Here we have one very simple collage, I just played around with what I had quickly, what came to mind, the shapes that I wanted to use. I used clipping mask for almost all the things that I've done. There's so many ways and techniques you could be using. Just try out the techniques that I showed you. I can't wait to see what you come up with.
10. Conclusion: Congratulations, you made it. I really hope this video helped you overcome your creative block and will motivate you to continue creating amazing work. We learned different ways to help find inspiration when we feel stressed and uninspired. The important thing is not to be too hard on yourself. Remember what you've already done and just find sources of inspiration like books, or music, or movies that get you back on track. You can overcome any creative block with what you have around you and in the end might even create something better than you had expected. I would love to see all your collages and even individual images. Inspire others by sharing what you've created. Thank you so much for watching and following along. I hope you had as much fun watching this video as I had making it.
 Sophia Emmerich, Berlin based photogapher