Transcripts
1. Intro: It can feel straight
up impossible to make art when you only
have 10 minutes of free time. But sometimes those tiny creative moments
are exactly what you need to help you build momentum and keep your
creative habit alive. And you can do it all without making a mess that takes
hours to clean up. Hi, I'm Jenni Macklin, and I'm the creator
of Sketchbook Snack, a series of quick, playful classes designed to help you create without
perfectionism, overwhelm or needing
hours of free time. In this mini Sketchbook Snack, we're going to create a fun
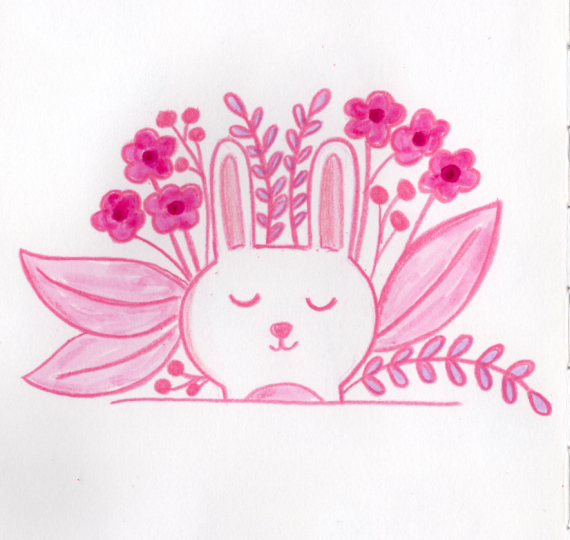
and floral pet portrait in just 10 minutes or less. I'll show you how to
draw a pet in a loose, charming style framed by
bold but simple laurels. We'll keep the supplies
and the mess minimal, the process relaxed and the
project beginner friendly. So you can focus on having fun instead of getting
everything just right. No perfectionism, no
stress, creative play. Join me in class and draw
your own pet portrait today.
2. Materials & Supplies: In this lesson, we'll
cover the materials and supplies that you need to complete your ten
minute project. Before we go over the materials, just a quick note that you can substitute anything
you have on hand. There's no need to use
the same materials as me if you don't have. I'll show you what
I'll be using and also give you a couple of
different options that you can use if you have a
little bit more time and you don't mind waiting
for things to dry. Just a quick note that any wet materials like watercolor or gouache can be used for this project and can
actually be a lot of fun, but they will add
time to the project, as you'll need to wait for the wet material to dry before you can add
your line work. So with that, let's go ahead and jump over to my desk view, and I'll show you exactly
what materials I'll be using for this ten minute
project. See you there? Alright, before we get started, I thought we would quickly go over the materials that you'll need for
this mini project. And it's really simple. You can use anything
that you have on hand. You'll need either a piece of paper like this or
your sketchbook. But really, the world
is your oyster here for this project because you can use any material
that you want. I'm going to be using some
markers and a colored pencil. Could also use gouache
or watercolor ink like this or regular
watercolors. That's going to be a really
fun way to do this project. It just takes a
little bit more time because you have to wait for the watercolor or the
gouache to dry, of course. So we'll be sticking with markers for the demonstration
that I'm doing. So, the other thing other than markers or various
colored pencils, you might want something
to do line art with, like a waterproof marker like this so that if you draw a marker over it, you're
not going to smudge it. I'm a big fan of using colored pencils for
line art as well. That's what I will
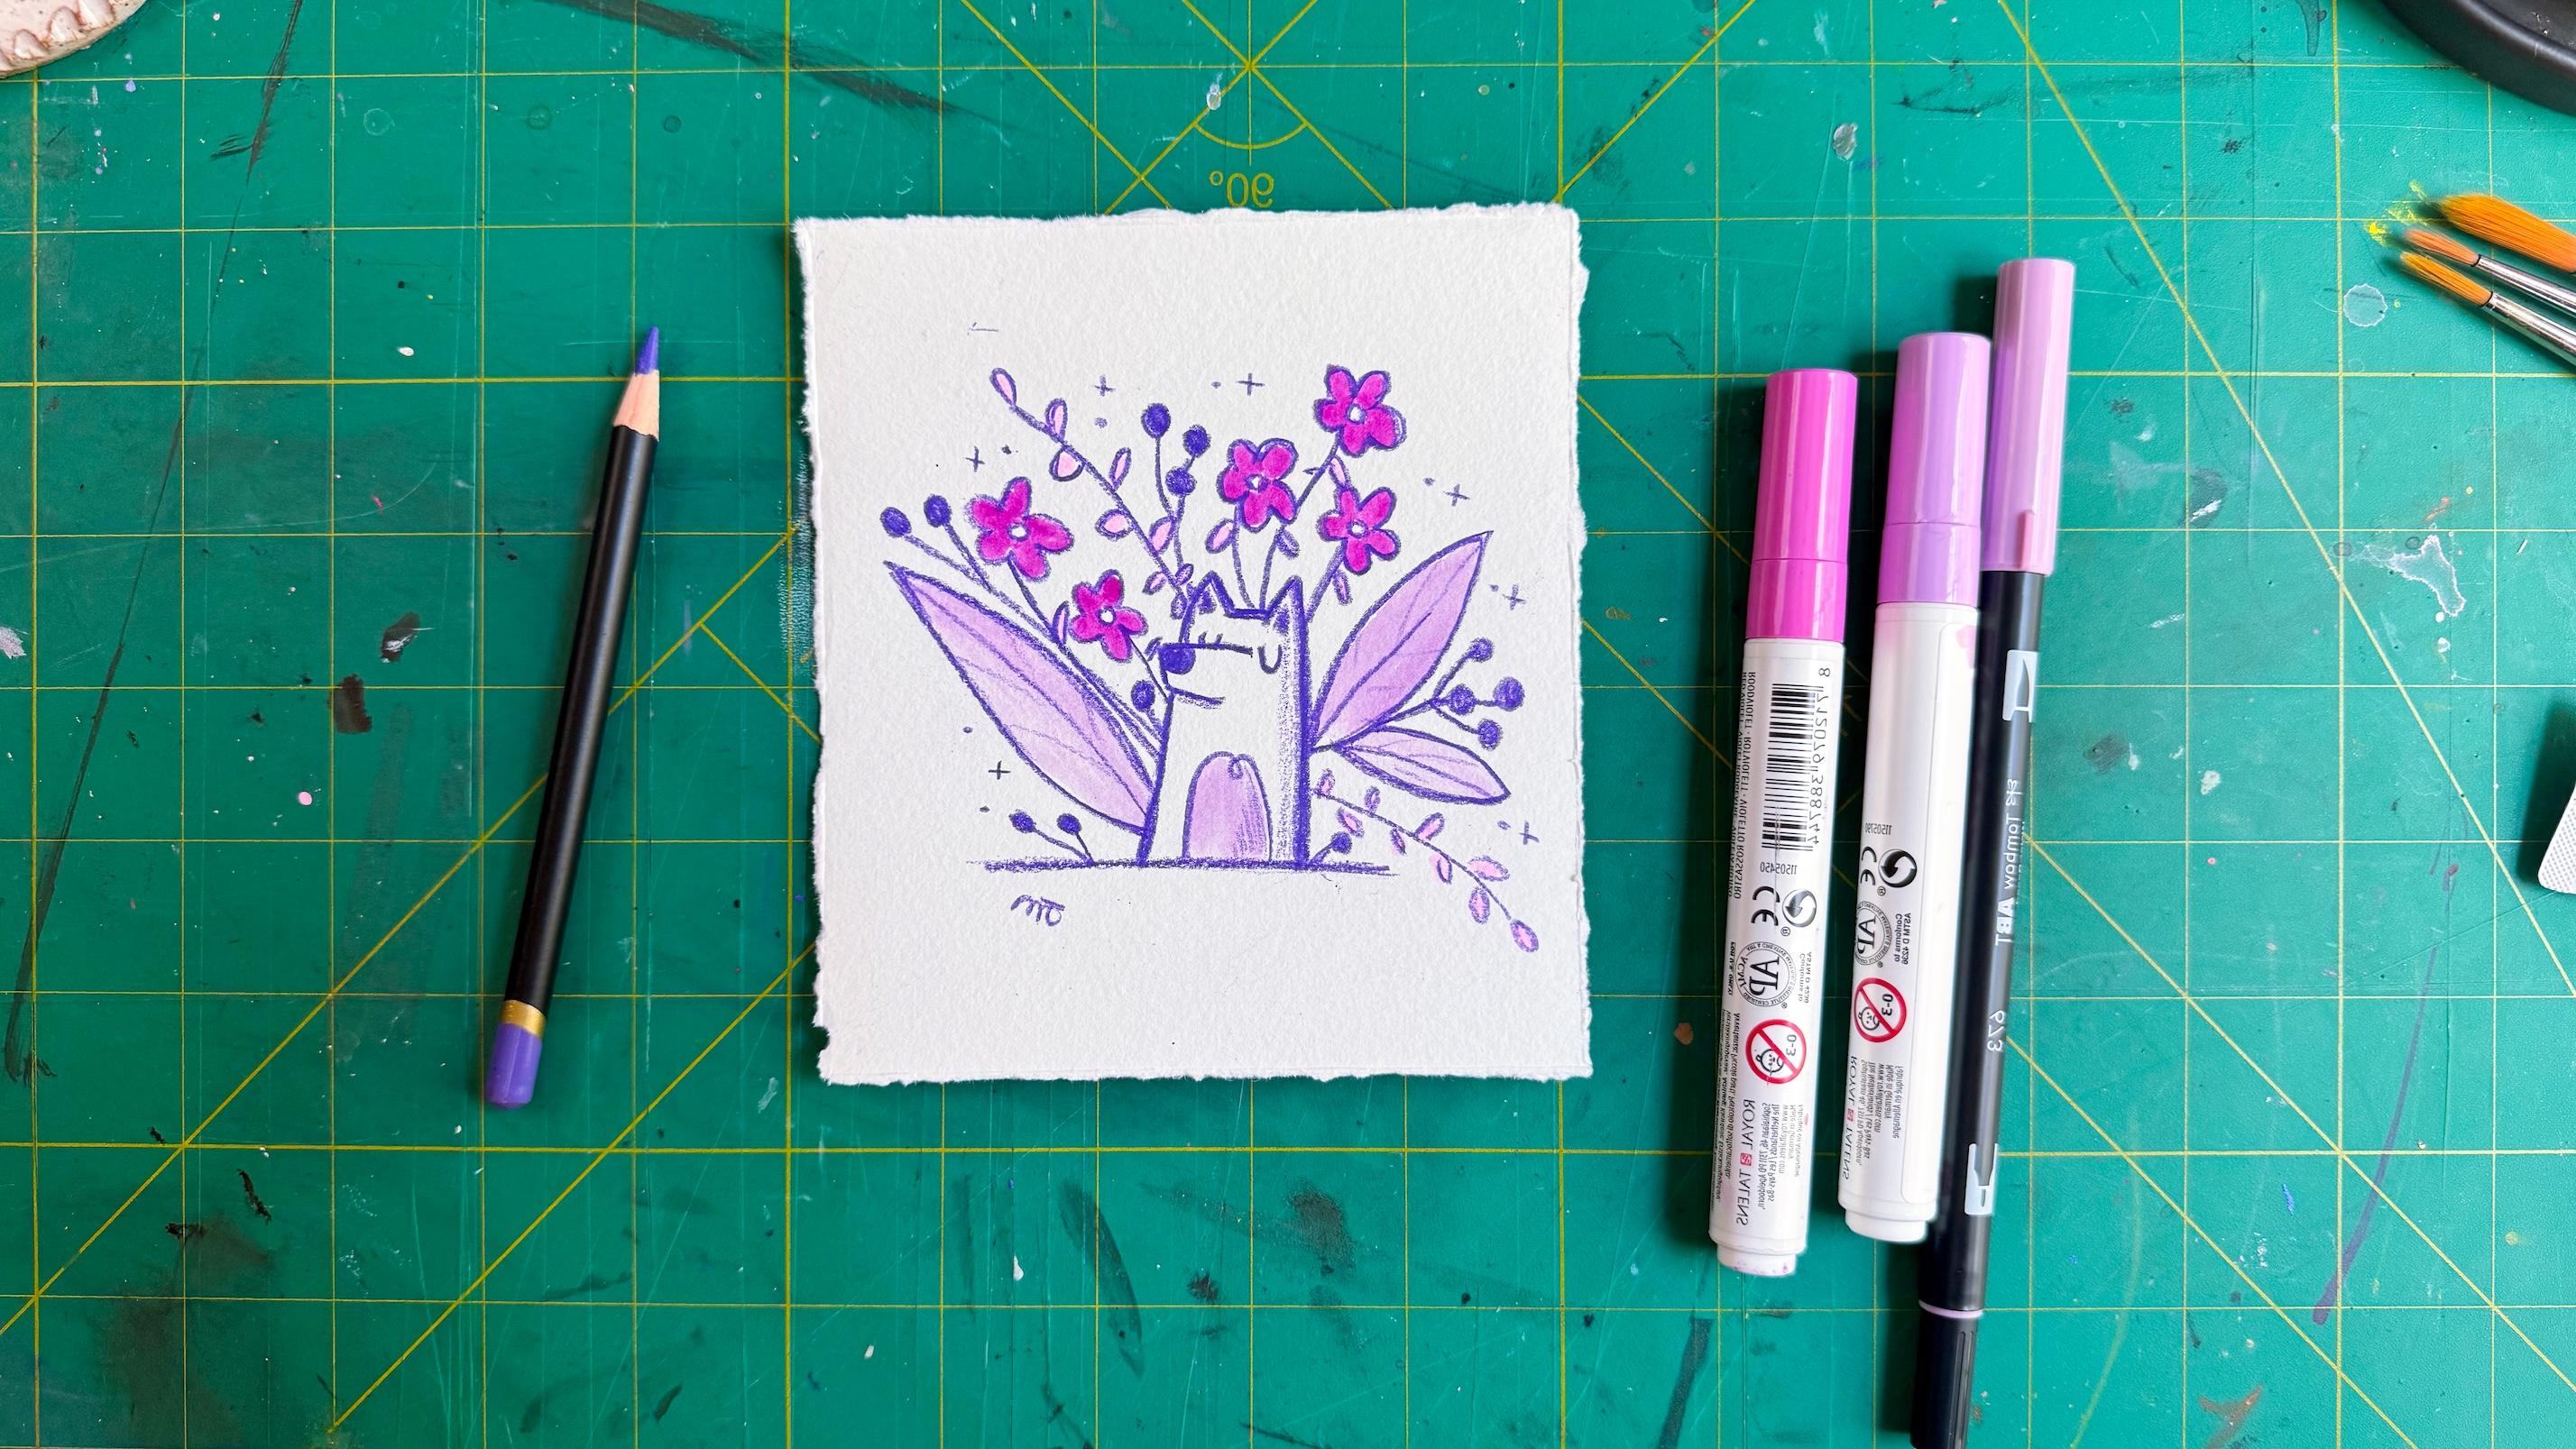
be doing today. And as for color, you can see I've
got kind of, like, a little color theme here, sticking mostly with
pinks and purples. And my main colors are going
to be these four right here. So these are quite
similar on the cap, but on the page, you'll see that they're a little bit different. I've got a pink and two purples, and then a purple
color pencil as well. So I really recommend
that you choose a simple color scheme for this project
because once again, we're trying to do this in
a short amount of time, and we're not doing that
because it's a race, but we are doing it because we want to make things
easy for ourselves. We want to be creative in
a very short amount of time so that we can fit it
into our busy schedules. And one of the ways
that we can make that a little smoother is by removing obstacles for ourselves
and working with a more complex color palette or struggling to come up
with what colors to use. That can be a barrier
to getting started. So I really recommend using
a limited color palette. I would say three
to five colors if you're really feeling
stressed or stuck, even two colors, and
you're good to go. Okay, so I think that
covers supplies. Try and keep it easy for
yourself, keep it limited. I've got a lot of options here
just to show you that you really can use whatever
you want for this project, whatever is going to make it
the most fun, the most easy, and the most convenient
for you to just sit down and take some time to
express your creative. Right, then in the next lesson, I'm going to really quickly go over some simple
flower shapes with you, and then we will jump right
into our final project.
3. Super Simple Flower Shapes: Lesson, we're going
to cover some very simple basic shapes that you can use for
your flowers and foliage so that you don't
have to overthink it too much and you don't need
to use any reference photos if you don't want to. Of course, if you are
more advanced and you love drawing flowers
and getting complicated, please feel free to do that. I just wanted to include this very simple lesson so that if you're
more of a doodler, you can see that you still can draw something
beautiful at the end, even with very simple shapes. Alright, let's dive
in. In this lesson, I really quickly just
wanted to go over some simple flower shapes with you because this is
pets and petals. We are going to be
drawing some flowers and foliage around our pet in
a nice, beautiful frame. And flowers can get really,
really complicated. There are, you know, 1 million varieties of leaves
and foliage and flowers, and you can just draw so
many different things. But like I mentioned in
the previous lesson, one of the things we want
to do here is remove the barrier to entry for
ourselves and our creativity. I like to keep things simple,
so I'm going to show you some very simple shapes that we can use for our foliage
and our flowers. But if you are
comfortable drawing or you have a favorite flower that you really want to draw, please feel free to do that. So, when I'm drawing
this project, I like to have a few big
blooms and then a little bit of smaller supporting elements and a couple of big
leaves as well. So let's start with leaves, and the shape that
I most prefer is a nice simple two pointed
shape just like this. Usually, you got that. Maybe you have a
line coming down. Sometimes you have
more lines branching out like this. Can be
whatever you like. But that nice simple shape
with two points at the end, you could also do a
rounded version of that. Like cell. And that's just your nice,
simple, large foliage. Now, for the other leafy shape, I like to do one with these little rounded leaves coming off of the
stem like this. And you can either do this
with one stem like this, or you can have a couple
of branching stems. And then you can also
vary the shape as well. So you could do
something a little bit more pointed like so. For something like
this, you could also do little berry clusters
if you wanted. Let's add a little wine there. Okay, so these are some very
simple floral or sorry. These are some very
simple foliage shapes that we can add. Let's move on to
the flower shapes. So my favorite to draw
is a nice, simple, almost daisy shape
where you just have these nice little rounded petals and then a simple
center, like so. You can vary the
amount of petals. You can make the center a
circle instead of a dot. You can make very thin
petals or very fat petals. And there's just a lot of
variety that you can get with even just this
very simple shape. So I'm going to be
keeping it simple to flowers like this, and then I like a nice little puff ball flower
as an accent, too. So something like
this, just like two or three little
puff balls on a stem. Okay. And so these are all
really very simple shapes. You could do, you know, something like a simple tulip, which is just kind of
like a bucket like this, and you got your simple
leaves like that. You could do a little
swirl and turn it into a rose, like so. So any flowers that you
want to add to this, I'm keeping mine nice and simple because that's what my style is, but also because it keeps
the project nice and easy, and I don't have to
overthink it too much, and I don't have to
look up any reference photos for the flowers. If I don't want to, I can just
draw from my imagination. And as long as they're flourish,
the point gets across. So don't worry
about it too much. Don't stress about
being a perfectionist. You can just draw
shapes like this. And you'll notice
in this example, I did outlines, but we can also do something which
I like to do a lot, which is sort of
like a blob shape, so we'll take, you know, maybe some marker and make
some shapes like this. Really simple, nice and easy. And these are reminiscent of the shapes that we just drew. But the the shape
instead of the linework. Then once we have these in, then we can go in with our
pen or our colored pencil, and we could just add a little
dot for the center there, or we could outline
the little petals. And one of my favorite
things to do with this method is that you
don't have to be precise. Your shape and your linework
can be a little bit off because it still
gives the impression, it's just a little bit rotated here with these
petals, but that's okay. It still looks like a flower. So in this one, we could fill
in the rose details here. Maybe we give it a little
petal down like that. And you see it doesn't
have to be perfect, but once you add the detail, it becomes even more clearly arose. And for this one, maybe we
put some dots in the center, and then we can just
draw some petals. And make it a very
petily flower. Like so. So you've got a couple options. These are both really
simple and quick, whichever you prefer or if you have a different
method of drawing flowers. Like I mentioned in
the materials lesson, you could also do watercolor
blobs and shapes and then go over those with your marker
or color pencil as well. Okay. So that is it for our
super simple flower shapes. Of course, if you don't want to draw simple
flowers like this, there are tons of amazing reference photos
that you can use. Just choose whatever
is going to make you happy and is going to be the
most fun for you to draw. Okay? I will see you in the
next lesson where we're going to go ahead
and get started on our final project.
See you there?
4. 10 Minute Project: Alright, it's time for
your final project. Let's go ahead and
jump right in. The first thing that I want
to do for our final project is to block out some
space for our pet itself. And I'm going to do that lightly with my colored pencil because this is what I'm
going to be drawing all of the outlines
for in my project. So let me go ahead
and get started. I'm just very lightly. And I want it to be about here, and I want to try and leave
some space around the edges. So you could also, you know, lightly draw a frame if you wanted so that you
know where to stop, but I'm just going to try to
keep it away from the edges. And then the other
thing that I wanted to mention is you
can do, you know, kind of, like, a shoulders
up pet portrait where you just have the head of the pet or you can
do a full body. For this one, we're going
to do a shoulders up. And I'm going to do that
because I want to show you the simplest
possible version of this project that you can do so you can see
how easy it is to just carve out a few
minutes to create a finished project and have a little bit of time
for your creativity and be able to do
something complete, not just a sketch, but a full project in 10 minutes or less, and then you can
go about your day knowing that you were able to complete a creative project, even though you didn't
have a ton of time. Okay? So, since we're
going to be doing a half body or shoulders
up pet portrait, I'm going to draw a line here. Lightly, and that
is where I'm going to cut off the
shoulders of the pet. So from here, then
I'm going to come up and draw an ear and another ear. And then I'm going to make a line for the snout
and bring that around. And then the other side
of the neck and chest. Let's connect that ear here
and reinforce that line. And I'm actually a little
off center, but that's okay. So what I want to do from
this point is I'm going to reinforce that line on
the bottom, like so. And if you're off
center like me, you either leave it or we can trim the paper at the end
if we want to gift this to someone because pet portraits make really great gifts
for your friends. So now that I have this
outline for the pet, what I want to do is
make my biggest blooms first and my biggest
pieces of foliage first so that I can make sure I have room for everything that
I want to include. So I also want to be
considerate of tangents. So you don't want to be drawing a leaf like right here
coming out of the ear, where the lines are
going to intersect and it's gonna create
some disharmony. So I'm going to draw some of those leaf shapes from
our previous lesson. And let's do another little one here, just to balance that out. And then let's do one
of these on this side. How about a little one
coming down from over here. And one of the really
nice things about this project is you can repeat
it as much as you want, and it's always going
to be different because you can draw
different foliage, different flowers,
a different pet. And every time you're gonna
get something different. Now let's add in some
large blooms here. I'm going to do some
five petal flowers, and I'm going to vary
their size a little bit so that we
have some variety. Let's do a bigger one up here. And one here, too. So I'm trying to balance everything out
without overthinking it too much because this is
just a nice simple project, and we don't want to worry about being perfect or
overthinking anything. Next, I'm going to add in
some of the stems for these. So one of these tangents
I was talking about here, you could very easily
connect this stem to the tip of this ear, but
we don't want to do that. So I'm going to go behind
this petal like cell, and it's gonna look like it's coming out of the
dog's head a little. Go ahead and give it
some leaves as well. And let's add some
of those puff balls. Sometimes you don't even need
to connect the puff balls, but I like to draw the
lines just so that there's no confusion about
where things are coming from. I'm going to try to make it as best I can with
them going behind it and just sort of skipping where I need to skip
so it's not overlapping. And then let's add one here and maybe a couple up here
and add these in too. And let's put this
one like that. Give that a leaf or two. Okay. Now we've got quite
a few flowers here. You could add some down here at the bottom, if
you wanted, as well. But it's got a little
smudge on the page. That's okay 'cause I
think we're going to trim this down anyway, since I accidentally
drew it so off center. Let's go ahead and add in the details to the
dog's face now, so I'm gonna color in its nose. I'm gonna give it a little patch of different colored fur here, and then drawing the eyes. And because the snout is
blocking the other eye here, I'm only giving it partial a partial line over there,
and then let's add. These in for the
year. So we've got our outline line work done. And the next step is to add
in different bits of color. And then the last
thing we'll do is a little bit of
refinement in detail. I'm going to set aside
my color pencil for now, and I am going to
get my marker out, and then we can cut this
edge off if you want, or you can use this as your little color palette so I'm going to just test out
my markers here to make sure I know what color
is which Okay, great. Let's start with
our flowers first, and I'm going to just
fill in those petals, and I'm going to leave
the center white. And I like to do one
color at a time rather than just going around or item by item because I want
to make sure I'm getting a good balance of color
in the composition. And that's just
something simple that you can do without
overthinking it or overthinking your
colors because this is a fun and easy project.
We don't want any stress. So I've got my main
flowers in and now I'm going to use this
purple for the leaves here, and I'm also going to color in the center
of the chest there. And then for the smaller leaves, I will use this
pinkish purple color, and we'll put that on
the flowers, as well. Like I said, this
can be really fun to do the color first and
then add in detail, as well. I'm going to go
ahead and sharpen my pencil since
it's a little dull, and then I'm going to go over my linework
again to clean it up, and we'll add a little
bit of shading as well. Okay, we've got a
much sharper pencil. Now, hopefully, I don't snap it. So I'm going to take my sharpened pencil
in very carefully, go over the lines that
I created before. And let's bring
this up a little, I think, and add in
some light lines there. And we'll just make sure all
of these are connecting. This one's a little bit
close to each other there. So that is not my
favorite, but that's okay. Mistakes happen,
and they are okay. Especially in a fast
little project like this, it is always a good
idea to just go with the flow and see where you are
at the end of the project. You might end up liking
what it looks like, Evan. With the mistakes. So I'm just gonna add some
thicker lines here to the outline of the dog because I want it to
really stand out. And then I'm just gonna add
some light shading with the cod pencil and a couple
of hatch marks, like so. I think I want to add a little
bit of those flowers here. Like this. Oh. What did I say? Didn't I say I was gonna
break it? There we go. Okay. And the last
thing that I want to do is just add a
few little sparkles and dots because they
add a little bit of fun and make it feel
almost a little magical. And then we can initial at
the bottom, if we like. So this is done. What I'm going to do
is cut along the edge, and I'll cut this
portion off, too. So let me go ahead and do that. Alright, it's your turn
to complete the project. Go ahead and create
your pep portrait, and I will see you in the
next lesson where we'll wrap up class and talk about
next steps. See you there.
5. Wrap Up: Congratulations. You did it. Thank you so much for
taking this class with me and for carving out 10 minutes of your day for creativity. I know it's not always easy, so congratulations for that. If you weren't
following along with the project, it's your turn now. Go ahead and gather
your reference photos, your materials, set a ten minute timer,
and start creating. I would love to see what
you created for class. Seeing your projects
is honestly one of my favorite parts of
teaching here on Skillshare, and submitting a
project is super easy. You just go down to the
Project and resources tab here under the Lesson and
click Submit Project. Then you can upload a photo and share any of your thoughts
with us that you'd like. If you'd like to spend some
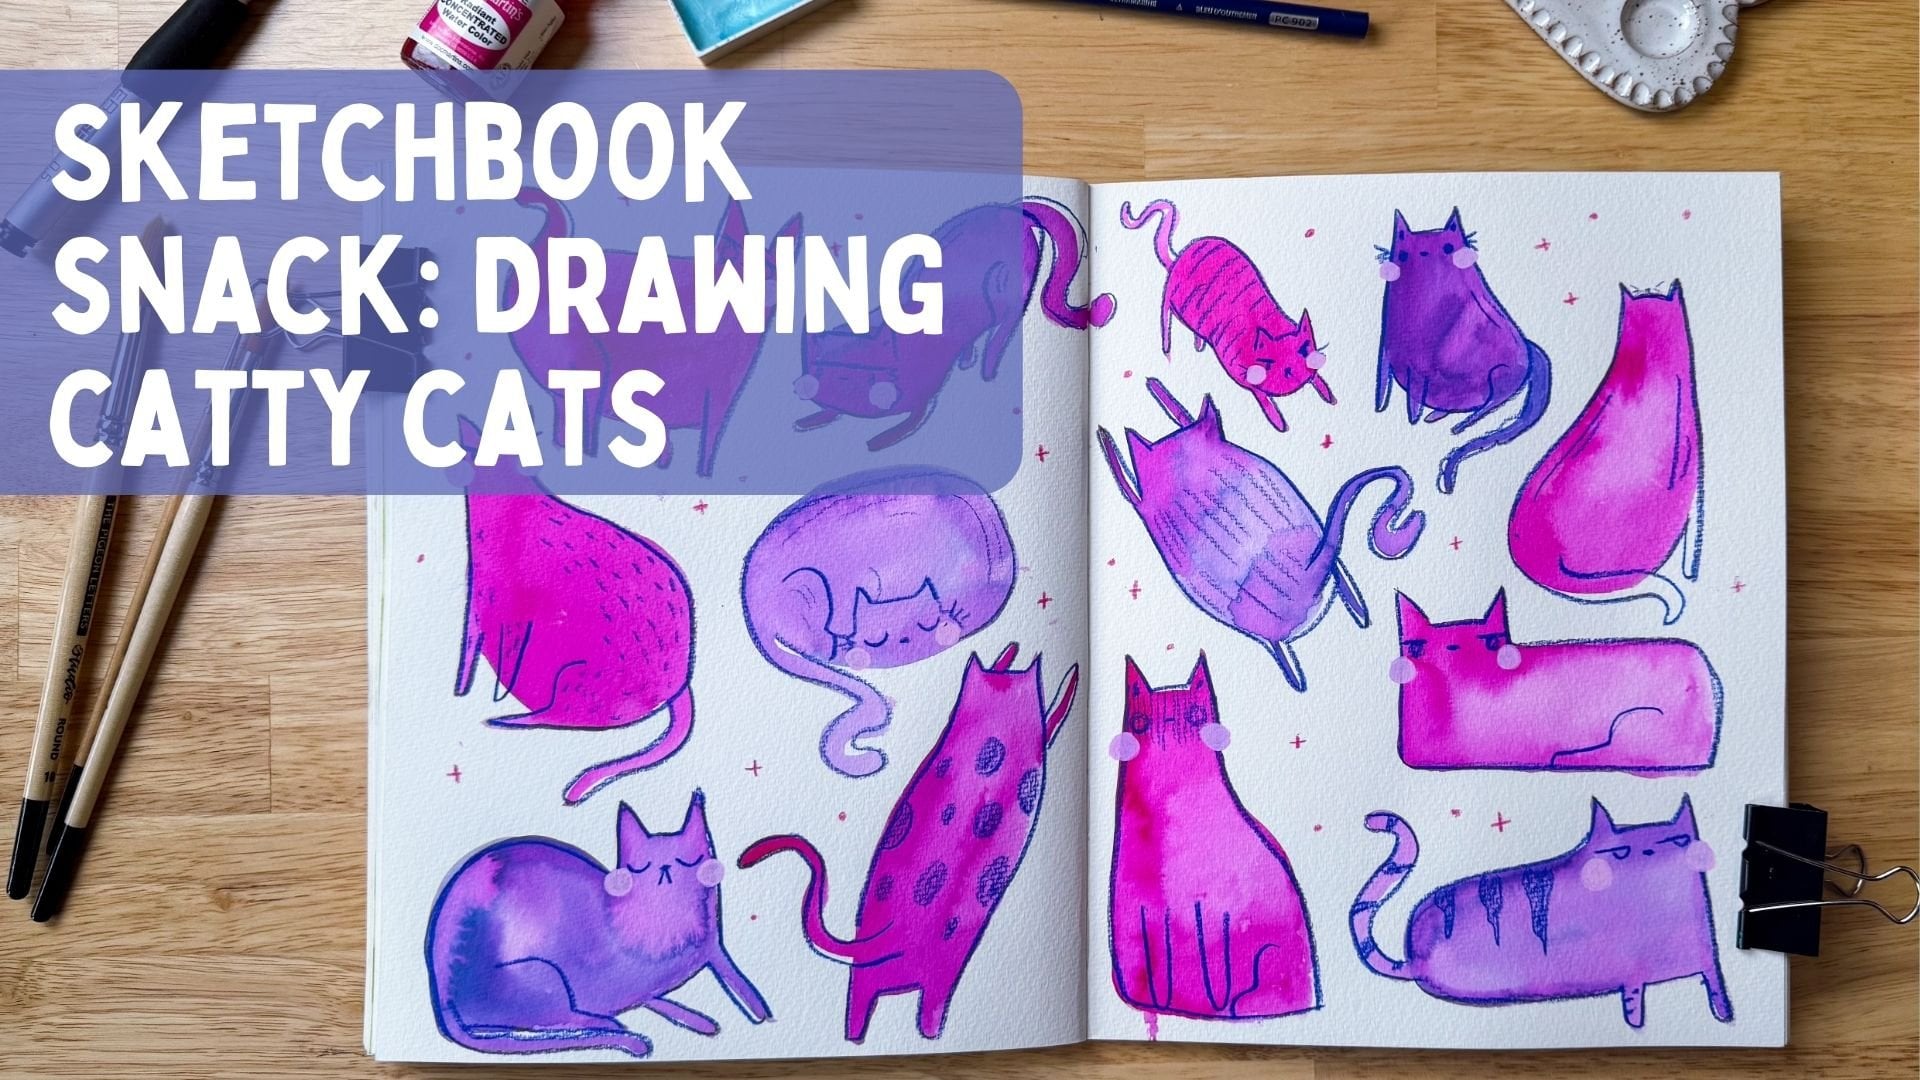
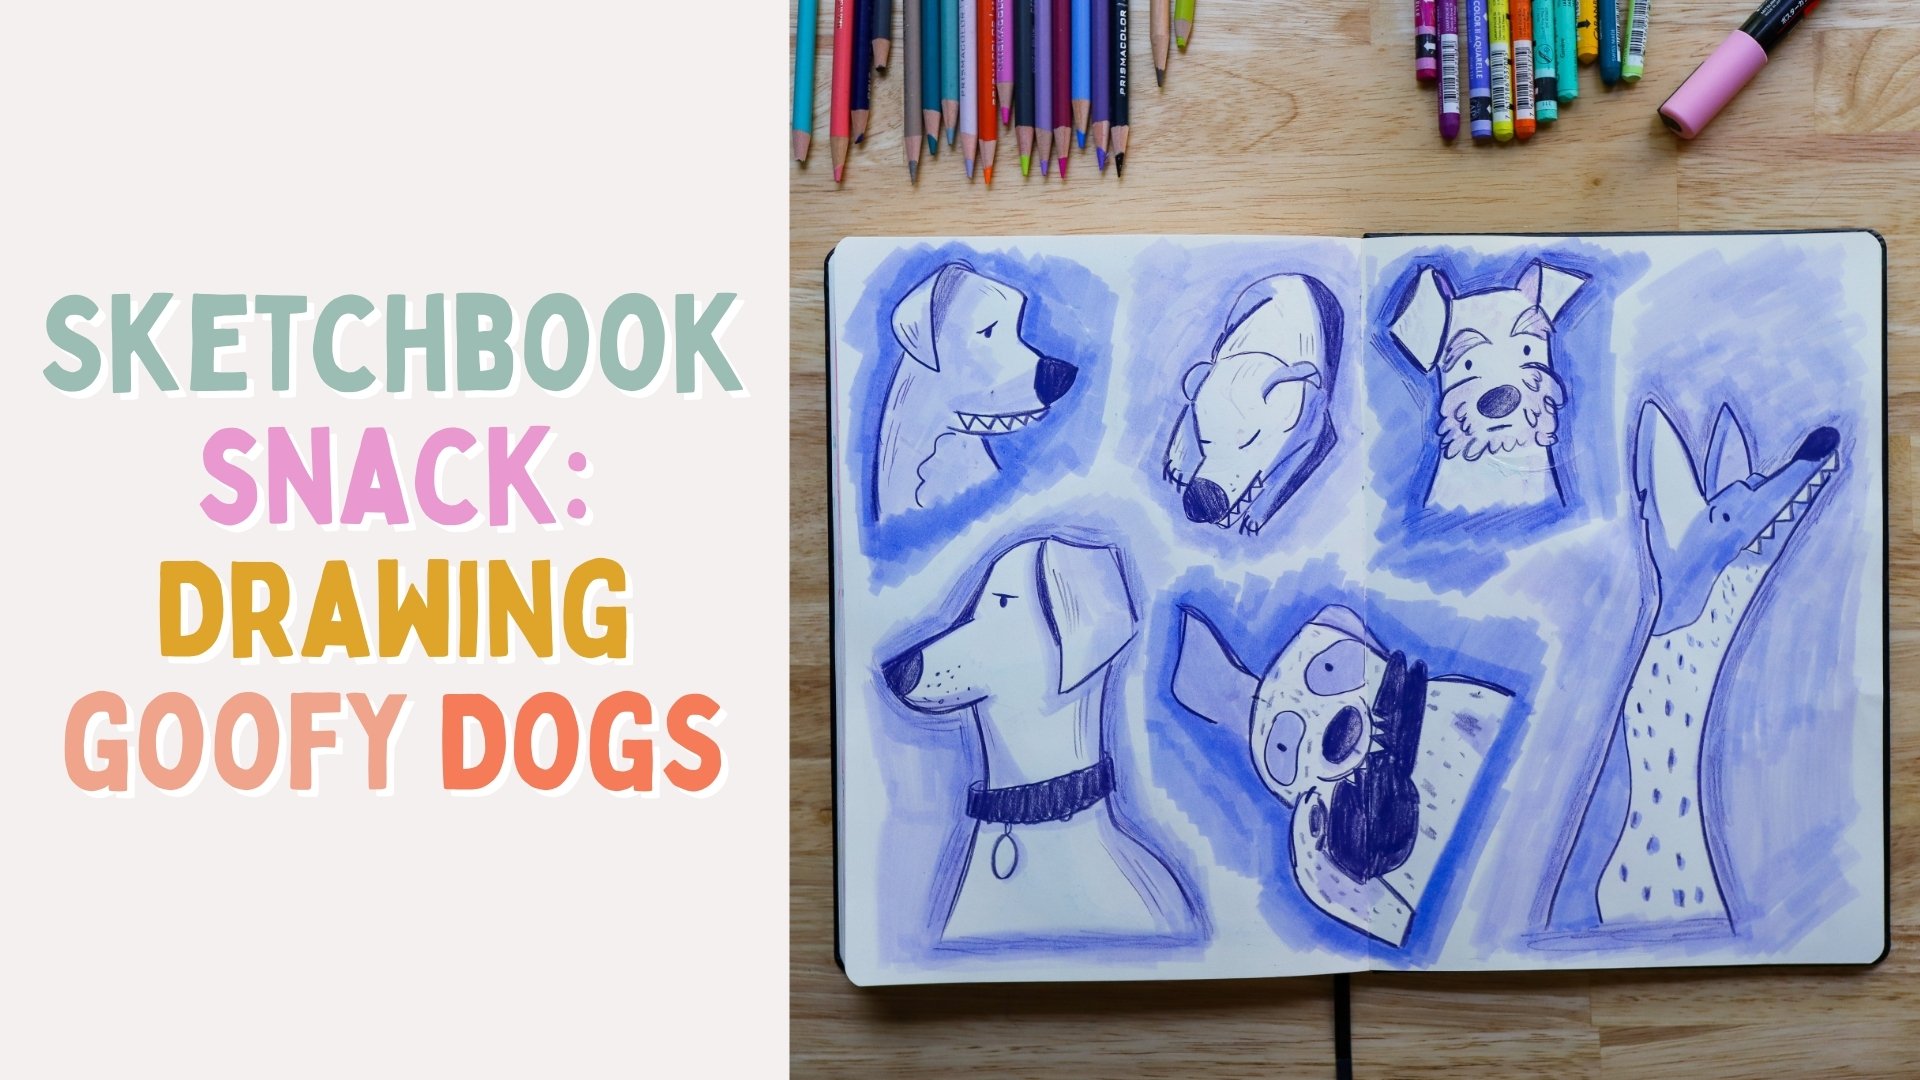
more time in your sketchbook, check out one of my
other Sketchbook Snack classes here on Skillshare. I've got some more
on drawing dogs and cats if you enjoy drawing pets. Until next time, see you later.
 Jenni Macklin, Illustrator & Surface Pattern Designer