Transcripts
1. 01 Introduction: Thank you for taking this class. In this class, we
will learn how to make these con,
high cookie bars. First, I will teach
you how to make the cookie dough that acts as
the crust for the cookies. Next, I will teach you how
to make the cookie feeling. That I will teach
you how to prepare the cookies and the
PAM and baked cookies. Next, I will show
you how to melt the chocolate and drizzle
it on top of the cookies. With the cookies done, I will show you how to cut
and serve your cookies. Am a self taught Baker. Many years ago, I
decided I wanted to make cakes for other people
for special occasions. So I took some classes, read a lot of books, watch some videos,
and of course, did a lot of practice until I felt like my cake
decorating skills. We're at the level
that I could create cakes for other people,
for special occasions. I've had opened up
my own home bakery and I started making these
kinks for other people. I had this business for
several years until my husband got a job offer across the country
in New York City. We felt like this was
a good move for us. And so I closed my bakery and we moved across
the country to New York. Now here in New York City, I do not want to go
through the steps to open up a new home bakery. But I still love
baking and everything. So I have decided to share my skills with you
on Skillshare. Class is for they would
like to learn how to make a delicious cookie. It tastes like pecan pie. I am excited to teach you
the skills in this class. Let's move on to
lesson number one, making the cookie
dough or the crust.
2. 02 Making The Crust: We're ready to start making the crust for our pecan
pie, tricky bars. The first thing we need to
do is get the PAM read. I haven't Pam here. And I just want to spray down. Then I'm also going to hit the parchment paper
in the bottom of the panel. And I want the parchment
paper to go all the way to the edges. And then I'm just gonna go
ahead and spread this camp. I want to make sure that
the cookie is stochastic. We're now ready to
start doing the press. I have this bowl here. And in the bowl I'm going
to mix together the sugar, the butter, and one
teaspoon of vanilla. And then we're going
to mix these together. I want that tell that butter is
completely mixed in. I can turn this. We're then going
to add our flower. The flower, I want to mix it. I just want to stir it in. The butter and the
flower are combined. We want to get all the flour
mixed into the butter. So if you see the white of the flower that you
want to keep stirring, because you want that
to be mixed in with the butter and dumped
it in to our panel. And then we want to spread
it around so it totally covers the bottom and I
want to press it down. And if you've got what looks
like obvious high parts, which I do, you can
just merge that down. Bring it to the side actually. Because it's okay if the
site comes up a little bit, we don't want the
centered come up. Do you want this press up
a tiny bit along the side? I'm going to come back a little
bit pressed up the side. If I see I parks, which I do a lot,
bring him down. Now we're going to stop, stick this in the oven. And it's going to pay for 15 to 17 min until the
edges are lightly brown. So I'll check it at 15 min.
3. 03 Making The Filling: The crust is baking. We're going to
make the feeling I haven't medium-size mixing bowl. And we're going to add
brown sugar, corn syrup. The vanilla one, teaspoon, one fourth teaspoon of assault. And our 38123. Let me chop those eggs. Then with our spoon, we're just going to
mix these together. And we're going
to mix them until they're all well blended. So I don't want to see any eggs. I want everything
to look the same. Once we have that all mixed in, I'm going to stir him. And now this is
ready to pour over the press once the process
has finished baking. So we'll be back when the first system baking
and show you what we do.
4. 04 Baking And Cooling: The oven is about ready
to Dean for the crust. When the timer goes off, we will pull it out and
we'll show you how to, how to add the feeling. And then we'll give it to
second base, the timer. So now we're going to
pull the crosstown. As you look at the crest, you can see around
the edges is just barely starting to turn a light brown and
that's what we want. It also looks dry,
like it's set. Now we're going to take
our filling that we made. We're going to dump it in here. Once we have an
alternate dumped in, we want to of course spread it, making sure that it
covers the whole bottom. The filling itself
is not very thick. That's over there
works really well. I see it's really running. I want to try and get
some more nuts over there. Distributed. We're now going to
let this carrot for 25 to 30 min until
it's completely set. So I'm going to pick
this back in the oven. The oven is about ready to team. At that point, we will check it. There are things. We're going to check it
and see if it is set. The smell. So I just wanted
to check in like a knife in. And as you can see
that this set, we're going to let
this completely cool. I do want to run this knife. I have it out. Well, I'm sure it's not
sticking on the edge. Now that I've run
around the edge, we're going to let
this cool completely. Once it's cool, will melt some
chocolate drizzle on top. And then I will take it out of the pan and I'll show
you how to prepare it for serving will be
back when this is cool.
5. 05 Chocolate Drizzle: Our Kikee bars have cooled. We're now ready to make the chocolate drizzle
that goes on top. I have my 4 oz of chocolate. I'm going to add
just one tablespoon of vegetable shortening. This. I want to melt
this at 50% power. I'm going to start with 1 min. This is melted for 1 min. I'm going to take the fork and
I'm just going to stir it. And I want the chocolate
completely melted. And as you can see that 1
min was more than enough. Let's go ahead and
bring this over. And we want a drizzle or
chocolate onto the cookie. So I'm going to
use this book and I'm just going to take
it and just like this, don't want to get
too much on the fork or you'll get what
I got right here. I'm going to scrape. You just want a little bit
on the fork at a time. And then you just keep going. I'm gonna go both directions until you get the
chocolate pretty much over, all over it. The chocolates gum. Basically what the fork
does is it makes it so that you don't get
nearest many blobs. If I were to just pour
this out of the cup, I would be getting
a lot more gloves. Although there is
enough chocolate here that it's going to
be very chocolatey.
6. 06 Cut and Serve: We're now going to lift this. We're gonna get ready
to cut well on it do to try to make it so that it's equals, I'm
gonna look at this. I'm just gonna kinda score
at the halfway point. Looks good. I'm going to try to go down once
I scored hurt. And I like how it looks. Gotta make sure you cut
all the way through. Then I'm going to try to look
again at the halfway point. It looks like it's
right about there. Start by squaring it
so I can cut through. And then I'm going to score
at again, the halfway point. Now this is posed to make 36, so they're not going
to be very big. Now, obviously you
can cut the bigger. I'm going to cut this
one in half again. I'm going to cut this in half. And then cut this in half
again at this in half again. And I have 12345678. So what I wanna do is I'm not
going to cut this in half. Going this way. Or
similar score it. And then just cut it all
the way through in half. And this time I'm
only going to cut it in half one more time. I'm just going to go down
my pat down like that. So these are more
rectangular in shape, but I do want to try
to make it in half. I went a little bit of a skew, so I have smaller in the center. And then right here
one more time. Now, all we need to
do is plate these. I have my plane here and
I'm just going to take my little spatula, loves them. Here. You can decide exactly how
you want to play that. I'm just going to take
it around in a circle. And once I fill that in, I can always tap
whatever's left on top. I'm actually going to tilt this up a little bit like that. Angle. Then do the same here. I said it's really up
to you how you want to decorate it or how you
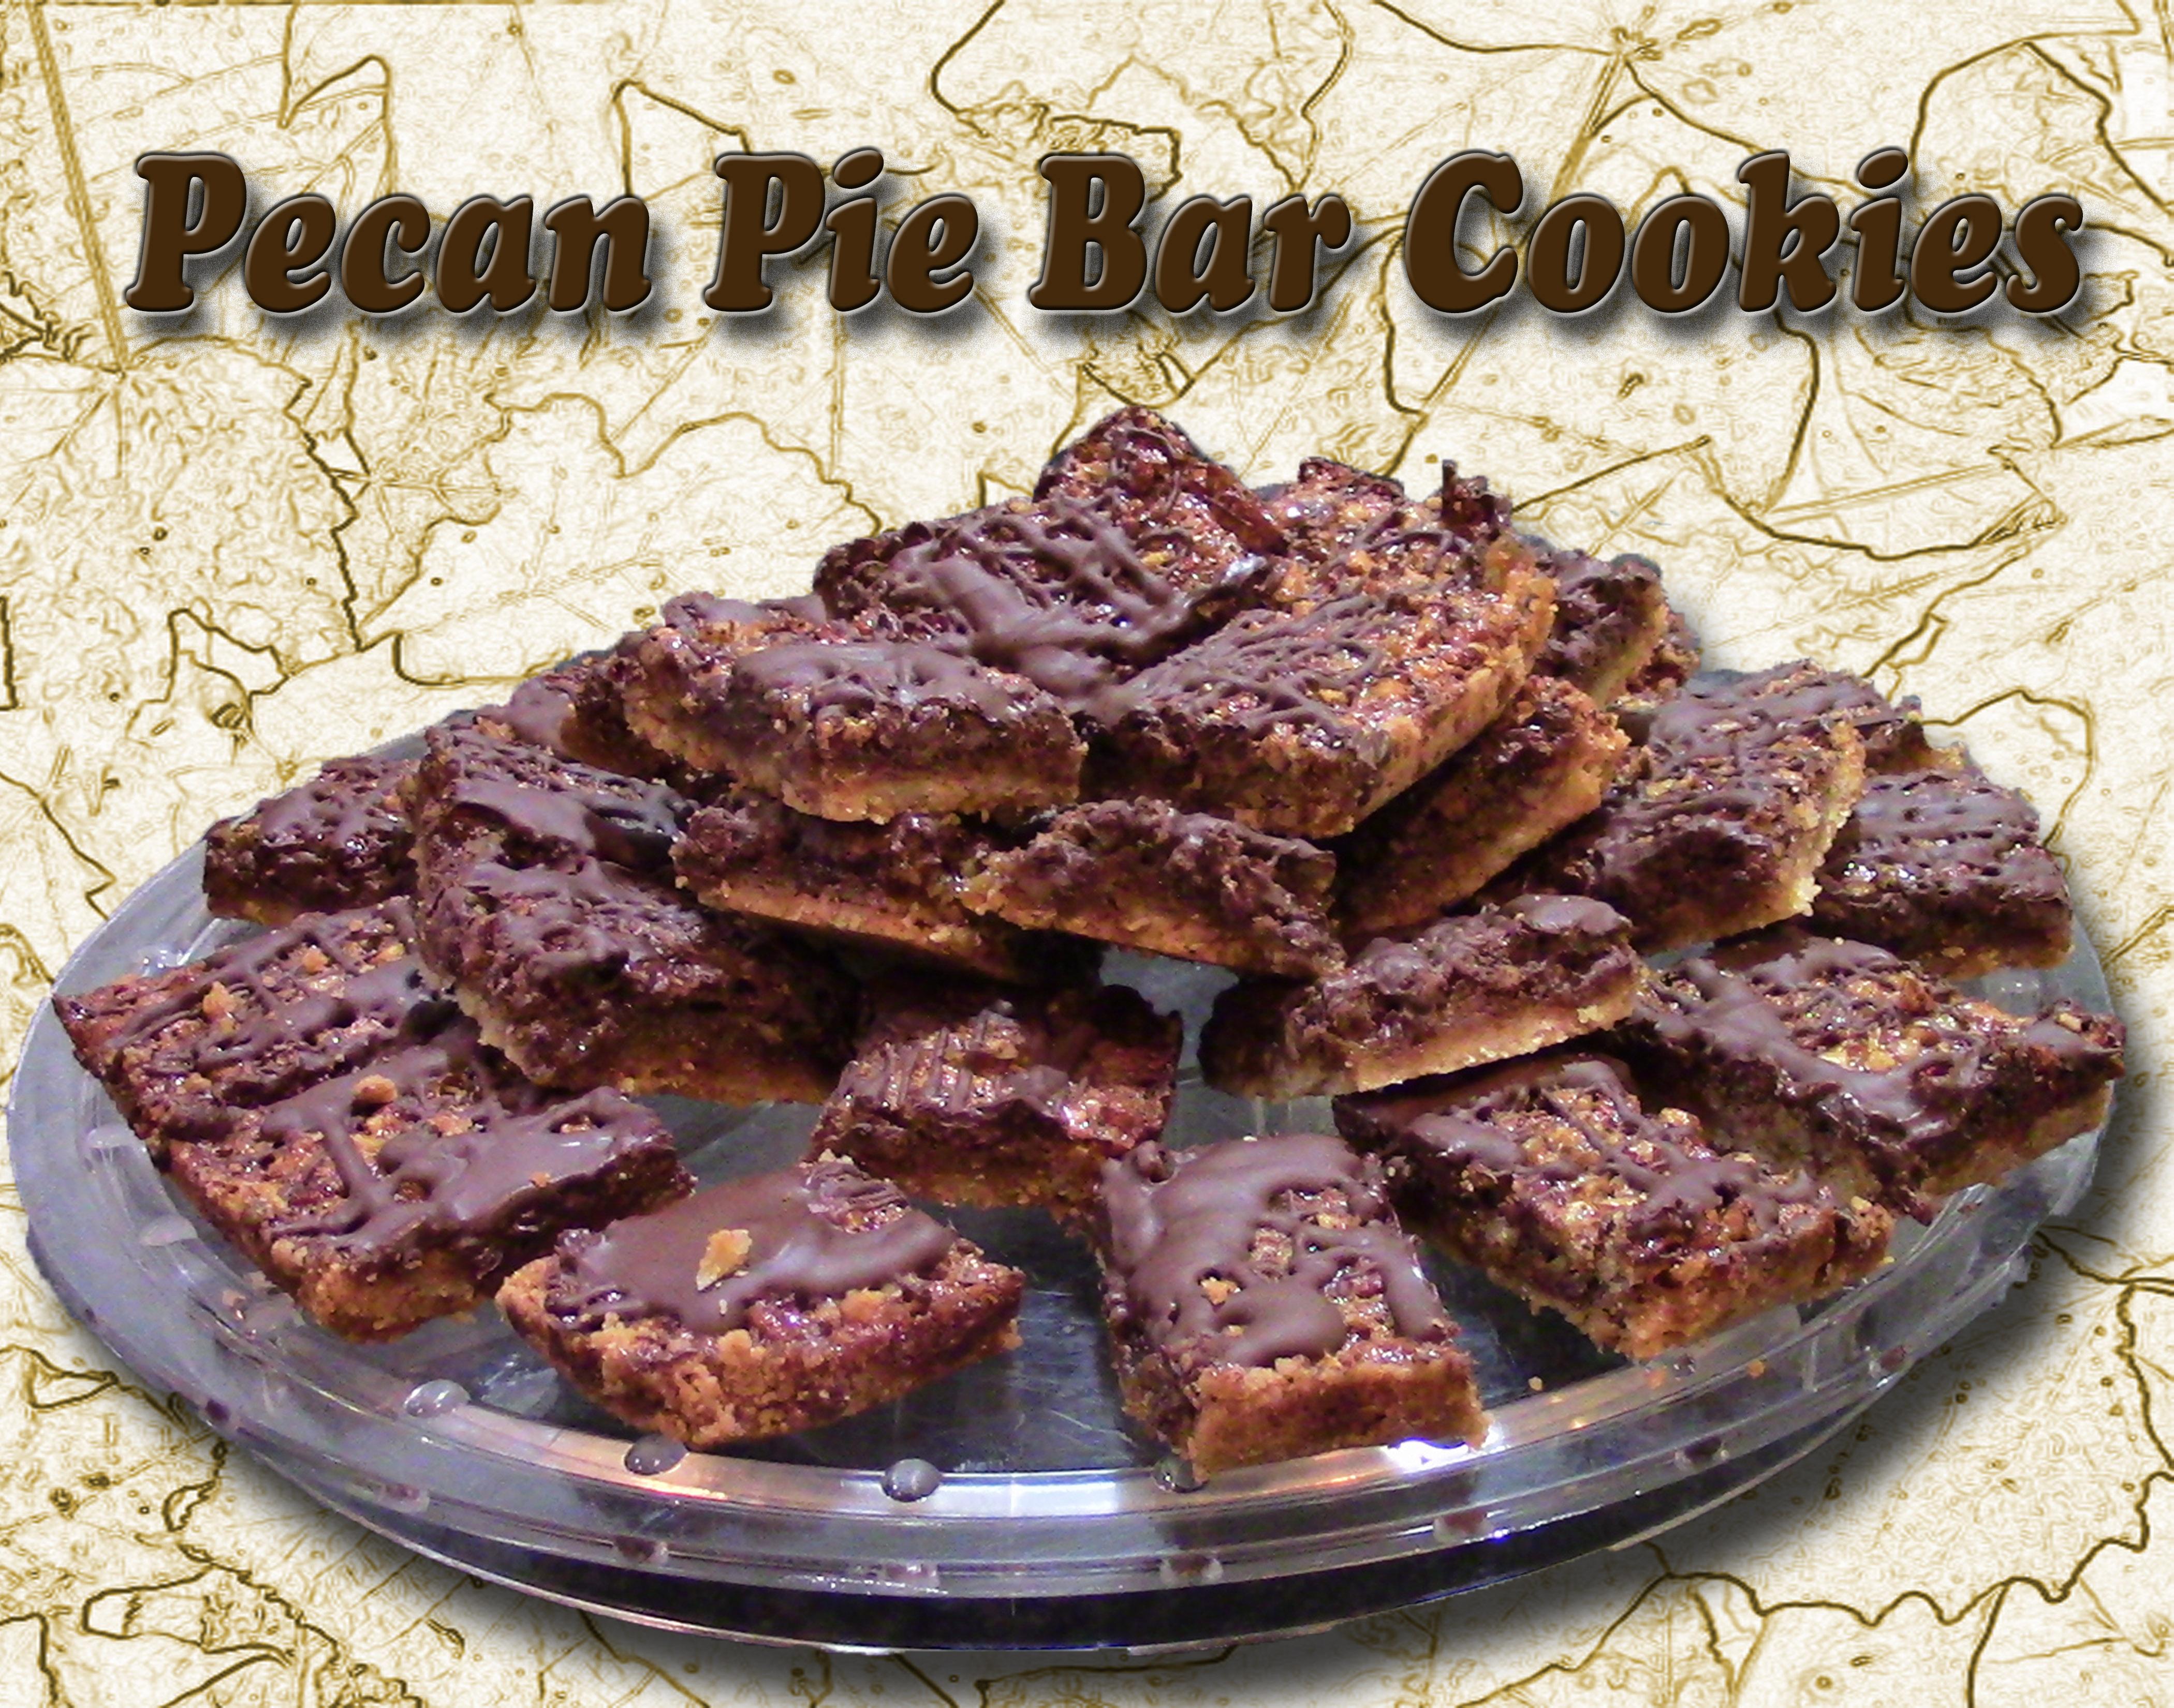
want to arrange them. And here is my com
Pi cookie bars.
7. 07 Final Thoughts: Thank you for taking this class. This class, we had
fun or high bars. You learned how to make the
bottom layer or the crust. You can learn how to
make the feeling. We then paint the
ceiling into the crust that had already been
partially faced with that big. We then took it out and let
it cool. Cookies for cool. We made chocolate drizzle
that we then drizzled on top. We then remove the
cookies from the pan. We scored and cut the cookies, and then rearrange them on our flower so that they're
ready to serve July, guess. I hope your cookies turned out the way that you wanted them to. Please take a picture and post them on our project
page and tell us how the recipe for these cookies is in
the project section. From my kitchen to your
kitchen. Have to pay.
 Nadine Thomas